Braiding, according to some random and unverifiable website I saw once, is a task with “Ancient World Origins,” practiced around the world and probably dating back ages and ages and signifying different things in different cultures and maybe even linked to way old-school deities. I’d look this stuff up properly, but I had a super busy week at work and I’m already two glasses of wine into my weekend, and if I went anywhere near Wikipedia right now I’d no doubt vanish into a black hole of links to everything, only to emerge again on Monday morning knowing all there is to know about Prigogine’s Double-collared Sunbird and how you get from its Wikipedia page to the one on seaslugs.
So. Here’s what I do know about braiding.
It’s pretty.
It’s relaxing, unless you’re on the 5th attempt at french braiding your own hair at 7:30 am and it’s coming out all bumpy again.
There was a guy in my junior high youth group who got some girls to teach him how to braid so that he could help his mom out by braiding his little sister’s hair for her in the mornings before school. Every girl who ever met that boy had plans to marry him.
So, it’s also sexy.
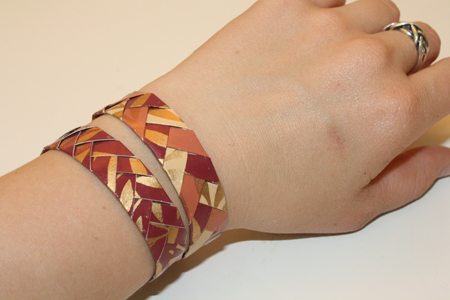
But you may have noticed from past photos that I don’t have that much hair. See the line about getting it to cooperate at 7:30am; I decided I’d be better off with as little of the stuff as possible. What I do have in abundance is crafting supplies, such as paper. And that’s why today’s project is braiding (though it’s really just folding in this case) paper.
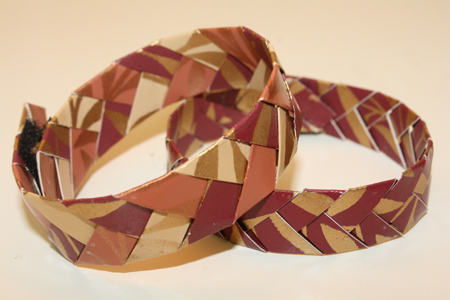
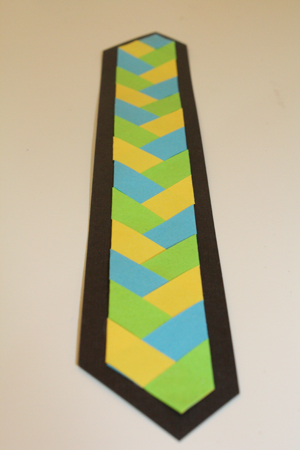
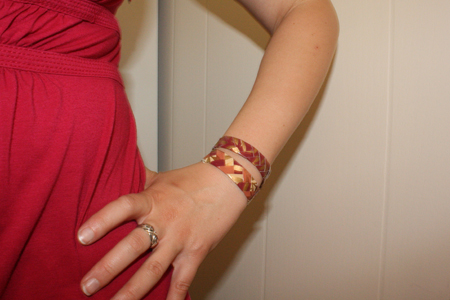
Which, like hair, looks very pretty braided, and unlike hair does not need to look perfect at 7:30am. My two thoughts so far have been to make bookmarks with braided paper, and to make bracelets. I imagine it could also lend itself to some lovely ornament-making, and to some nice scrapbooking borders. Or the world’s most time-consuming paper chain.
———————————————————–
What you’ll need:
- pretty paper – at least 11″ long for bracelets
- paper cutter OR a ruler, a pencil, and scissors
- white glue
- tape
- [optional]
- other paper (to make a bookmark backing)
- velcro (to make a bracelet)
———————————————————–
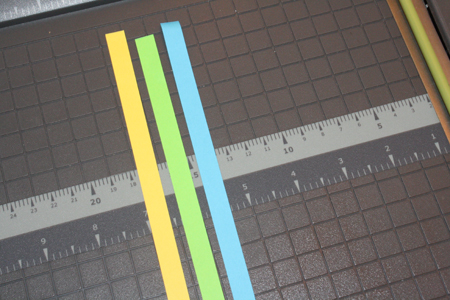
1) Start by cutting several strips of paper, all the same length and width. Though of course,you could play with making them different widths to get different looks.
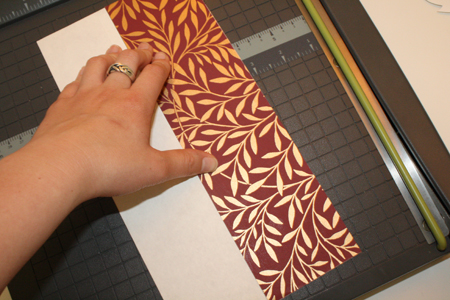
For bookmarks you’ll of course want thin paper. But for bracelets, thicker is better. In the picture below, I’m using wallpaper samples, which is a heavier paper (and also very pretty). To make the paper even thicker, and to have the image on both sides, since one side of the paper is patterned and one is plain, I folded part of the paper over and glued down (very very thoroughly), so that on both sides the pattern is visible. Once dry, I cut the paper into strips, so I had thin pieces of paper with the pattern showing on both sides, and the edges perfectly matched.
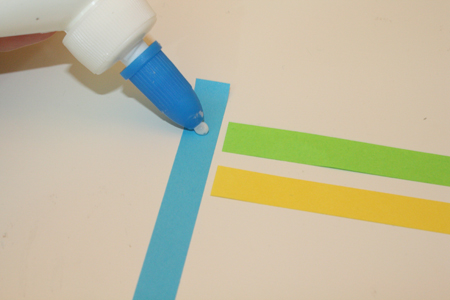
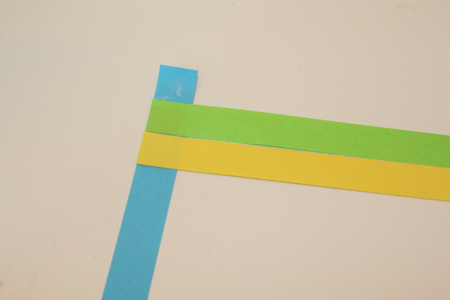
2) Place one paper strip down vertically in front of you, and the other two strips exactly perpendicular to that first strip. Apply glue just below the top of the vertical strip.
3) Glue the ends of the two horizontal strips to it.
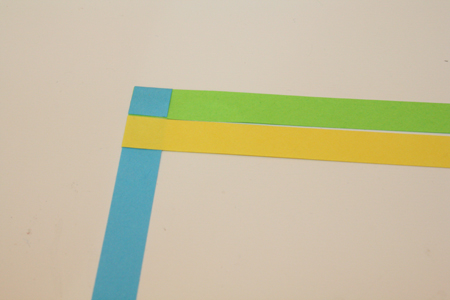
4) Apply glue to the very top of the vertical strip, and fold it down over the other strips.
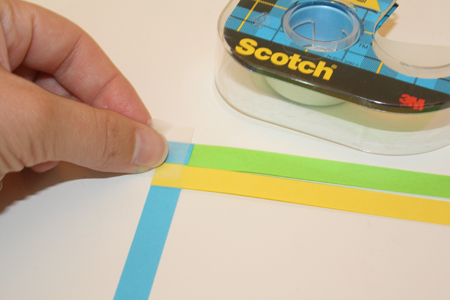
5) Tape the top edge of the paper, where all the strips are now glued together, to your work surface. If you have a bulletin board available, you can also set the paper on the bulletin board and pin it in place. It’s mainly important to have a flat, hard surface to work on.
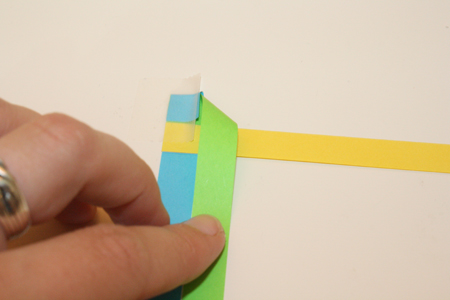
6) Fold the upper horizontal strip (in this case, the green one) down, so it sits parallel to the first vertical strip (the blue one), their sides touching. Press the fold down with a finger.
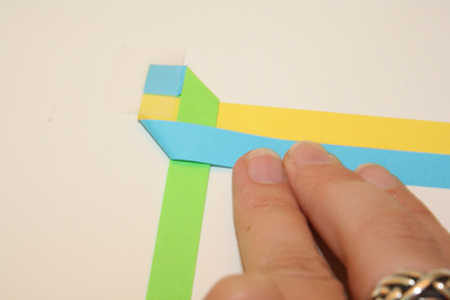
7) Now fold the left-hand vertical strip (the blue one) over the strip beside it (the green one) so it is parallel to the horizontal (yellow) strip, with their sides touching. Press the fold flat.
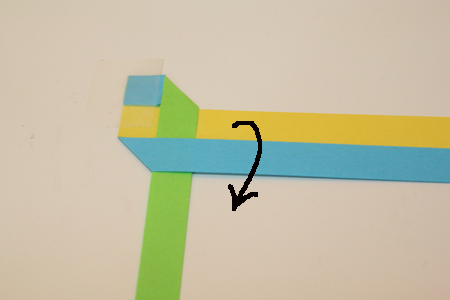
8) Fold the yellow strip down over the blue strip so it sits beside the green strip.
9) Lather, rinse, repeat.
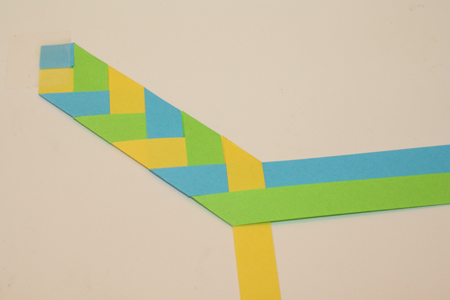
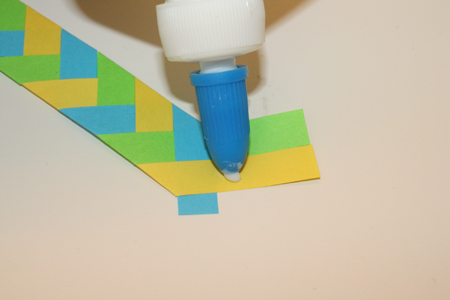
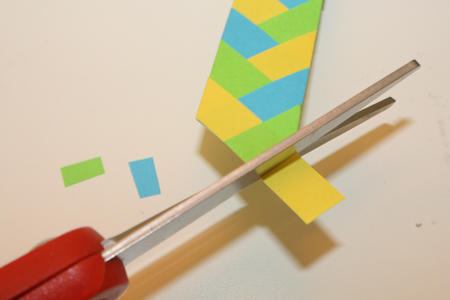
10) When you get to the end of the paper (or when the braid is as long as you want it), dab some glue on the the last folds as you make them, to secure the end of the braid. Then trim any excess ends of paper.
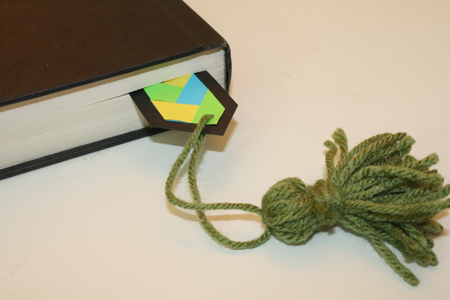
11) To finish, you can glue your braided paper to another piece of paper as a backing, and use the whole thing as a rather elegant bookmark.
OR
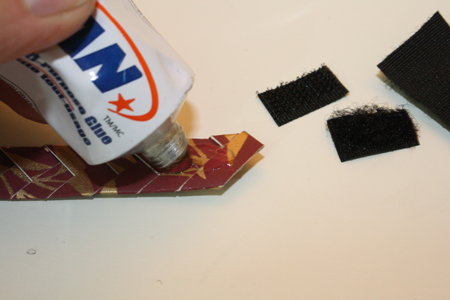
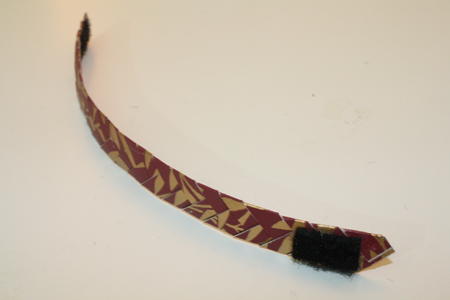
Varnish the braid (this is an optional step, but it will give it some shine and make it more durable), then glue a small piece of velcro to one side of one end, and the opposite side of the other end.
Wrap the braid around your wrist, match up the velcro pieces, and you have a bracelet. This works best with thicker paper, or paper you’ve multi-layered by gluing two or three or four pieces together, as I mentioned in step 1.

