After all I said last week about holding off on Christmas decorations, it my seem a bit ironic that my friends and I held a Christmas craft fair last night. But with Desert Bus starting next week, and the venue being pretty much booked solid through the rest of this year, we had to make it happen early. And none of us are decorating our own living rooms just yet. (In fact, our Halloween lights still haven’t come down…)
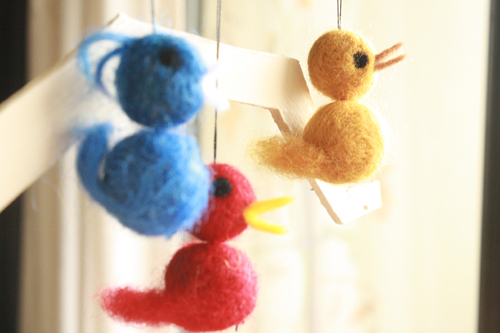
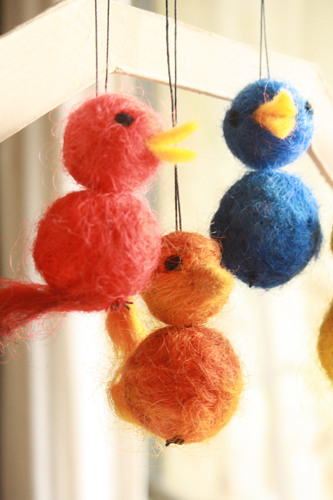
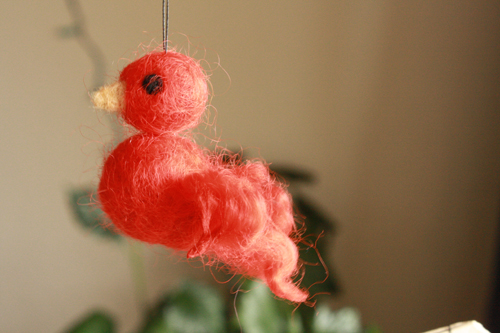
In June I posted about our first DIY craft fair, where I taught people how to needle felt, and everyone made the most wildly wonderful array of monsters and other creatures. This time I brought the needle felting back again, but taught people how to make little birds. They’re great anytime decorations or Christmas tree ornaments, and they’re deceptively simple.
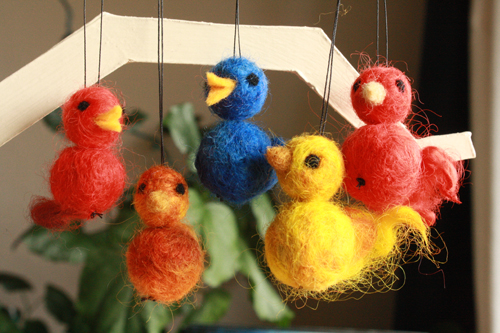
As usual, folks had a great time adding multicoloured tails, detailed eyes, little fluffy bird mohawks and more. One girl decided to skip the bird thing altogether and try a mongoose, because why not?
And let me tell you, these craft fairs are a good way to rope an S.O. into the crafting scene; through helping me run my table, Jeremy has learned how to instruct people on the making of these birds. Funny story – he’s never sat down and actually made one himself, but he knows the process inside and out. He’s been a lifesaver at Iconocraft. He’s clearly the perfect boyfriend, since he also lets me take photos of him in silly hats, which I’m told is a necessity for any crafter.
I’ll return soon to add my photos from last night of some of the wonderful creations other people came up with. For now, here’s how to begin on your own fiber flock.
——————————————————-
What you’ll need
Materials:
- wool rovings – this is the term for clean, combed and un-spun, un-processed wool. Rovings can be found at wool and yarn shops, or online. Corriedale wool, which comes from Corriedale sheep (native to New Zealand) is usually the least expensive, comes in many colours and is particularly well suited to needle felting. You’ll need one mail colour for your bird (or two or three colours if you wish) and a teensy bit of black or some other colour for the eyes.
- felt – the pre-made, processed cloth you get in sheets or on bolts, like fabric. You’ll only need a tiny piece (2 square inches will be more than enough), in a colour suitable for your bird’s beak
- thread – I recommend using upholstery thread, as it’s thicker and stronger than normal thread.
Tools:
- small sewing needle
- thick foam – a squarish piece about 2 inches thick and roughly 5 or 6 inches wide will do nicely. Larger is fine. You can also use thinner foam – just cut two pieces about the same size, stack them and wrap duct tape or packing tape around the sides to hold them together. You can buy suitable foam at many fabric and crafting stores, and at some hardware stores that have home decorating sections. Most places sell foam in large sheets, but they often also sell small remnants, or may cut off smaller pieces for you if asked.
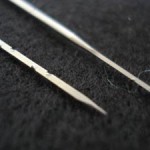
- felting needles – – these are particularly long, sharp needles, with barbs on the ends. You can find them at many crafting stores such as Michael’s, Hobby Lobby and Joanne’s, or at a wool or yarn shop. For most projects you’ll probably want a large size needle and a smaller, finer needle. It’s a good idea to get a couple of extras as well (they’re not too pricey – about $1 to $1.5o each), as it’s fairly common to break a needle or two when first learning how to needle felt. Even the ones you don’t break do take a fair bit of pressure over time and will eventually snap.
——————————————————-
Putting it all together
Notes before we start: If you tried out my recent tutorial for needle felted eyeballs, you will notice that steps 1-5 of this tutorial are pretty much exactly the same. We’re using the same steps here to make two needle felted balls, one for the body and one for the head. If you already have that process down, just skip right ahead to step 6.
Also, please ignore the sudden colour change after step 4 in the wool shown in the photos. The pictures come from two different projects, but the illustrate the same results. And this just goes to prove once again that once you master the very simply process of making needle felted wool spheres, there are many different places you can go from there.
—–
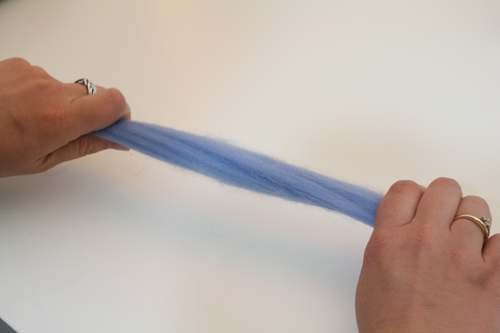
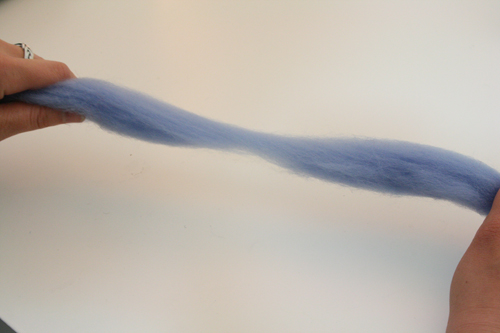
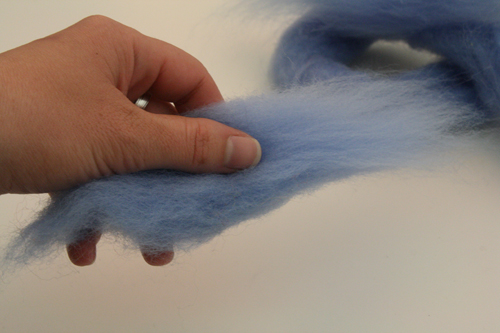
1) Start with your main colour of wool. You’ll need to tear off a smaller piece to begin with. To do this, unwind the roving so it’s in a long thick rope. Place your hands about 6 inches apart and pull firmly. If the roving doesn’t come apart, put your hands a little further from each other, and pull again. The roving should break fairly easily. You can pull your smaller bit of roving apart some more, until you have a piece about 6-8 inches long and as thick around as a penny.
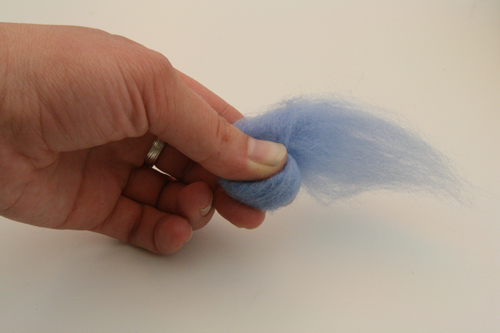
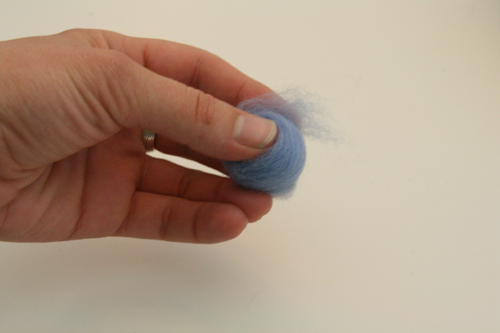
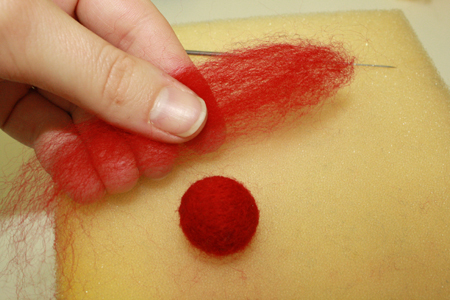
2) Ball one end of the roving up. Continue rolling the rest of the roving up into a ball, keeping it as tight as possible. Roll the entire piece of wool up this way, and place it on top of the foam, pinching it together between thumb and forefinger.
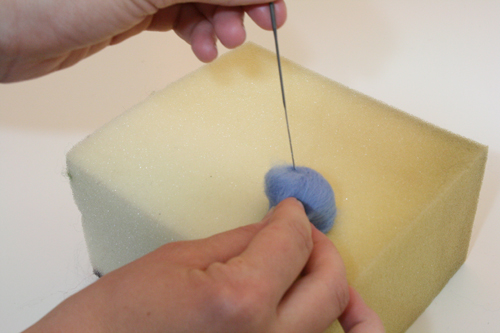
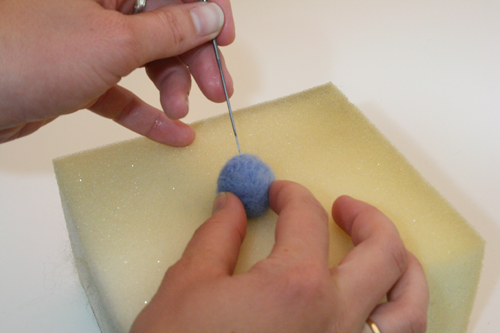
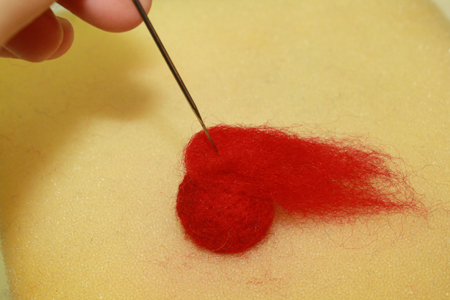
3) Hold the wool in one hand, on top of your foam block. Take your felting needle and stab the wool with it, straight up and down. Always keep your eyes on the needle. Roll the ball around, continuing to stab, so that you are stabbing all sides of it equally, keeping its round shape. The ball will compress and grow smaller as you stab, and as the fibers lock together. Continue stabbing and stabbing, and the wool will continue to compress and take shape.
Be sure to hold the needle at the top and in the middle, putting no pressure on the lower end, or it will break. Also be sure to keep the needle straight. And, as mentioned, always keep your eyes on the needle and the fingers that are holding the wool away from where you are stabbing. Go slowly at first until you feel comfortable increasing your stabbing speed.
This is basically all there is to needle felting. With practice, you learn how to control and shape the fibers with your needle tip, stabbing more where you want to make an indent or compress the wool, adding more wool onto the shape, etc.
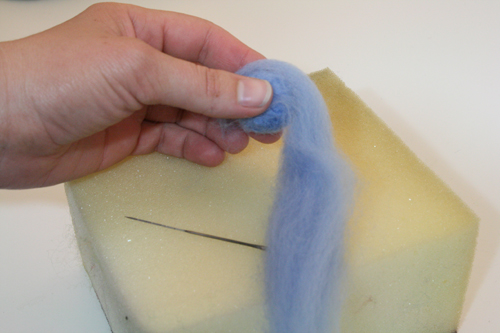
4) To make the ball larger, take another piece of wool roving and wrap the end around the ball you’ve made. Stab the end into place a bit, then roll the rest of the roving around the existing ball, and stab it smooth and into place, building on the surface of the ball you’ve created. Now you’ve got your eyeball – you just need to add iris and pupil.
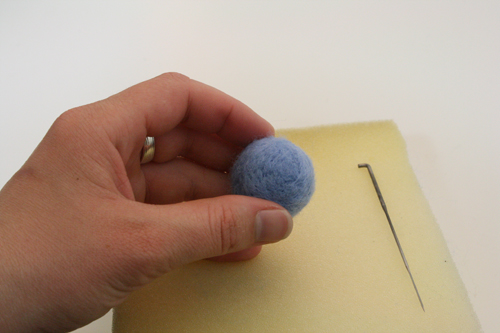
In the end, the wool ball should be quite solid. You should be able to squish it a bit between your fingers, but only by pressing quite firmly. Needle felting can create objects nearly as hard as a marble, if you continue stabbing and compressing for long enough.
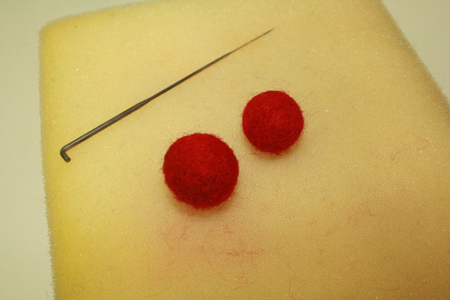
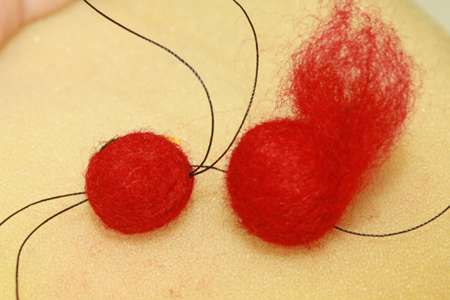
5) When you are satisfied with your wool ball, set it aside and follow the same steps to make a slightly smaller ball of the same colour (or a different colour, if you want a multicoloured bird).
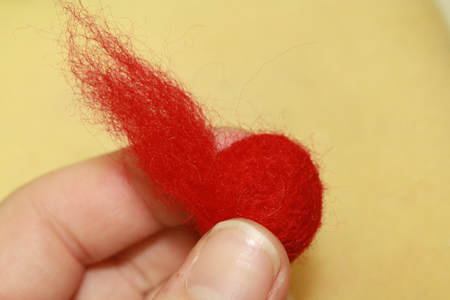
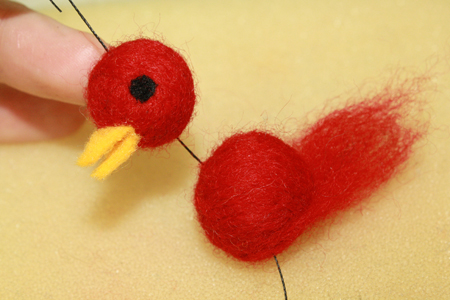
6) Set aside the smaller ball and take up the larger one again. take a small, thin wisp of roving – about 4 inches long. Fold it in half.
7) Lay this wisp down across the larger ball, and stab the folded end into the ball so it stays in place. When you pick up the wool ball and flip it, the loose wispy ends of the roving form the bird’s tail.
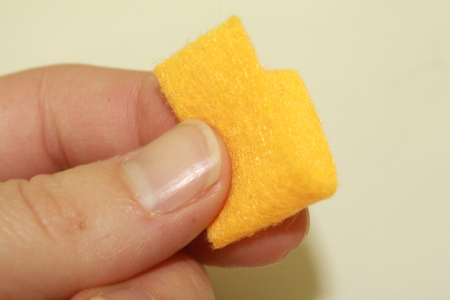
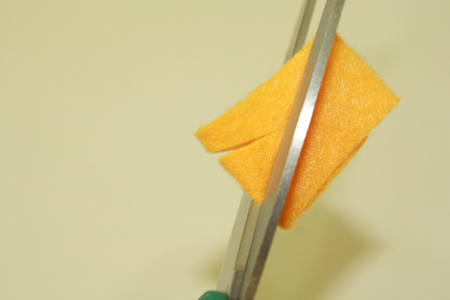
8) Take your little piece of felt and fold it in half. Cut a triangle along the fold – unfolded it’s a diamond. (You may look down and discover you’re on a horse at this point. Stay calm and look for the guy in the towel.)
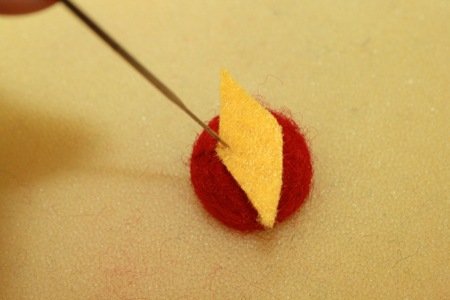
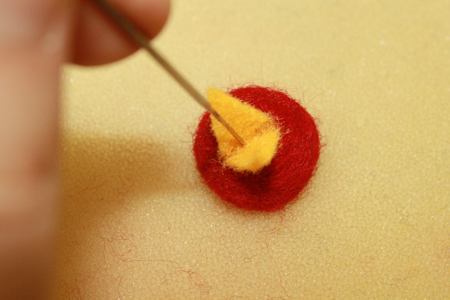
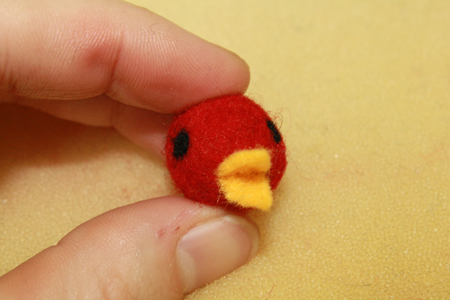
9) Lay this felt diamond down on the smaller felt ball, with its center right in the middle and front of the bird’s head. Use your needle to stab in a straight horizontal line along the center of the diamond. As you stab, the ends of the diamond will ease upward, moving together to form a beak shape.
10) If you want your bird to have eyes, take a very small bit of black wool roving, crumple it up between your fingers, and stab it into place on one side of the beak. Repeat with another bit of black roving on the other side of the beak for the other eye. Sometimes it’s easier to get the eyes evenly placed by doing them first, and then felting the beak on, centered between the eyes. It’s up to you.
11) thread a needle with upholstery thread. Do not knot it, and do not double up the thread. Push the needle through the larger ball that forms the bird’s body, from the bottom center up through the top of the ball. Leave one end of the thread dangling from the bottom of the ball. Next, thread the needle through the bird’s head, from the bottom center up and out the top center.
12) Thread the needle back through the same place in the bird’s head, then the bird’s body. Be sure to leave a loop of thread coming out of the bird’s head.
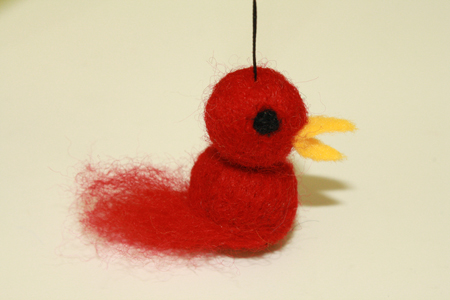
13) Knot the two ends of the thread together underneath the bird’s body, then push the head and body together. You should have a wee needle felted bird with a loop of thread coming out its head for hanging it up.
14) Display and enjoy! Make a whole flock of bird’s to brighten up your home, or settle in the festive branches of the Christmas tree that you won’t put up for several more weeks…

