Tomorrow is Christmas – it’s practically here! Well, the day after tomorrow. But in my family we hold to our German heritage and open presents on Christmas Eve, so it really does feel like tomorrow is Christmas. Which means that we’re all busily dodging my mother as she yells for one of us to do or find or clean this, that or the other, as we ourselves rush around trying to get presents wrapped.
All this present wrapping has made me realize that along with jingle bells, reindeer, mistletoe and goodwill towards men, ’tis the season of boxes. Close on the heels of the hunt for the perfect present comes the hunt for the perfect box. In the attic of my parents’ house is a collection of boxes in every size. They tell our family’s story almost as precisely as a photo album, boxes from stores in Calgary, Berlin, Florence, Paris, Montreal, Kansas, Victoria, San Francisco – a trail of our travel adventures and various homes. Yesterday, I sat there with a box full of these boxes, playing at being Goldilocks. The Florentian stationary box was too small, yet the rectangle that once contained chocolate covered cherries was too big. In the search for a box that was just right, I decided to simply make some of my own.
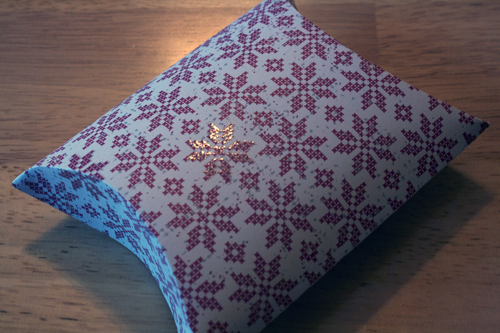
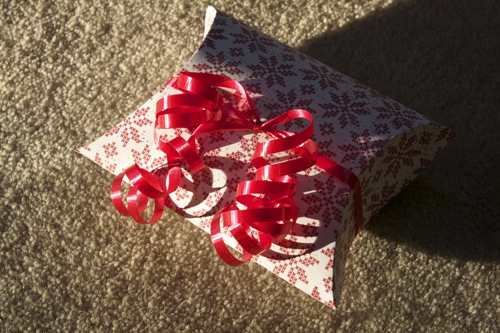
Gift boxes come in all shapes and sizes, and all varieties of complexity. After scouring the web, I discovered that this style I’ve been making for over a year is called a pillow box. I can also tell you from personal experience that it’s super simple to make, it stores flat & it looks all exotic and impressive. And it doesn’t need to be fastened shut, making it easily reusable. What more could a person ask for in a gift box?
UPDATE: Check out this post to see a couple tips/shortcuts to make this process quicker and easier, especially if you’re making a lot of boxes at once.
—————————————————–
What you’ll need
materials:
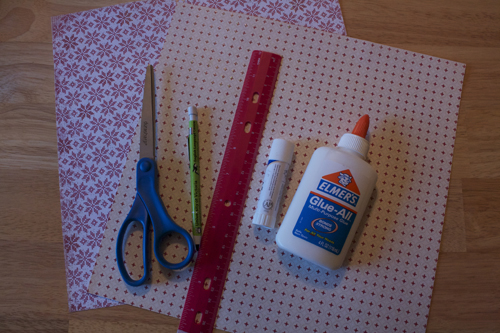
- pretty coloured and/or patterned paper of cardstock weight (it’s easy to find tons of gorgeous cardstock at craft and scrapbooking stores)
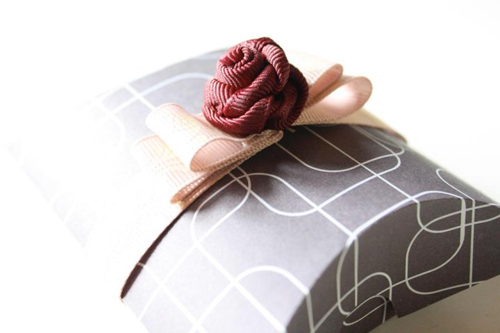
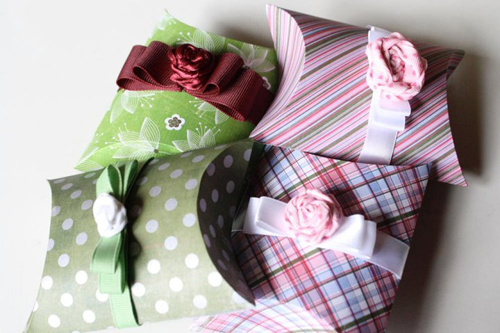
- [optional] ribbon, flowers, other decorations (some great possibilities for decorating these: ribbon roses, felt circle flowers, folded felt flowers, looped paper flowers, paper poppies)
tools:
- scissors
- ruler
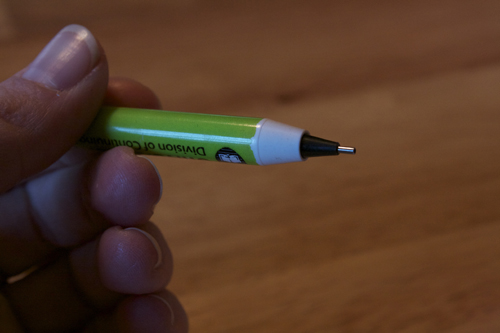
- mechanical pencil (one with a metal tip is best)
- white glue (a good quality glue stick will also work)
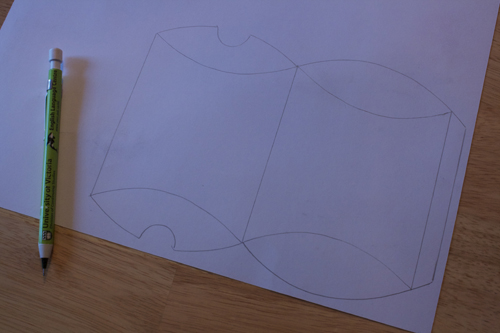
- pillow box template – number 11. under “Paper patterns and templates” – size options of tiny, small, medium or large (“large,” in this case, means it requires a full 8.5 x 11 sheet of paper)
—————————————————–
Putting it all together:
1) Print (or otherwise transfer) the pillow box template (in the size of your choice) onto your pretty cardstock. Make sure you print the image onto the back side of the paper.
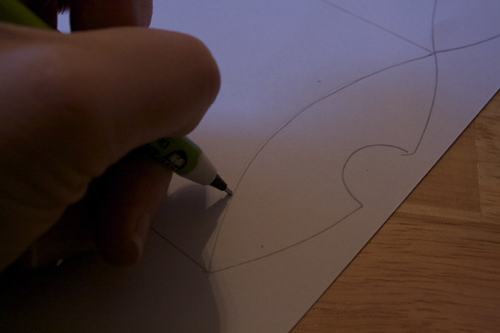
2) Without any lead protruding, use the tip of your mechanical pencil to score along all the “score lines” marked on the template. Scoring is when you make an indent the paper, but without going right through the paper. It makes folding much easier. In this case, the most important score lines are the curved ones. Make sure you score them quite deeply, just not deeply enough to make the paper tear or crack.
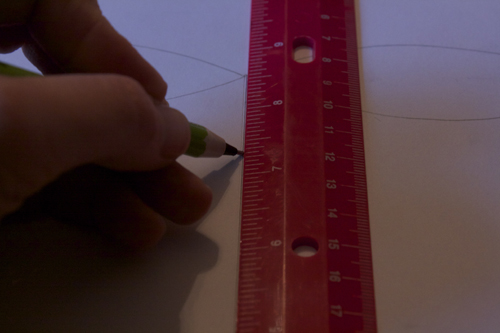
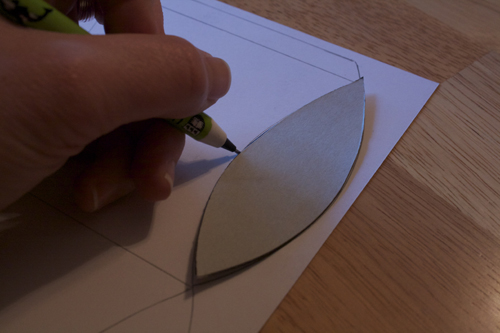
Use a ruler alongside your pencil to score the straight lines. For the curved lines, you can just freehand it, OR you can cut out a separate piece of cardstock that’s just that pointed oval shape you see at the bottom and top of each section of the box. Use that to keep your pencil tip on the line by matching it up with the template.
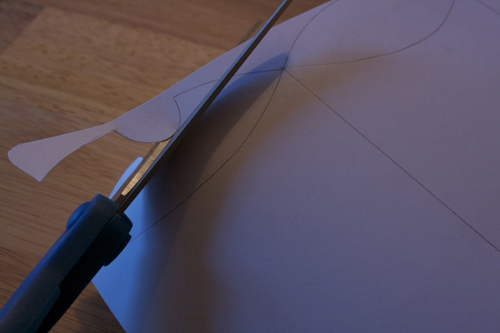
3) When all the necessary lines have been scored (yeah yeah, I know what you’re thinking of), cut out the box.
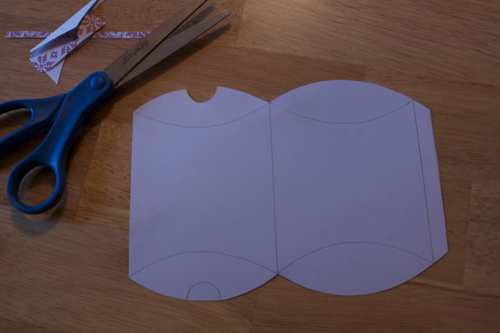
4) Fold the box along the center score line and run a finger down the folded edge. Then open it back up.
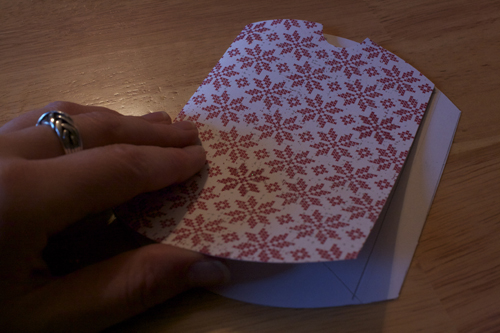
5) Fold over the narrow flap on one side of the box, and run a finger down the folded edge.
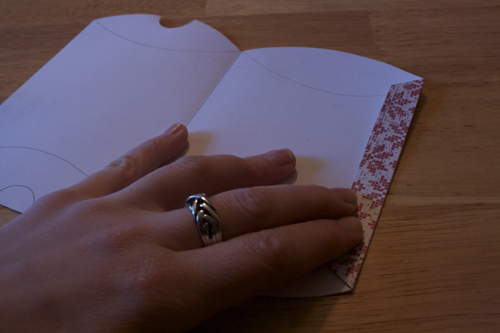
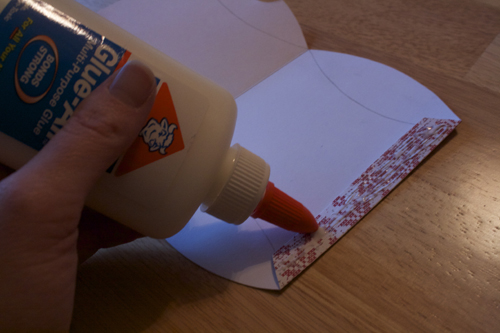
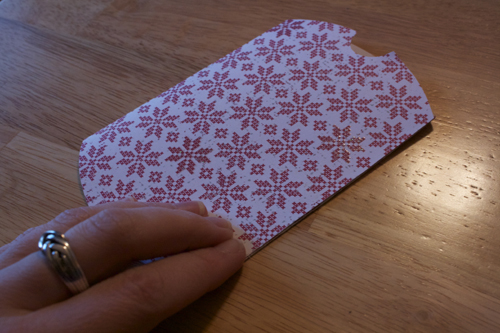
6) Apply glue to that narrow folded over edge. Then fold the other half of the box back over, onto the glue. Press firmly, and let dry.
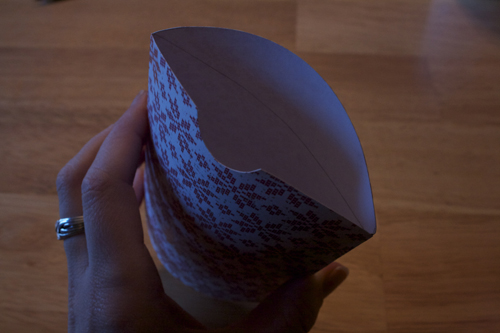
7) Once the glue is dry, pick up the box and squeeze it from either side so it bulges outward, its ends forming a sort of pointed oval.
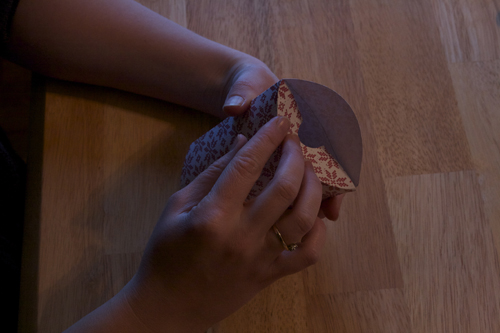
8) Use one hand to hold the box in this shape, and with the other hand, ease the bottom flap (the one with the half circle cut out) at one end of the box down. It should fold along its score line with just a bit of convincing.
9) In the same way, fold the upper flap over on top of it.
10) Repeat with the other end of the box.
11) Fill with good things, then tie some ribbon around the box. You can get fancy and make all kinds of wraps, ribbons and other decorations for the box, or you can let the box’s pretty paper speak for itself. Until you’re ready to use it, you can open the flaps and store the box flat. And you don’t really need to tape the ends closed, so the box will stay looking nice and can be reused many times.
As mentioned in the materials list, these are all possibilities for box decorations: ribbon roses, felt circle flowers, folded felt flowers, looped paper flowers, paper poppies.


