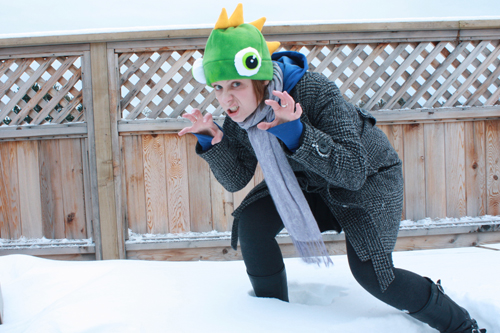
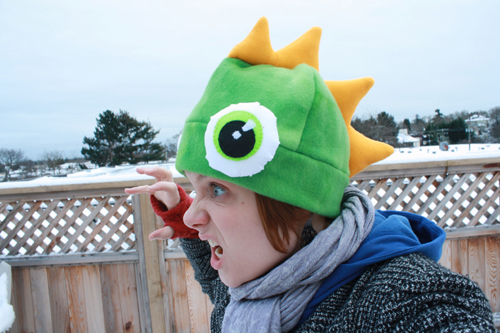
While roaming the internet last week, I found a site telling me that January 20th is Hat Day (along with being Cheese Day, Inaugeration Day and Penguin Awareness Day. January 21st is Squirrel Appreciation Day. Seriously.) I knew this must be true, since as we all know, the internet does not lie. It just… contradicts itself. Frequently. Which is why I then found several more sites informing me that Hat Day (National? International? They didn’t say.) is actually on January 15th, always and without question.
Well whatever, sometime this week is or was Hat Day, and I mean to celebrate in style, whether or not I’m a few days late.
It’s also been snowing this week, which is an unusual event in this temperate (read: constantly pouring rain) coastal region. And boy, do West Coasters ever get whiny about snow! All around me people are utterly failing to see this as an opportunity for wearing cute toques (that’s winter hats, for all you non-Canucks) and matching mittens and making snow sculptures. This is precipitation you can craft with, people! You can’t build a damn thing out of rain, I’ll tell you that.
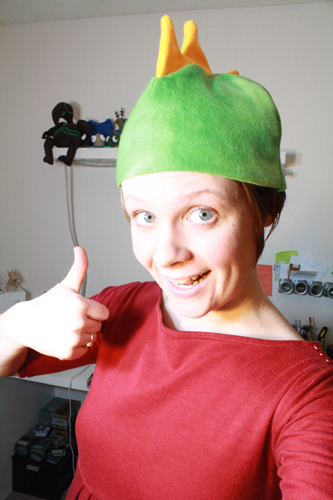
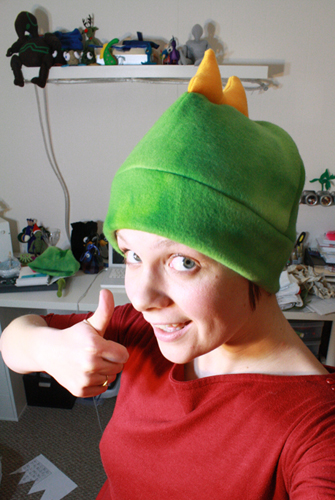
So in celebration of Hat Day and of a strange white frozen substance falling from the sky, I’m going to show you how to make a spiffy swamp monster hat. Or dinosaur hat, or whatever you wish to call it. A fleece hat with bulging eyes and coloured spikes. If you ignore the bits about eyes and spikes, the tutorial will teach you how to make a simple, plain fleece hat, which is a useful thing to know (and possibly add kitty ears to).
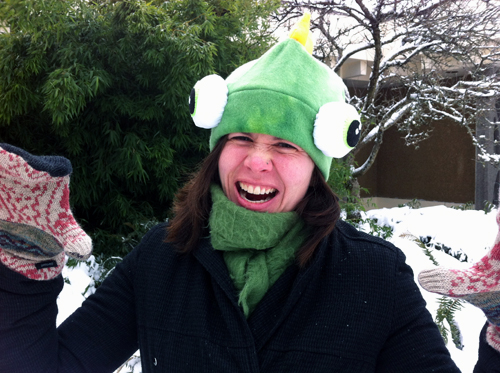
Many thanks to my coworker Alana for agreeing to model the hat! I especially love her swamp monster fish face at the top of the post. :)
————————————————–
What you’ll need
materials:
- fleece in a colour of your choice for the hat – about 1/4 yard
- felt in a colour of your choice for the spines – two pieces about 12 inches long and 5 inches wide
- felt in a colour of your choice for the irises – about 6 square inches
- black felt for the pupils – about 4 square inches
- white felt – a teeeeeeny piece for eyeball details
- white cotton or linen for the eyeballs – about 1 square foot
- thread in all the same colours as your various felts and fleeces
- polyfil or other stuffing material
- basic fleece hat pattern – number 10. under “Sewing patterns”
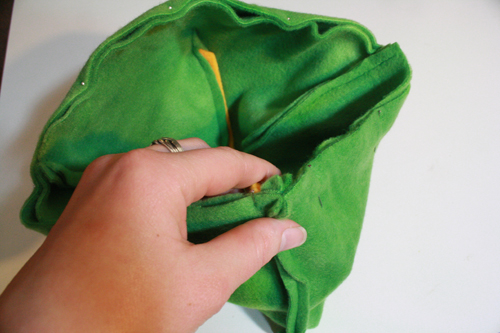
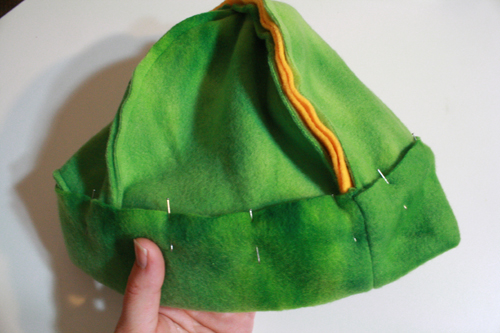
- bulging swamp monster eyeballs pattern – number 11. under “Sewing patterns”
- monster/dinosaur hat spikes pattern – number 12. under “Sewing patterns”
tools:
- sewing machine
- fabric scissors
- straight pins
- pencil
- ruler
- measuring tape
- chopstick
————————————————–
Putting it all together
THE HAT & SPIKES
1) This week, we start with a lesson in spelling and pronunciation. (Canadian readers may skip this step.) Write down the word “toque.” Now write the word “tuque” next to it, and the word “touque” next to that. All of these spellings are correct. All are pronounced “too” + “k.” All of them refer to a warm winter hat or cap. This is what you will be making.
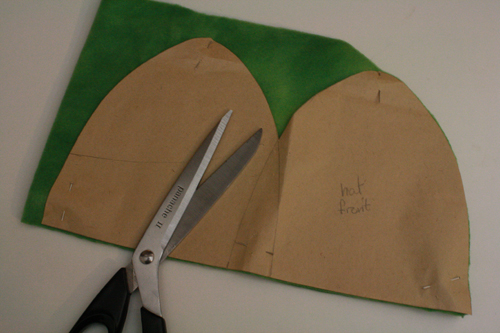
2) Print and cut out the fleece hat pattern, and pin the pieces onto your fleece. Cut them out. You should have one double-peaked piece and two smaller single-peaked pieces. Keep the pattern pieces handy, as you’ll need to refer to the numbers and letters on them in the next few steps. Also print and cut out the spikes pattern, and pin those to your choice of coloured felt. (Note you will need to pin the spikes pattern together in the middle, as it prints out in two separate pieces that need to be made into one piece.) Cut two sets of spines.
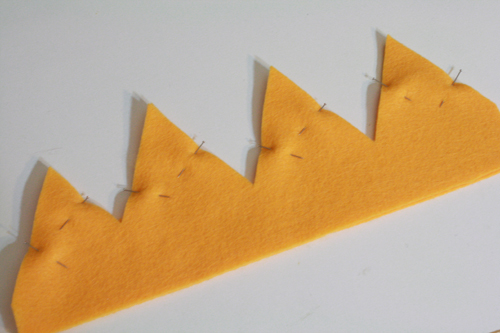
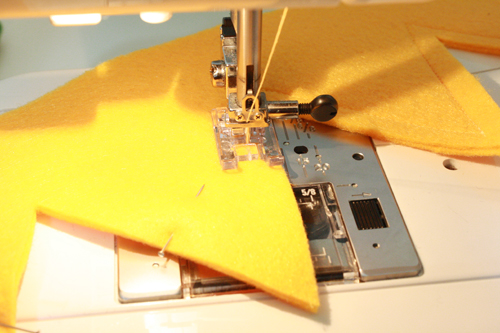
3) Pin the two spine pieces together along their spiny, jagged edge. Sew all along this edge. For seam allowance, just match up the edge of the fabric with the edge of your presserfoot. Leave the bottom edge unsewn and unattached.
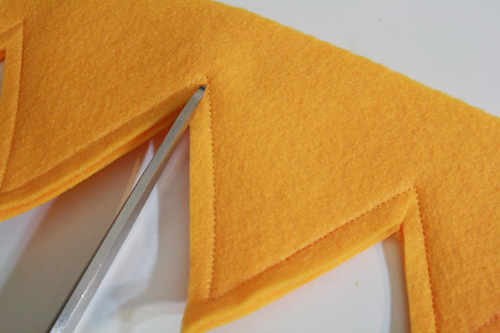
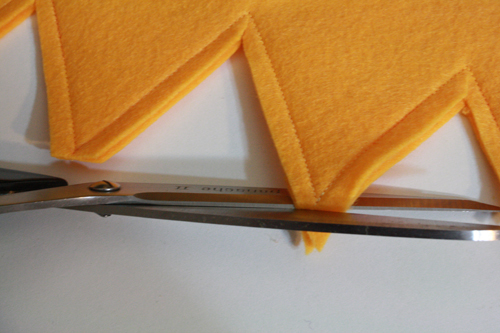
Using the tip of your scissors, make a small cut between each spike, right up to (but not cutting through) the thread. Trim off the tip of each spike just above the thread, as well. This helps ease things a bit when you turn the spikes right side out in the next step.
4) Turn the row of spikes right side out, poking all the points and corners out (gently) with a chopstick or the tip of your scissors. Stuff each spike with polyfil. This is an important step – if you skip it your spikes will almost certainly flop to one side or the other of your finished hat.
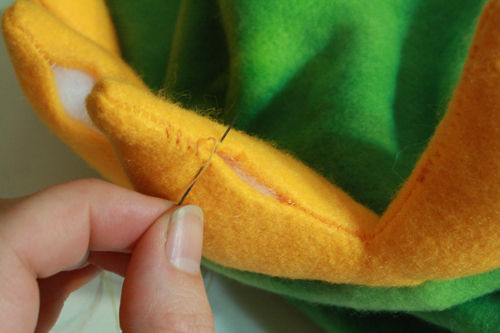
I, for example, left out this step on my own hat. Definitely a mistake, since then I had to go back at the end, pick open each spike, fill it, and stitch it up again by hand, as seen below, which was a major pain, as seen in the photo below. Argh.
5) Pin the bottom edges of the spikes together and sew them shut.
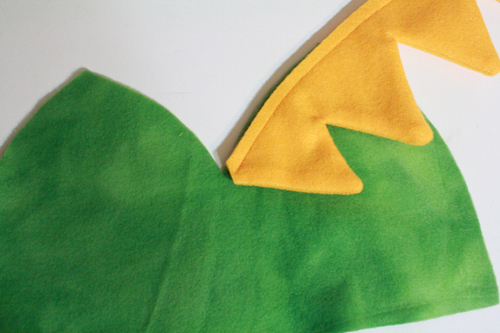
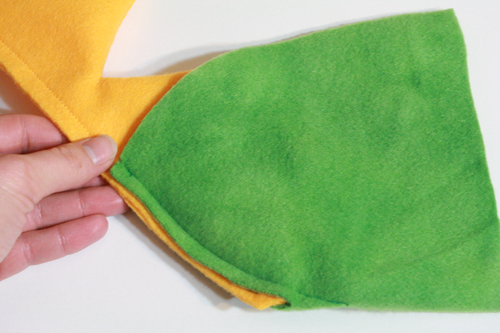
6) You’ll notice that there’s a spike at one end of the row that’s slightly smaller than the others. That spike goes at the front of the hat. So, take hat Piece 1. Take the row of spikes. Pin the front end of the spikes to side B of Piece 1, so that the spikes are upside down and the bottom edge of the spikes follows the edge of the fleece, as in the photo below. This will be a little bit tricky, since the spikes will be stuffed (unlike in my photo), but just go slowly and gently with the sewing machine and it should be fine.
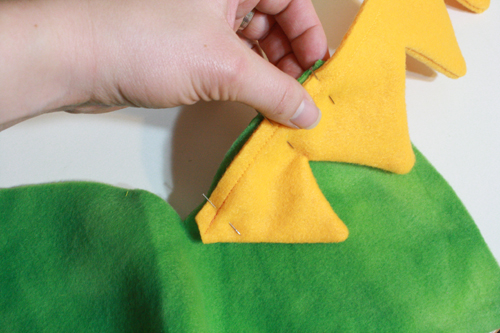
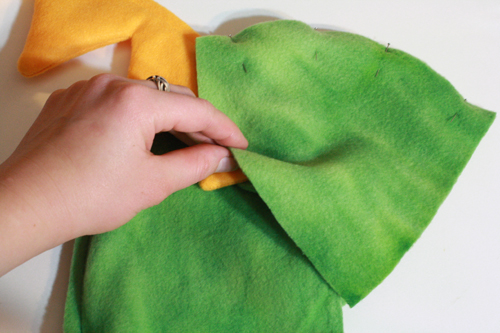
7) Now fold Piece 1 in half, match up edges A and B, so that they sandwich the felt spikes. One at a time, remove each pin holding the spikes to edge B, and pin them through all 3 layers.
8) Stitch all this together. For seam allowance, keep your fabric edge matched up with the side of your sewing machine’s presserfoot – follow this same guideline for whole tutorial. At the bottom of the pinned area, taper your stitching over to the fabric edge, so the line of the folded fabric eases smoothly into the line of the thread.
9) Now pin side C of Piece 1 to side E of Piece 2. Sew along the pinned line.
10) Pin side D of Piece 1 to side F of Piece 2. Sew along the pinned line.
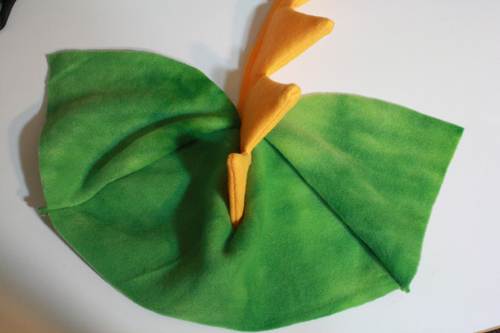
Laid out flat, your hat should look about like so at this point:
11) Now, just as in steps 6 and 7, pin the remaining, dangling spikes to side G of Piece 3, matching up the edges of the felt and the fleece. Then match side H of Piece 2 up to this same edge, removing the pins and repinning them through all three layers. So it should be another sandwich of fleece, felt, fleece. The spikes should not go quite all the way to the bottom of the hat – there should be about 1/4 to 1/2 inch left between the bottom of the spikes and the bottom edge of the fleece.
12) Sew this all together.
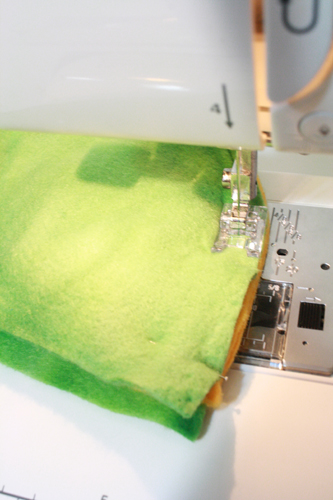
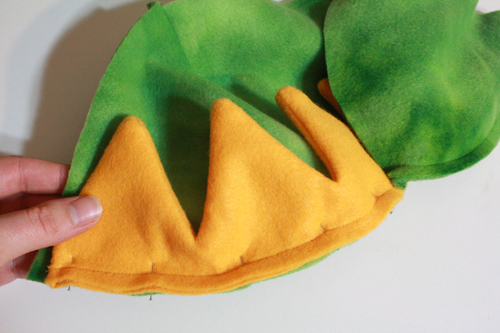
You should now have something that (if you turn it right side out) looks similar to the photo below – a brimless hat shape with spikes sprouting from the top and back:
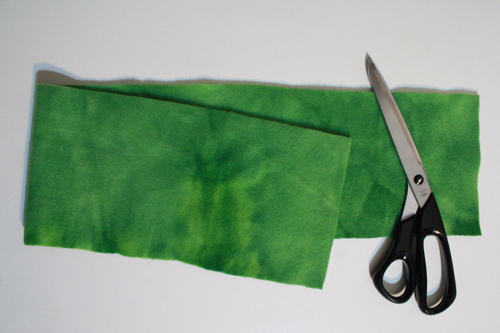
13) Using a tape measure, find the circumference of the bottom of the hat. Now cut a rectangle of fleece that is 5 inches wide, and the same distance long (plus 1 inch) as the circumference measurement you just took. Get the edges as straight as possible – using a ruler or a cutting mat will help.
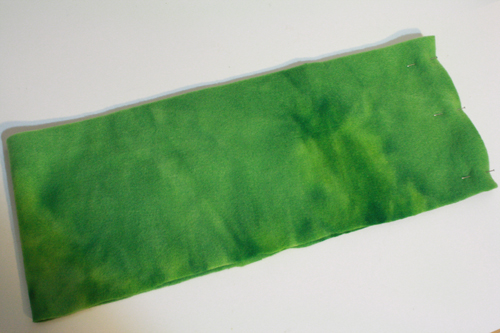
14) Fold this long rectangle in half, right sides together, and pin the two ends together. Stitch them closed. You should now have a big loop of fleece.
15) Turn the hat right side out. The front of the hat is the middle of Piece 1, where the seam at the top of the hat does not go all the way to the bottom edge, nor do the spikes. The back of the hat is, of course, opposite that, where the spikes go nearly to the base of the hat. Hold the hat upside down. Match up the seam at the back of the hat with the seam in your loop of fleece, and match the bottom edge of the hat with the edge of the fleece loop, with right sides together. Pin them together. Continue matching the edges and pinning them together all the way around the hat. If you measured correctly in step 8, the loop should fit perfectly around the base of the hat. If it doesn’t, just stretch a little here and bunch a little there – fleece is pretty flexible this way.
16) Sew along the pinned edge.
17) Turn the hat back inside out. With the hat inside out, Fold the bottom, dangling edge of that fleece loop upwards. Bring it about 1/4 inch higher that the line of stitching you can see above the bottom edge of the main hat (the line of stitching circled in the photo below) and pin it in place. Do this all the way around the hat. If possible, you should put the pins in upside down, so that the head of each pin is pointing towards the bottom of the hat, and the pointy edge is towards the top of the hat. Otherwise, you’ll be sewing over pins in the next step, which is highly inadvisable. Though I confess it’s what I did, since pinning upside down felt like too much bother. But I am a terrible example, so don’t copy me.
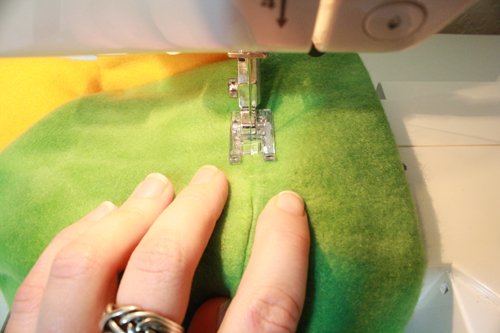
18) Turn the hat back right side out. You are going to stitch right on top of the seam that connects the top of the hat’s brim (that fleece loop) to the main part of the hat. You’ll need to pull the two sides of the fleece (brim and main hat) apart a bit with your fingers as you sew, spreading and flattening the material so you can see the line you’re supposed to be following it. Reach underneath the fabric to remove pins as you go. Or, if you followed my bad example and put the pins in so that you can’t pull them out as you go, stitch very slowly and carefully when you go over them. Then pull them all out once you’ve sewn all the way around the hat and removed it from the sewing machine.
19) You should now have a complete fleece hat with a bottom brim. Try it on and look warm and smug.

THE EYES
1) Print and cut out the bulging swamp monster eyeballs pattern. Fold your piece of white cotton/linen/other fabric in half, and pin the large circle to it. Cut this out. You should have two large white fabric circles.
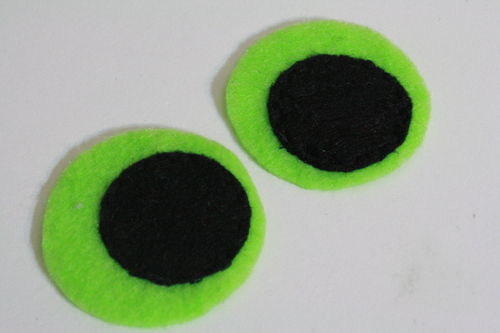
2) Pin the smaller circles to the appropriate colours of felt (as labelled on the pattern) and cut them out (2 of each).
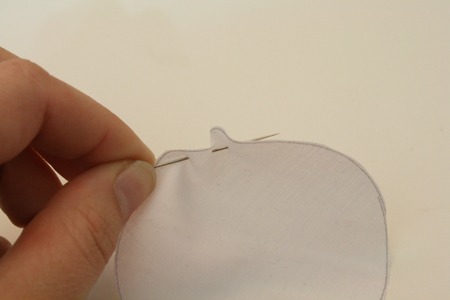
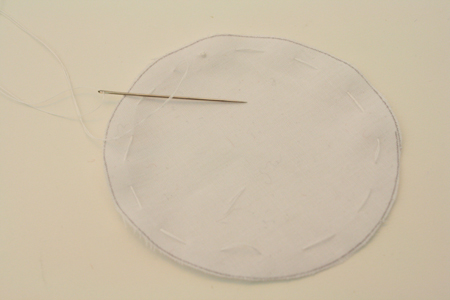
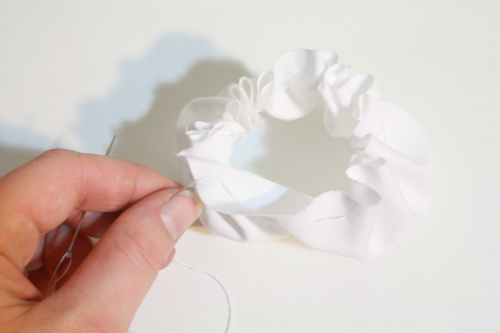
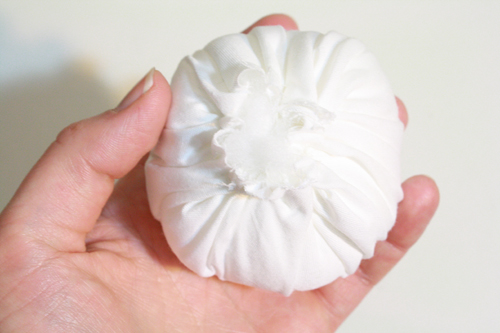
3) Grab one of your large white circles and your needle and white thread. Thread the needle, knot the thread, and insert it about 1/4 inch from the edge of the circle. Using large, wide-apart stitches, sew all the way around the circle. The fabric may bunch up as you sew – that’s perfectly fine. Note: the photos below are borrowed from my beady eyed fish tutorial, which uses this same eyeball-making method – those photos turned out clearer. The circles you’re dealing with here will simply be a bit bigger than in these couple of photos.
When you’ve gone all the way around, make sure the needle is on the outside of the fabric. Do not knot or cut the thread.
4) Pull the gently but firmly on the dangling needle and thread, and the fabric will start to close up into a bowl shape. Grab a bit of stuffing and ball it up. Place it inside the fabric, and continue adding as much stuffing as needed to completely fill the fabric. Hint: it’ll probably take much more stuffing than you think.
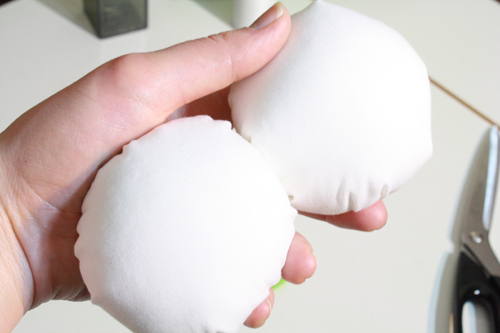
5) Pull the thread as tight as you can without breaking it. Hold the resulting white ball tight in one hand, so the thread doesn’t loosen and the top doesn’t come open. Stitch across the opening a few times, keeping everything tight, then knot your thread.*
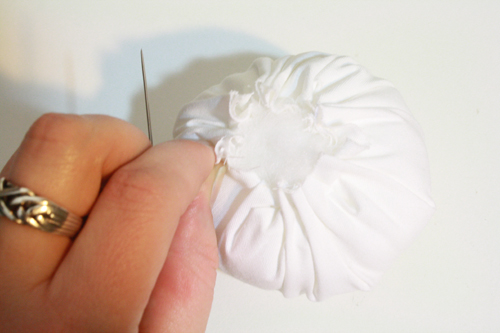
*To knot your thread: insert the needle into a previous stitch and don’t pull the thread quite all the way through. There should be a loop of thread left. Put the needle through that loop, then pull it tight. Repeat this another two times, then cut the thread.
6) Repeat with the other white circle, to make the other eye.
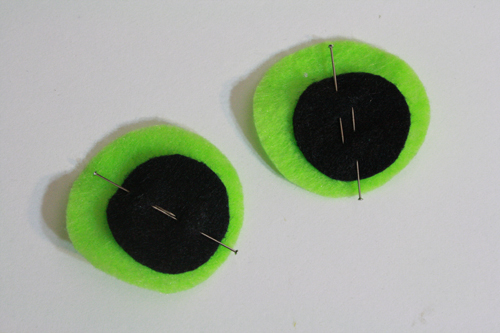
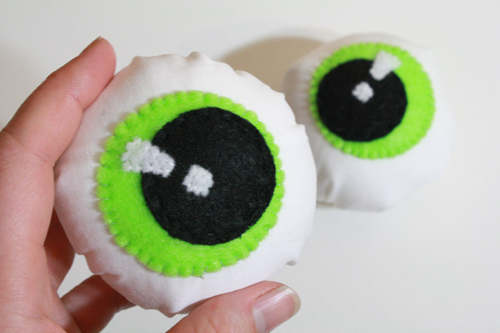
7) Take your coloured felt circles and stack and pin each black one on top of each coloured one. Stitch the black circles into place, by hand or by using a small, close together back-and-forth stitch (zigzag or variation thereof) on your sewing machine.
8) Add any other details desired, such as little white triangles or dots (to represent light reflections and add depth and general niftyness).
9) Situate the felt circles on the top and center of the white eyeballs. Thread a needle with thread to match the colour of the irises, and hand stitch each iris & pupil combination onto each eyeball.
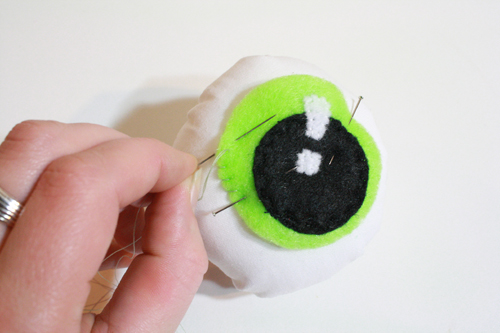
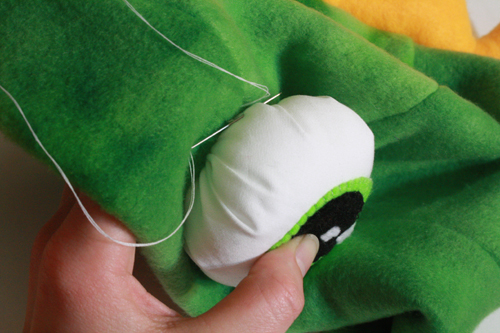
10) Thread a small needle with white thread, and stick it into the base of one eyeball.
11) Put the hat on your head, stand in front of the mirror and hold the eyeballs to the hat, figuring out just where you want them to be. Keep hold of the eyeball that has the needle and thread dangling from it, and set the other one down. Now take the hat off your head, keeping hold of eyeball plus fleece in one hand so that the eyeball stays situated in the right place on the hat.
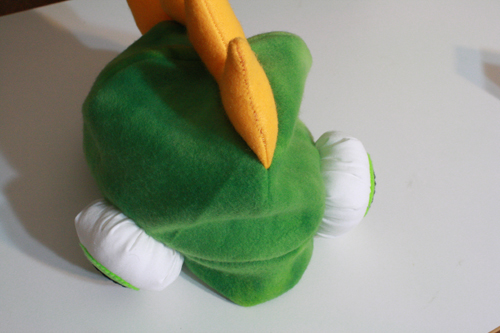
12) Start stitching the eyeball to the hat, going back and forth with a ladder stitch, putting a stitch through the edge of the eyeball, then through the fleece just below it, and on and on all the way around the eyeball. You’ll want to push the eyeball down as you stitch, flattening it a bit and putting the stitches in partway up the eyeball’s side, so that it pushes into the hat a bit. It will still stick out from that hat a lot, but you don’t want it wobble around too too much.
13) Repeat with the other eyeball.
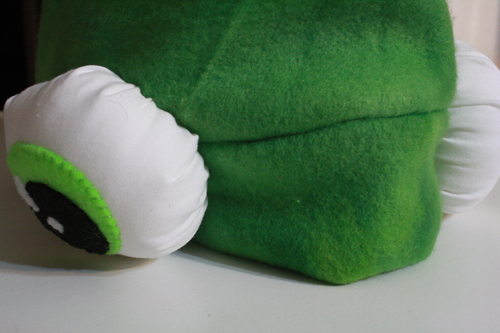
14) Put on your head! Warm your ears! Brave the frigid outdoors and conquer all other, lesser toque-wearing souls!
And watch it snow!


