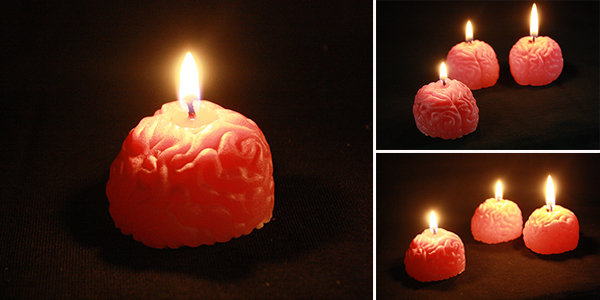
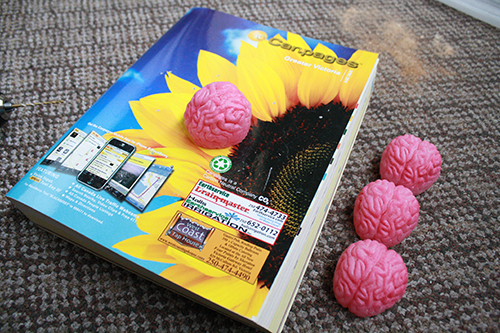
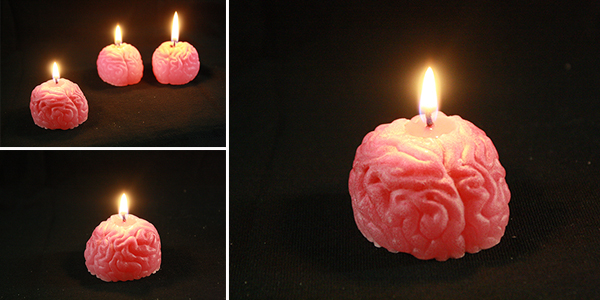
Braaaains!!! On fire! Whether it’s Halloween or the Zombie Apocalypse, this craft has got you covered. And you can use the exact same steps in this tutorial with any silicone ice cube tray or mold to produce candles appropriate for all other times and events, too.
Candle-making is actually a very simple craft in its basic form, and fairly inexpensive. I learned how to make candles with aluminum pop cans back in junior high youth group, and have been making them with various molds and containers ever since.
The idea with this tutorial is to give you some of the basics of simple candle-making, plus a way to make candles in silicone ice cube trays that you might want to use later for other things. Like making ice. Or cool shaped chocolates. Or soaps. Or jello snacks. Or crayons. Meaning that you don’t want to poke holes in the bottoms of your trays for the wick to go through, so you’ll need a different method for putting the wicks in your candles. I have for you that other method. And it’s easy and it involves power tools, so there is nothing here not to love. Nothing!
The silicone brain mold I’ve used in this tutorial came from thinkgeek.com. They have a bunch of wonderful geeky ice cube trays, some others of which would also work well for candles. You’ll also find a vast wealth of possibilities just by googling “silicone ice cube trays,” and there are bound to be some options available at your local kitchen goods, household goods and/or dollar stores as well. Silicone baking trays for muffins or cake pops or other small individual objects can also work for this.
——————————————
What you’ll need
Materials:
- wax – you can find wax at most grocery stores, in with the canning supplies. Or, just melt some old candles down.
- candle wick – you can buy this at a craft store, or make your own with thick string or twine, table salt, Borax and water
- [optional] old crayons – for adding colour to your candles
- silicon ice cube tray
- cleaned & emptied tin can
- wooden stir stick – this could be a popsicle stick, an old wooden spoon that you don’t plan to use for anything else, a clean stick from outside (strip the bark off first), a paint stick, or anything really. It can be something metal too. Just avoid plastic, and make sure it’s something cheap and replaceable that you don’t ever need to use for anything else.
- tongs
- oven mitt
- small metal pot
- stove
- scissors
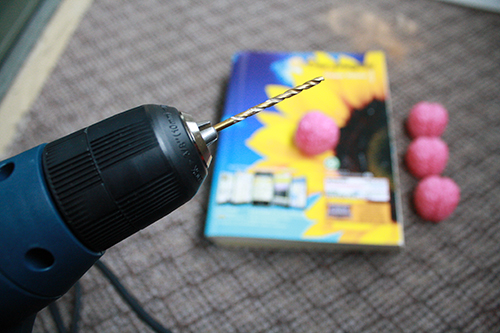
- drill and 3/32 inch drill bit (or something close to that size)
- old phone book or piece of scrap wood
——————————————
Putting it all together
1) Gather your materials; get your silicone ice cube tray out and set it on the counter near the stove. You may want to put a sheet of paper underneath to catch any stray wax drips or spills. Make sure your tongs, oven mitt and stir stick are out and at the ready nearby.
2) Break the wax up into smaller pieces and place the pieces inside your cleaned-out tin can. A lot of the store bought wax comes in chunks that are easy to break into smaller pieces, but you can also just use a knife to chop the wax up. The pieces don’t need to be super small, just small enough to fit into the can. Obviously the smaller they are the quicker they’ll melt, though.
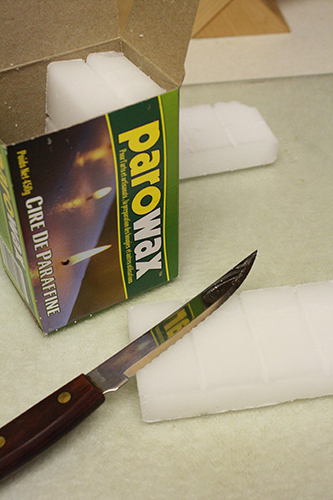
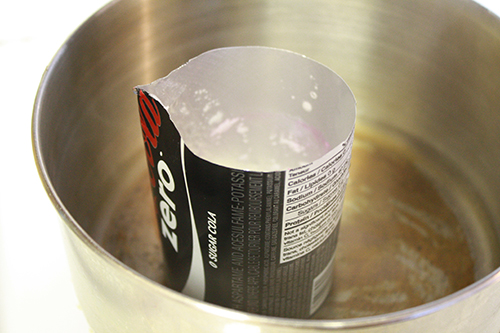
Note: instead of using a tin can, you can also use an empty, cleaned out pop or beer can that you’ve cut the top off of. You’ll need to be careful of the sharp edges, but this way you can fold a little spout in one side of the can that might make pouring the melted wax into the molds easier.
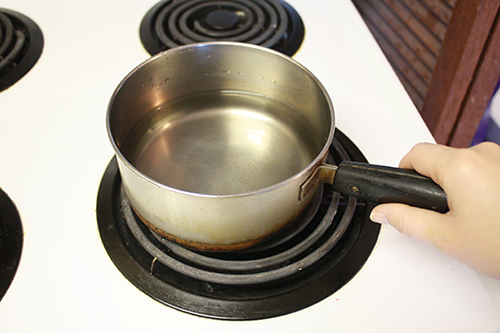
3) Put about 1-3 inches of water in your metal pot. Put the pot on the stove and turn the stove on high, to start the water heating up.
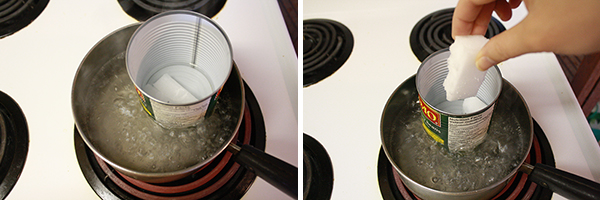
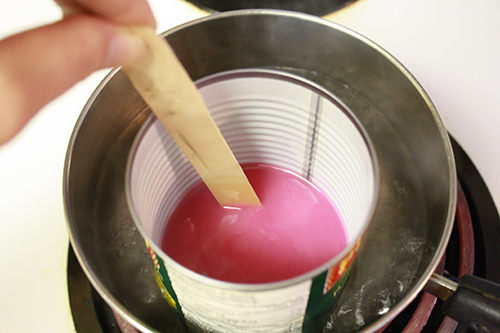
4) Place the tin can full of wax inside the pot of water. If the tin can bobs and floats, remove some of the water from the pot until the can rests on the bottom of the pot. As the water heats the can up, the wax inside the can will melt. If you want, add a couple more chunks of wax as the first pieces melt and make more space in the can.
5) If you want to add colour to your candle, get some old crayons of the colour(s) you want your candle to be, and either break them into small pieces or use a pencil sharpener or knife to make crayon shavings. Dump the crayon bits into the tin can with the wax. Go easy on the crayon though – you don’t need a lot to add plenty of colour, and if you use too much it will change the consistency of the candle wax to be less nice. I usually use between half to a whole crayon per batch of melted wax, and my batches of melted wax are as many wax chunks as I can fit loosely into the tin can I’m using.
6) Keep an eye on the wax as it melts. If the water is evaporating faster than the wax is melting, just add more water to the pot. It may slow down the melting time a bit as the new water heats up, but just be patient. When the wax looks entirely melted, give it a stir to mix the colour in and make sure there are no unmelted chunks hiding at the bottom of the can.
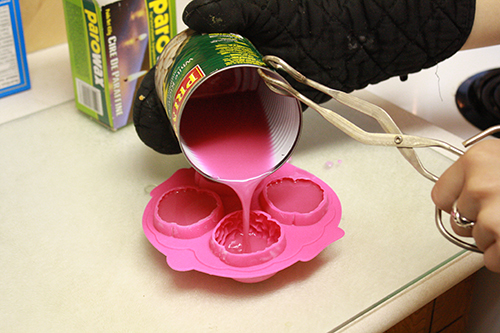
7) Once the wax (and crayon) is fully melted, pour it carefully into the ice cube tray, filling each space right to the top.
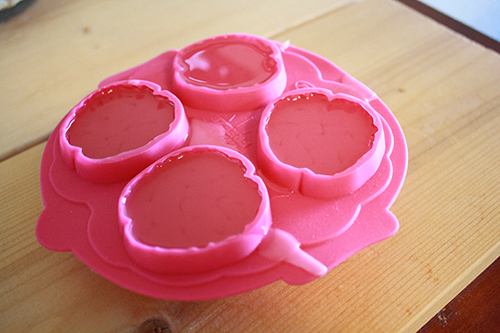
8) Turn the stove off, clean up any stray wax and let the stuff in the tray cool and set. It will take an hour or two, maybe a few. Depends on the size of the individual shapes and such. DO NOT put the tray in the fridge to try and make it set faster. It won’t, say, ruin things, but it has a tendency to make the wax cave in more in the middle as it sets, and sometimes I’ve found it seems to mess a bit with the consistency of the wax and the crayon in particular. Just leave it out on a counter where it won’t be bumped, and be patient. Go do something else. Tell you what: this blog alone has two and a half years’ worth of weekly craft projects on it – go find another one to do while you wait for your wax shapes to be ready.
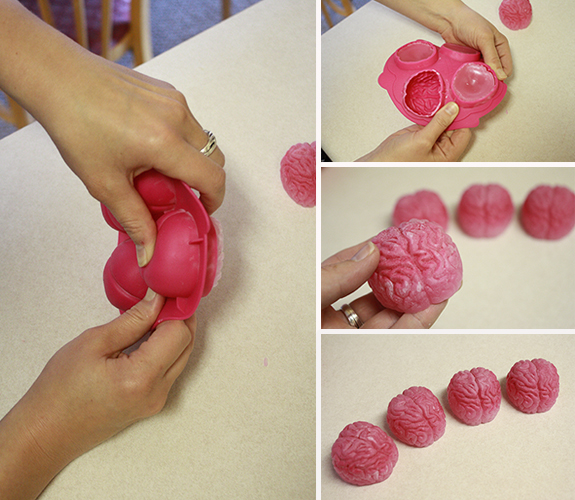
9) Once the wax is fully cooled and set, gently pop each piece out of the tray. This is where the silicone is really great, because you can basically just peel it away, and it doesn’t stick to the wax.
10) Grab your wax shapes, your drill and drill bit, your phone book or bit of scrap wood, your wick and a pair of scissors. Go somewhere with an outlet you can plug the drill into (unless it’s a cordless drill, obviously).
11) Before plugging the drill in/turning the drill on, insert the bit into the drill. The bit size suggested in this tutorial is 3/32 inch, but you don’t need to necessarily stick to that. Just make sure the bit size you’re using is a little wider around than your candle wick.
Place one of your wax shapes right side up on top of the phone book or piece of scrap wood. Plug in/turn on your drill.
12) Slowly and carefully, holding onto the wax piece with on hand, drill a hole right down through it’s center, all the way through until the drill hits the phone book or wood beneath. Then pull the drill out of the wax (hint: it’s sometimes easier to pull a drill out of any hole it’s just made if you keep it on and spinning slowly as you pull it back. Just be careful of your fingers in this case!)
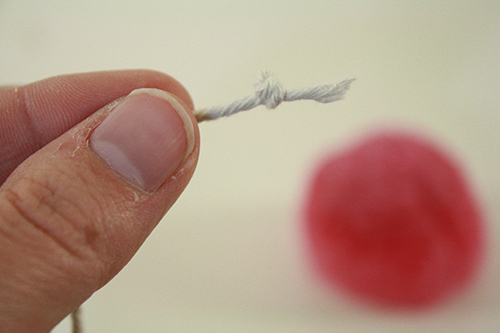
13) Cut a length of wick a couple inches longer than your candle is tall, and tie a knot or two at one end.
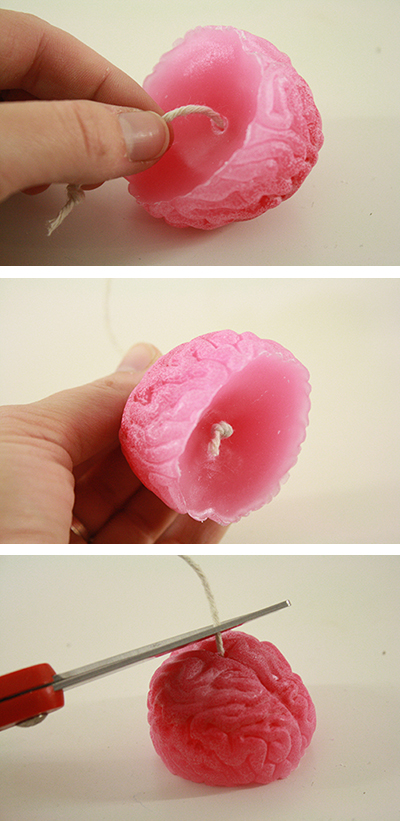
14) Now poke the wick through the hole you’ve created. It shouldn’t be too tricky to get it to poke through, and if you’re really having trouble you can either try using a needle or other long skinny object to help it along, or dip your wick in some melted wax to stiffen it. (By the way, ever notice how dirty candle-making sounds? Sheesh.) Once the wick is all the way through, pull on it firmly until the knot is pulled tight up against the base of the hole through the candle, then trim the wick at the top of the candle so about 1/4 inch of it is showing above the wax.
15) Repeat for each wax shape.
When you light the candles, the wax at the top will melt and plug the extra space in the hole around the wick. Or, if you want to plug the hole before lighting the candles (say if you’re giving them as a gift or something), you can drip a bit of melted wax over the top of each hole around the wick, or hold the head of a just-blown-out match up against the hole’s opening, so it melts the wax right around it without lighting the wick.
16) Light and enjoy!

