Valentine’s Day – that saccharine celebration of specifically defined romance – is approaching! I’m always trying to think of something new and a little different to post for this holiday. Last year it was a paper Fire Flower bouquet, for those who are feeling done with roses.
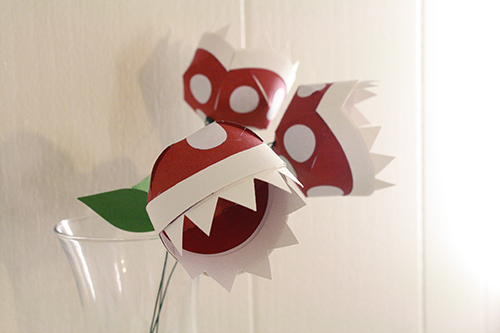
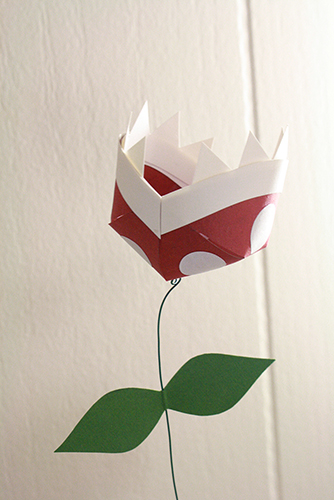
This year I offer another Mario tribute, reimagined in 3D paper form. These are flowers that won’t wilt, and know how to bite back: the elegant and snippy Piranha Plant. Because really, what says true love better than something that will bite your nose off if you get too close?
I’ll also take a moment to mention that if you’d like a fibrous version of these flowers, I do have a few felt long-stem Piranha Plants currently available in my Etsy store. They’re one of my favourite creations, and unless you got one from me last year to give to your dearest love, I’m willing to bet that said dearest love will never have received this gift from anyone before.
You can also read this fun little post about the process of “growing” these felt Piranha Plants.
———————————————
What you’ll need
materials:
- red card stock card stock
- white card stock
- green card stock
- white printer paper
- [optional] pink card stock
- green floral wire
- scrap paper
- paper Piranha Plants template – number 19. under Paper Patterns & Templates
tools:
- scissors
- strong glue (Something quick drying also makes things easier, if you can get your hands on such a thing. I use Titan brand multi-purpose glue, which is the best stuff ever & I get it from the dollar store. However it might be local to Canada – I had no luck finding it at dollar stores in my hometown in the states.)
- glue stick
- scotch tape
- needle nosed pliers or jewelry pliers
- wire cutters (most needle nosed pliers have these built in)
- small binder/bull clips
- a pin or small sewing needle
———————————————
Putting it all together
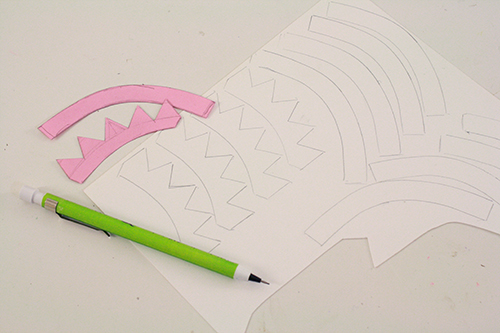
1) Print out the template and cut out the various pieces. Trace these onto the appropriate colours of paper the appropriate number of times.
You’ll want to cut everything out of card stock except the small white circles. Those you should cut out of simple white printer paper – you want them to be a thinner material.
If you have a small circle punch or two of approximately the right size, using that will be much quicker than cutting out all the little circles by hand. Also, instead of using the circles on the template (which just means two more circles to cut out in the end) you could just trace a dime and a penny (or other coins of equivalent size) several times.

2) Cut out the pieces.
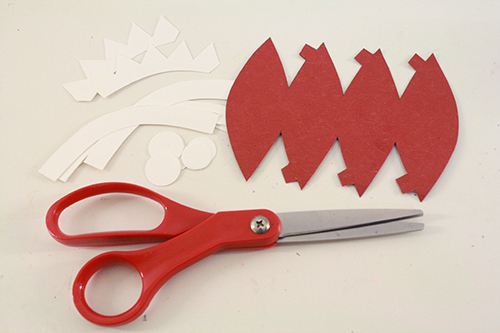
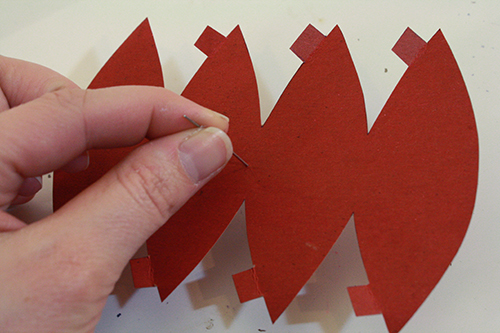
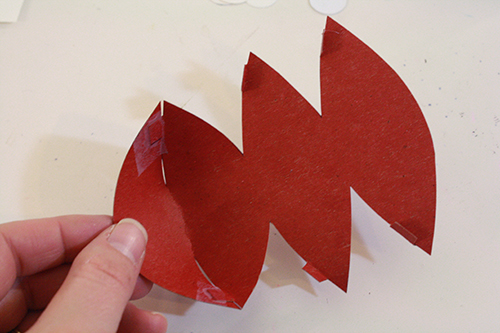
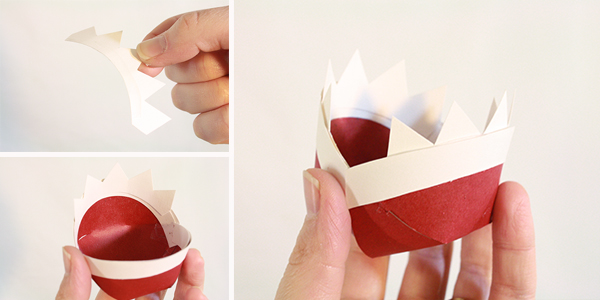
3) Start with the red piece that will be the main body of the Piranha Plant. Fold each of its little tabs up.
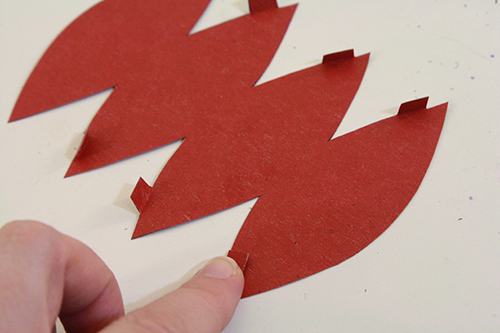
And before we move on, grab a pin or needle and poke a little hole in the very middle of this red segmented piece:
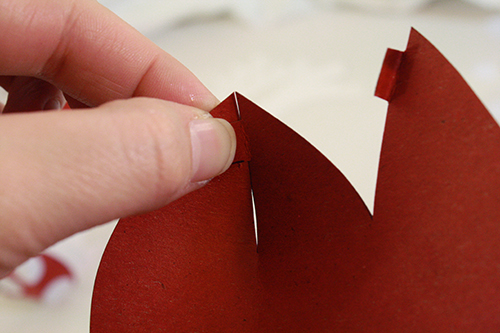
4) Now apply your strong glue to the folded-over side of one of those little tabs…
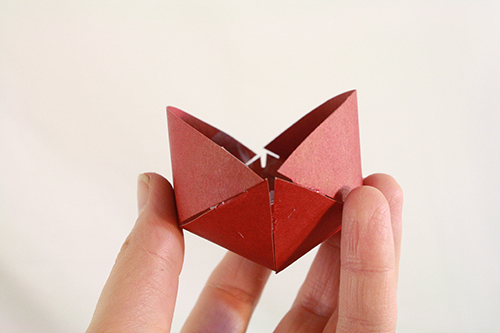
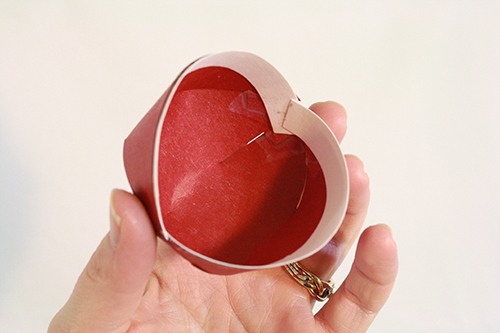
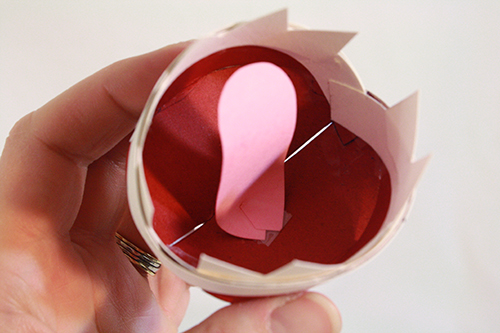
…then pull the tab and that whole pointed end over towards the next pointed end till the two points are side by side, putting the tab underneath to hold them together. Here’s how it looks from the inside:
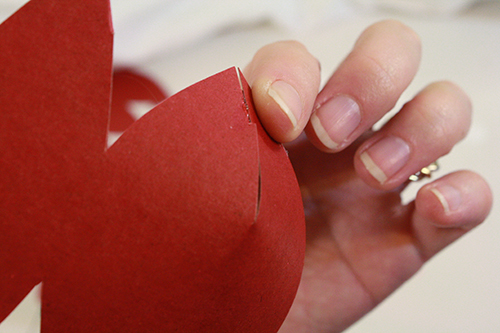
And here’s how it looks from the outside:
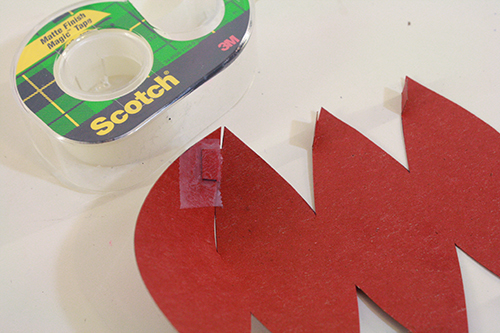
Now if you don’t want to be holding that in place until the glue dries, I suggest you put a small piece of scotch tape over the tab on the inside. You can peel it off later (though it’s finicky and I didn’t bother), but it also wont’t show a huge deal in the end if you just use small pieces. And just a bit should be enough to hold the paper together while the glue is drying.
5) Now do the same thing with the tab across from the one you just glued.
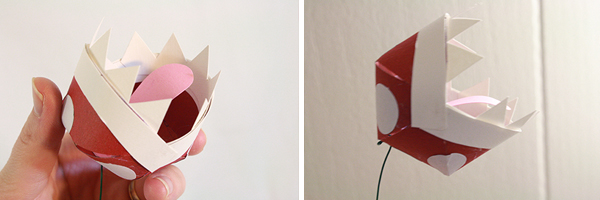
Continue this until all the tabs are glued and taped, and all four segments of the Piranha Plant bulb are connected at their tips:
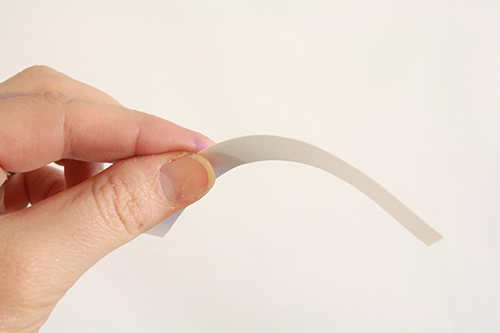
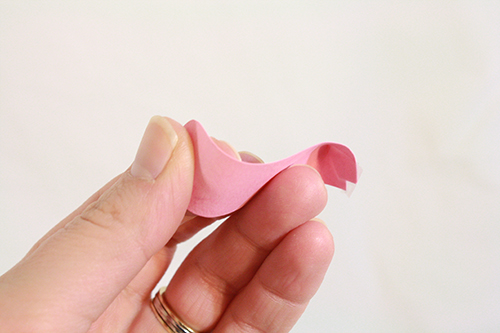
6) Now grab your four curved white lip pieces. Note which ones are the outer lips (they’re a bit shorter) and which are the inner lips (slightly longer). Pick out the inner lips first. Give them a bit of curve by pinching them between thumb and forefinger and running the edge of your thumb firmly along it, curving it. That explanation probably sounded odd, so think of it this way: it’s the same thing you do with scissors to curl ribbon, you’re just curling paper instead of ribbon, and with your fingers instead of scissors.
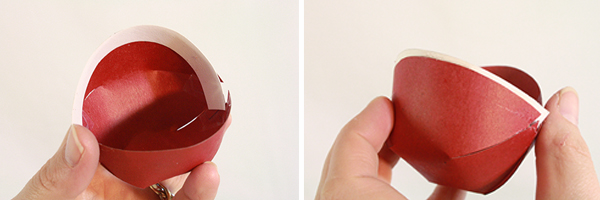
7) Apply your strong glue to the outside edge of the paper strip – so to the top side of the curve. Then place the paper inside the Pirana Plant bulb, along one of its open edges.
Situate this white inner lip so that it comes just a bit above the red edge of paper.
Unless your glue is super quick drying, you’ll probably want to put a couple of binder clips or just paper clips over the glued area to hold it all down while it dries.
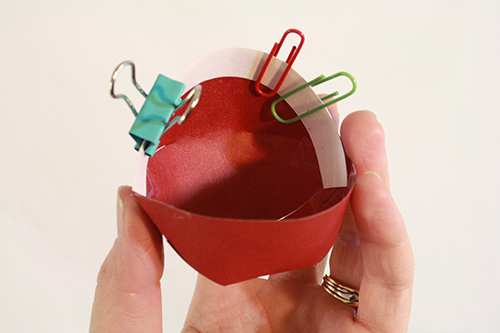
Then do the same thing on the other inside edge of the bulb, with the other inner lip piece.
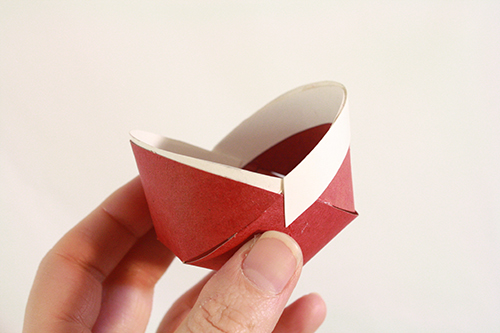
8) Take the outer lip pieces and use that same thumb-and-finger trick to curve them. Glue one onto the outside of the plant bulb’s top edge, matching it’s edge up with that of the inner lip.
Make sure the ends of this outer lip line up exactly with the middle of the V shape on either side of the Piranha Plant’s mouth.
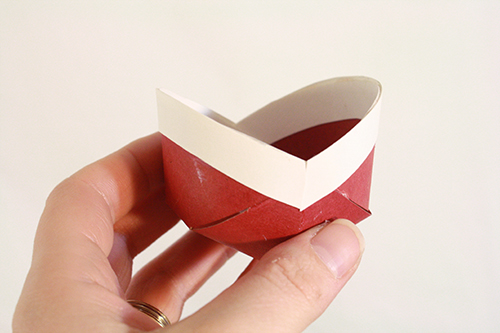
Again, use binder clips if needed to hold the lip in place while it dries.
Do the same thing with the other outer lip, on the other side of the bulb.
9) Next do the same thing with the teeth pieces. Curve them, put glue along their outside bottom edge, and center them along the curves of either side of the Piranha Plant’s mouth.
Hold or clip in place until dried enough to stay put on their own.
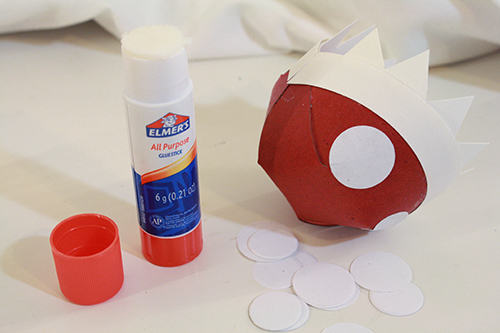
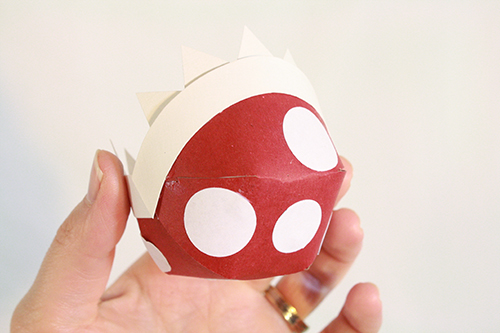
10) Once the bulb is all dry and holding together, take your glue stick and scrap paper* and little white circles. Coat those circles thoroughly on one side with glue, and stick them all over the outside of the Piranha Plant.
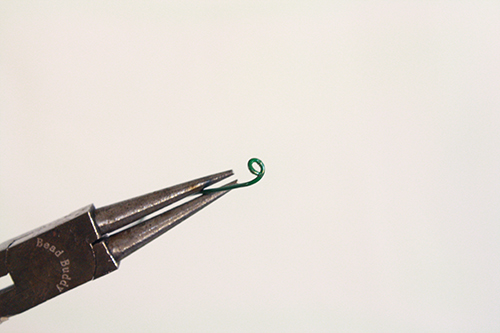
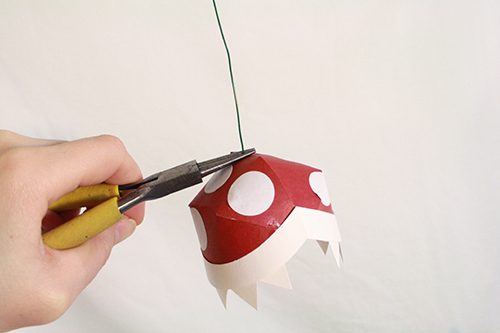
11) Grab that green floral wire and cut a length of it roughly 8-10 inches long. Make sure it’s all straightened out, more or less.
Use your needle nosed pliers or jewelry pliers to make a little loop of wire at one end.
12) Poke the un-looped end of the wire into the open mouth of the Piranha Plant, down through the bulb and out through the little hole you made earlier with your needle.
Pull until the loop at the other end of the wire is tight up against the inside of the Piranha Plant.
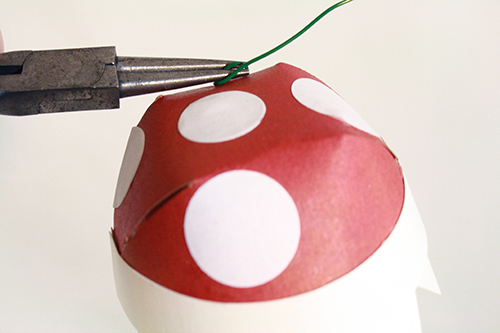
Turn the Piranha Plant upside down and grab the wire right on the underside of the bulb tightly with your pliers.
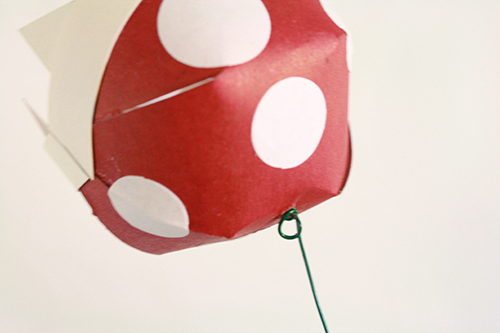
13) Holding onto the wire with the pliers, grab the long end of the wire with your hand and twist it tightly around underneath your pliers a couple of times. It doesn’t have to look perfect, just create couple loops so the bulb can’t fall down the stem.
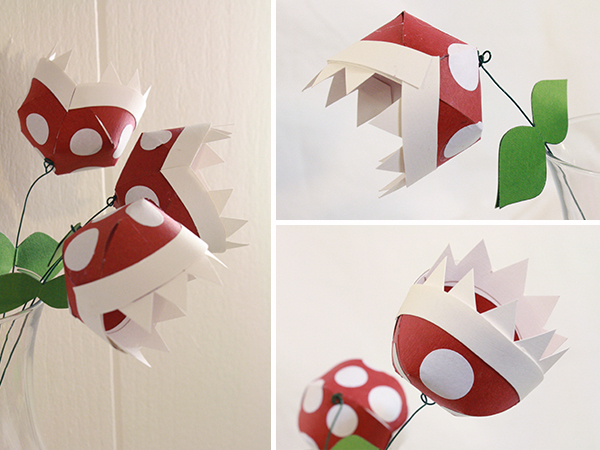
14) [optional step] If you want, you can add a tongue to your Piranha Plant flowers. I ultimately decided not to put this in mine, as I thought it looked really cool from some angles but decidedly odd from others. And since the flowers would be sitting in the middle of a room…
But if you would like your flowers to have little tongues, cut out the tongue piece from pink card stock. At the bottom, take the two sides of the tongue that have the little notch cut between them, and pull the sides together so they fold over each other, then tape them together like that.
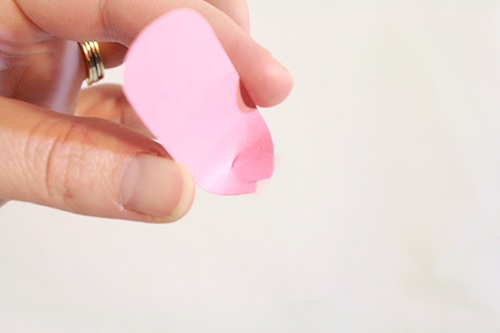
Then use finger and thumb to give a bit of curl to the other end of the tongue.
15) Apply your strong glue to the underside of the tongue’s folded-together end, and stick it to the inside bottom of the Piranha Plant bulb. If your fingers can’t reach in far enough to press it down firmly, use the eraser end of a pencil to do this instead.
Let it dry.
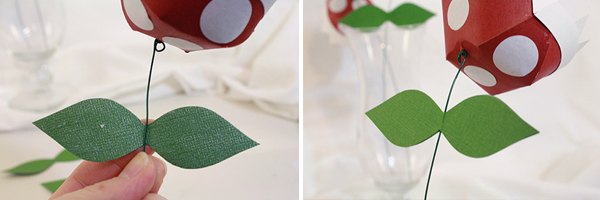
16) For the leaves, cut out two leaf shapes per flower. Apply glue thoroughly to the back side of one leaf shape.
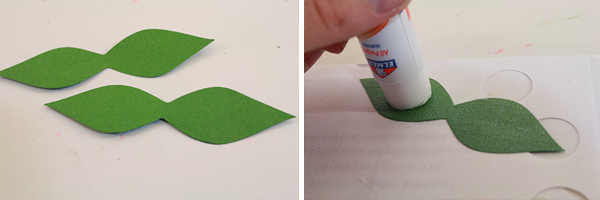
17) Hold the glued leaf shape up against your Piranha Plant’s stem, so the stem goes through the middle of the leaf shape. Place the other leaf shape overtop of the first one, lining them up exactly and pressing them firmly together, especially right overtop of the stem.
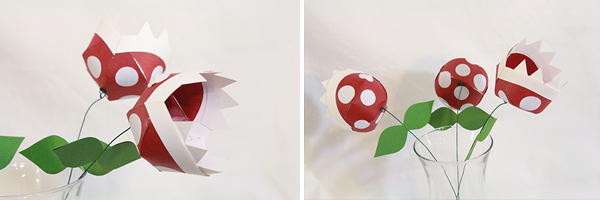
18) Now make a bouquet of flowers and decorate your own table, or gift them. Enjoy, and don’t put your fingers too close – these blossoms may bite!