Moving is the devil.
After three months of house sitting, we finally moved into our own new apartment (after spending a week re-painting rooms that some previous fool of a tenant had decked out in dog shit brown – why do people do that?!), leaving behind the super sweet, adorable, ancient and floor-desecrating cat (oh how you will miss all my tweets about kitty poo, I just know you will) and the house that, being an entire house, hid from us just how much crap we have.
That’s always a theme of moving: “Holy shit, how/why do we own so much stuff?!” Along with “Why is it this difficult to obtain a large number of cardboard boxes,” “Do we really need more than one pie server,” “Where the hell did I pack my shoes,” and “How in the world did the previous tenant manage to leave this many nail holes in the walls?!”
But I only had one actual full-on meltdown, so I guess things went ok.
In the midst of all this, though, I failed utterly and completely to post anything on this blog for two weeks, for which I apologize profusely. And then when I was all set to finish this one up, my sewing machine suddenly refused to turn on and my entire world basically came to a screeching, panicked halt until that got sorted out. Thank heavens I’d at least finished my friend’s bridesmaids’ dresses the day before…
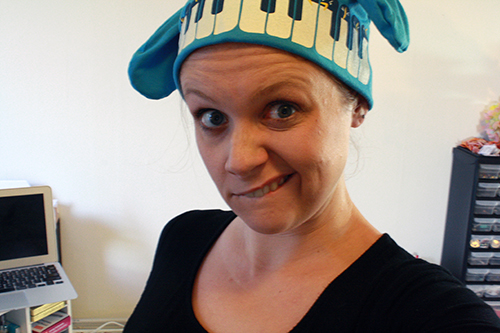
Actually, in the middle of working on those bridesmaids’ dresses, I went off to film a very silly Feed Dump for LoadingReadyRun, and when I do a Feed Dump I like to provide a me-made hat if I can (weekly hats are a thing on the show). This time I had about 15 minutes for planning and execution, plus a bunch of brightly coloured bridesmaids dress fabric leftovers, including a discarded rectangular strip from a waistband I’d cut wrong.
Turns out it was waiting to be part of a very silly hat. This hat:
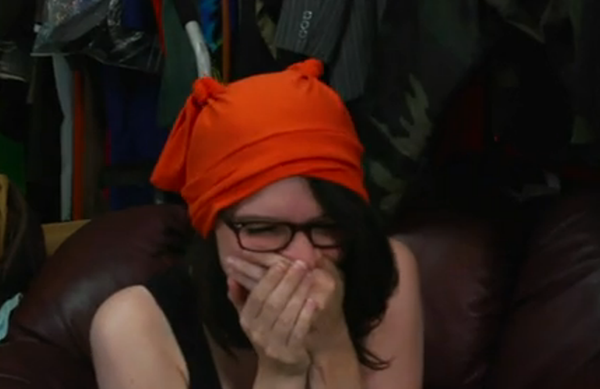
It was influenced by some knotted baby hats I’d seen recently while looking for baby stuff to make for my soon-to-be-sleepless (meaning parents) friends. So this makes a good baby hat too. As an adult hat it’s utterly ridiculous and rather twee and sometimes that’s just right. Also it kind of reminds me a little bit of that awesomely cute and goofy rabbity hat that Molly Hayes wears in Runaways and which is kind of delightful.
TLDR: moving sucks monkey tits, silly hats are fun and also if you don’t want to look this twee you should make this hat for a baby because they have no control over what they get to wear and they make everything look totally charming and delightful anyway.
Also, this hat takes, like, 15 minutes to make.
———————————————
What you’ll need
materials:
- stretchy fabric – anything from viscose (what I made the orange hat of) to t-shirt material. Something with stretch. It can be lightweight, or you can make a more intensely wintery hat from something thicker like fleece (as long as it has some stretch). You’ll need about 1/4 to 1/2 yard, I think. You know me, I didn’t measure.
- thread that matches your stretchy fabric colour
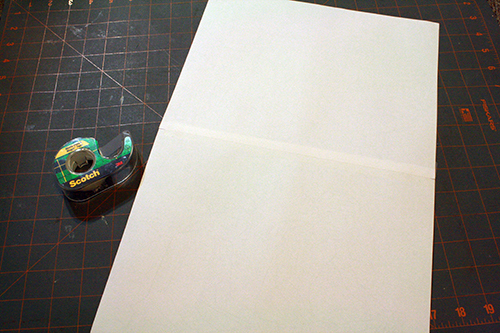
- paper – either 2-4 sheets of 8.5×11 computer paper, or a bigger piece that’s the size of 2-4 sheets of regular computer paper
- tape
tools:
- sewing machine
- fabric scissors
- paper scissors (Because if you use your fabric scissors on paper, the Scissor Fairy will know and she will come for you. She will cut you.*)
- straight pins
- cutting mat & rotary cutter & grid/ruler OR combination of scissors, ruler & pencil/fabric pen
- tape measure (or some other way of knowing about how big around your head is)
- pen or pencil
*With flesh scissors, smartass. I know you asked.
———————————————
Putting it all together
1) Measure around your head. Divide the number you get by two.
Now tape some sheets of paper together. You need to tape enough that the bottom edge of the paper is the length of that number you just got from dividing your head measurement in half. And the paper should be at least about 12 – 14 inches tall, taller if you want longer ears on your hat or have a really tall head.
If you’re making a baby hat, you can get about the right hat size by using just one sheet of 8.5 x 11 inch paper.
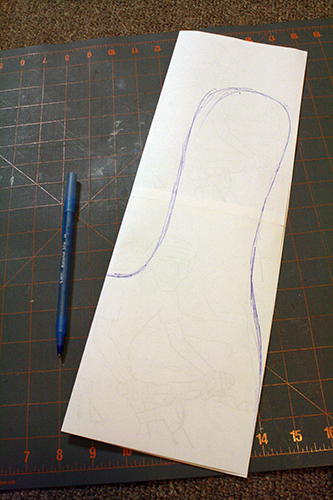
2) Fold the paper in half. Then draw your hat shape on it, so that the middle of the hat is where the fold of the paper is.
Draw a shape about like the one below. The ears can be longer if you want, and the base of the ears and that center dip of the hat should start about 5-7 inches above the bottom edge of the paper, depending on how big/tall your head is. I have an on-the-small-end-of-average head and started that bit about 5 inches up.
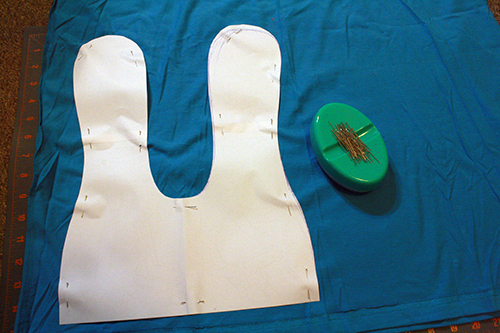
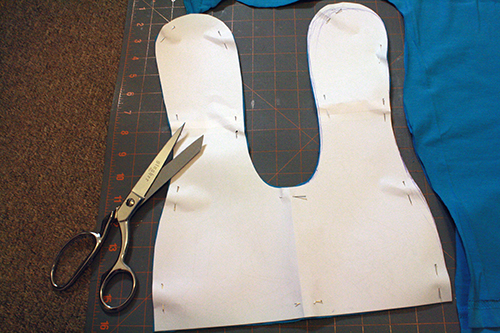
3) Cut around your drawn lines, then unfold the paper, and voila, you have your pattern.

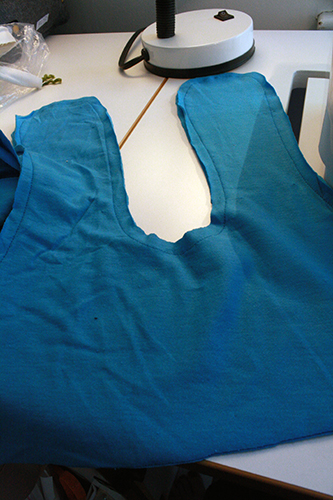
4) Fold your fabric in half with the right sides facing together, and pin the pattern onto the fabric.
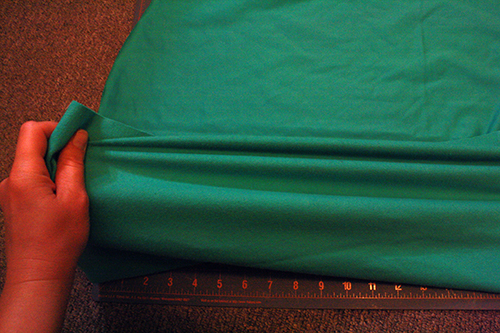
Important: Before pinning and cutting, make sure the fabric you’re using stretches in a horizontal direction relative to how you are pinning your pattern piece on. So in other words, the stretch should happen across the hat pattern shape, not up and down it.
5) Cut around the pattern.
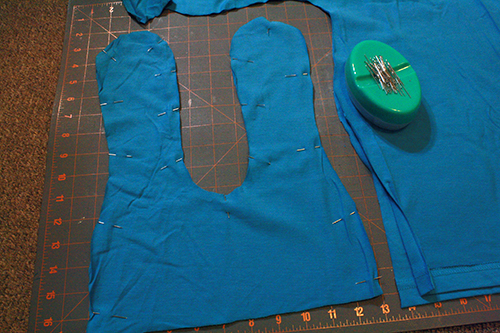
Then unpin the pattern, but do not move the fabric pieces. They’re already perfectly lined up, so just take the paper pattern off, and then pin the two pieces of fabric back together all along their edges (except for the bottom edge).
6) Now you need to cut a rectangle from the remaining fabric, which should still be folded on top of itself with right sides facing together.* Either measure your pattern piece or just match its bottom edge up along the bottom edge of your rectangle-to-be and make two little pen/pencil marks to show how wide a rectangle you need to cut.
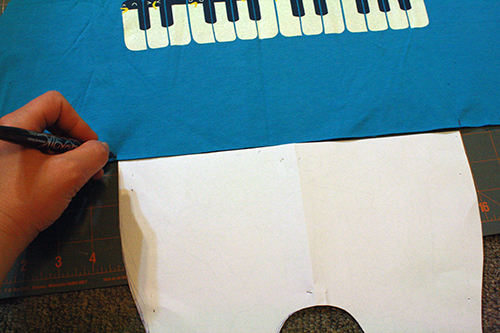
Then cut out a rectangle (two layers of fabric!) that’s that wide and about 8 inches tall. (This will create about a 3-inch tall hatband in the end. If want a narrower band you can just cut a rectangle that’s not as tall, but then you’ll want to add another inch or two to the bottom of your hat pattern before cutting those pieces out.)
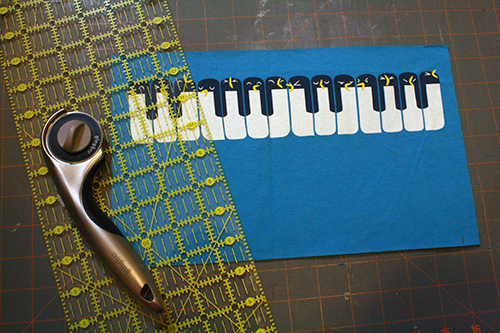
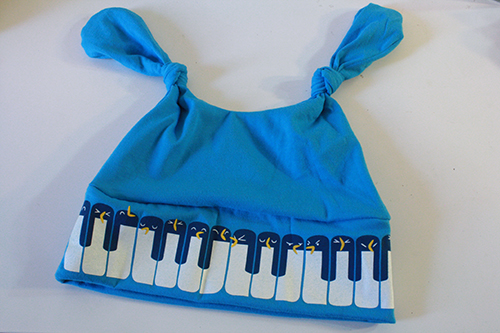
*Note: I did not place my fabric right sides together, because I want to show you what I’m doing with the graphic here (my hat is made from a Threadless t-shirt). In order to get the graphic to end up the right way up, I made sure that the graphic was at the top edge of the rectangle, with about an inch of material above it for seam allowance. If you’re not using fabric with a directional graphic on it, this doesn’t matter. Just cut your rectangles on whatever part of the fabric.
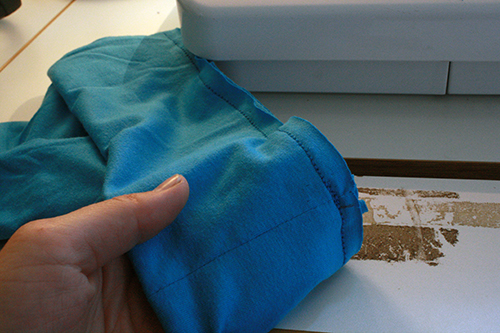
7) Pin the short sides of this rectangle together (right sides of the fabric facing each other, of course). Then go sew along those two pinned edges.
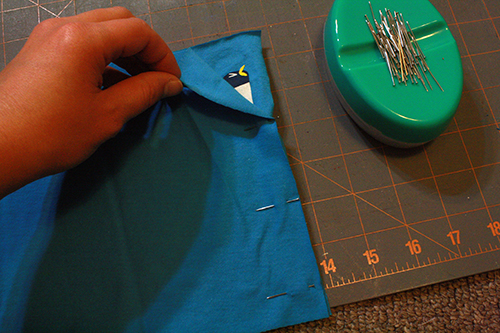
For seam allowance, just match the edge of the fabric up with the edge of your presser foot.

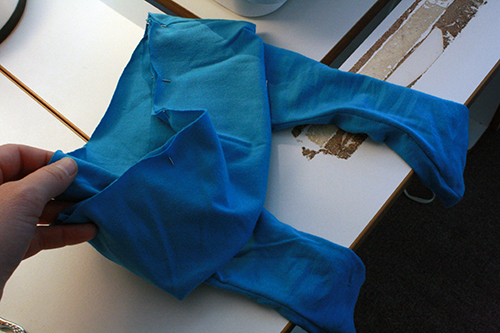
9) Turn the rectangle right side out.
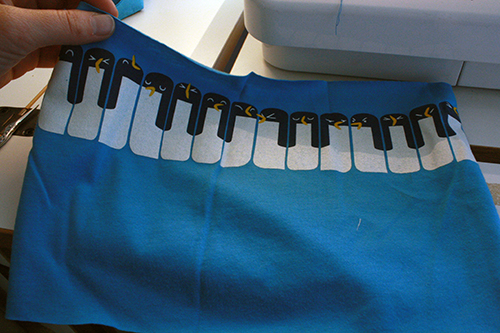
Then fold it in half with its right sides facing outward and away from each other, like so:
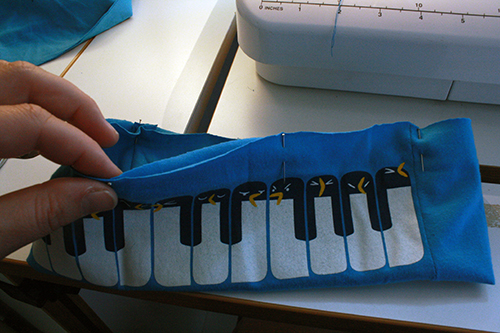
and pin the edges together in a few places. Match up the side seam lines and pin those together.
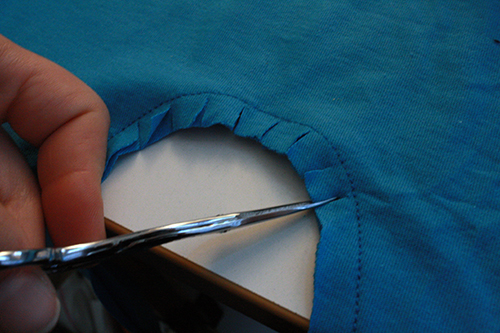
10) Now sew the two eared hat pieces together along all but their bottom edge, again matching up the edge of the fabric with the edge of your presser foot.
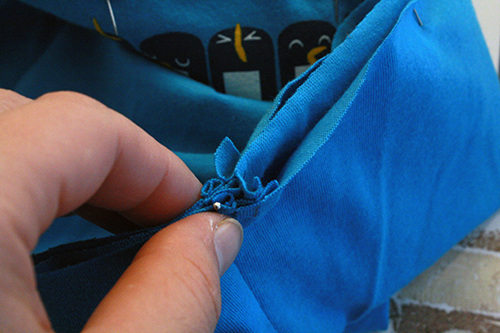
11) Along the inside middle curve and the top curves of the ears, cut little notches in the fabric up to but not through the line of thread.
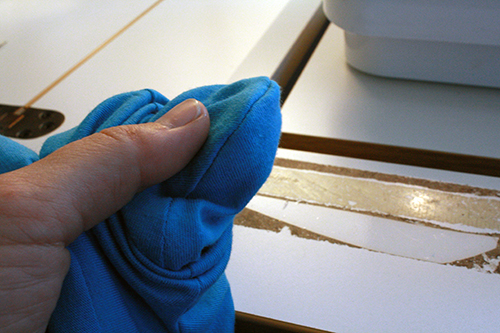
12) Now turn this whole piece right side out as well, and use your finger or a chopstick to smooth out the edges, particularly at the tops of the ears.
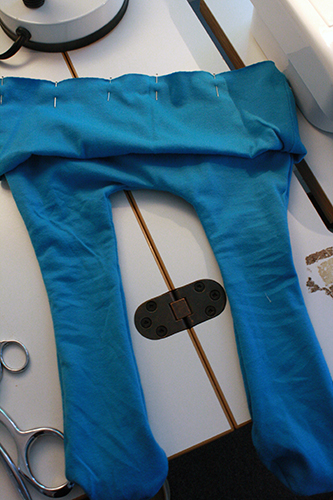
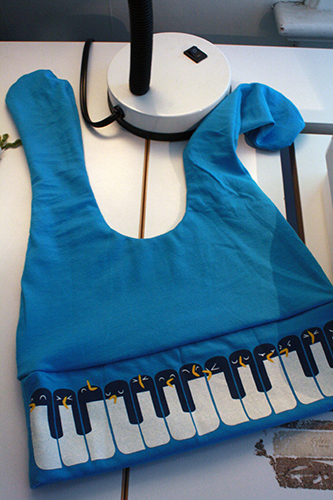
13) Ok, take the eared hat piece, and slip it through the middle of the hatband piece. The raw edges of the bottom of the eared hat piece and the raw and pinned edges of the hatband piece should match up.
14) Match the side seams of the hat and the hatband pieces together and pin them. Then pin along the rest of the bottom edges of the pieces, till the hat and hatband are pinned together all the way around.
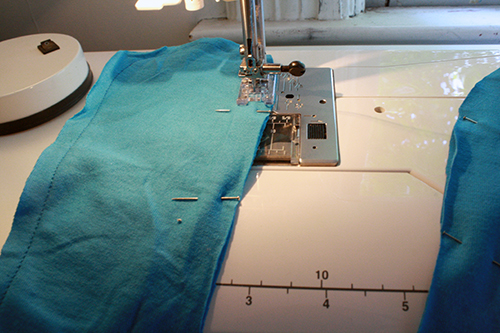
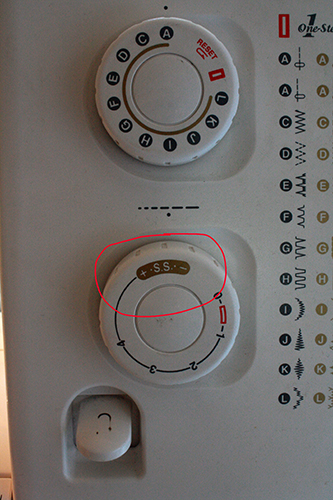
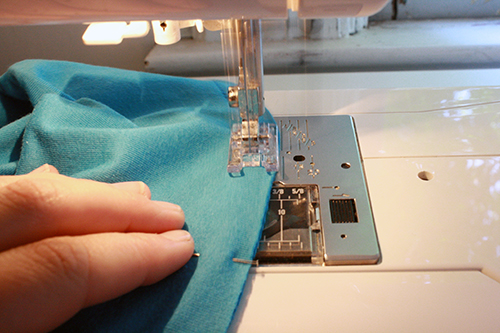
15) Set your machine to a straight stretch stitch (if you don’t have one on your machine, I believe a not-too-wide zigzag stitch should also work ok) and sew along that pinned bottom edge, again matching up fabric and presser foot edges.
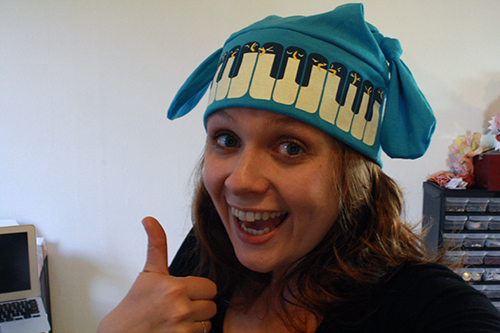
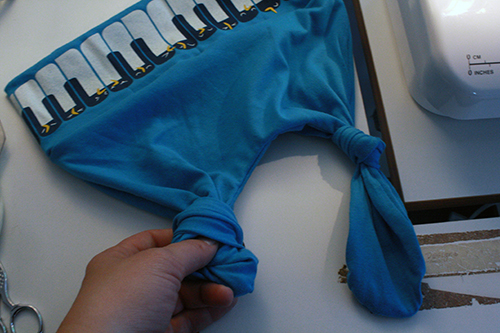
16) Fold the hat brim down and tie knots in your ears (or you could knot them together in the middle).
17) Practice looking twee.
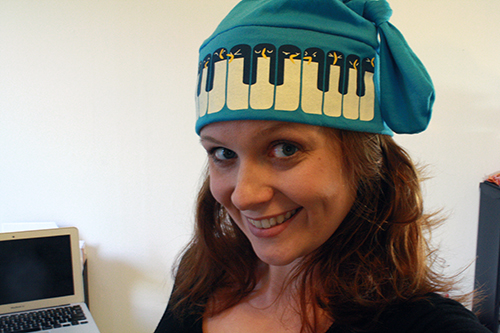
Or just make weird faces.
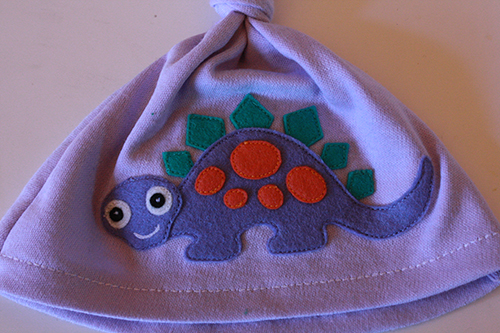
For bonus cuteness, especially for baby hats, try doing some appliqué on the hatband (usually easiest to do this before you attach it to the rest of the hat), or pin on a flower or something.
This is a different hat style without a band, but an example of some fun baby-hat appliqué: