PAX is coming, PAX is coming! The Penny Arcade Expo, that massive convention of video game goodness and fellowship, begins next Friday, and it’s time to prepare.
There’s tons of advice out there about how to survive a convention, the most common salient points being things like: shower daily, wear comfortable shoes, carry hand sanitizer at all times and for the love of your everlasting karma, be kind to the poor harried event organizers and your fellow convention goers.
What I’m going to offer by way of fresh new convention advice is to always carry a dice bag. Because inevitably you will find yourself at that booth that sells dice by the cupful, drooling gently and murmuring, “Ooooh, preeeeeetty.” And you’ll remember that you don’t have a set of blue dice yet, and the d4 from your favourite set went missing last month, and they’re so well priced if you buy them by the scoopful…
And then you’ll want somewhere pretty to put all the polyhedral jewels you’ve just bought.
Or to store your MtG counters, or to keep that little bottle of hand sanitizer, or your change (why do wallets never have coin pockets large enough to hold more than four quarters at once?), or the rub-on Optimus Prime tattoo you plan to paste on your buddy’s forehead when he passes out later.
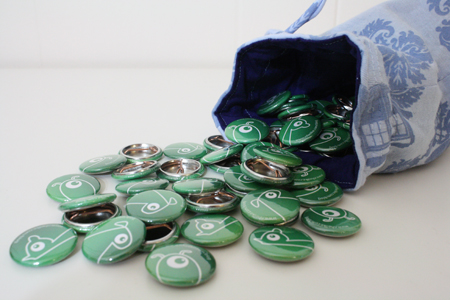
Or buttons! I’ve decided to join in the buttoneering at PAX this year, and give out buttons with my little imaginary Tally’s Bestiary critters on them.
I also have about a dozen sets of hand printed buttons (the printing part being a craft that I’ll post sometime) for sale for $3 each, to the first dozen or so people who find me and want them. 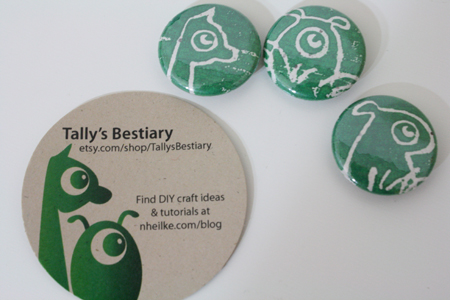
And now, back to the dice bags! Thing is, it’s really easy to make a nice, lined, round-bottomed dice bag that holds your stuff and sits prettily upright and impresses your friends when you tell them that you made it yourself. This tutorial will show you how to make said bag, and the basic concept for making a small lined bag is useful for many other lined bag projects as well.
Note: If you do not have a sewing machine, do not despair! This weekend, I will also post a tutorial for hand sewing a dice bag from felt. That’s right, two posts in one week! I must be insane. You will soon be able to find instructions for a hand-sewn felt dice bag. EDIT: Here it is, a tutorial for a hand-sewn felt dice bag!
EDIT: I’ve now also posted this tutorial for making rectangular bags with flat bottoms (a different and very useful technique) and a double drawstring.
————————————————————–
What you’ll need:
- fabric (Two colours, one for the outside and one for the lining. Or you can do the outside and lining from the same colour.)
- thread to match the fabric.
- fabric scissors
- straight pins
- pencil
- ruler
- sewing machine (or see the note above about the hand-sewn version of this bag)
- seam ripper
- narrow ribbon – a piece about 20-24 inches long
- safety pin
- fray check OR clear nail polish
————————————————————–
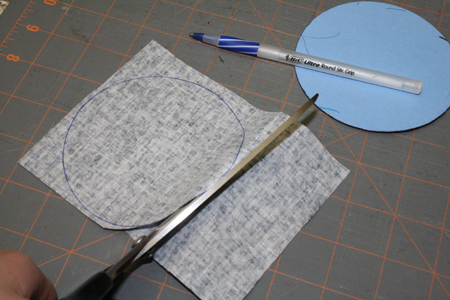
1) From each of your colours of fabric, cut a rectangle 6 inches wide by 12 3/4 inches long. Then cut a circle that measures 4 inches across. Or just print and use this dice bag base template, which is probably way simpler.
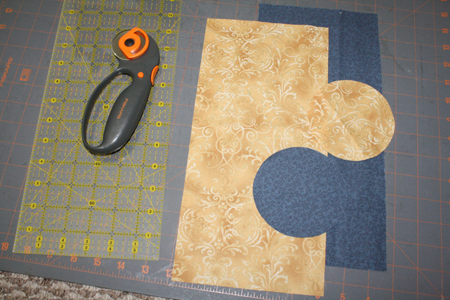
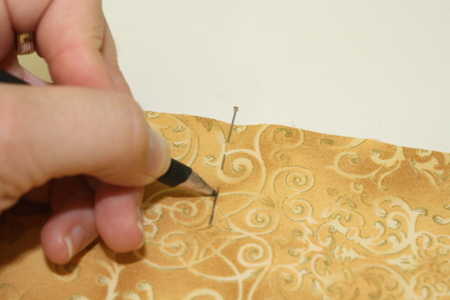
2) Take the rectangle you want to use for the outside of the bag, and fold it in half. Stick a pin in the center fold of the fabric.
3) Open up the fabric, and, on the front side, use a pencil to draw a little vertical line right where the pin is. Make the mark about 1/2 inch long, and leave a 1/2 inch gap between the mark and the top edge of the fabric.*
*As you can see, I left a much larger gap, which was a mistake that I had to fix later. So ignore that part of the photo, and make your mark closer to the top edge of the fabric.
4) Ok, this is the only particularly tricky part of the process, and it shouldn’t really be too bad. You’re going to use your sewing machine to make a buttonhole right over the pencil mark.
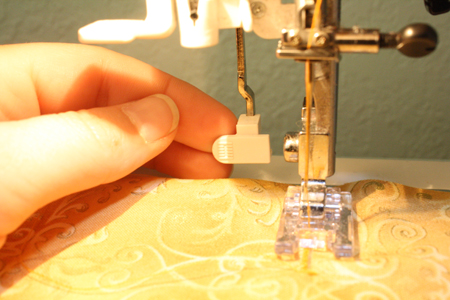
Don’t freak out! Buttonholes terrify many people (myself included, until recently), but all you need to do is figure out how your machine works, and practice on a bit of scrap fabric until you’re confident. Now, all machines are a little different, but on mine, for example, I simply have to turn my two dials to the red buttonhole setting, as in the photo below.
One important thing to note: on my machine and, I believe, on many sewing machines, the needle starts by going backwards when you are making a buttonhole. This means that I need to start the needle at the bottom of my pencil mark. The needle goes up, over, and back down again to make the buttonhole.
On my machine there’s a little buttonhole arm that comes down behind the needle (see the photo below). I ignore it at first, and just start the needle going at the bottom of my pencil mark. It goes back and forth doing a wide stitch for a moment, then starts going backwards, doing a narrow, close-together stitch. When it gets to the top of the pencil mark, I stop the needle, push the little buttonhole arm, and start stitching again. The needle does another wide stitch briefly, then comes back down the fabric, doing a narrow stitch a tiny ways apart from the the first line of stitching. Once it’s back at the bottom of the pencil mark, I backstitch to knot the thread, then lift the presserfoot and cut the thread and I’m done.
As I say, it’s different on every machine, but probably not too much different. Experiment a couple times on scrap fabric till you’ve got it figured out. If you don’t have an instruction booklet for your sewing machine, you may be able to get information by looking up its make and model number online. And for this particular buttonhole, you do not need to use a fancy buttonhole presserfoot, even if you have one.
Remember to reset your sewing machine when the buttonhole is done, back to a normal straight stitch setting.
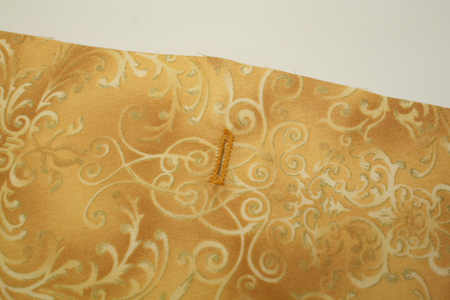
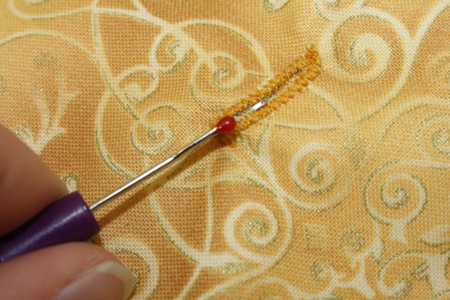
5) Use your seam ripper to dig into the fabric in the buttonhole’s center, cutting it and leaving an actual hole between the stitching.
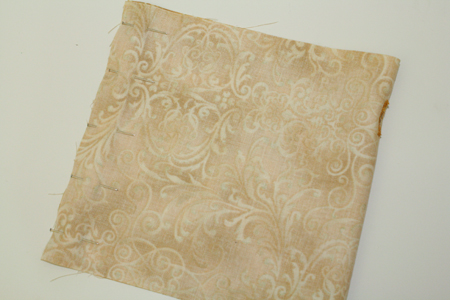
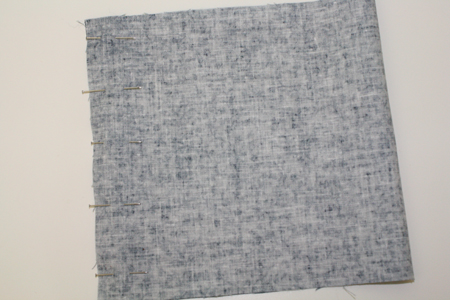
6) Now fold this rectangle of fabric in half again (right sides together) and pin the ends together.
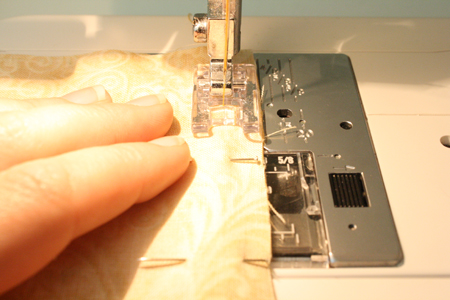
7) Stitch the ends together. Keep the edge of the fabric lined up with the edge of your presserfoot for the correct seam allowance.*
*A fancy term for how much fabric is left on the outside of the line of stitching.
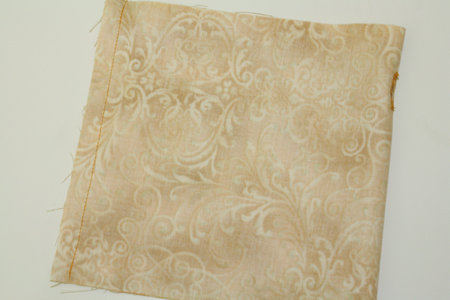
You should now have a tube of fabric, open at both ends.
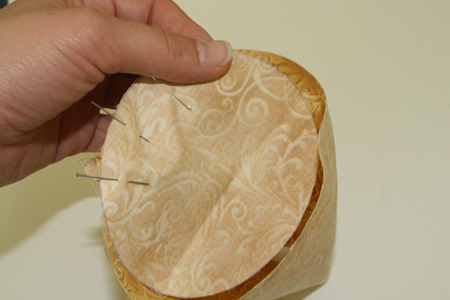
8) Now take the circle you cut in step 1, the one cut from the same fabric as this rectangle. With the circle’s right side facing inwards, pin its edges to the edges of one end of your fabric tube – the end that does NOT have the buttonhole!
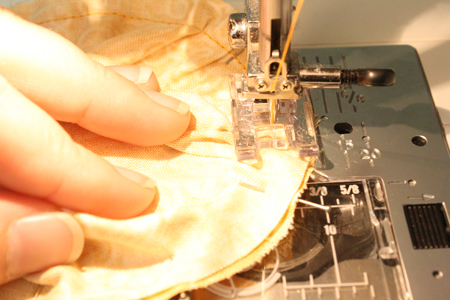
9) Stitch all the way around the circle at the base of the tube, removing pins as you go. (Sewing over pins is bad for the pins and bad for the sewing machine, so try to avoid it.)
Again, keep the edge of the fabric matched up with the edge of the presserfoot as you sew.
You’ll probably notice a bit of puckering at the bottom of the bag, where the rectangle and circle join up. That’s fine and normal.
10) Set this aside, and take up the rectangle of other fabric, the fabric you want to use for the bag’s lining. Fold it in half (right sides together), pin the edges together, and sew the edges together. You’ll now have another tube with open ends.
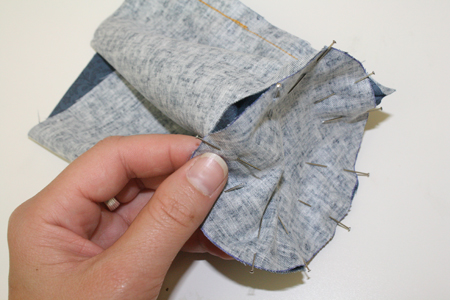
11) Pin the lining circle to one end of the tube, right side facing in. Sew it in place.
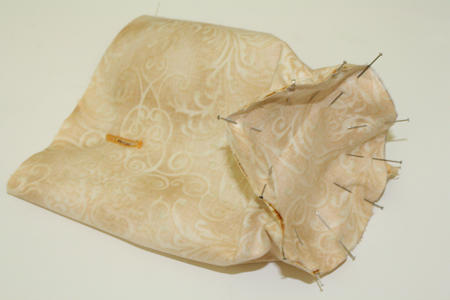
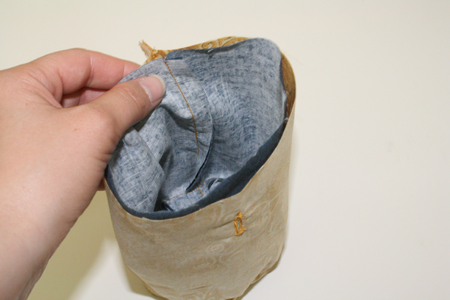
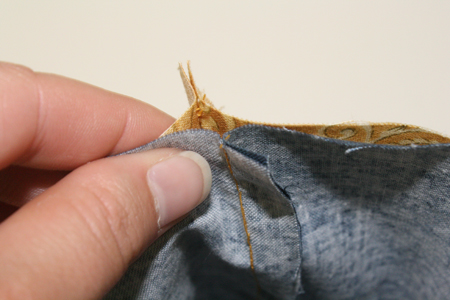
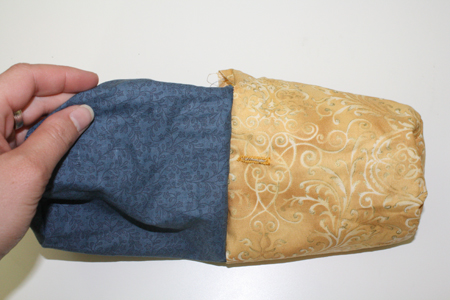
12) Turn the lining right side out, and push it inside the first tube you made, matching up their seams.
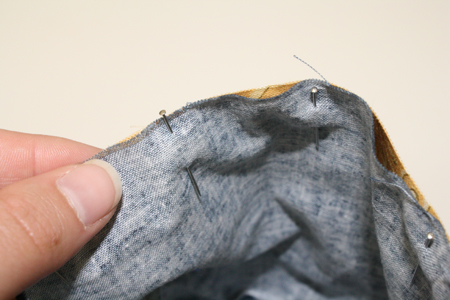
13) Pin the top edges of the lining and the outside fabric together. On one side, use two pins together to mark a two-inch gap, where you will not sew the fabric together.
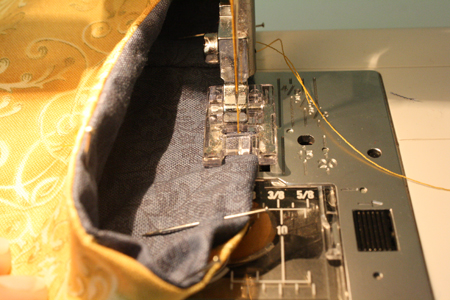
14) Starting at the first set of double pins, sew around the top edge of the bag, stitching the two layers together. Keep your fabric edge lined up with your presserfoot edge. Stop at the second set of double pins, backstitching to knot the thread. You should be left with about 2 inches where the two layers are not sewn together.
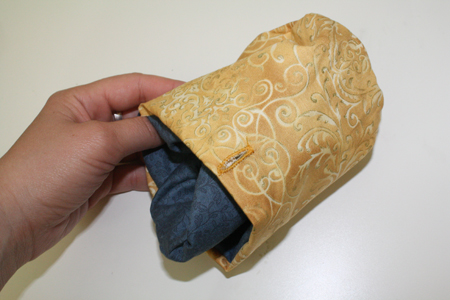
15) Use that gap to turn the whole thing right side out, so the two fabrics’ right sides are showing, and you have what looks rather like a giant empty pill casing.
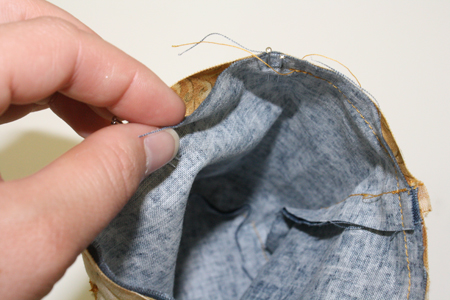
16) Stuff the lining inside the outer layer. Then use your fingers to make the top edges of the bag flat and even, and pin them together again.
17) Stitch all the way around the top edge of the bag. This time, leave only about 1/8 inch between the stitching and the edge of the fabric. To do this, I make sure the edge of the fabric is following the edge of the little oval opening in the middle of my presserfoot.
This will close up the gap you used to turn the bag inside out.
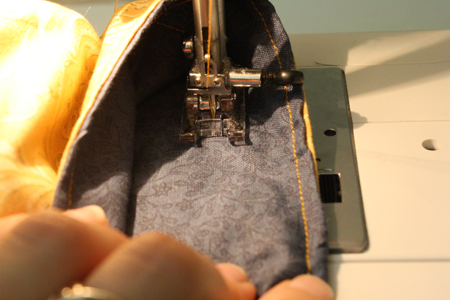
18) Now sew another line, about 1 1/2 inches below the bag’s top edge. To do this, find a line on your sewing machine in about the right place that you can keep the fabric’s edge lined up with.
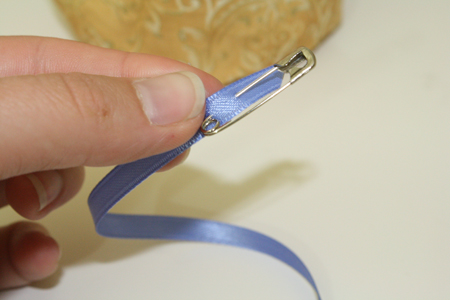
19) Next take your ribbon, and attach the safety pin to one end. Insert the safety pin into one side of the buttonhole at the top of the bag.
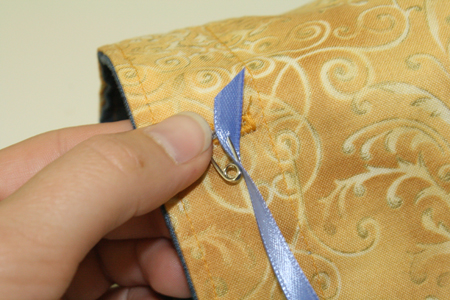
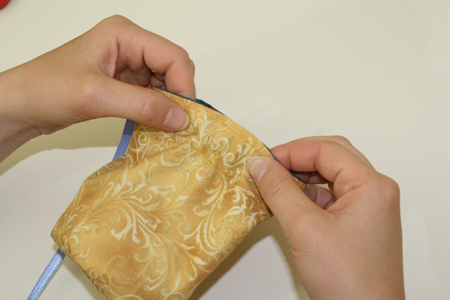
20) Work the safety pin all the way around the bag. To do this, hold the back end of the safety pin through the fabric, and scrunch more fabric up over it. Then grab front other end of the safety pin with your other hand, and let go of the pin’s back end. Continue this until the safety pin pokes out the other side of the buttonhole, then pull till there’s an equal amount of ribbon dangling from either side of the hole.
21) Knot the ribbon’s ends and put some fray check or clear nail polish on them to keep them from fraying. Tie the two ribbon ends together and pull to close the bag.
22) Fill with good things!
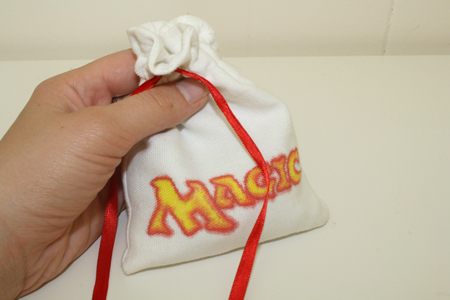
I used these same basic methods – just without the round bottom – to make this lined MtG bag for all my markers and countdown dice.


