 safjsadjdlksajkljfowieafenvlkdsnv!!!
That there is an alphabetical reflection of how my insides are feeling right now, as I and the rest of the Desert Bus team scramble to finish every last bit of prep for the big event, which starts at 6pm today. A mishmash of excitement, anxiousness and oh-my-holy-bus-I’ll-never-get-everything-done-in-time dancing around in my stomach, which is not helping at all with the digestion of what little breakfast I managed to force down.
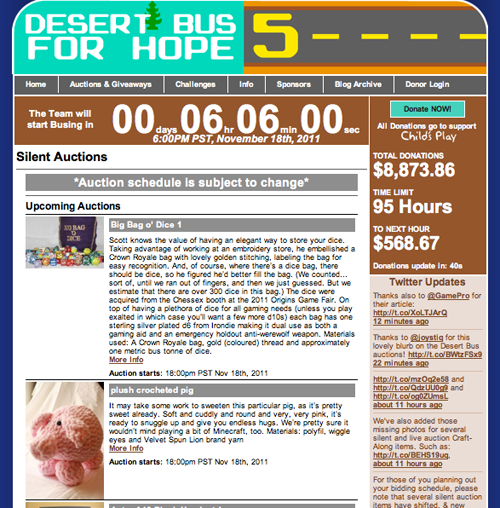
I have spoken of Desert Bus before, but for anyone unfamiliar with the event, it’s a week-long fundraiser to raise money for Child’s Play. The whole thing is based around one horribly boring video game, and streamed live online. Get the whole bizarre rundown here.
As weird as it may sound as events go, it’s utterly amazing to experience, and it has proven the incredible generosity of the online community for four years in a row, going on five. Over that time, Desert Bus has raised more than $400,000, and we expect that number to rise rapidly over the next few days!
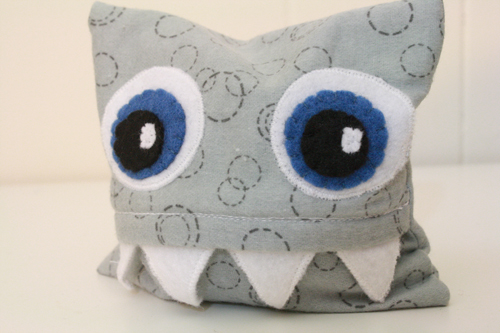
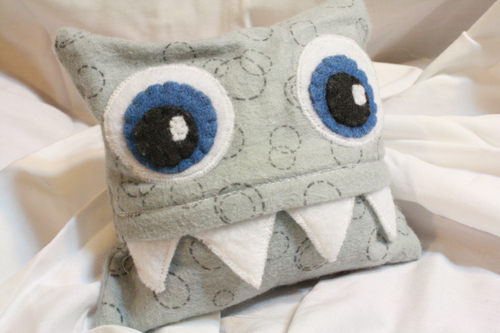
Today’s craft is one of quickness (it’s a week of having too many things to do!), comfort (a little stress relief is needed when organizing something this big) and cuteness (there can never be enough!). A quick and simple wheat or rice filled monster to keep you company and warm your toes as you while away the chilly nights in front of your computer, watching crazy people do crazy things for a charitable cause.
Before I start on the tutorial, I’d like to encourage all of you to have a look at the Desert Bus auctions pages. We have live and silent auctions happening all week, and we’ll also be giving away many amazing items. I encourage you to look at these not just as a way to donate to a good cause, but to appreciate the amazing craftsmanship and talent that has gone into many of these items. In addition to many remarkable donations from gaming companies and celebrities, over 60 people have taken the time to create and send us remarkable one of a kind handmade items as part of the Desert Bus Craft-Along. Some items are up for auction, some will be given away to lucky winners, but all of them are amazing testaments to the high quality of handmade, and to the loving, giving, generous nature of this collection of artists and crafters from around the world. They have made some truly amazing things.
And when you return from drooling over these incredible works of art and craft, follow the steps below to make a simple, monstrously cute little microwavable wheat bag. You could also use this tutorial to make monstrous bean bags, or size the whole thing up and fill the insert with soft stuffing to make a monster pillow.
———————————————————
What you’ll need
materials:
- fabric – something not super thin, but not too thick or it won’t let the heat through. Something soft is good, for extra comfort when you rub your feet or hands or tummy up against it. And something that you like the look of, of course. You only need a small piece – about 13″ x 10″.
- felt, in black, white and a colour of your choice for the eyes
- thread to match your fabric and each colour of felt
- wheat kernels or rice (about a cup)
- piece of scrap paper
tools:
- sewing machine (It is possible to do this by hand, and I meant to do a separate tutorial for that but I simply ran out of time this week – I apologize. For an all hand-stitched one, though, I’d use all felt, so you don’t have to worry about raw or fraying edges. Or you could make frayed edges part of the look. You can use some of the same stitches and hand sewing techniques outlined in my post for hand sewn dice bags.)
- sewing needle
- straight pins
———————————————————
Putting it all together
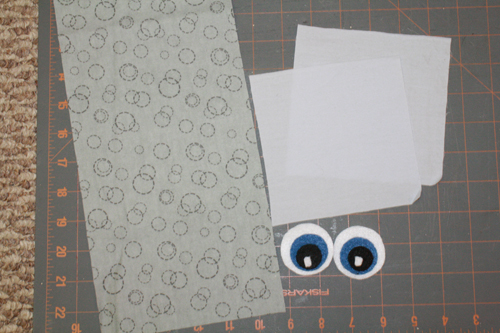
1) Cut a piece of your main fabric that is 6 inches wide by 13 inches long. Cut two squares of fabric that are 5 inches by 5 inches.
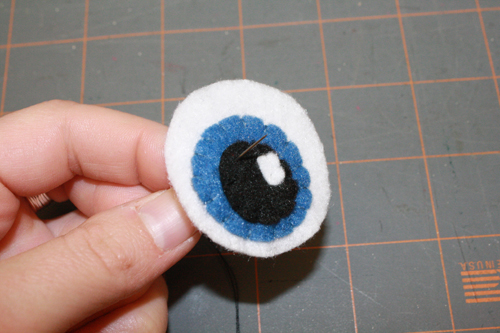
Then you’ll need to cut eyes from your different colours of felt. Two larger white circles, two medium sized coloured circles, two small black circles and two wee blobs of white. For the medium and small circles, it works really well to trace the bottom of a large and a skinny spool of thread. For the larger white circles, use a compass to make one just the right size, or trace a roll of scotch tape, a small jar lid, a poker chip, whatever you have around.
You will also need to cut a set of teeth from your white felt. They should be 4 1/2 inches wide in total, and they should be a little bit bigger (taller) than you want them to look, because the top of them will be hidden under a flap of fabric when the whole thing is put together. If you want your teeth to be a bit sturdier (I recommend this), cut another set exactly the same, and pin the two pieces together.
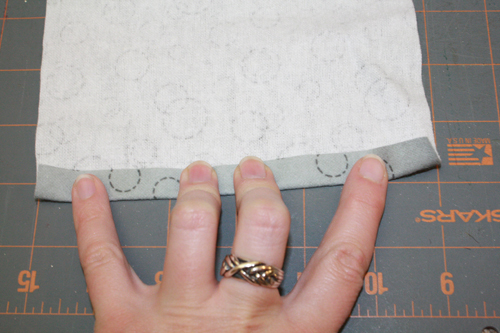
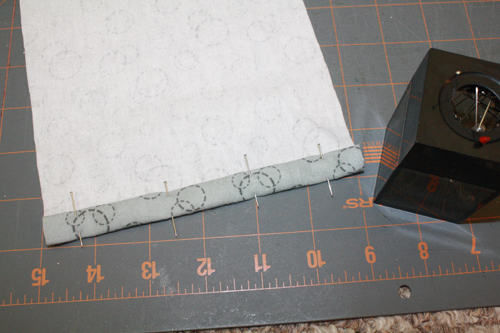
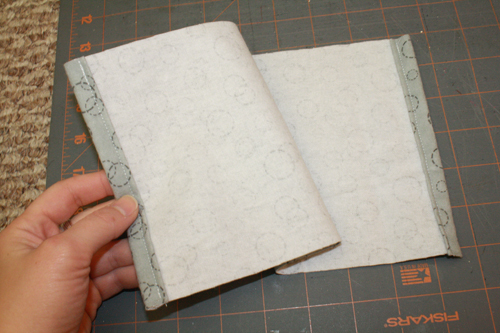
2) Take the long rectangular piece of fabric turn it upside down, so you’re looking at the wrong side of the fabric. Fold one of its short edges up about 3/8 inch. Then fold it over again. Pin it in place.
3) Do the same thing with the rectangle’s other short edge.
4) Sew a straight line along both of those edges, securing the folded fabric.
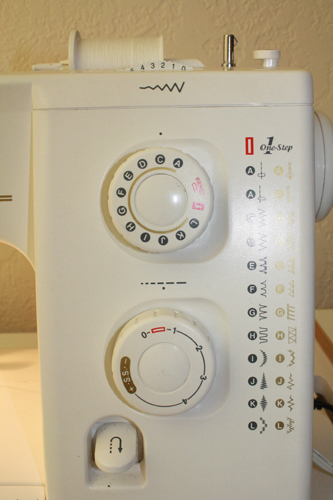
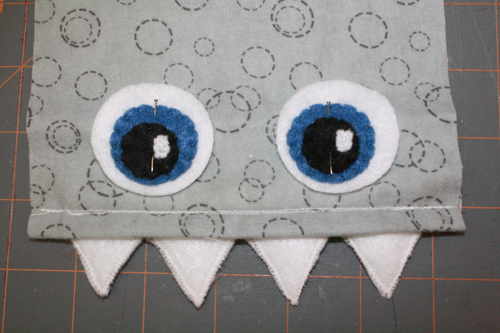
5) Now use a narrow, close-together zigzag stitch to sew right along the edge of the pinned-together teeth.
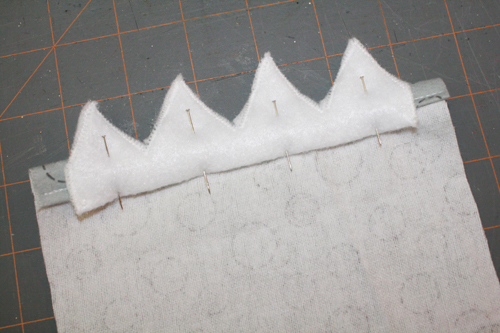
6) Pin the top edge of the teeth to one of the rectangle’s folded-over short edges. The teeth should be on the back side of the rectangle, where you can see the folded edge.
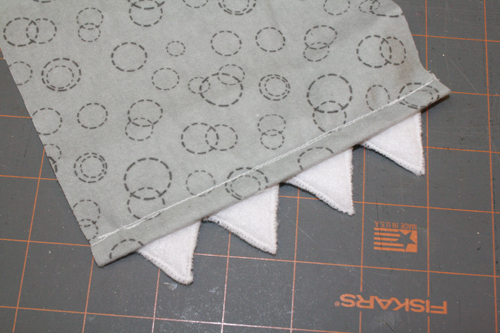
7) Sew a straight line along that edge, holding the teeth in place.
8) Using a sewing needle and various appropriate colours of thread, stack the pieces for each eye and stitch them onto each other, one at a time.
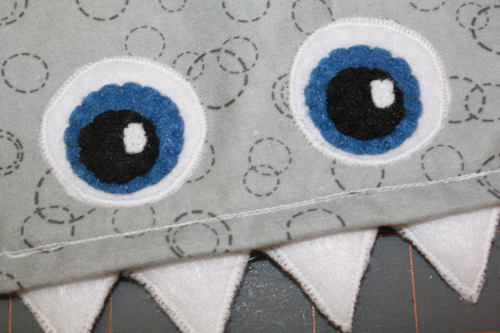
9) Lay out the long rectangle with the teeth, right side up. On the same end that has the teeth attached, pin the eyes in place, about 1/2 inch above the fabric’s edge. Use a narrow, close-together zigzag stitch around their edge to sew them in place (or sew them on by hand).
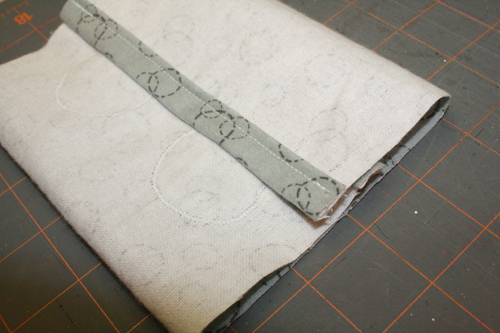
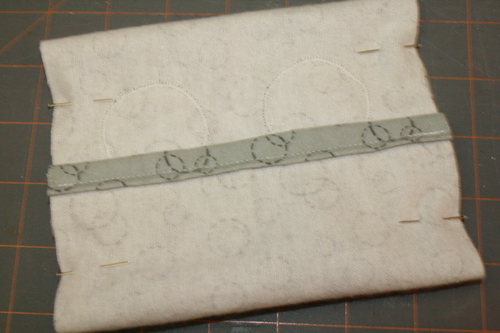
10) Lay the long rectangle out flat, right side up. Fold up the end with the teeth attached to it, so that you see the wrong side of the fabric. You want to fold it up by about 3 inches.
11) Fold the other end down, overlapping the first end by about 1/2 inch. The wrong side of the fabric should be showing, with the teeth and eyes completely hidden from sight. Pin the open sides of the (now) square shape together.
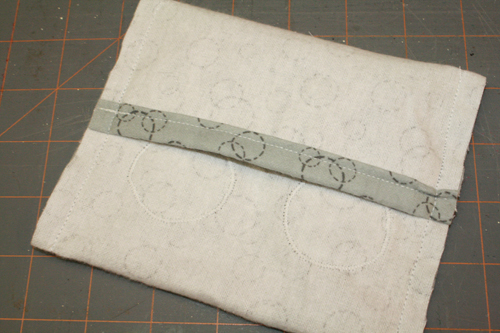
12) Sew those open sides closed with a straight stitch, about 3/8 inch from the fabric’s edge.
13) Turn the whole thing right side out. It’s a monster!
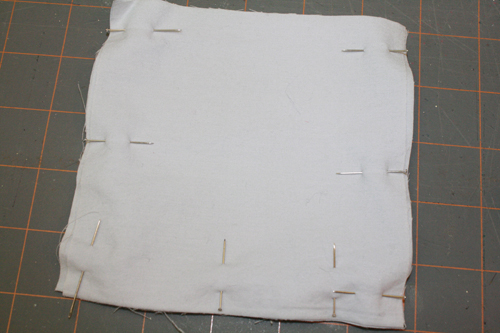
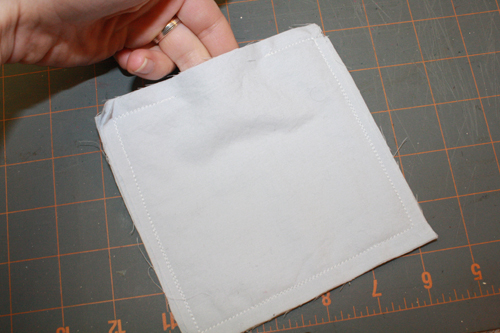
14) To make the insert, pin the two 5×5 squares together. Stitch around the squares, leaving a two-inch opening on one side.
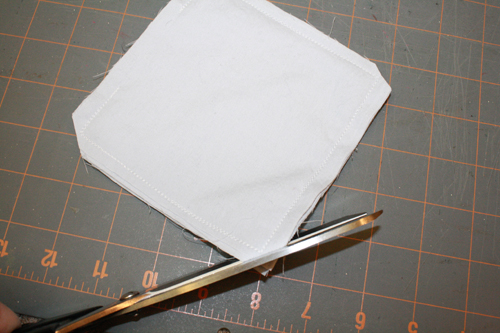
15) Trim the corners off of the square, being careful not to cut through any thread.
16) Turn the piece right side out, then gently use the tips of your scissors to poke the corners out.
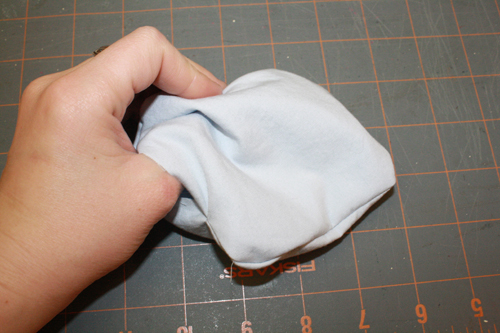
17) Fill with wheat or rice, via the opening left in one side. You can use a funnel or measuring cup with a spout to pour the grains in, or make a makeshift funnel with a piece of paper, like I did. Because who actually owns a proper funnel? Sure would be handy, though. Fill it nice and full, but don’t cram the grains in there. Leave them a little space to move around.
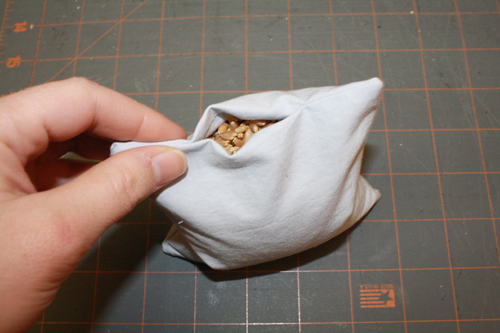
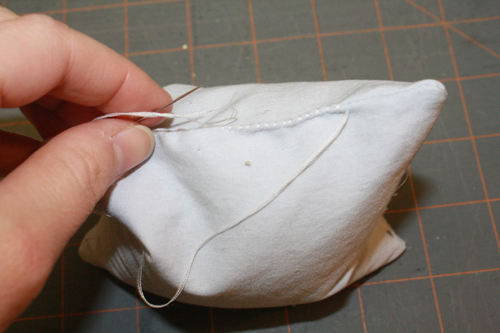
18) Use a needle and thread to stitch up the opening. Use small, close-together stitches so no grains can escape!
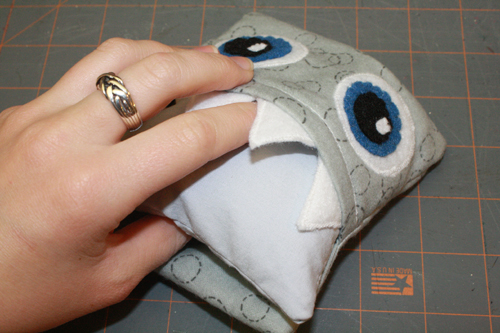
19) Insert into the monster – it should fit snugly, but it shouldn’t take too much effort to fit it in.
20) Heat in the microwave and use it to keep your toes or tummy warm! For something this size, I wouldn’t put it in for any longer than two minutes. Start with a minute and a half and increase the time from there if needed.
21) Watch Desert Bus and donate for the children!
Due warning: I do not guarantee a post next Friday, as I will have spent the previous six days doing Desert Bus. So maybe plan on making another monster next week, too, to get you through till the following tutorial. I know you’ll all forgive me. *Stares*

