I refuse to learn how to knit. Not because it’s not a great craft – you can make incredible things, knitting. Hats, sweaters, dolls, scarves, more scarves… I know full well how much crafting potential lies in knitting, which is exactly why I won’t do it. I’ve got so many crafts on the go already; learning a skill as open-ended as knitting is just inviting in an endless stream of projects I have no time to do. Too dangerous!
Therefore, may I introduce finger knitting. Not really knitting, right? I mean, you can’t do a bunch of fancy stitches, it’ll never lead to making a sweater or even mittens. (Ok, plus I had all this yarn lying around – souvenirs from past roommates and some stuff I bought that one time I decided I did want to learn how to knit, but then I got distracted by other things and quit making uneven potholders and never used up the yarn I’d gone and bought for my great knitting future – ha.)
So. Here’s how to finger knit, followed by an idea for what to do with the result.
Finger knitting is very simple, though may seem tricky at first. I had to unravel my first foot or two and start over, once I’d gotten the feel for finger knitting and how to keep the right tension, etc. etc.
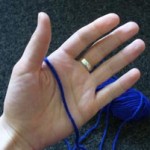
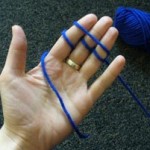
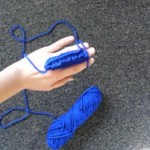
1. Take the end of the yarn and drape it between your thumb and index finger, across the palm of your hand. Your palm should be facing you.
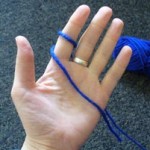
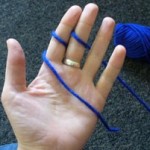
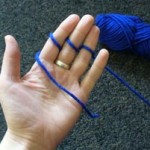
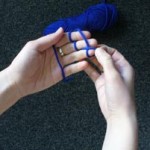
2. Put the yarn behind your index finger. Loop it all the way around the finger, ending behind the finger once again. Repeat this with your middle and ring fingers. (You can use your pinky finger as well, looping the thread around the same way. This will make your knitting a bit thicker. I don’t use my pinky finger; I find that using it makes the whole process slower and trickier, due to it being so much shorter than the other fingers.)
3. Lay the yarn across all three (or four) fingers, above the previous loops on each finger.
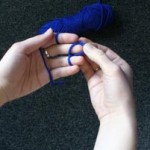
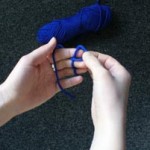
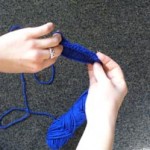
4. Starting with your ring finger (or pinky finger, if you’ve chosen to use it), pull the bottom loop over the top loop, and then all the way over the finger to the back of your hand, and let go. There should be one loop of yarn left on your finger. Repeat with each finger in order from right to left.
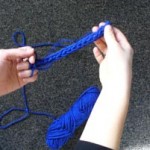
5. Continue to do this, keeping the yarn as tight as possible without cutting off circulation to your fingers. (This took me a bit of practice to get right. Just keep trying till you’re satisfied with the evenness of the knitting.) Behind your fingers, the knitting will look like an oddly textured, slightly concave mass. Every so often, give it a good tug and it will pull into a nice tight rope. Which will also increase its length and make you feel you have accomplished even more. Keep going until you get tired of it or run out of yarn.
By the way, yes you can give the starting end of your knitting a good tug – it will not unravel, promise. It will seem to be unraveling for a moment, but then it will tighten, tying off the end of your knitting.
(Important Notes 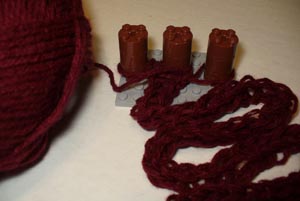
So if your fingers replace the knitting needles, what do you do when you need your fingers for something else?? You can put each loop over a pen or sharpie marker to hold the knitting in place. Or you can get out the Lego, as I did.
You can also try this with multiple yarns at once. Just follow the same exact steps above, but with two or three different yarns bundled together into a group.)
6. Congratulations! You now have several feet, yards or miles (depending on your enthusiasm and free time) of pretty but non-functional homemade rope. Yay?
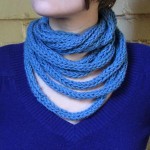
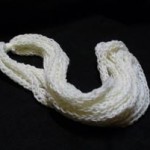
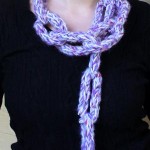
Here’s something you can do with it all. Remember my post on making t-shirt scarves? Surprisingly warm, charmingly fun and different. Make one of those with your knitted rope! Simply wrap the knitting around in big loops, making sure it’s long enough to fit twice over your head. Knot the ends together. Voila! Now you’ve made fashion.


