So, I’m sorry about the total lack of blog post last week. To be fair, I was a little busy. Desert Bus for Hope ran for 152 hours and raised over $443,000, and it sort of kind of looked a bit like this:
That’s the incredible Desert Bus 6 poster created by official Desert Bus artist Mike Lunsford, the tireless artist behind Supernormalstep.com and a ton of other cool stuff.
Desert Bus requires some recovery time, and I’m still working on that. Once the craziness began wearing down, it suddenly hit me that Christmas is less than a month away. It’s a mixed blessing that every year, Desert Bus prevents me from going Christmas crazy before the beginning of December. Less time to be crazy, but less time to make gifts and get ready. Usually December passes in a world of frantic preparation, and there’s not so much time to just sit back and enjoy what has traditionally been my very favourite holiday season.
So I decided to make an Advent calendar.
We always had Advent calendars as kids – my Mom custom made ones where we added a sticker for each day, completing a scene or decorating a paper tree or something like that. This year, I want to chill out as much as possible and enjoy the anticipation of Christmas’ arrival.
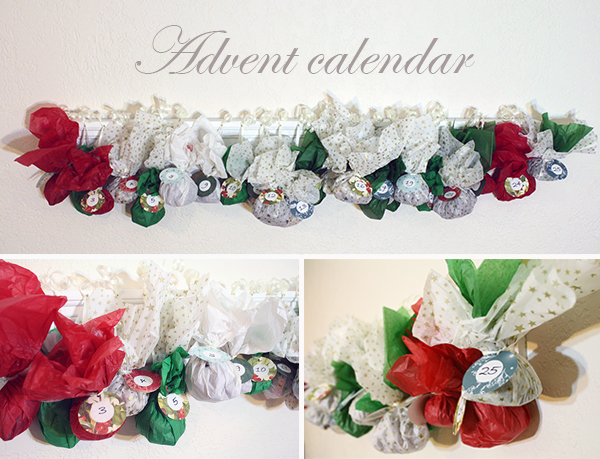
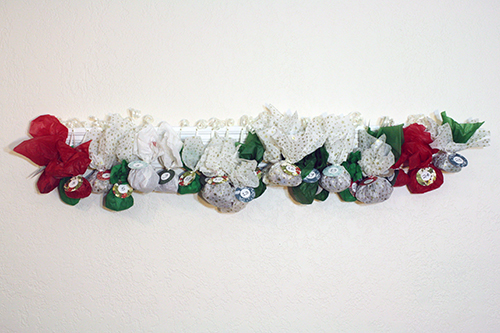
It had to be super quick and easy to make given the other projects I need to get to, and how tired I’m still feeling, and the need to get a blog post ready for today. So here’s what I came up with:
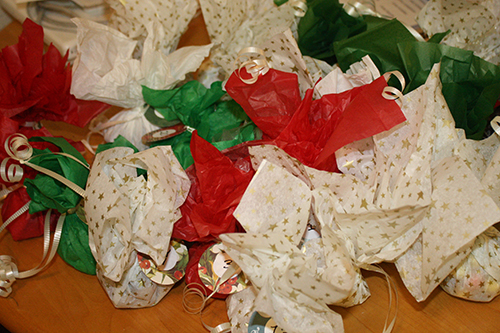
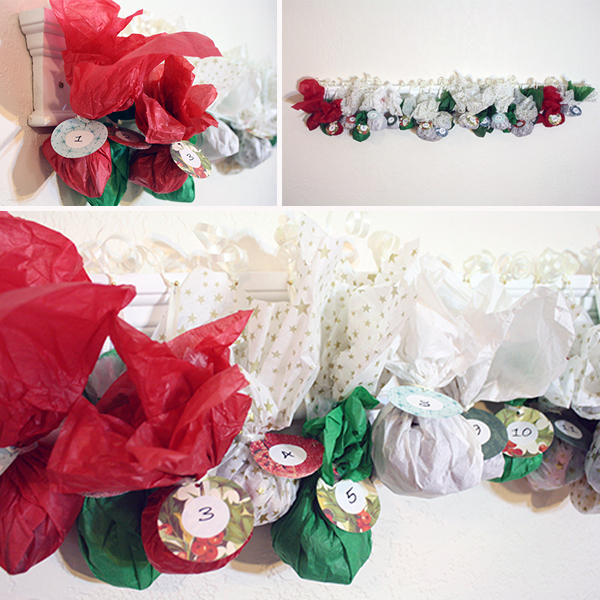
It’s a row of little goody bags, filled with some small treats for Jeremy & I to share each day, wrapped in bright colours and hung up on a bit of nice-looking trim – that’s so I can avoid putting 25 nail-holes in the wall. And I have a little paper-cut snowflake to put up once the goody bags for each day come down, so that won’t turn into just a row of nails sticking out of a fancy board.
Keep reading below for the details of how I put it together.
———————————————–
What you’ll need:
materials:
- small treats or toys or stickers or something for each day. I went & got a bunch of different stuff from the bulk section of the grocery store, some savory & many sweet.
- small plastic bags OR plastic wrap – you could get little cellophane treat bags from the craft store, or use zip loc bags, or just squares of plastic wrap. OR, if you got a bunch of stuff from the bulk section of the store, it will already be in bags. I simply trimmed those bags down to be just big enough to contain the goodies.
- coloured paper – Nice to use some with pretty holiday patterns. You could also cut up old Christmas cards or wrapping paper
- coloured tissue paper
- ribbon
- long narrow piece of wood – I recommend a strip of pretty wooden trim or mouldings
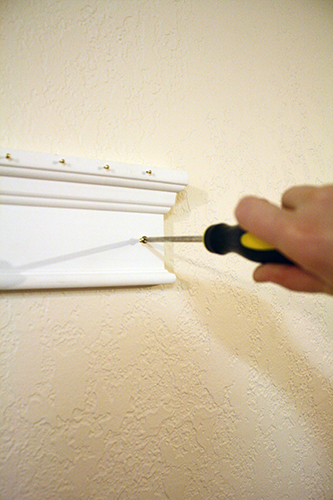
- 2-3 screws long enough to go through your piece of wood and into the wall a ways
- 25-30 small nails – always good to have a few extra in case you drop and lose one, or bend one, or whatever
- scissors
- pen/marker
- hole punch
- hammer
- drill
- level
———————————————–
Putting it all together:
1) Cut or fold 25 squares of tissue paper.
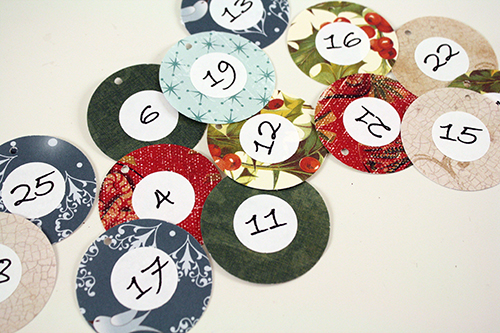
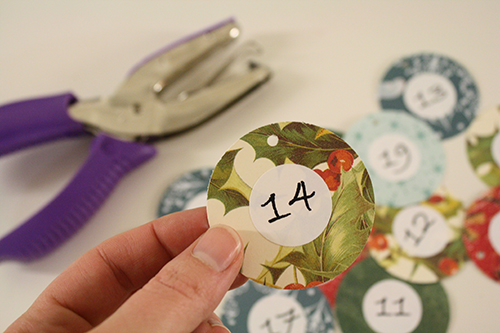
2) Cut 25 circles or other shapes from pretty coloured and/or patterned paper. Punch a small hole in the top of each one, and label the circles 1 – 25. I used circle punches and numbers printed on sticker paper to do this quickly and neatly.
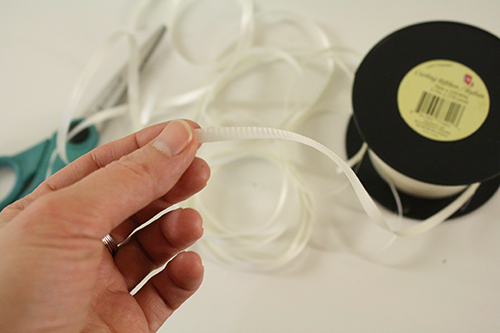
3) Cut 25 lengths of ribbon – about 18 inches long each.
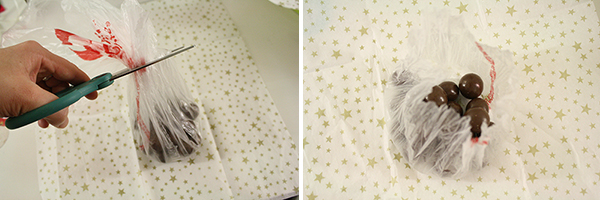
4) Place a square of tissue paper flat, then put a small bag of goodies in its centre. If your goodies are in those too-large plastic bulk section bags, just move the goodies to one bottom corner of the bag and then trim most of the bag away, so that only a little extra plastic is left.
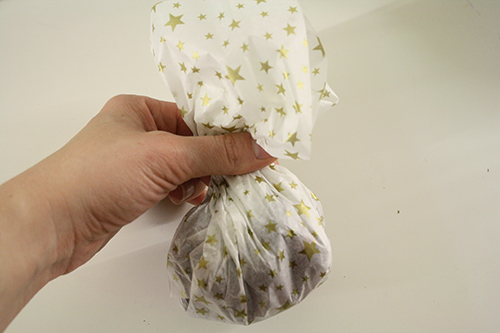
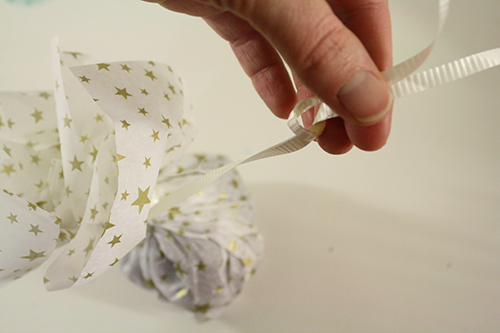
5) Pull the tissue paper up around the plastic bagged treats, tightly but not so tightly that it tears.
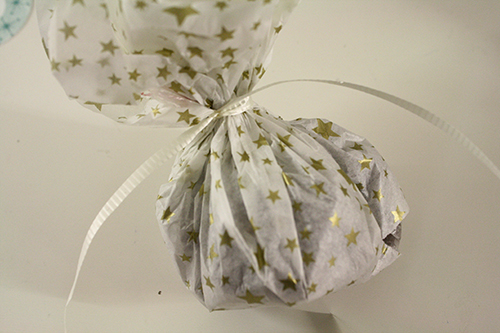
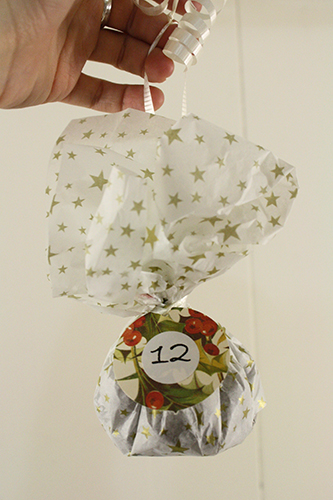
6) Wrap some ribbon around the little pouch you’ve made, and tie it twice. Then grab one of the little numbered tags you made and put the ribbon through the hole in the tag.
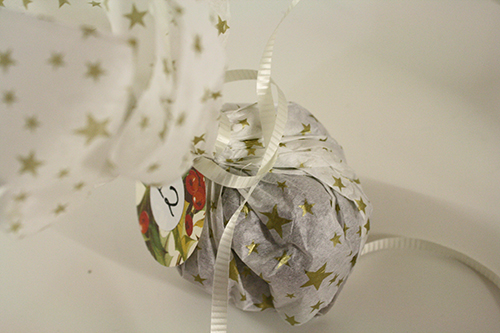
7) Tie the ribbon around the tag, then move the ribbon to the back of the little pouch and tie a knot in it again, at the back.
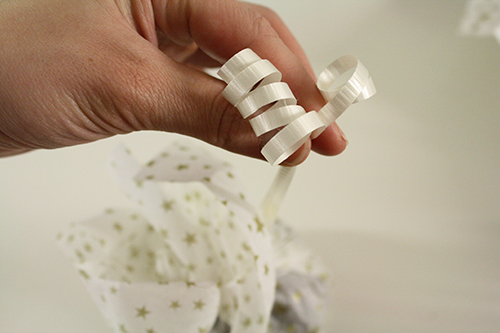
8) Leave a few inches of ribbon, then tie the ends of the ribbon together and use your scissors to make pretty curls of the excess ribbon. Now your little pouch full of treats can be hung up neatly, with the tag facing forward and visible.
Repeat for all that for all 25 days.
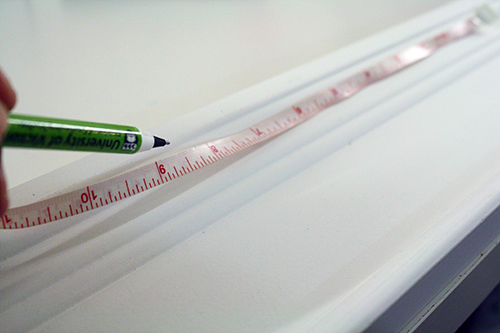
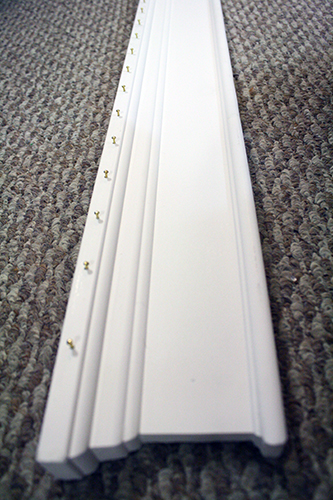
9) Make 25 evenly-spaced pencil marks on your strip of wood, then put a nail in at each mark.
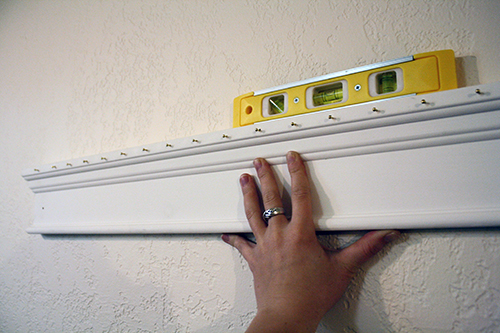
10) Hang the piece of wood somewhere convenient and decorative, then hang the treat bags in order or at random from the nails.
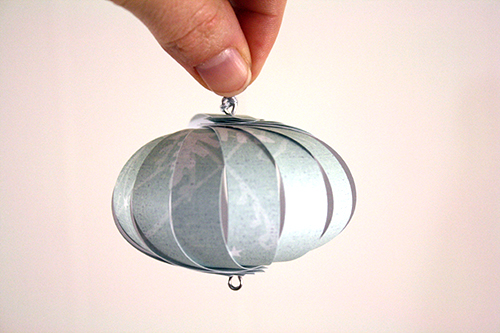
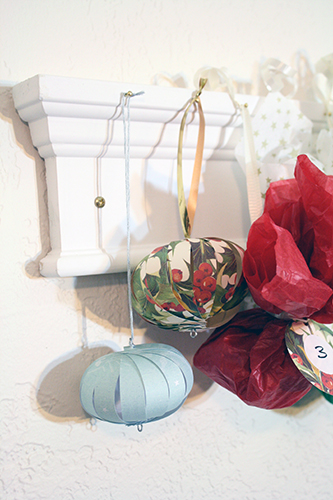
Voila! Edible, simple advent calendar. That’s what we’ll be enjoying this December. And if you want, cut little Christmasy shapes to hang up on each nail once the treat bag has been removed, or hang actual Christmas ornaments on it, or use this tutorial to make some simple, elegant paper ornaments to adorn the calendar as Christmas approaches and the treats disappear.
Now before I go, one more Desert Bus thing: if you need to do some Christmas shopping, I highly recommend having a look at the links over on our Craft-Along Participants page. Many of the crafters, artists and artisans who contributed to Desert Bus have online shops, where they sell some fantastic things. A number of our corporate sponsors also sell goodies online, so have a peek through all those wonderful links (just click on the logos)!





Bischoff
/ December 1, 2012You guys were AWESOME this year (as you always have been). This looks like a project that might find its way into a yearly “family” thing. I think my neices would love it. Thanks!
Tally
/ December 10, 2012Thanks so much, and thanks for watching some of our crazy shenanigans! :) Best of luck with the project if you try it out. We’re certainly enjoying ours so far.
Power Wheelchair
/ October 10, 2014I really like your blog.. very nice
colors & theme. Did you design this website
youdself or did you hire
someone to do it for you? Plz answer back as I’m looking
too
design my own blog and woulld like to know where u got this from.
thanks a lot