
Ah paper, that wonderful, colourful diverse medium with which you can do just about anything. Even make jewelry. Generally speaking, paper is an under utilized medium for things like fashion, so you can make a pretty unique statement with a few of these dead tree beads hanging around your neck. Paper jewelry is also a fabulous use for otherwise un-usable tiny paper scraps.

Here’s a way easy method for making some way nifty paper beads to get you started on your paper jewelry making. Or garland making or bookmark tassel making, or whatever else one might do with beads.
What You’ll Need:
- pretty paper (Preferably paper of a heavier weight than writing or computer paper, but not quite as heavy as cardstock. Think scrapbooking paper.)
- circle punch or circle cutter or scissors and pen and a small circular object you can trace
- gluestick
- [optional] coloured marker or inkpad
- sealant & paintbrush
Putting it all together:
1) Select your pretty paper of appropriate weight and cut out a bunch of little circles of the same size. You can do however many circles you want. I usually opt for 6 to 8, but you can do 10 or even 12, or possibly more depending on the size of your circles. (You don’t have to do an even number, either.) I advise not using fewer than 5 or 6, though.


As mentioned above, a circle punch, circle cutter, or cri-cut machine will be fastest, but you can also just trace a circular object a bunch of times and cut it out. (Like bottlecaps or small lids, the ends of thread spools, even one end of your gluestick.)
The circles can also be any size you want. How big or small you make them really depends on what you want to use them for afterwards.
2) Fold each circle in half.

3) Glue the circle halves together until you have a sphere. Glue the ends of the sphere together.


Make sure you glue the circles really well, so they don’t come apart later. It can be a good idea to glue half your sphere together, then the other half, let them dry, and then join the two halves. If you get impatient and sloppy at this point, things are more likely to fall apart later.


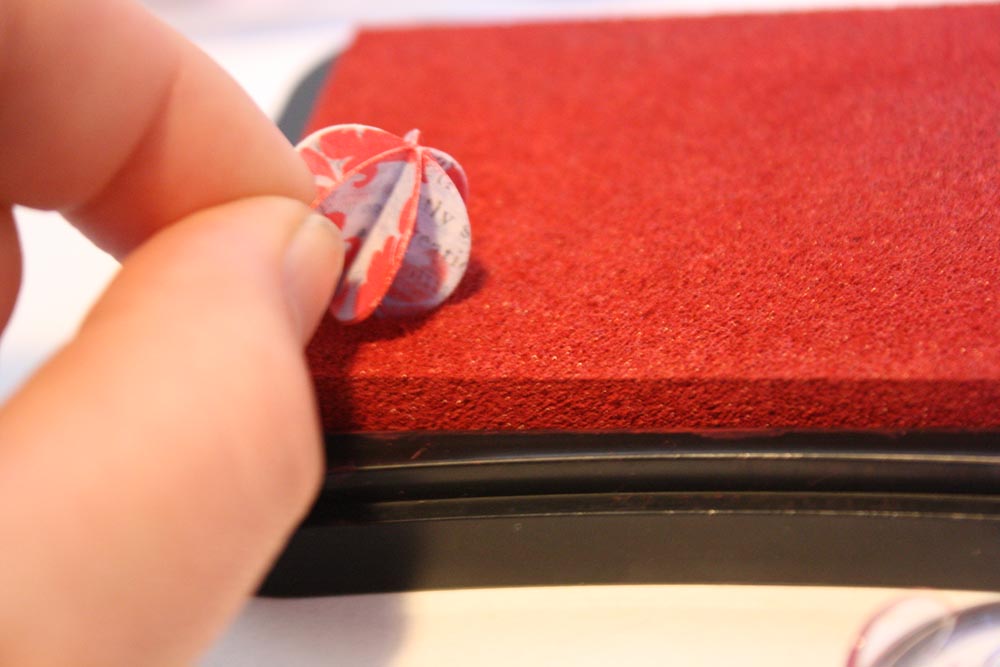
4) [optional] For a cleaner look, you can colour the edges of your paper bead with a marker or with an inkpad. Beware that a marker may bleed across the paper, depending on the marker and the paper. For the inkpad option, you can run the beads edges along the inkpad, or, as I like to do, use a q-tip for more controlled colouring.


5) Thoroughly coat your paper bead in sealant. Let it dry and do at least one more coat. This is what will keep your paper beads strong and durable, as well as giving them a bit of shine.


6) Now use your paper beads to make lovely lightweight jewelry or anything else that comes to mind. Be creative!


