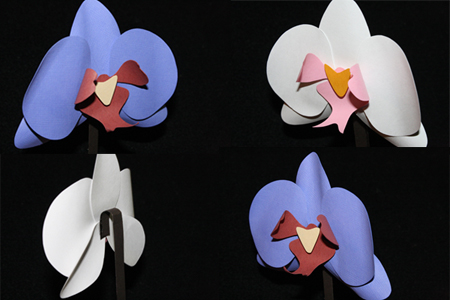
We’re moving soon, and I’ve been slowly going through all my stuff, organizing and paring down. When I say “stuff” I largely refer to crafting supplies, since that’s what most of my world is made of.
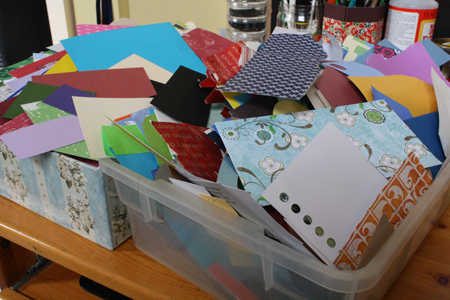
While sorting through all that “stuff” it came to my attention that I have what might technically be referred to as a boatload of paper scraps. They’re useful, you see. And they’re paper, so it’s not like they take up much space, or weigh very much… right? Um.
So in the interest of using some of this stuff up, I started a one-woman flower-making factory a couple weeks ago. Which lasted all of an afternoon, but I did manage to use up some paper and make my desk look like a miniature garden. Good things. Also, see last week’s notes about the considerable benefits of un-killable flora.
The other reason for this particular post is that last week I sort of taunted you all with “oooh, look at the pretty paper flower” photos (and suggested in passing that you could try them yourselves) without giving any instructions for them. It’s a cruel world. However, I’m gonna make it a little less so by posting tutorials for that stuff now. That’s right, I said tutorials. You get instructions for two crafts this week! See? The things I do for you. Now eat your broccoli.
—————————————————————-
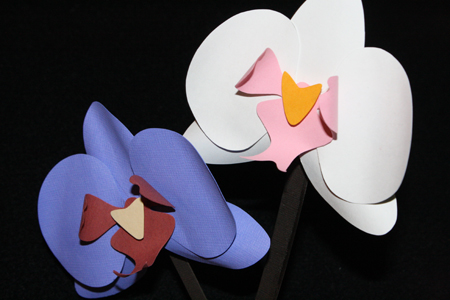
We’ll start off with instructions for the paper orchid.
What you’ll need:
- paper in three different orchid-appropriate* colours – cardstock is preferable(*that means whatever you darn well want it to mean)
- pencil and possibly other, thinner cylindrical items such as small paint brushes, bamboo skewers, etc.
- scissors
- glue
- paper orchid template number 4. under “Paper patterns and templates”
- stick-on 3D foam backing OR a tiny piece of cardboard, foam, foamboard, felt, etc.
—————————————————————-
Putting it all together:
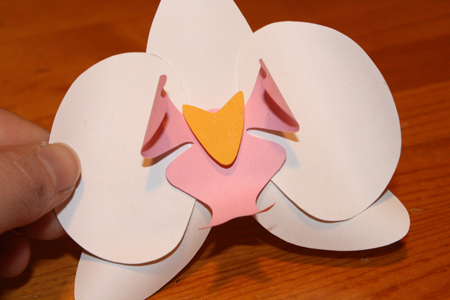
1) Start by printing out the template on some plain cardstock. Cut it out, then trace the pieces onto your various colours of paper.
2) Cut out the various pieces – there are six in total.
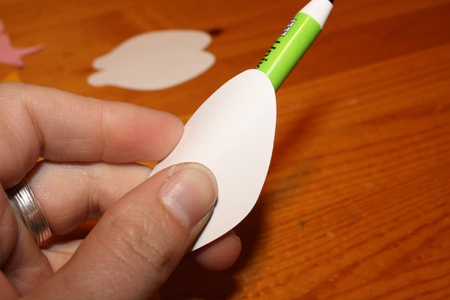
3) Starting with the two fan-shaped petals, give them some shape by curling them over your pencil. You can use the other, thinner cylindrical items to get a sharper curve. Just play around until you have a shape you like. It doesn’t have to be very extreme – just a little bit of curve will have a pretty strong effect.
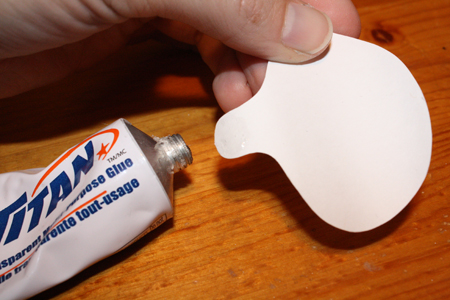
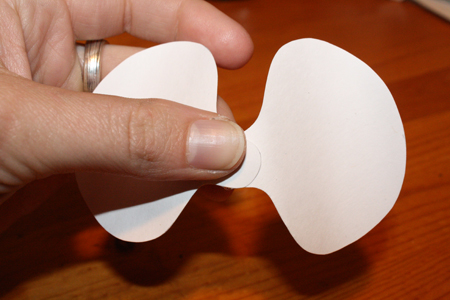
4) Glue the small ends of the fan shapes together, one on top of the other. Look at an image of a real orchid to figure out exactly what angles you want them at. Generally (for this type of orchid) these two petals angle towards each other at the top and away from each other at the bottom. The kind of glue you use is up to you. I used my favourite dollar-store superglue because it dries quite quickly. With white glue, you’ll have to hold the petals together for a bit until the glue starts to set.
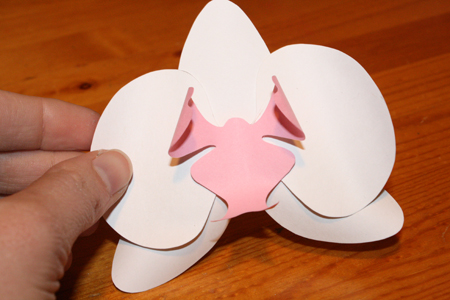
5) Do the same thing with the three longer petals, shaping them as you like and gluing them to the top and the bottom sides of the fan-shaped petals. Glue their protruding tabs to the back of those fan-shaped petals.
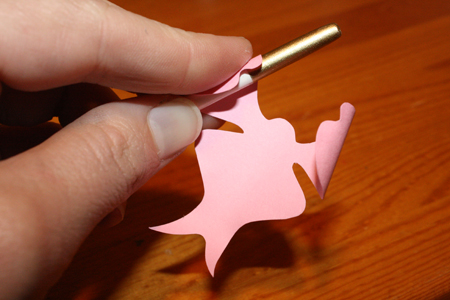
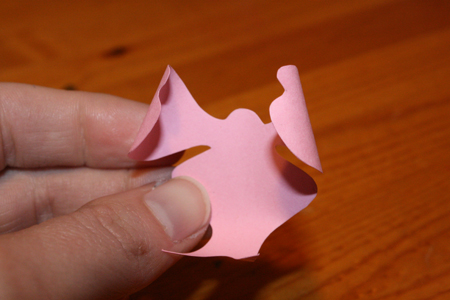
6) Take the large middle section of the flower and – again using a pencil or narrower tool – curl the two bottom prongs inward and upward, and the two rounded side protrusions inward.
7) Put a dab of glue on the back of this piece and place it in the center of the orchid’s petals.
8) Take the small center piece – the one shaped like an upside-down Star Trek logo – and, on the back, attach one of those tiny stick-on foam squares you can get at scrapbooking stores to make your cards more 3-dimensional. If you don’t already own some of these, save your money and achieve the same effect by cutting and gluing on a small piece of thick cardboard, or foam, or felt, or a stack of little paper squares glued together, etc. Then stick this bit into the middle of the flower.
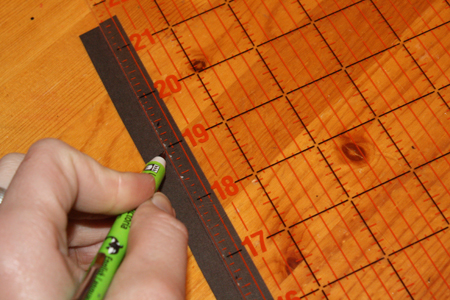
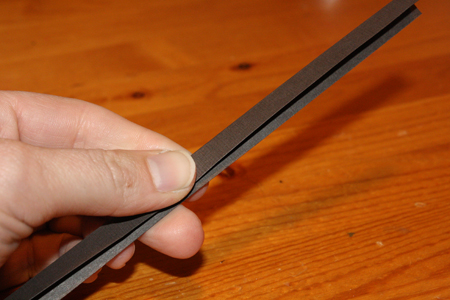
9) For the stem, I just cut a long rectangle of brown paper, score it down the middle and fold it in half. You can glue it or not – it’ll work either way. Alternately, you could use floral wire or a pipe cleaner.
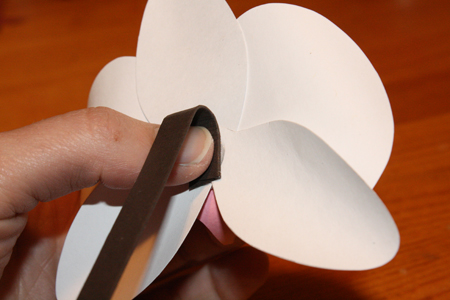
10) Curl one end of the stem around your pencil, then glue the curled end to the back of the orchid and let it dry.
11) To give your orchid a nice base to spring up from, try out my paper planters from last week’s post. Insert the orchid into the planter the same way you would put in the leaves in that tutorial. The orchid will be top heavy and want to fall over, but you can easily fix this by cutting two small strips of brown paper, folding each one, and gluing half of a strip to the planter and half of it to the stem, so it forms an L at the bas of the orchid. So just make paper L brackets, basically.
—————————————————————-
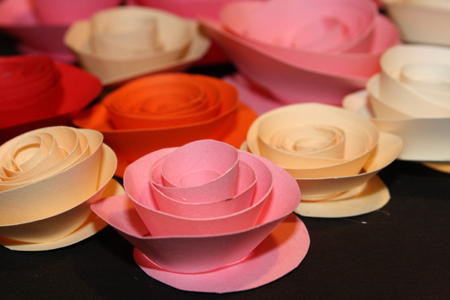
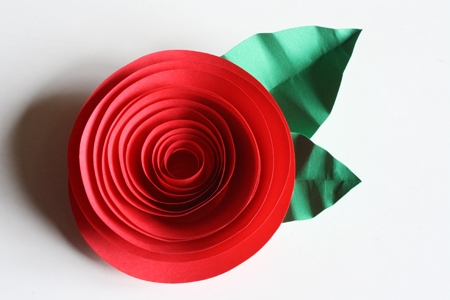
Now for the spiralled paper roses. These beauties practically make themselves, they’re that easy.
What you’ll need:
- coloured paper – cardstock will work, as will computer-weight paper, as will construction paper, so just use whatever you’ve got on hand
- pencil or crayon
- scissors
- glue – in liquid or gel form (like white glue or superglue – a gluestick will not work for this particular project)
- thin pencil, paintbrush or wooden skewer
—————————————————————-
Putting it all together:
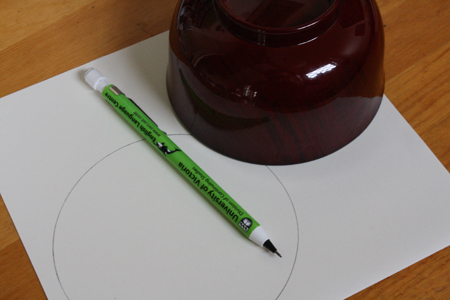
1) Cut a circle from your coloured paper. It can be any size (well, it shouldn’t be tiny) – trace a bowl, a cup, a plate, whatever you have on hand. Try several different sizes.
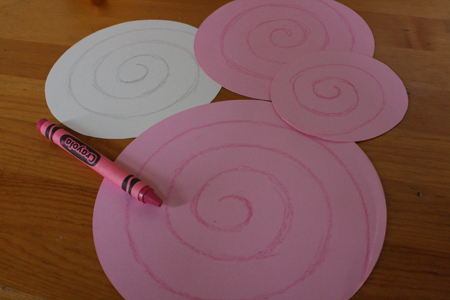
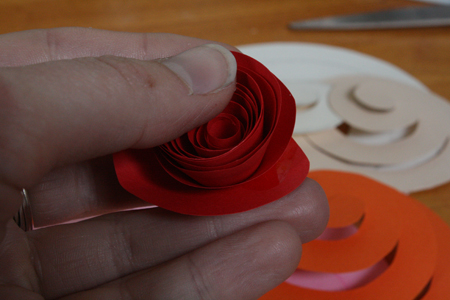
2) Cut the circle in a spiral. You can freehand this, or draw a spiral onto the paper first. If I draw it I like to do it in crayon similar to the paper colour, so that it doesn’t matter if it shows up a bit on the finished flower. The spiral does NOT have to have perfectly even edges, or even be a perfectly even spiral. Not in the least. Leave a little round bit in the center of the spiral.
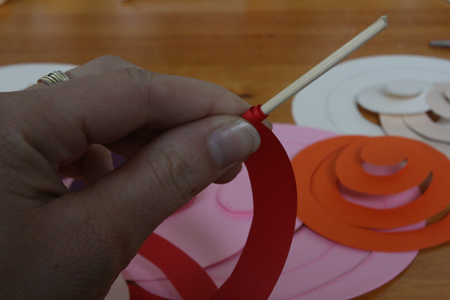
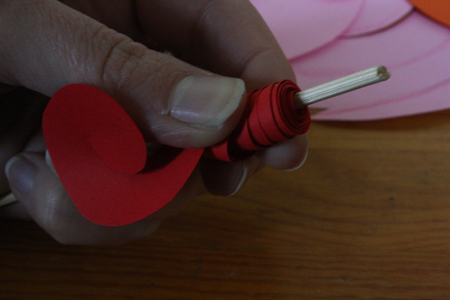
3) Starting with the outside of the spiral, wrap the paper around your skewer/pencil/paintbrush. Wrap all the paper, keeping it fairly tight, until you get to the round bit at the spiral’s center.
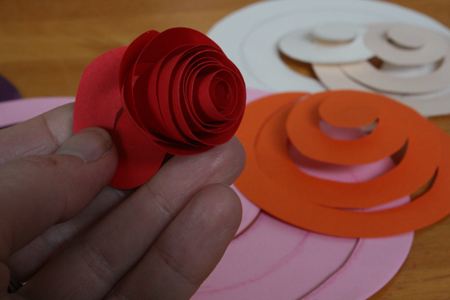
4) Slide the paper off the skewer and let go. No, seriously, let go. The paper will uncoil a bit and BAM! You will have a paper rose just sitting there, staring up at you as if to say “Yo. What’s up? You never seen a paper rose before?”
If the paper doesn’t suddenly become a rose, that’ll be because it’s spread out a bit vertically, which is also fine. This next step will fix that.
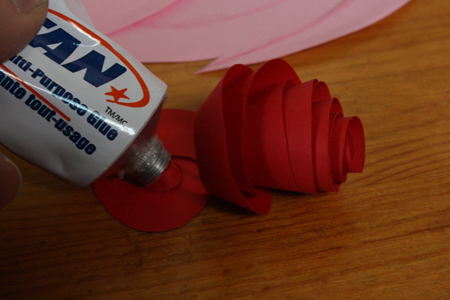
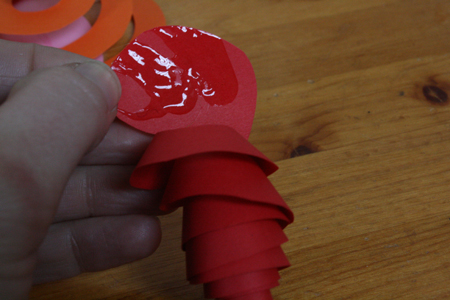
5) Pile a bunch of glue on that round center bit of the spiral and press the rest of the rose into the glue. Let it dry. I usually balance something on top of it (like a pair of scissors) to keep the rose pushed into the glue to dry while I go off and do other things. Like make a bunch more roses.
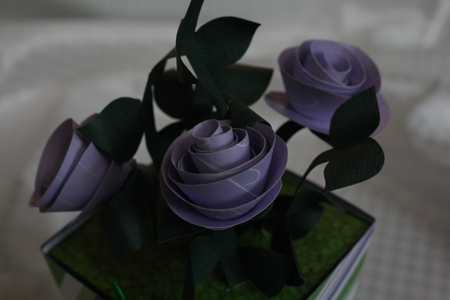
As displayed in last week’s post, you can combine these with the paper planter idea as well. You can also stick them onto cards, presents, and just about anything else.

