Sometimes crafting ideas descend from the highest planes of inspiration and creativity, floating down through the heavens to alight on one’s mind with delicacy and grace. Sometimes they come from other places entirely.
A coworker of mine shared this joke with us back in June, writing it on my boss’ white board. At first I could only think that it was an awfully strange version of an eye doctor’s chart.
Turns out, it’s a joke that must be spoken out loud, with a Newfoundland accent. It looks like this:
A buy, C D fish?
M R not fish!
O S M R fish. C D B D Is?
Whale oil beef hooked, M R fish!*
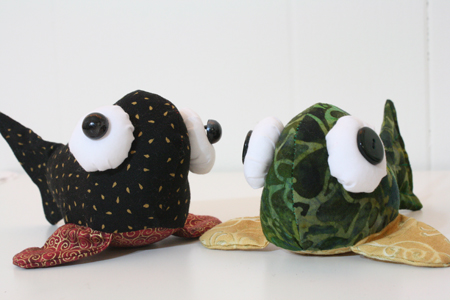
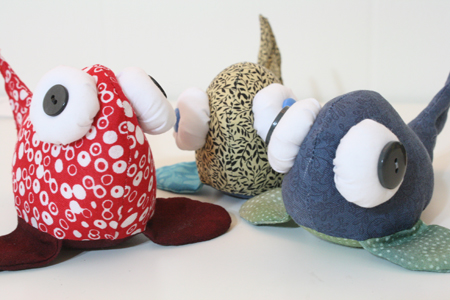
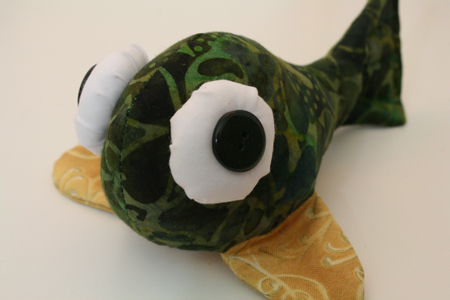
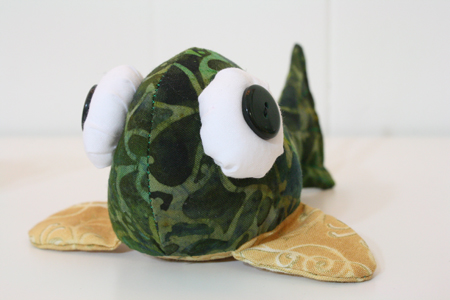
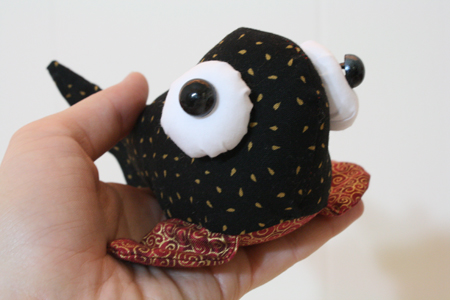
Y’know how sometimes a very silly joke causes you an inordinate amount of laughter? And then you can’t get the joke out of your head? That’s what this one did to me. “C D B D Is?” got lodged in my brain, repeating on a loop, until I was walking around picturing beady eyed fish everywhere I went. I decided that such beady-eyed fish would probably be a bit derpy looking, but also kind of cute. Which meant I needed to craft one.
*If you’re not getting it, here’s a hint: the second line should sound like someone saying, “See thee fish?”
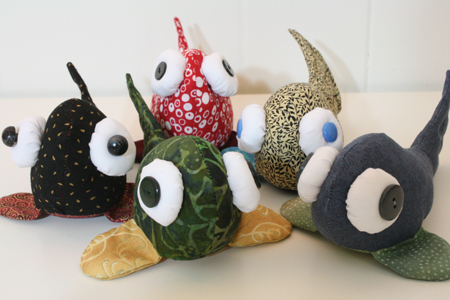
Note: The fish from this particular post are all available in my Etsy store, should your own homemade fish need more friends.
————————————–
What you’ll need:
- 2/3 different colours/patterns of fabric – this is a good chance to use up smaller pieces of fabric and, for the fins and belly, quite tiny scraps. My boyfriends mom gives me her quilting scraps, small pieces of gorgeous, colourful fabrics that are just perfect for this sort of project.
- a small piece of white, non-stretch fabric
- thread to match your fabrics, as well as white thread
- hand needle
- a large hand needle (at least 3-4 inches long) – these can be acquired in upholstry needle kits, bought at fabric or craft stores, or you can get doll maker’s needles, which are usually 5-7 inches long.
- fabric scissors
- straight pins
- one chopstick
- pen
- two matching buttons, beads or felt circles (for the eyes)
- polyfil or some other variety of stuffing (this can be found in any fabric stores, and most craft stores as well)*
- sewing machine
- beady-eyed fish pattern – number 5. under “Sewing patterns”
*scraps of felt, fleece, other fabrics or yarn can also be used as stuffing for many projects, but if you choose cotton or another thin fabric for your fish, I recommend sticking to proper stuffing to avoid a lot of lumpiness in the finished critter.
————————————–
Putting it all together:
1) Choose which fabric will be the body, and which fabric the belly and fins. Fold each piece of fabric in half, with the right sides together. (Before starting, iron your fabric if it is excessively wrinkled or creased. Ironing is a pain, but sewing with wrinkly fabric that folds up on you constantly is a bigger pain.)
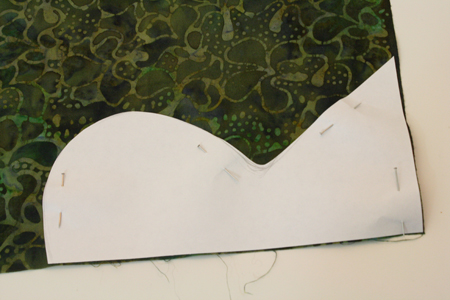
2) Print and cut out the pattern pieces. Pin the body piece to one fabric, the fins and belly to another fabric (or another two fabrics), and the eyeballs to the white fabric.
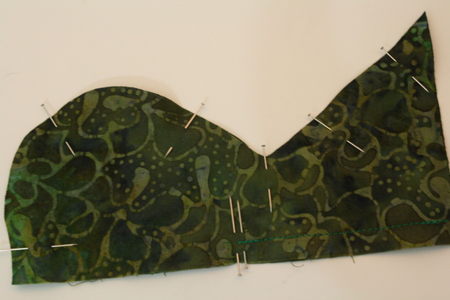
3) Cut around the pattern pieces. Unpin the paper patterns, leaving the fabric pieces together. Use a pen to make a small mark on the fabric that matches the lettered markings on the paper pattern (mark A and B on the fish’s body, and mark C on the belly).
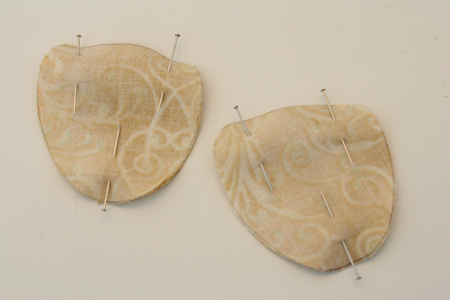
Pin the fabric pieces together.
Clear as a mudfish, right? You should have two body pieces pinned right sides together, four fin pieces, paired up and pinned right sides together, and one belly piece just hanging out all on its own. You should also have two circles cut from your white fabric, which will be the eyes, and which we will ignore for now.
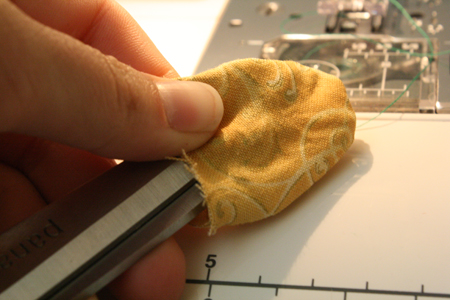
4) Sew each of the fins together around the U shape, leaving the tops open. Turn the fins inside out and use the tip of your scissors or a chopstick to poke out the edges so they’re smooth. Set the fins aside.
5) Sew the top half of the body pieces together, from the top of the tail to the bottom of the head (A to B). While sewing, match the edge of your presserfoot with the edge of the fabric for the correct seam allowance.
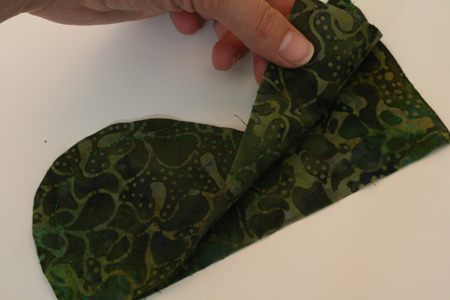
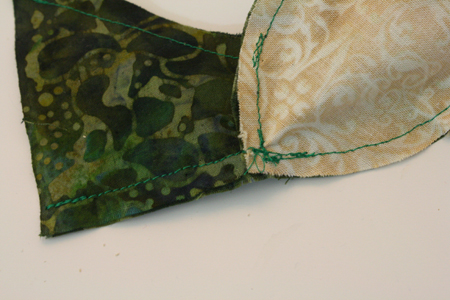
6) Pull the two sides of the body apart at the bottom. Take the belly piece, and match its tip (C) with the place at the front and bottom of the fish where the two body pieces come together.
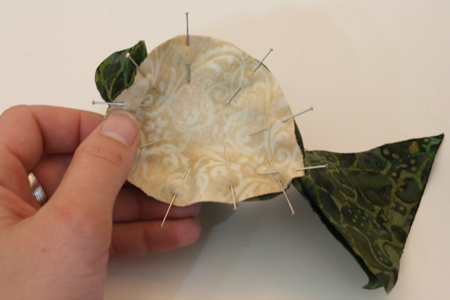
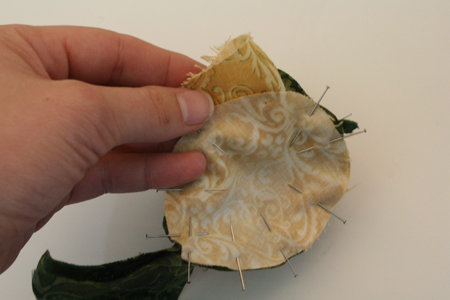
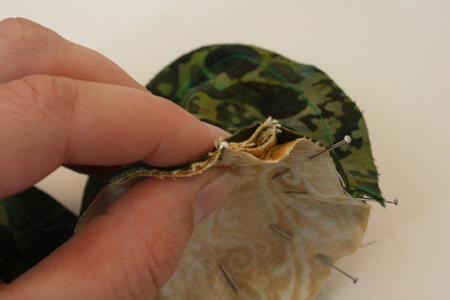
Put in a pin, then pin one side of the belly (right side of the fabric facing in) to one side of the fish, and the other side of the belly to the other side of the fish.
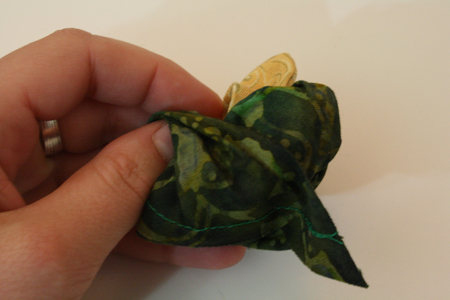
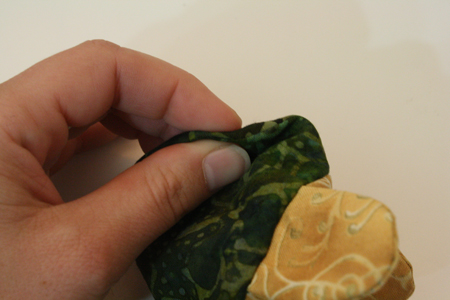
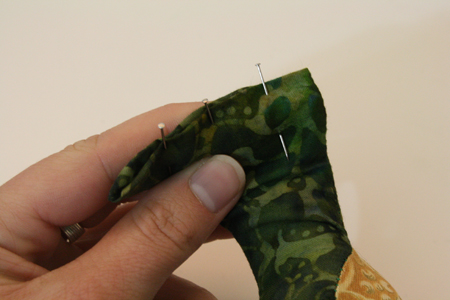
6) (You’ll need to remove a pin or two for this step, then put them back in again.) Insert the fins on either side of the belly, facing inward so they are completely hidden except for their top, raw edge. Match their edges with the edges of the belly and the fish’s sides, and pin all these layers together. Be sure the fins are in about the same place on either side of the fish.
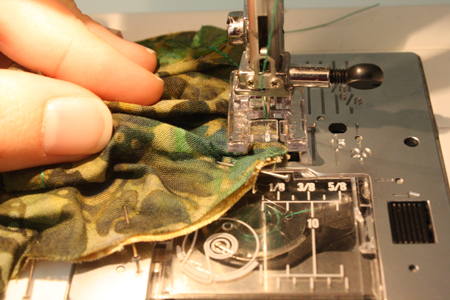
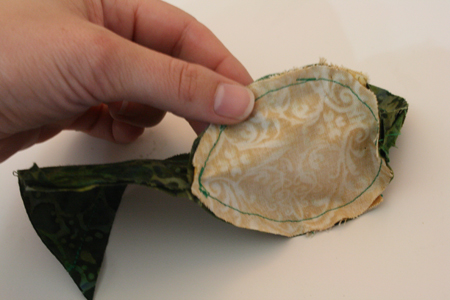
7) Flip the fish so it’s belly-down, and sew the edges of the belly to the sides of the fish, removing pins before you sew over them.
8) There will be a couple inches of fabric on the underside of the fish, along its tail just behind the belly, that are not yet attached. Pin the two sides and sew them together.
9) The back of the fish’s tail will still be unsewn. Use this opening to turn the entire fish right side out. Use the tip of your scissors or a chop stick to carefully smooth out the edges.
Another trick for smoothing the edges: roll the fabric along a seam between your thumb and forefinger, back and forth, until you can just see the stitches and the edge is smooth.
10) Stuff the fish. You’ll want tear your stuffing up into smallish bits, inserting them one at a time and packing them down with your fingers or a chopstick. I often use the end of of a chopstick to help push stuffing into small areas, and even the stuffing out. Use your fingers to smooth any lumps, and make sure you stuff the fish nice and full. You’ll be surprised how much stuffing will fit in there.
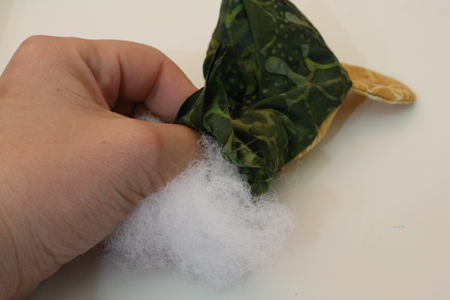
Stuff the body, and the narrow section that connects the body and tail. Then put only a small amount of stuffing in the tail, spread out a bit so it’s more like a layer of quilt batting.
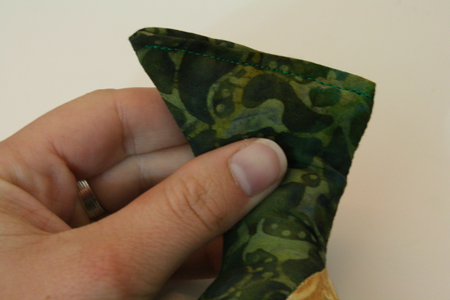
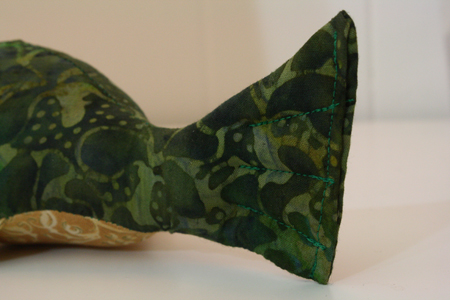
11) Tuck the raw edges of the tail inwards and pin the opening shut. Sew along the back line of the tail. Then sew three short lines from the end of the tail inward.
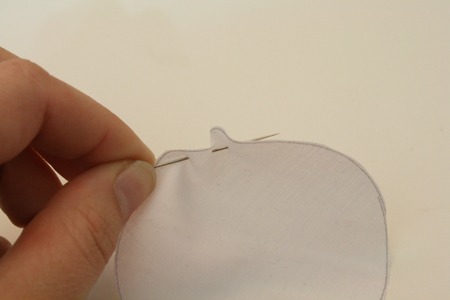
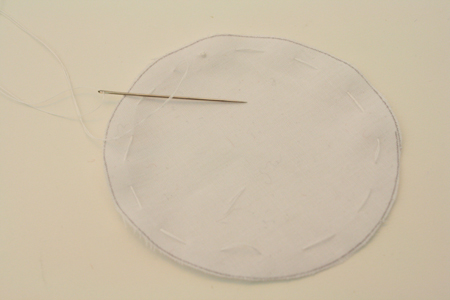
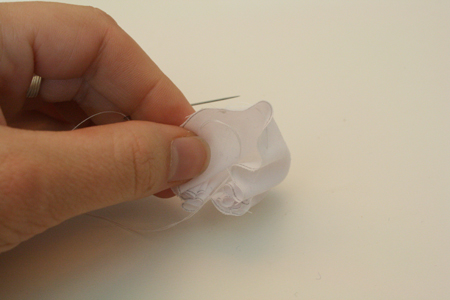
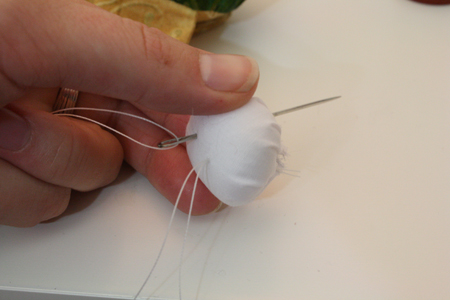
12) Set the fish aside. Grab one of your white circles and your needle and white thread. Thread the needle, knot the thread, and insert it about 1/8 inch from the edge of the circle. Using large, wide-apart stitches, sew all the way around the circle. The fabric may bunch up as you sew – that’s perfectly fine.
When you’ve gone all the way around, make sure the needle is on the outside of the fabric. Do not knot or cut the thread.
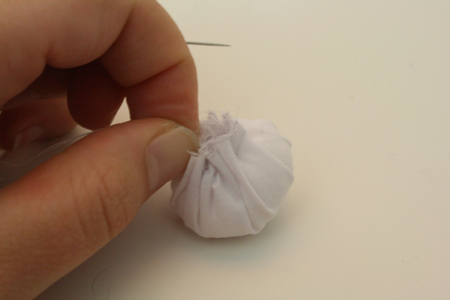
13) Grab a small bit of stuffing and ball it up. Place it in the center of the white circle, and hold it in place with one hand as you pull gently on the dangling needle and thread with the other hand. The fabric will close up around the stuffing. Add more stuffing if needed.
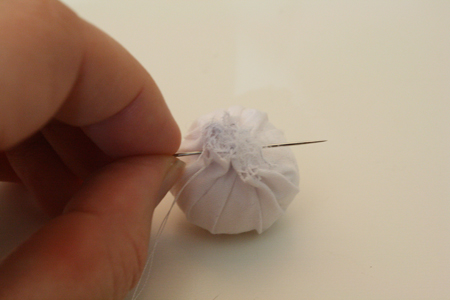
14) Pull the thread as tight as you can without breaking it. Hold the resulting white ball tight in one hand, so the thread doesn’t loosen and the top doesn’t come open. Stitch across the opening a few times, keeping everything tight, then knot your thread.*
*To knot your thread: insert the needle into a previous stitch and don’t pull the thread quite all the way through. There should be a loop of thread left. Put the needle through that loop, then pull it tight. Repeat this another two times, then cut the thread.
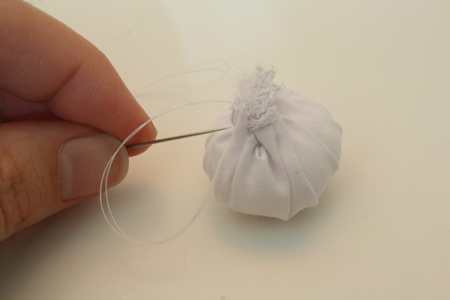
15) Repeat with the other white circle, to make the other eye.
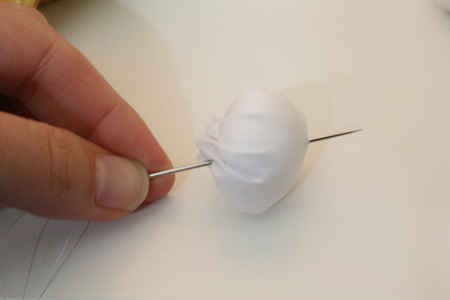
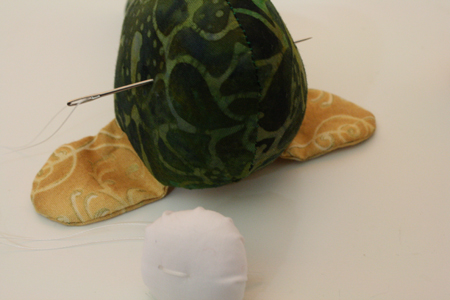
16) Thread your long needle with a double length of white thread. Insert the needle into the back of one eyeball (where the ruffled up closure is) and push it through to the front of the eyeball, slightly off center.
17) Make a stitch across the front of the eyeball by inserting the needle into the front of the eyeball a short distance from where it came out, and through to the back again.
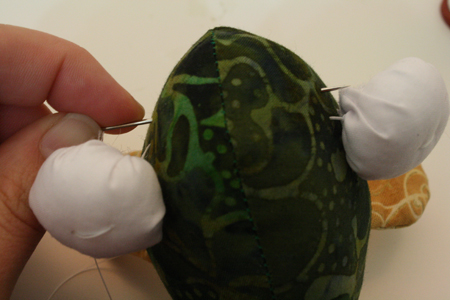
18) Insert the needle into one side of the fish’s head, and out through the same spot on the other side of the head.
19) Repeat step 16 with the other eyeball. Insert the needle into the back of the eyeball and out the front, then into the front of the eyeball and out the back.
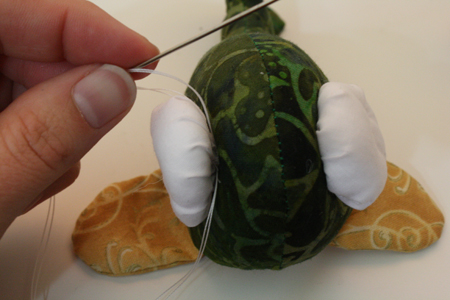
You should now have a length of thread running through the fish’s head, with an eyeball dangling from either side. This is fun, isn’t it?
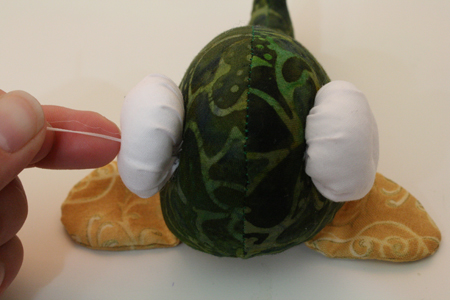
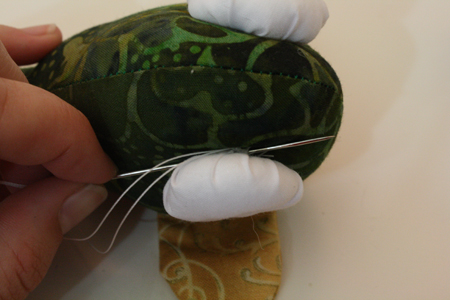
20) Pull the thread fairly tight. Insert the needle through one eyeball, through the head and out through the other eyeball. Then go back the same way. Try to keep the thread tight.
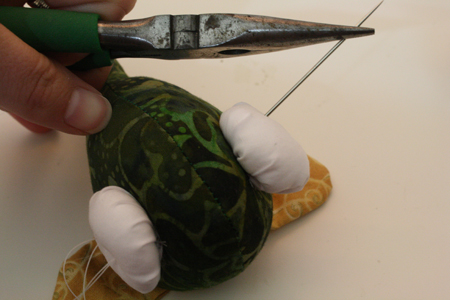
Sometimes, especially if the needle is only just long enough for this, it gets difficult to pull the needle through all those layers and all that stuffing. If the needle gets stuck, grap a pair of pliers with a good grip and use them to pull the needle through. Handy little trick I use quite frequently.
21) When you have done this three or four times, pull the thread nice and tight. And I really do mean quite tight, though not tight enough to break the thread. It should pull the eyeballs inward, even denting the head slightly.
Insert the needle through one eyeball but not through the head. Push the needle through a patch of thread and fabric behind the eyeball. Don`t pull the thread all the way through – there will be a loop of thread left. Put the needle through that loop, then pull the thread tight. Repeat this two or three times, then trim the thread.
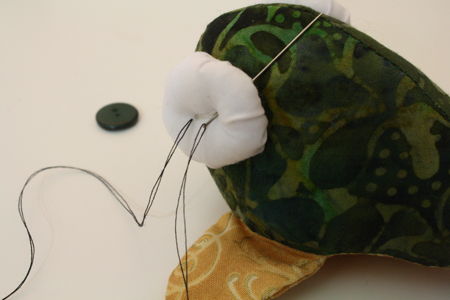
22) Use a smaller needle and thread to add the buttons or beads (or felt circles) to the middle of the eyeballs, for pupils. You can do this at the same time as you sew the eyeballs on, going through the button or bead each time you go through an eyeball, but it can be a bit trickier (since you have to get the needle exactly through that small area where the button`s hole is).
23) Make a line of beady eyed fish. Talk to them. Tell them they are fish. Line them up on coworker`s desks while they`re not looking. And C D B D Is!

