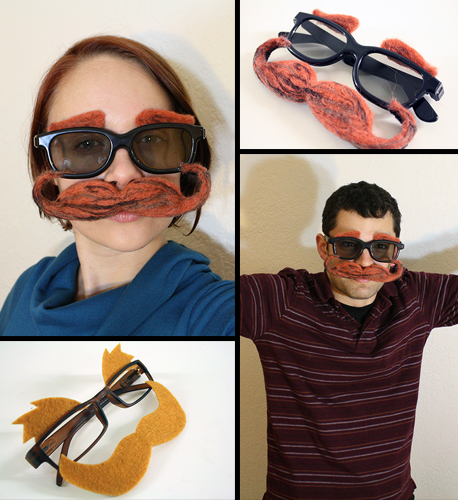
It occurs to me that if I’d taken all the time I’ve spent on small, bits-and-pieces Halloween-y costume pieces this year and put it together, I could have actually had time for making a proper, full on costume. But then I’d have had one costuming blog post instead of three. Plus I’ve discovered a brilliant use for those silly 3D movie glasses, which I feel makes up for everything.
Since the first time I ever put them on, 3D movie glasses reminded me of those cheap plastic false-nose-and-moustache glasses you find in party stores and joke shops. I wondered if I could use the 3D glasses to make my own version of those cheap disguises. Because it would be fun, and because, having paid $15 to get into the 3D movie, I rather wanted to keep the silly glasses and do something interesting with them.
It was making a false nose that was giving me a lot of trouble, not because it’s impossible, but because I wanted to keep this project simple, and not involve finicky, time-intensive paper maché sculpting or anything like that. The nose on the traditional glasses disguises is pivotal, because it’s what holds the moustache in place. Then I realized that you don’t necessarily need a nose, you just need a really impressive moustache. One that curls all the way up to attach to the glasses themselves. Which provides the double benefit of you breathing more easily and having a really impressive moustache.
——————————————
What you’ll need
Materials:
- raw wool rovings in your moustache colour(s) of choice*
- thread, yarn or embroidery floss matching your wool colours*
- wire or a nice long pipe cleaner
- a pair of plastic 3D movie glasses or any other cheap fake glasses you care to use (warning: you’ll be gluing stuff to these glasses, so don’t use a pair you want to use for anything else ever again.)
- superglue or a hot glue gun
- thick foam* (for doing your needle felting on top of)
- felting needles* (2-3 is a good number. Then you can felt with 2 at a time, which makes it go faster, and you have an extra in case you break one. Felting needles come in multiple sizes, and a medium or large needle is probably what you want for this project. Small sized needles can be used, it’ll just take longer.)
- wire cutters or a pair of pliers that have a wire-cutting edge at the back, or a pair of old, wrecky scissors.
- my moustache-making tutorial from 2010
- fabric scissors
- coloured felt
- craft foam, card stock or thin cardboard
- pencil
——————————————
Putting it all together
If you want to make the quicker, simpler, does-not-involve-needle-felting version of this project, follow the steps below. For the fuzzier, more complex (more stabby, wheeee!) version, skip down a bit past these first 5 simple steps to the next section.
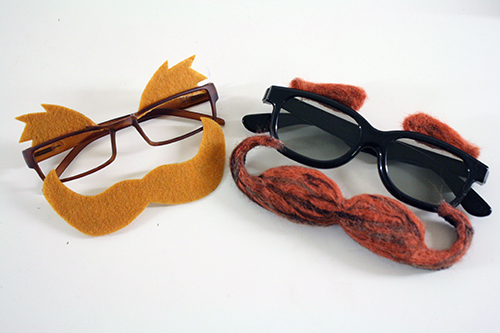
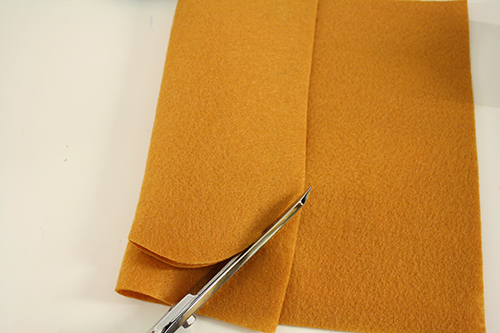
1) Fold your piece of felt in half, and cut half a moustache shape from it, where the tips of the moustache curl upwards. You might want to do this with a piece of paper first, so you can make adjustments and resize it as needed. With the sitting beneath your nose, the tips of the moustache should just overlap the bottoms of the glasses as you wear them.
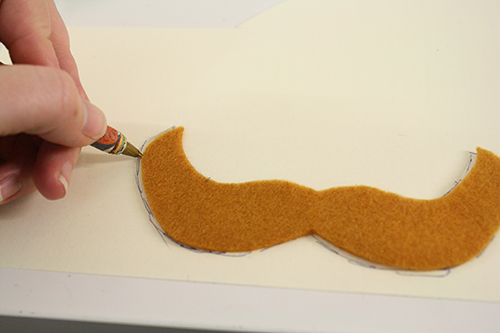
2) Unfold the felt (you should now have a symmetrical moustache), and trace it onto your card stock or cardboard or craft foam.
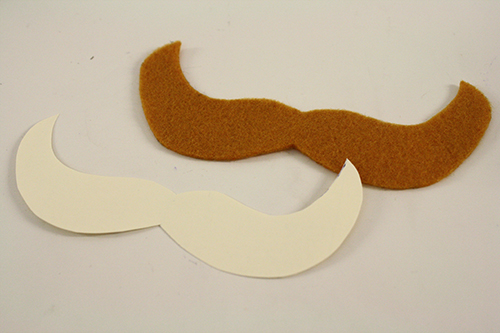
3) Cut that shape out, cutting a little in side the lines so it’s smaller than the felt moustache shape.
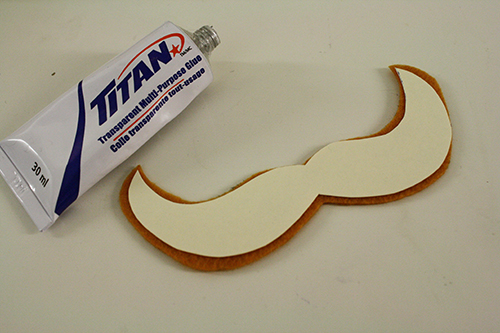
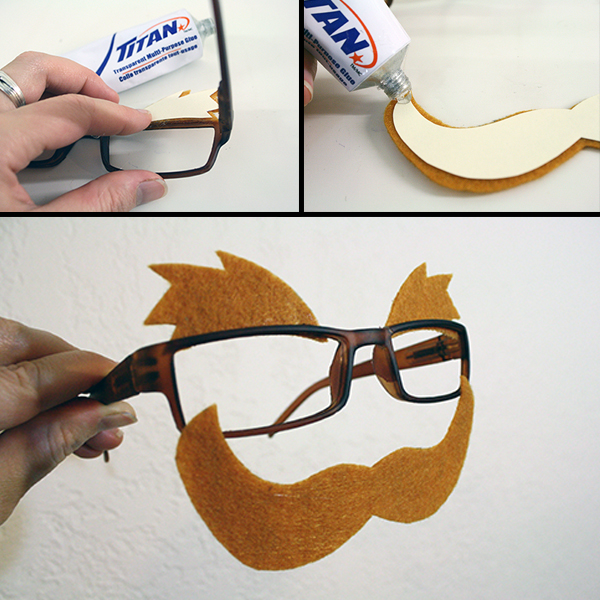
4) Glue the foam/card stock/cardboard moustache to the back of the felt moustache.
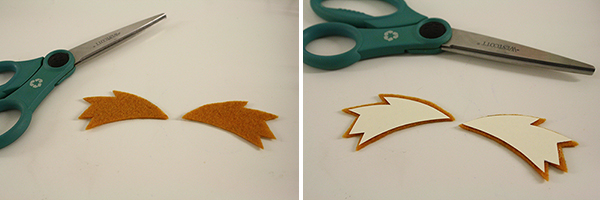
4) Cut out two eyebrow shapes, trace them onto foam/card stock/cardboard, and cut those out. Then glue the foam/card stock/cardboard to the back of the felt eyebrow shapes.
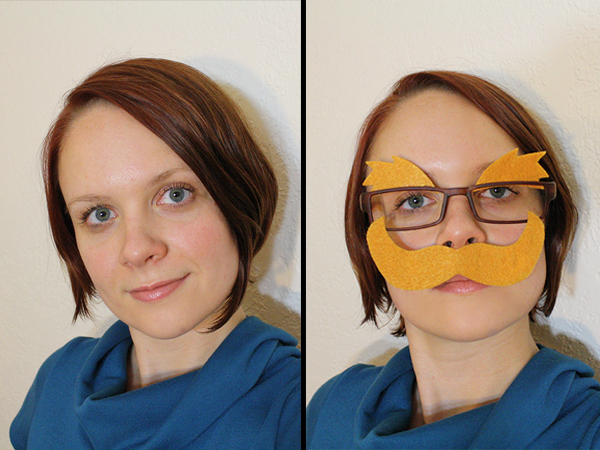
5) Now use some superglue or hot glue to attach the tips of the moustache to either side of the glasses. Glue the bottoms of the eyebrows to the top and back of the glasses. And voila! The perfect disguise.
Obviously the glasses here are not 3D movie glasses. They’re actually the frames to my boyfriend’s old cheapo glasses, which broke, so he threw them away, and I immediately yanked them out of the trash thinking one day I could do something craftsy with them. And today is that day.
——————————————
The more complexicated, fuzzier version
For this version, we’re going to start by going through several steps from my 2010 moustache-making tutorial to create a moustache and bushy eyebrows (don’t worry, it’s pretty simple, plus you get to stab stuff).
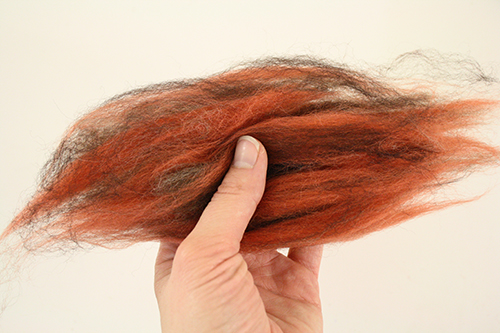
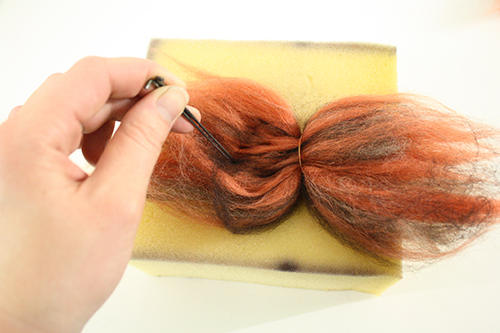
1) Start with a strip of wool roving a bit longer than you’d like your moustache to end up. You may want to mix a couple of colours together, or you can just use one. You’re going to want this particular moustache to be quite large, and you’ll need it to curl upwards rather significantly on either side. So use a fairly long piece of wool roving. You can always trim it down if it ends up being too long.
Note: If you haven’t worked with wool rovings before, know that you do not need to cut them with scissors. Just place your hands about 6 inches apart from each other along the rovings, and pull. If the rovings don’t come apart fairly easily, move your hands a couple inches further apart and try again.
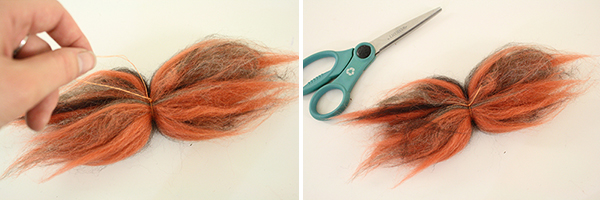
2) Tie a piece of similarly coloured yarn or embroidery floss around the middle of your rovings. Trim the ends and, with a few stabs of the needle (Note: do this and all other needle felting on top of your thick foam), mix the ends in with the wool. This is the back side of your moustache.
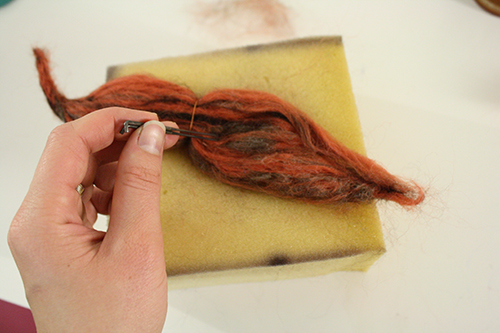
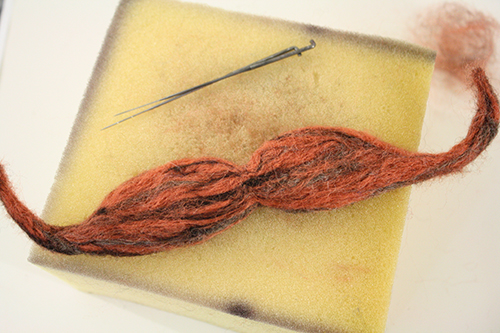
3) Flip the roving over. From now on you will only felt from this side. Stab the wool repeatedly, getting it to felt together and take the shape you wish your moustache to have.
If you haven’t needle felted before or are pretty new to it, you might want to have a quick read through some of my other basic needle felting tutorials here and here for some tips and details on the process. And later you can go over here and needle felt some creepy Halloween eyeballs…
4) Now EITHER add a little more wool over the front middle of the moustache where the yarn/thread/embroidery floss shows. Tack it down with your needle to cover up the yarn.
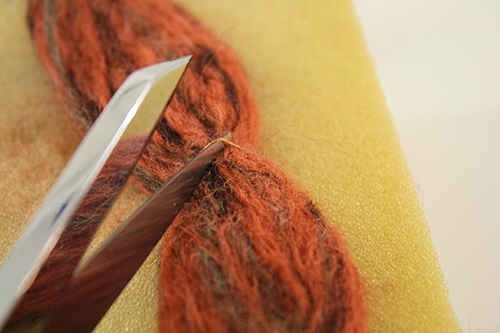
OR just cut the yarn or thread or whatever you used away entirely. If you’ve needle felted the moustache well, it won’t need the yarn to hold it together any more.
5) Now set the moustache aside, and get two smaller bits of wool roving that are about the same size as each other. These will be your eyebrows. You need much less roving for these than for the moustache, unless you want your eyebrows to be super bushy. Which is fine.
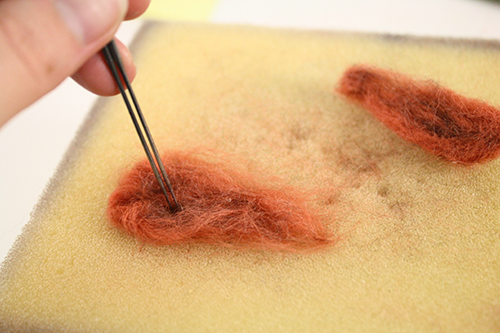
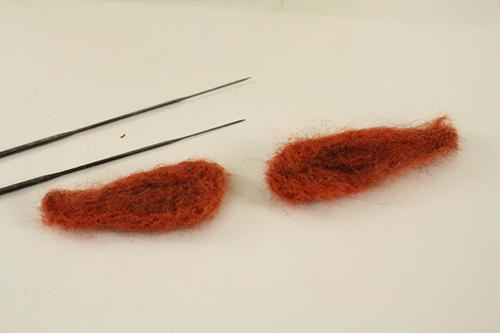
Forget the string in the middle, but apart from that follow the same needle felting process to create and shape each eyebrow. With these guys, you’re probably going to want to tuck the wispy bits at the ends of the roving in a bit (just fold them inwards and stab them down with the needle). You essentially want to make two little flattish mats of wool, shaped however you want your eyebrows to be shaped. When you’ve got the eyebrows basically how you want them, you can felt a bit of extra loose rovings onto the fronts of each eyebrow, to make them a bit bushier and wispier and generally more realistic. Ish. Realistic being a relative term with eyebrows as bushy as these.
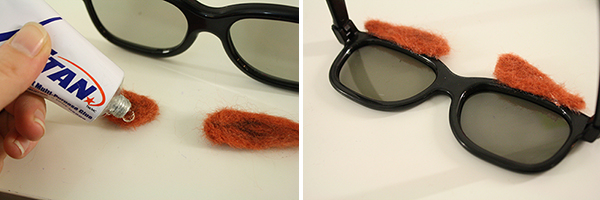
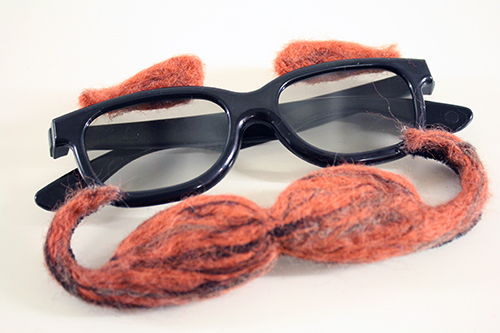
6) Apply a thin line of superglue or hot glue to the front side of each eyebrow, right along its bottom edge, and stick them onto the top of the glasses, on the backs of the frames so the glasses overlap the eyebrows. You may have to hold them in place for a minute or two before the glue sets enough that they’ll stay put on they’re own.
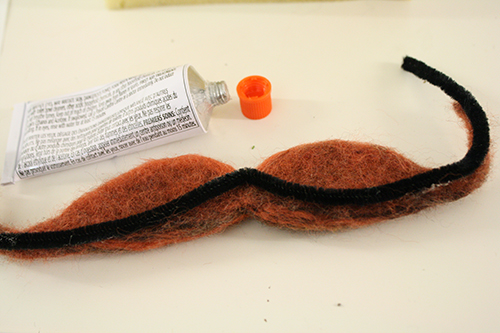
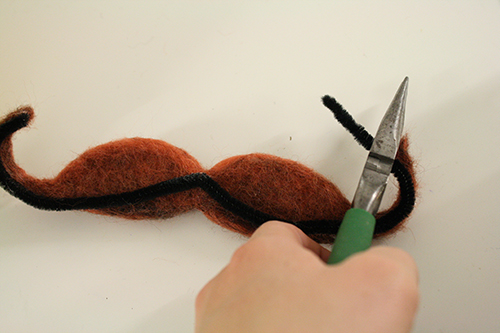
7) Grab a pipe cleaner and bend it to match the shape of your moustache, except make sure the pipe cleaner curls up far enough to sit below your nose where the moustache should, with the ends reaching all the way up to and just over the bottom rim of the glasses as they perch on your face. Glue it in place.
I found the best way to do this was to bend the pipe cleaner to about the right shape, glue it down, bend it a bit more, let it dry, and then bend and shape it and the moustache a bit more precisely.
Use your pliers or old scissors to trim the extra pipe cleaner from either end of the moustache.
Let this dry thoroughly before moving on to the last step.
8) Now use some superglue or hot glue to attach the tips of the moustache to either side of the bottom of the glasses.
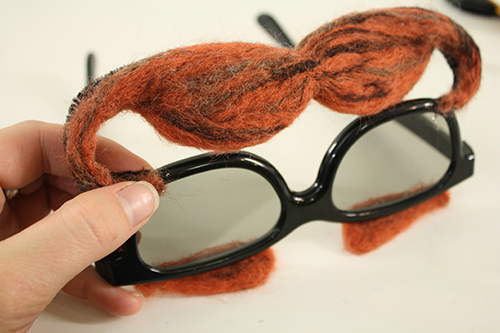
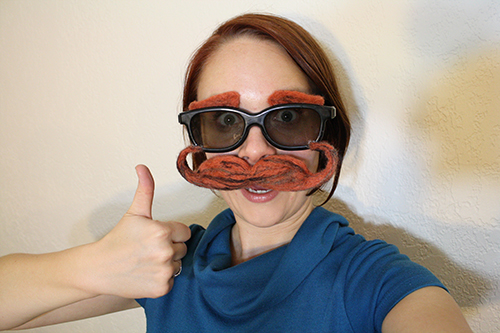
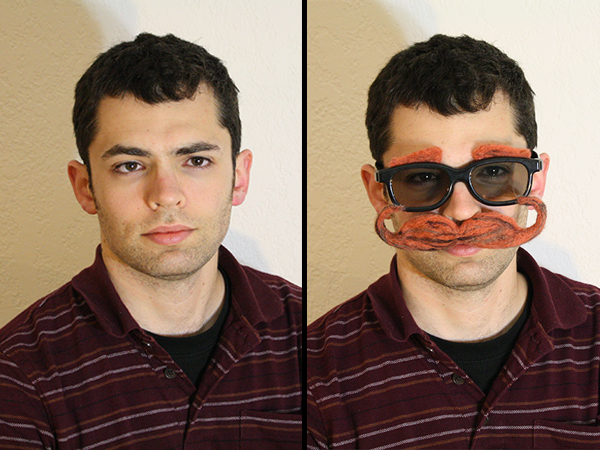
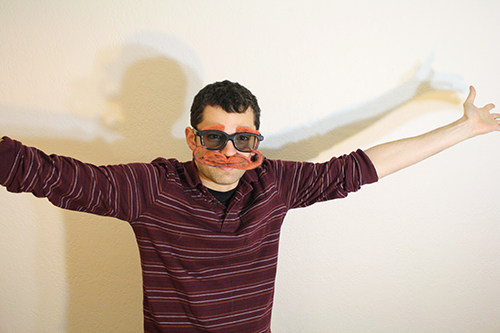
9) Voila! The perfect perfect disguise.
Note: if the 3D lenses bug you (they’re darkened, and make things a bit wonky if you look at computer or smart phone screens, for example), you can probably just pop them out, and just use the glasses frames.

