
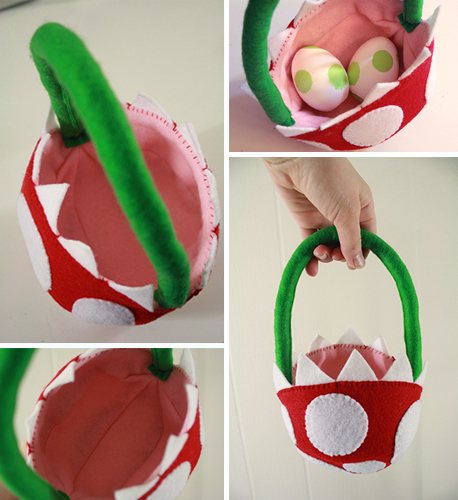
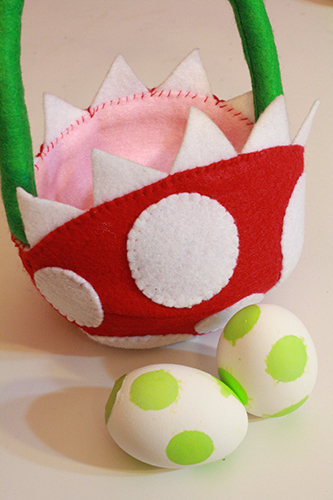
In a season already focused on the themes of resurrection and giant rabbits that hide chocolate everywhere, how weird is it really to make a basket with teeth? I say not all that weird. Whether for your Easter chocolates or to hold yarn supplies, make yourself a stylish Piranha Plant basket. Maybe all those teeth will get finally the message across to your housemates to stop nibbling the ears off your Easter bunny. Though of course, the basket itself might devour your bunny instead…
It also occurs to me that you clever crafters out there could find a way of mounting this on a good solid stem from underneath, and creating quite an eye catching candy dish for the coffee table. Now there’s a side tutorial for another day…
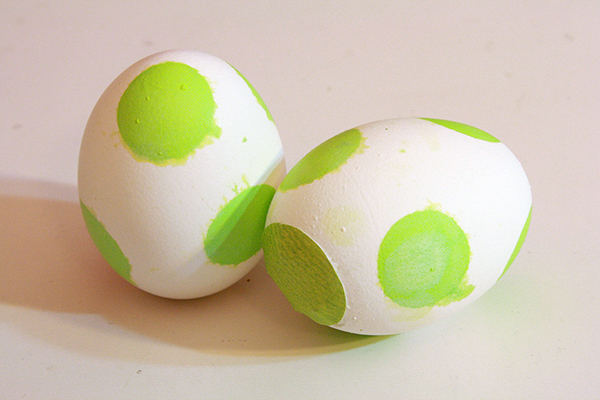
In addition to the basket, I’ve written a tutorial for dying Yoshi eggs, which is exclusive to my wonderful Patreon supporters! To become a Patreon supporter, simply head over to my Patreon page and pledge any amount you wish. You’ll be charged that amount for each full tutorial I post (not including bonus tutorials like the Yoshi eggs), which happens every other week. Any pledge of just $2 or more per tutorial will get you access to sweet bonus content like the Yoshi egg tutorial and more!
———————————————
What you’ll need
materials:
- two 11×8.5″ sheets of red felt
- two 11×8.5″ sheets of pink felt
- one 11×8.5″ sheet of green felt
- one 11×8.5″ sheet of white felt
- red, pink, green and white* thread (*the white is not required if you choose to glue the Piranha Plant’s spots on instead of sewing them.)
- 1 sheet of white or light coloured card stock
- glue – this can be anything from white glue to even hot glue from a glue gun. Yes, this is one of the only times I will support use of a glue gun. It actually works fairly well on acrylic felt.
- wire or a couple of pipe cleaners
- stuffing – just a very small amount
- Piranha Plant basket pattern – number 21. under “Sewing patterns” on the Patterns page
tools:
- straight pins
- fabric scissors
- sewing machine
- hand sewing needle
- pencil or pen
- paper scissors
- needle nosed pliers
- a chop stick
———————————————–
Putting it all together
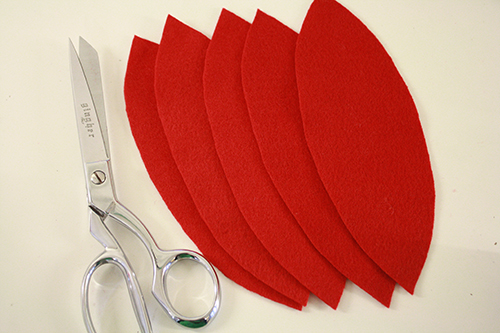
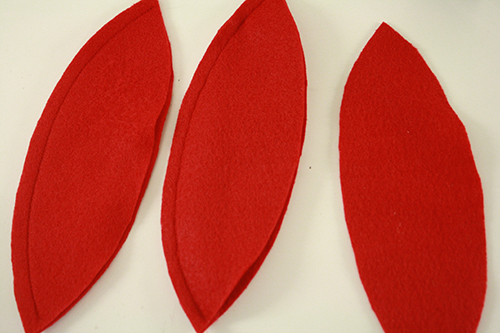
1) Begin by printing out the basket pattern and cutting out the pieces. Then, cut out 5 of the larger pointy ended oval shapes from red felt.
2) Line up the edges of 4 of the red pieces, and pin them together along one edge.
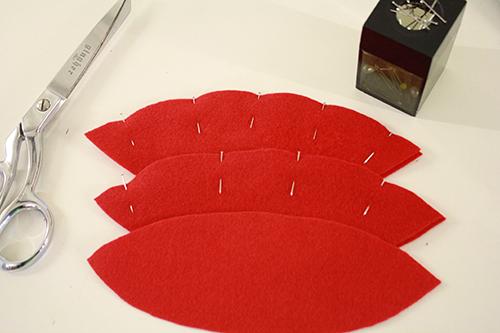
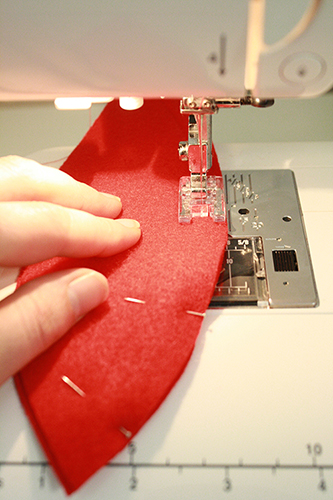
3) Put red thread in your sewing machine, and sew the pinned edges together, with the edge of your presser foot matching up with the edge of the felt.
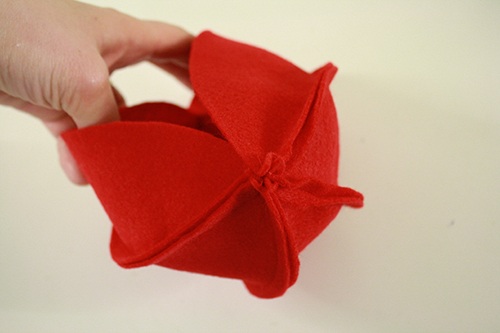
4) Pin the remaining red piece to the edge of one of the sewn-together red pieces. Sew along this pinned line, again keeping the edge of the presserfoot lined up with the edge of the felt. Then pin the two sections of red felt together along two of their open edges and sew them as well.
So now you should have something that looks like this:
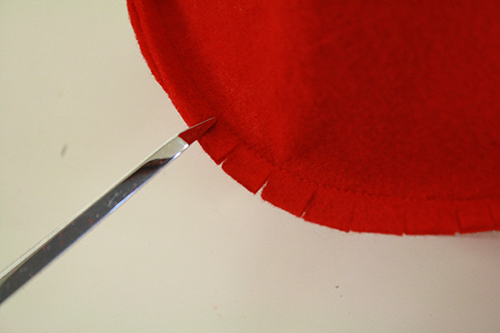
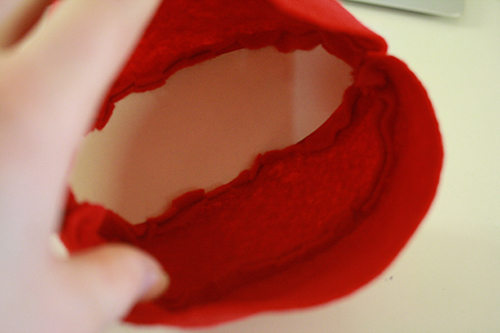
5) With the tip of your fabric scissors, cut little slits up to (but not through!) the lines of stitching along these curved edges.
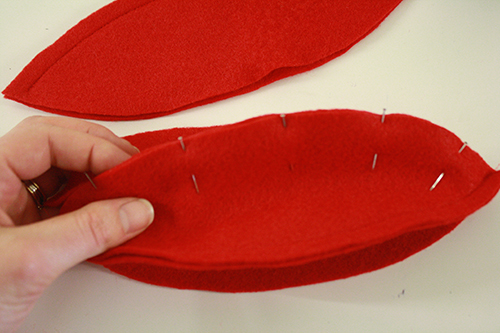
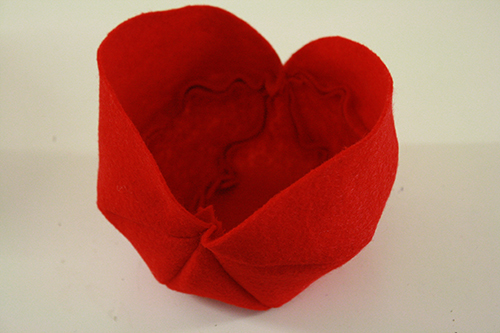
6) Turn the whole thing right side out and voila, you have the outside shell of your basket:
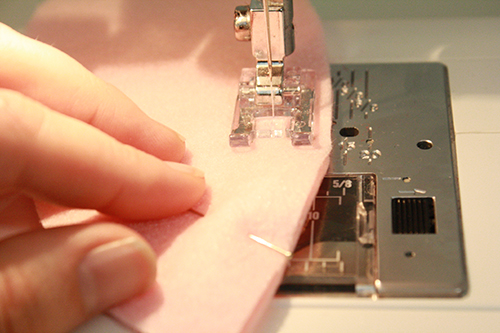
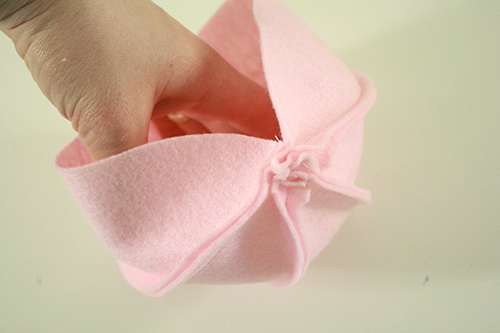
7) Now cut 5 of the same pointy ended oval pieces from pink felt, and do the exact same thing with them, except:
When you are sewing the pink pieces together, leave about 1/8 inch between the edge of your presser foot and the edge of the felt, like so:

8) When all the pink pieces are put together, trim the sewn edges of them down to about 1/8 inch from the stitching.
When finished, you should have something that looks like this:
9) Now trace and cut 5 of the smaller pointy-ended oval pieces from card stock.

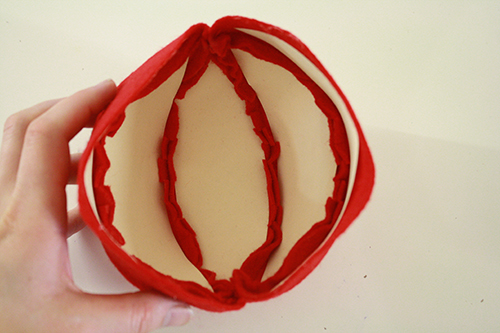
10) Apply glue to one side of a card stock piece, and glue it between the seams of one of the sections on the inside of the red basket piece you created.
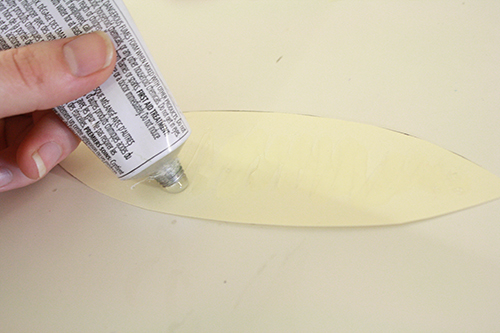
Repeat, gluing one of the card stock pieces inside each of the red basket sections.
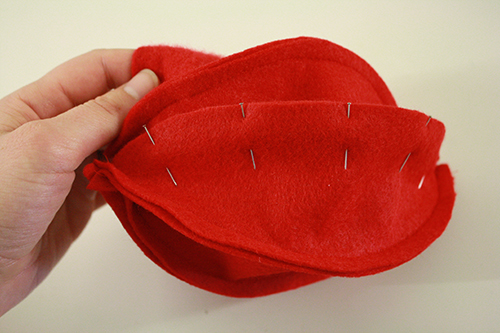
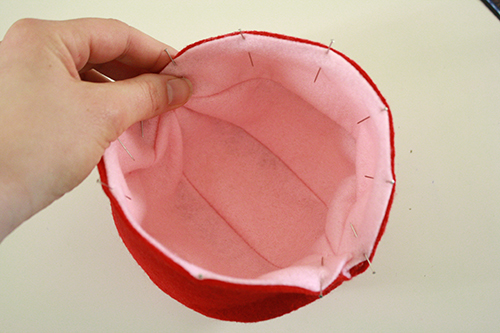
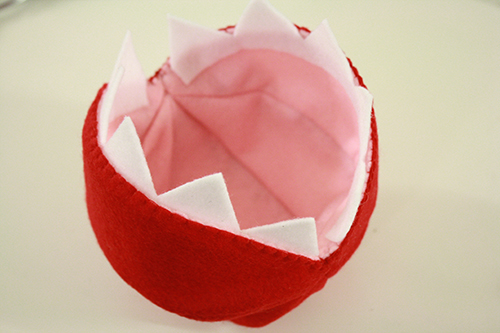
11) Take that pink basket piece, which still looks inside out with the seams showing on the outside, and fit it inside the red basket piece, lining up the edges and corners. Match up the edges and pin them together in a couple places.
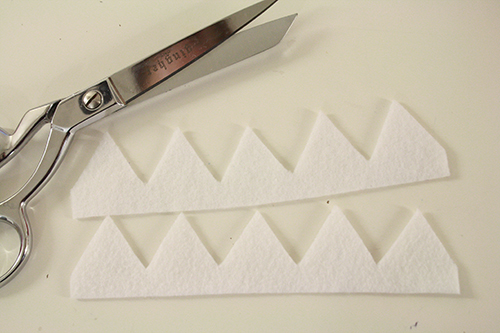
12) Cut two of the tooth pieces from white felt.
13) Now you have a couple options. For the tidiest (but a little more work intensive) look, skip this step and go on to step #14. Otherwise, thread a needle with some red thread and do a whip stitch (just in one side and out the other, repeat) all the way around the top of the basket, sewing the red exterior and pink interior together.
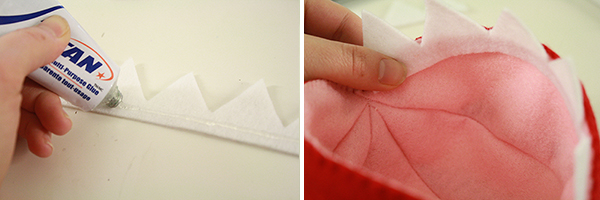
Then, apply some glue to the bottom of each of your tooth pieces, and glue them along the inside edge of the basket.
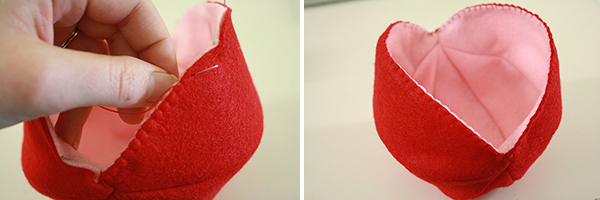
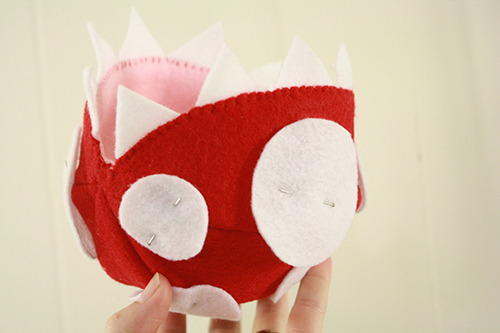
14) For a tidier look where you can’t see the teeth on the inside of the basket, WAIT to stitch the basket’s top edge together. Insert the teeth between layers of red and pink felt and pin through all three layers (interior, teeth and exterior) to hold it all in place.
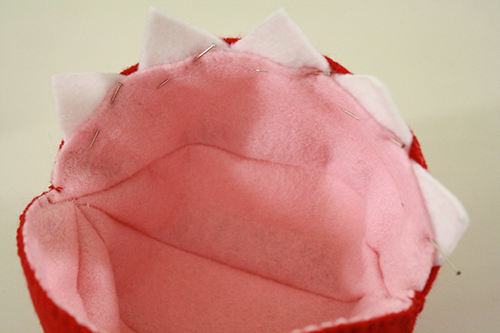
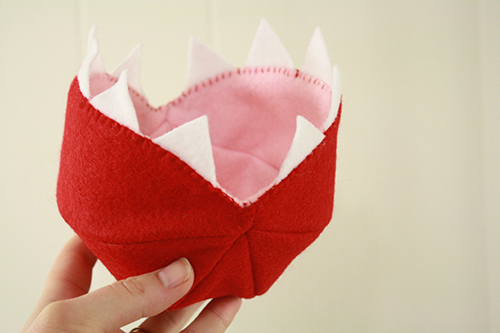
Then stitch around the top of the basket, going through the teeth to sew them and the basket layers together.

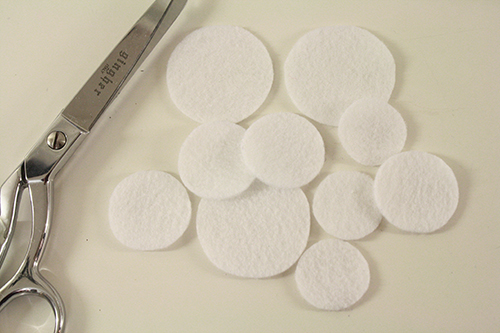
15) Time for spots! Cut several circles of various sizes from white felt. Number of each size is suggested on the pattern page, or just cut a bunch and see what fits.
16) Loosely pin the circles all over the basket to make sure everything is laid out and fits the way you want it to.
17) Now you have a choice. You can do this the easy and quick way, or the hard and slow but nicer looking better lasting way. Pros and cons to both, as you can see.
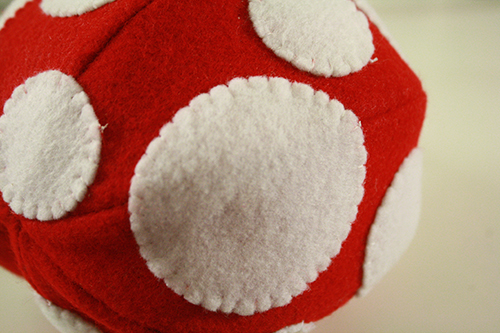
The easy and quick way is to glue the circles in place. Easy peasy, nice and fast, and really they’ll probably stay on there just fine long term.
The hard and slow way, which of course I had to go and choose, is to use a whip stitch to hand sew each circle on. It gets particularly tricky because of the stiff card stock holding the basket in shape, so it’s harder to angle the needle the way you need to. But it can be done!
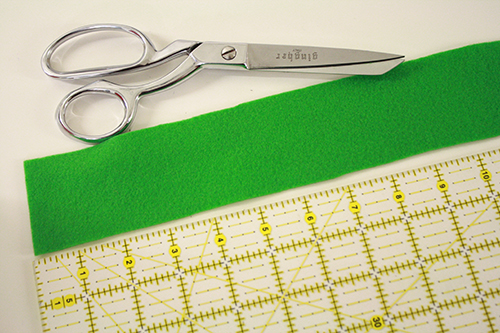
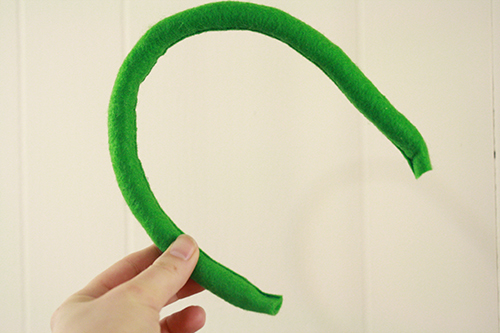
18) That’s the basket done! Now for the handle. Cut a strip of green felt 2 inches wide and about 16 inches long OR if you don’t have that long a piece of green felt, cut 2 pieces 2 inches wide and about 8.5 inches long and sew them together in the middle to make one long strip.
19) Fold the green felt strip in half and pin it. Sew along its long pinned edge with the edge of your presser foot matching up with the edge of the felt.
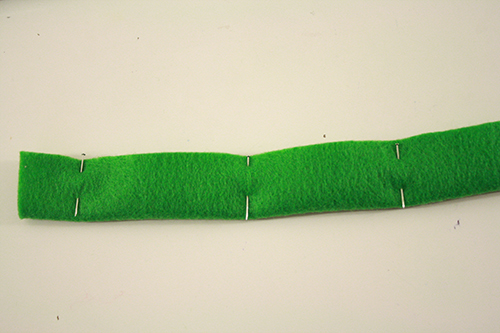

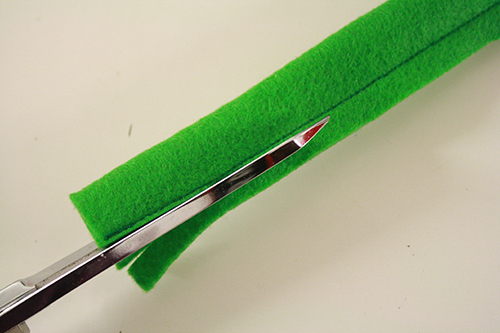
20) Cut the felt as close to the edge of the stitching as you can without cutting through or otherwise compromising the stitching. Now you have a long empty tube of felt.
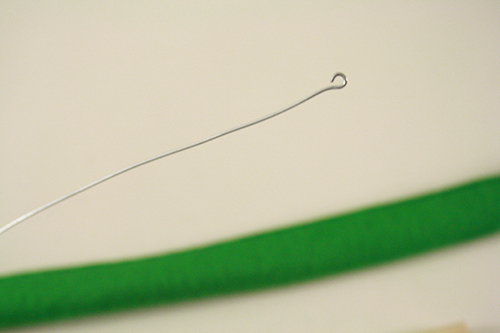
21) Cut a piece of wire a little shorter than your felt tube, and use your needle nosed pliers to make a little fold or loop at the end, so it’s not sharp and pointy.
Or twist some pipe cleaners together to give you a double width and adequately long line of pipe cleaners, and fold their pointy ends over.
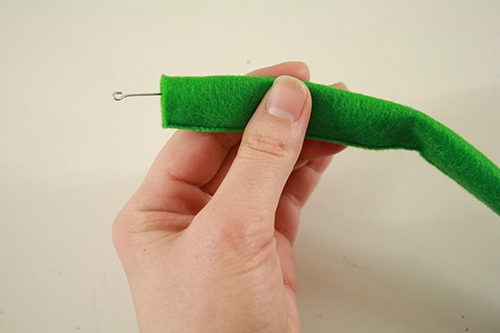
Insert the wire into the felt tube, but leave about an inch of wire sticking out so you can hold onto it while you stuff the tube.
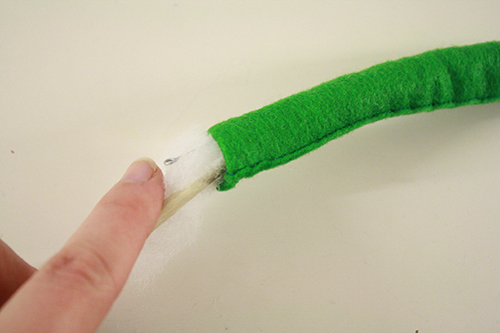
22) Now use a chop stick to push bits of stuffing into and along the tube, stuffing its entire length fairly firmly. Keep hold of the wire till you’re done or it’ll get pushed in and out the other end of the tube. Don’t stuff quite all the way to the ends of the tube – stop about 3/8 inch from either end.
23) Once the tube is stuffed, push the wire all the way in and bend the tube into a curved handle shape.
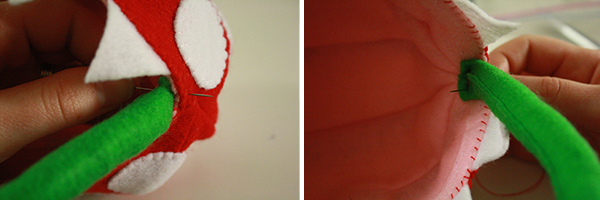
Pin one end of the handle to the inside corner of the basket’s mouth, and use a sewing needle and some red thread to put a couple of stitches through the bottom of the handle and the basket, holding it in place. Do the same thing with the other end of the handle.
24) Fill with goodies and enjoy!
To see my tutorial on dying Yoshi eggs – which would look marvellous in this basket, I must say – you can simply head over to my Patreon page and become a regular supporter of this blog! You can pledge any amount you like, even just a few cents, and it all helps me to realize my dream of creating and to keep bringing you quality crafting content. Any pledge of $2 or more per tutorial will get you access to sweet bonus content like the Yoshi egg tutorial and more.