I’ve started rubbing my hands happily at work anytime we use up another roll of packing tape, because it means I have a new craft supply. I positively pounce on the empty cardboard tabe tubes before they can hit the recycling bin. They come home with me and are turned into darling little paper-covered boxes. They’re wonderful for gift giving, storing jewelry or other small items, hiding those little spring-loaded peanut-can pop-out snake things in… (Anyone else remember those from childhood? What the heck do you call them?)
This project has been tried and tested and proven to be a wonderful any-season bit of crafting. By which I mean, I started the tutorial in December, because gift boxes are handy right around Christmastime, but I’m only getting it posted now, but guess what, these boxes are just the right size for some fancy Valentine’s chocolates, or a plethora of those horrible chalky candy hearts! (Stay tuned for more on that topic next tutorial…) Later on there’s Easter chocolate, and birthdays and anniversaries get scattered throughout the year, so I say just make a couple boxes and tuck them away for whenever they’re next needed.
———————
What you’ll need
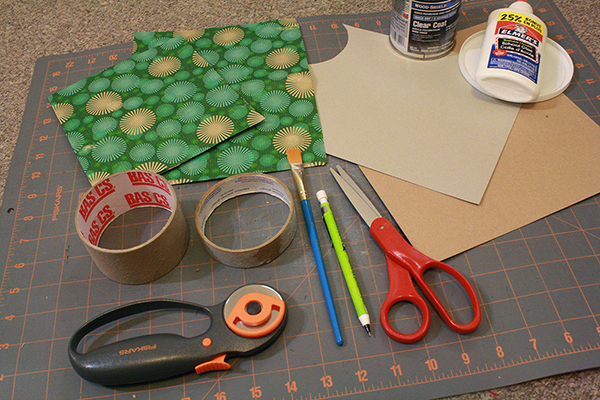
materials:
- 2 empty cardboard tape rings – the thick cardboard rings that are left when you use up a roll of packing tape or duct tape. Your two rings MUST be the same size around (the do not have to be the same height however).
- leftover wrapping paper
- cardboard – medium thickness, so it’s pliable but not super flimsy. Something like cereal box cardboard would work
- white glue
- [optional] stronger glue, like Titan gel glue, which is my favourite glue for just about anything
- [optional] acrylic paint to paint the inside of your box, covering up the cardboard and giving it a more polished look
- Mod podge or varnish (or you can probably get away with just using a coat of white glue over the finished box – it dries clear)
tools:
- paper cutter OR ruler + pencil + scissors
- pencil
- medium sized paint brush
- small plastic lid or container (For dumping glue on in order to get it onto your paintbrush. Or you can just use a corner of your cardboard scraps.)
———————
Putting it all together
This is one of those projects where I realized while doing it that there was a better order to do the steps in, so some of the steps will have pictures from two different projects to properly illustrate what steps to do, because on my first run-through I did it in all the wrong order.
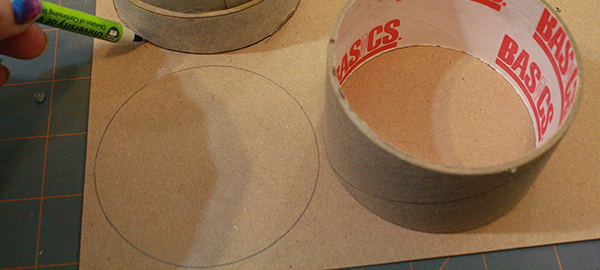
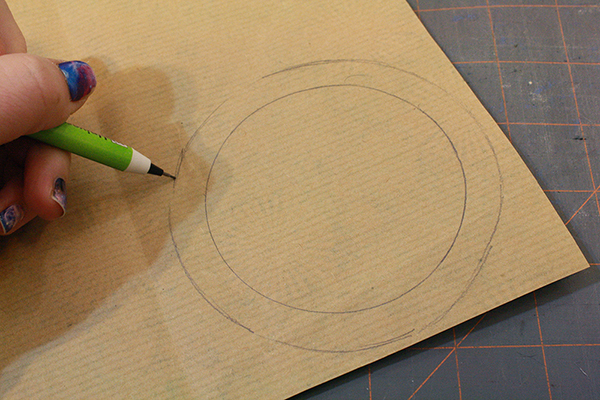
1) Start with your two cardboard tape rings. Hold them right up together and see if either of them has a just sliiiiiightly smaller opening. If so, that’s your lid ring. If not, it doesn’t matter which one you use for which.
Set each ring on your flat cardboard and trace carefully around it on the outside, right up against the ring’s side. Make a little matching mark or letter on each ring and on each traced circle so you know which goes with which.
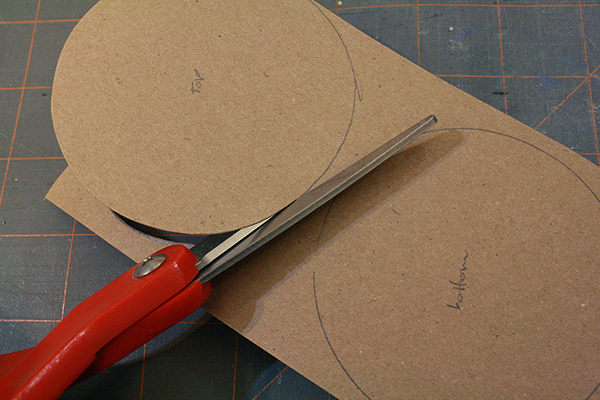
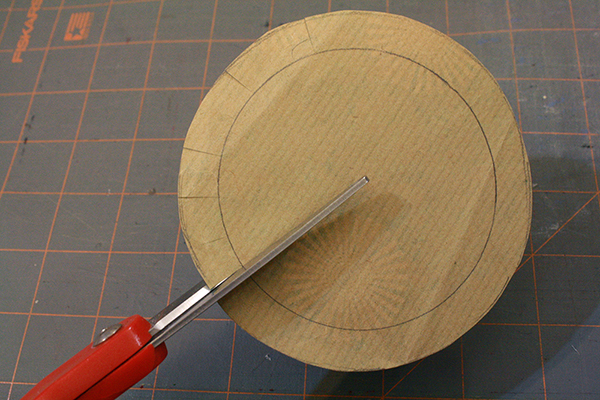
Cut out these circles, just inside the pencil line.
Check that the cardboard circles match the size of the rings as exactly as possible – they should rest on the cardboard right without sticking out past the edge and without falling inside. Trim or re-cut if necessary to make this happen.
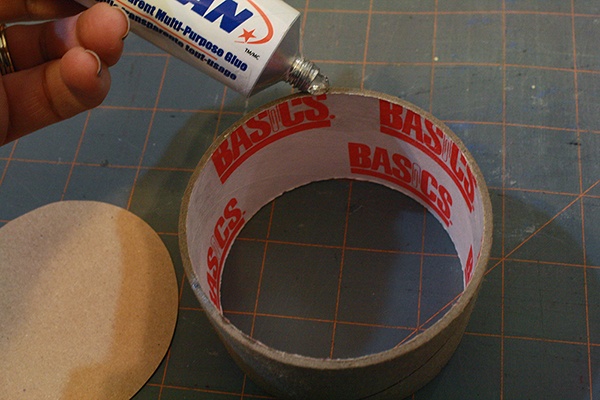
2) Apply glue to the rim of a cardboard ring, and put the corresponding cardboard circle on top of it, matching up the edges as exactly as possible. Do this with the other cardboard circle and ring, and let them dry.
3) Trace the bottom of each cardboard ring again, this time onto your fancy paper. Then sketch another circle about 1/4 inch larger, around the outside of the first one. This outer circle doesn’t need to be at all perfect or smooth.
4) Cut out these paper circles, cutting along the outer ring. Then, all around the circle make small cuts about 1/4″ apart, going from the outer edge to the inner traced circle.
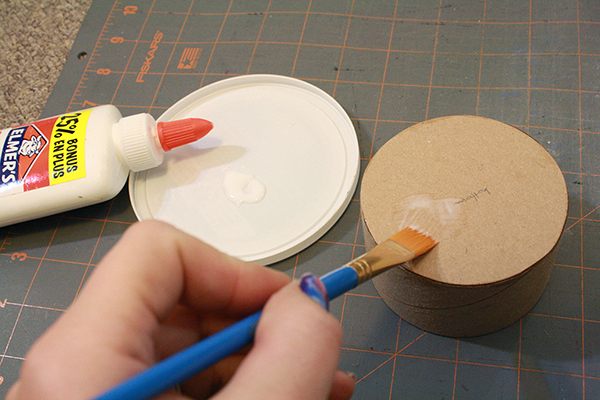
5) Squirt some white glue out onto a plastic lid or scrap bit of cardboard, and use a smallish paintbrush to spread it over the bottom of one of your box pieces. This keeps it much more evenly spread than directly applying the glue, which helps the paper not to wrinkle or warp and makes sure it’s all completely glued down. It’s a useful glue-application method for a lot of projects.
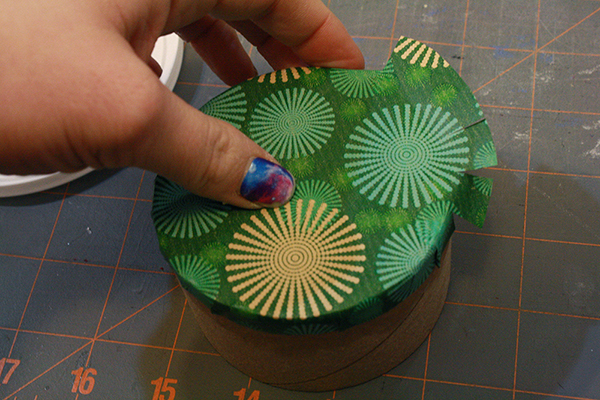
Lay the matching circular paper piece overtop of the glue, so that the inner traced ring matches with the edges of the circular cardboard base, and the cut edges overhang.
6) Let that dry a couple minutes so the paper won’t slide around easily, then use your paintbrush to apply glue around the bottom of the cardboard ring, and press the overhanging cut flaps of paper down and into the glue, pulling them flat and smooth and making sure they stay in place. They don’t all have to be perfectly glued and flat, as another piece of paper will go over them and hold them completely down.
From the photos, you’ll note that I did steps 5 and 6 all at once. That works fine if you’re using thinner paper, like wrapping paper. For thicker paper, I’d separate the 2 steps to make it all a bit less finicky and glue-coated.
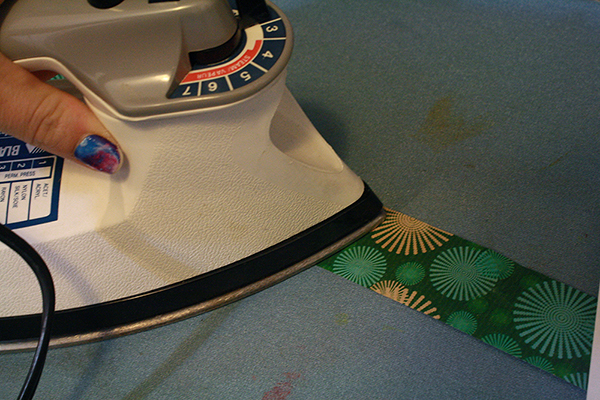
Note: If you are using wrapping paper, say recycled wrapping paper that’s been folded up, and it has fold lines in it, simply cut out your pieces, turn your iron on low, and give the paper a quick going-over with the iron to get rid of the creases.
Do the same thing with the other cardboard ring and paper circle.
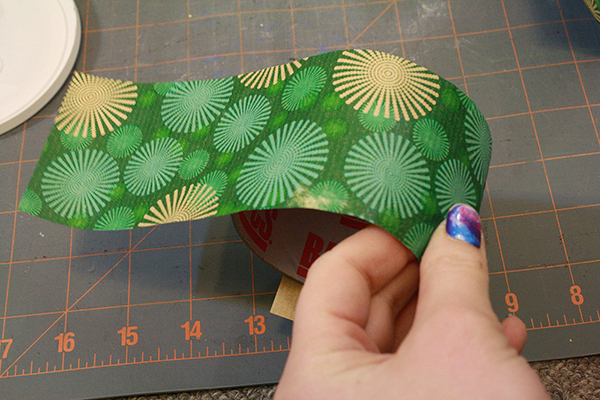
7) Cut two long rectangles of paper. They should be long enough to go all the way around your cardboard rings and overlap by at least 1/4 inch. They should be about 1/2″ to 1″ wider than your cardboard rings are tall (if you’re using 2 different heights of cardboard ring for box and lid, then the rectangles will be different widths).
8) Using the paintbrush again, apply glue all around one of the cardboard rings, from top to bottom, and overtop of the folded-over paper flaps at the bottom. Then lay the matching paper rectangle over this, laying it right along the bottom edge of the ring, and making sure it’s flat and smooth. Apply glue to the very end of the paper rectangle and press it down till it’s securely held in place.
It may be easiest to do this in segments, applying glue to part of the ring and then laying the paper down, then applying glue and paper further along, etc. all the way around.
Repeat this with the other cardboard ring, then let it all dry for a few minutes.
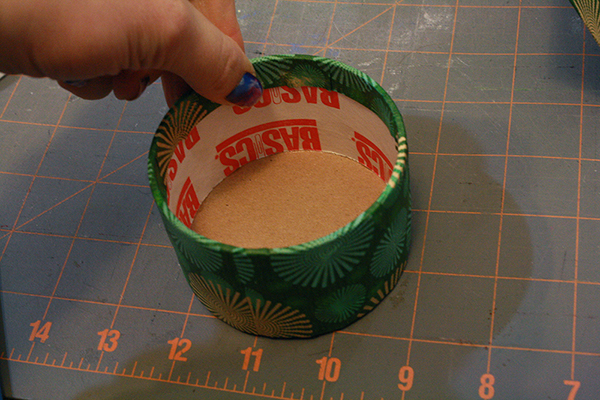
9) Now you should have a paper-covered box half, with an edge of paper standing up over its open edge. Apply glue to the inside of this excess paper, then fold it tightly down over the open box edge and press it firmly into place.
Do the same thing with the other box half.
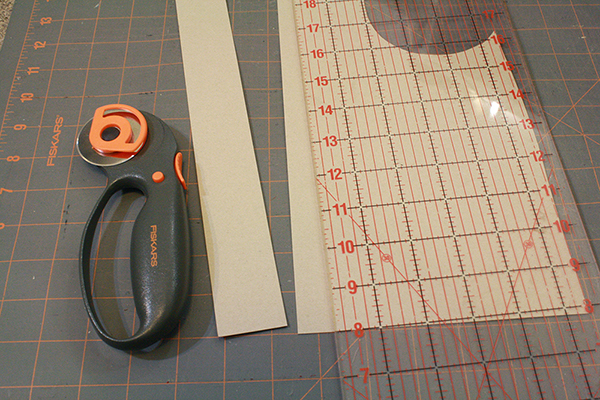
10) Now, cut a rectangle of cardboard the same length as your earlier paper rectangles. It should be the same width as the paper rectangle you cut for the lid half of your box. This needs to be cut from cardboard that’s not flimsy, but that’s not especially thick, either, as it needs to bend easily and without a bunch of awkward creased lines. Cardboard from an empty cereal box or something similar would be about right.
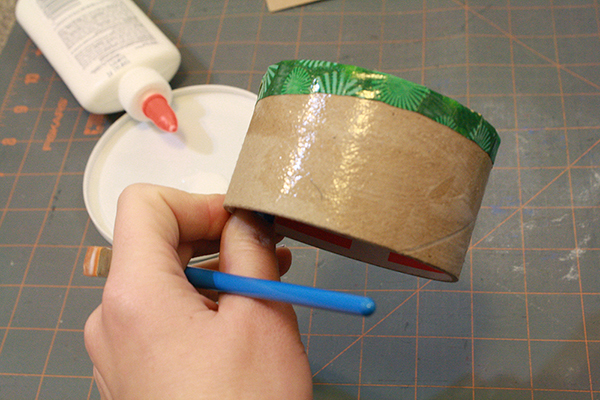
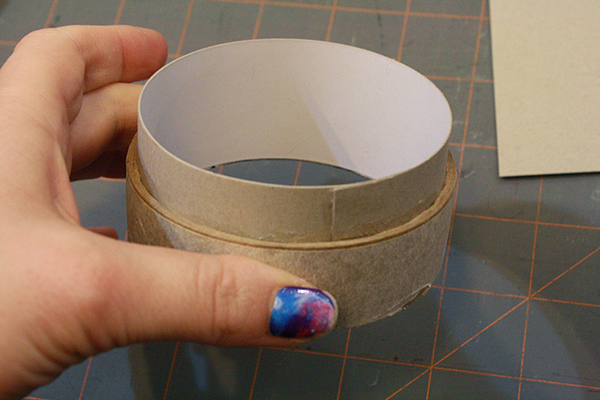
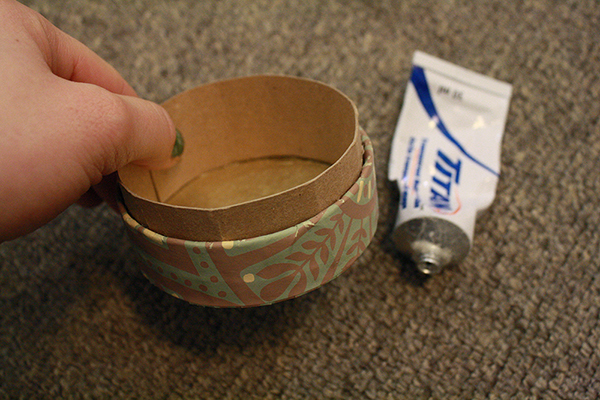
11) Take the lid half of your box, gently curl the cardboard rectangle around in a circle, and place it inside that lid piece. Make sure it’s going to overlap with itself by about 1/4″, and trim any excess length if necessary. Then pull it out, apply strong glue to the inside edges of that lid piece, and put the cardboard rectangle back in, so that it forms a ring inside the lid that overhangs the lid’s edge by at 1/4″ to 1/2″ inch.
Apply some extra glue to the overlapping end of the cardboard and hold it firmly in place with your fingers or with a binder clamp until it stays in place itself.
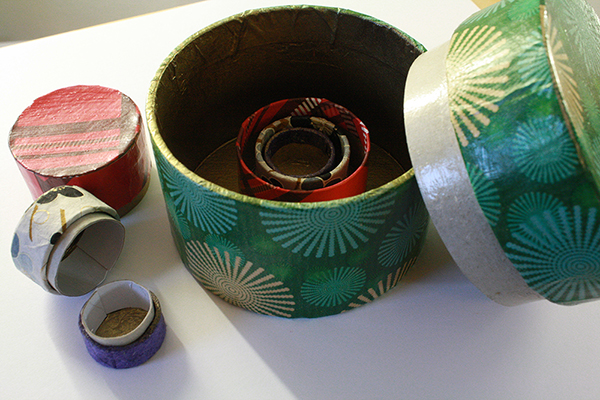
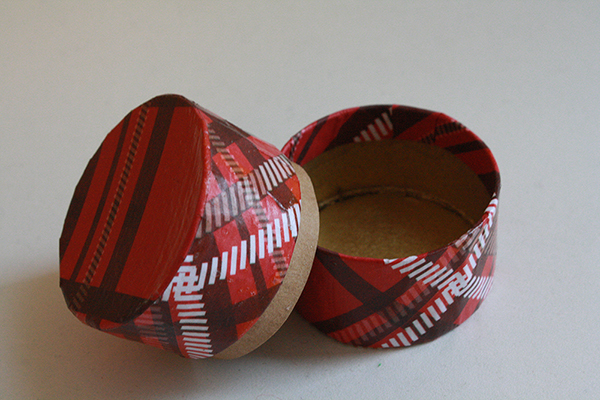
In the photos, I did this step way back at the beginning, which is why there’s no paper on the box lid. Ignore this. I realized later that it worked better to do this step here at the end. The photos below are from a second box I made where I did it in this better order (though with cardboard that was a bit too stiff).
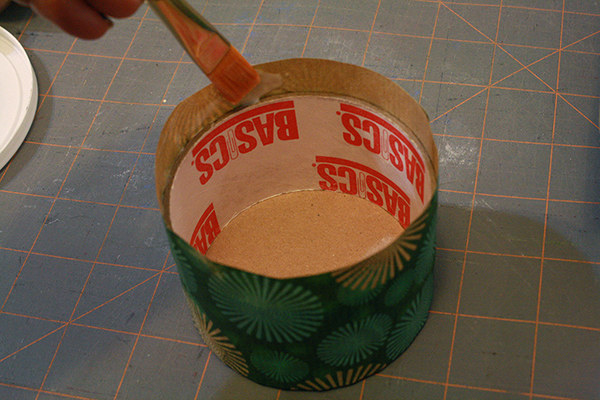
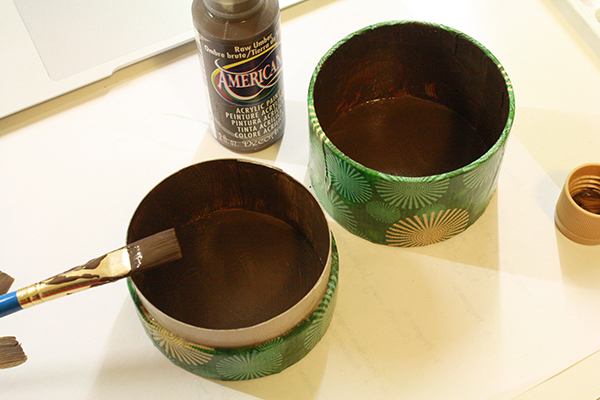
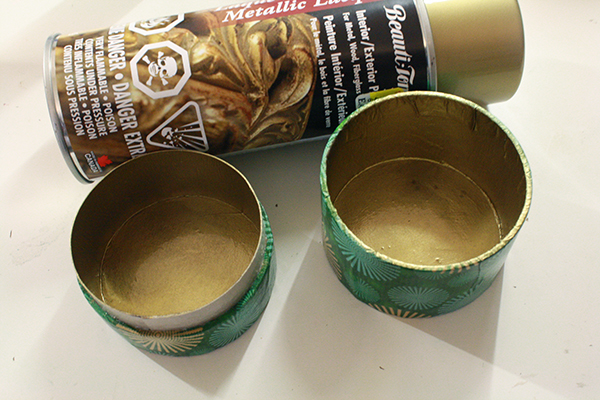
12) Let everything dry, then if desired, use acrylic paint to coat the inside of the box. This will probably take 2-3 coats. (For the box shown here, I did some acrylic paint coats and then added gold spraypaint on top.)
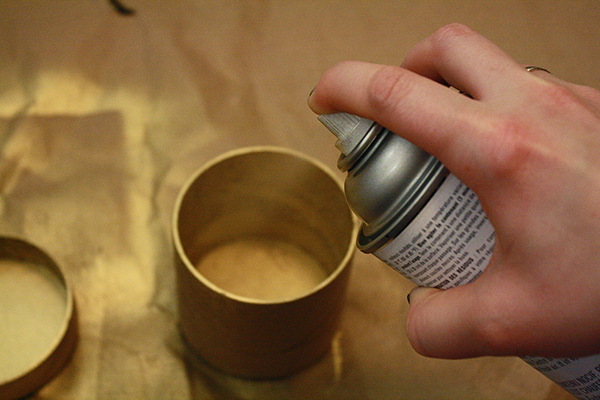
I tried spraypainting the inside of some of my boxes, which can be tricky to do without getting any on the outside, but for some of my boxes I decided I liked that look. It was gold spraypaint, so it looked kind of neat having a spatter of it on the outside of the box. On another box, I did the spraypainting before putting paper on the box’s exterior. This kept things very tidy, though then the paint doesn’t cover up the folded-over paper on the edge of the box’s bottom. Experiment, choose what works best for you.
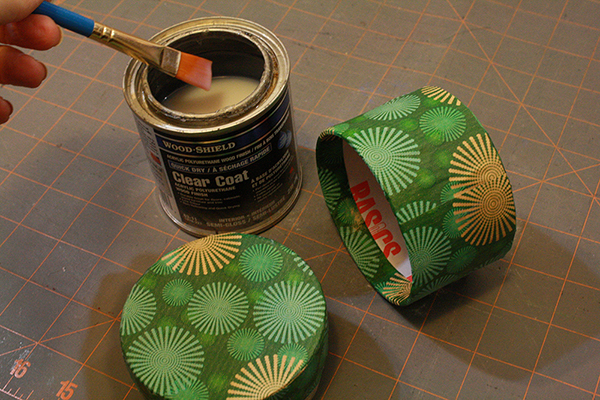
13) And once all that is dry, go over the box halves, both inside and out, with 1-2 coats of varnish. Just be careful not to put it on too thick along the top inside edge of the box bottom and the outer ring of the lid’s cardboard insert, or it may make their fit too tight.
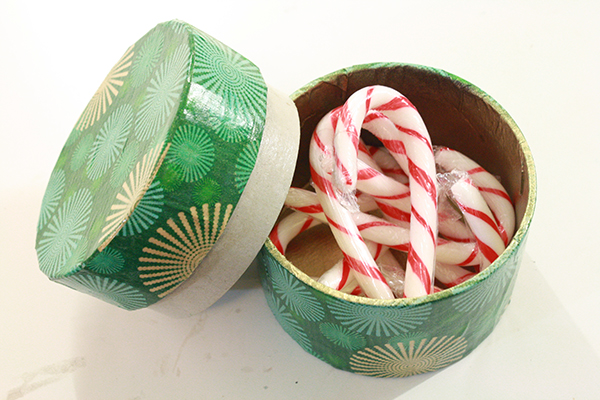
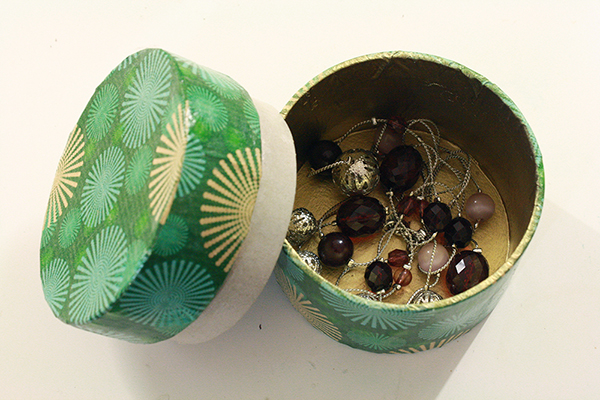
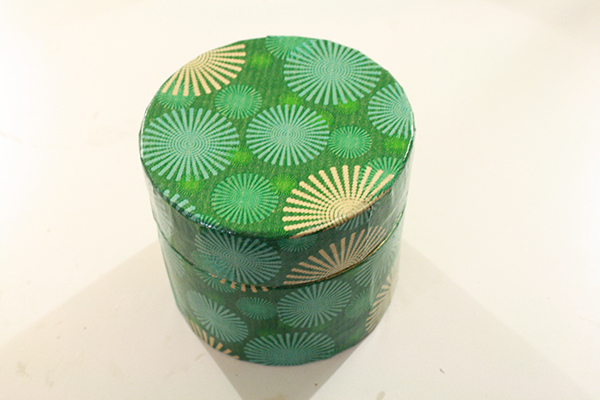
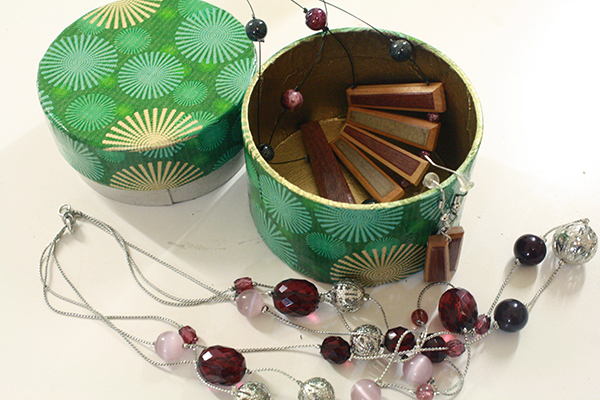
14) Voila! Fill with treats or soaps or other small gifts and give away, or use to store jewelry or office supplies or whatever else.
I know, candy canes are out of season, but I took these photos in December. Also, we absolutely need a new tradition where slightly stale candy canes are a pivotal part of Valentine’s Day because I always end up with a ton of extra after Christmas.
Try different sizes of boxes if you have different sizes of cardboard tubing available.
You could do a whole set of stacking boxes of different sizes:
———————
Other things to try
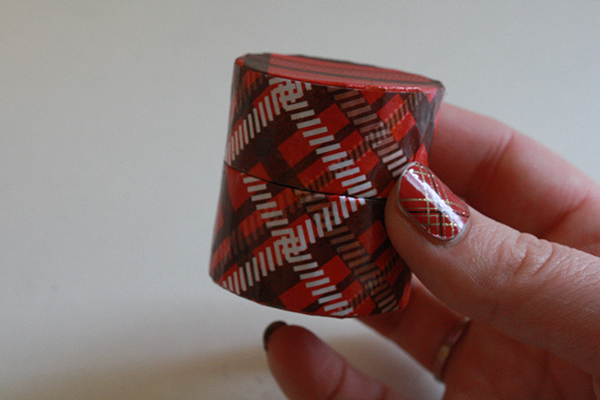
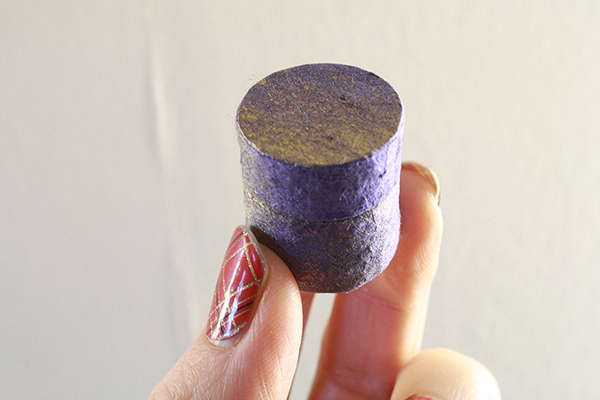
You can glue a couple of cardboard rings together to make a taller box bottom or lid.
You can also ignore the lid half of this tutorial to do an open topped container, say for pens, or to make a (non water-holding) vase.
———————
V-Day Readiness
I’ll leave you today with the photo below, which serves both as a preview for an upcoming tutorial, and to show off what the lucky winner of this month’s Patreon plushie will receive: