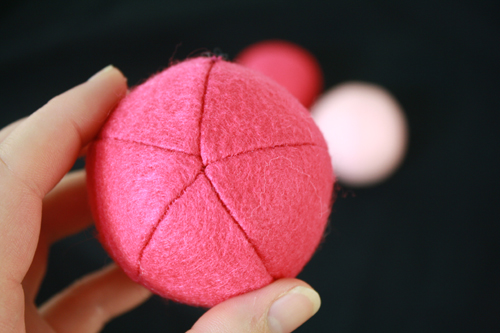
Your first question here may very well be “Why?” And that’s understandable. But I promise you there are some excellent reasons to want to make little felt spheres, and they have nothing to do with making juvenile jokes about how many balls you have. Though you can do that too.
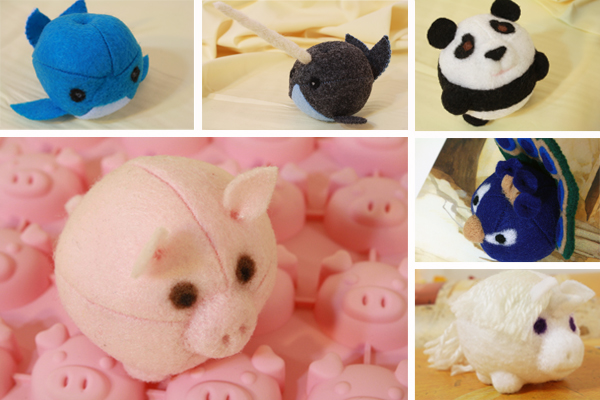
This tutorial is the beginning of me teaching you how to make little round felt pigs. This week we’ll do the ball part, and next week we’ll add the snout and feet and ears and tail. And then you’ll have the basic know-how to add different kinds of noses and feet and tails and such to make all kinds of different little roly poly animals:
Spheres are also just generally useful. You could make them into creepy eyeball chew toys for pets. Make a baby toy by putting a bell or rattle inside, making the sphere out of 5 different colours, and sticking little ribbons and other tactile things out the sides. Make a whole ton of white felt spheres and have a June snowball fight with your friends. Make different sized balls in appropriate colours to create a solar system mobile. And of course: have a friend who lacks balls? Give them some!
——————————————
What you’ll need
materials:
- acrylic felt in the colour of your choice. Note: If you intend to make this ball into a pig or anything else with added-on limbs or other details, you need to use acrylic felt – the cheaper, not-super-high-quality stuff. The stuff you get at craft stores, or even dollar stores. This is because next week we’ll be needle felting details onto the ball, and that only works well with the cheaper material that isn’t so tightly felted together already.
- thread in a colour that matches your felt or other fabric
- stuffing – if you are planning to add needle felted details to the ball, I recommend this specific sort of stuffing, if you can find it (pictured below). It’s Soft Loft polyester fiberfill, which is a very densely packed polyester fiber stuffing. It packs very tightly and firmly, making the finished shape quite solid, and it can be needle felted into effectively. Other stuffings should work too though, just pack them in as tightly as you can for the easiest time needle felting them.

- fabric scissors
- straight pins
- needle
- small sphere pattern – number 14. under “Sewing patterns.”
——————————————
Putting it all together
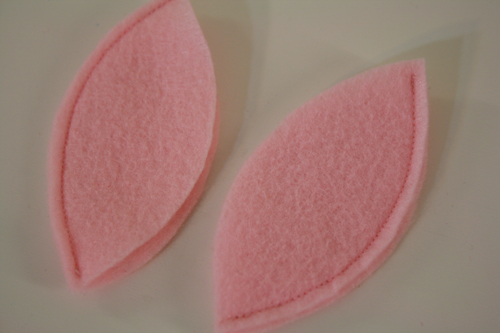
1) Print and cut out the sphere pattern. I’ve provided four different size options on the pattern, since there was extra room on the page. For my pigs, I use the smallest pattern size.
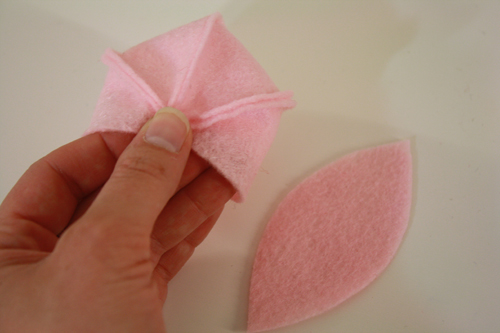
You can then either pin the pattern piece to your felt, or, if you print it on cardstock, you can just trace it onto your felt with a pen. Use the pattern piece to cut five pointed ovals from your felt.
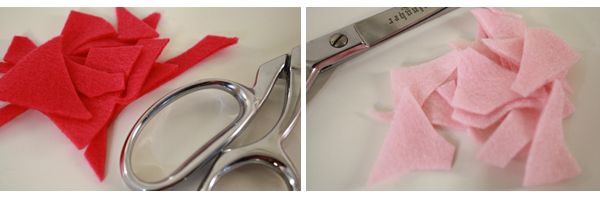
Important Note: Do not throw away the felt scraps! When you’re cutting out your pieces, you’ll end up with little scraps of material from around the edges of the cut out pieces. Keep these! You will need them later for felting on the nose and feet and any other details.
2) You should now have five identical felt shapes. Stack two of the shapes, matching their edges up exactly and pinning them together along one side. Do the same with two more of the shapes.
3) Sew the stacked pieces together along the pinned edge. With felt, I do only a very small seam allowance – about 1/8 to 1/4 inch (I match the edge of the fabric up with the inside cut-out bit of the presserfoot). With another fabric, I’d use a larger seam allowance – probably 3/8 of an inch (which just means lining up the edge of your fabric with the outside edge of your presserfoot).
Throughout this and the next couple steps, it’s important that you get all the pointy ends of the felt matched up and sewn together as precisely as possible.
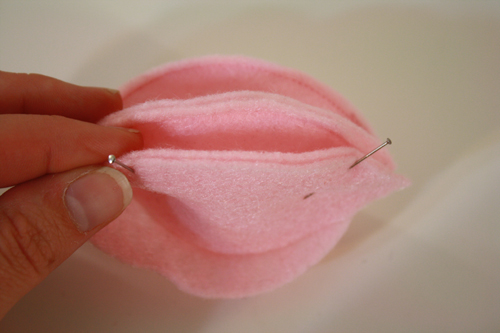
3) Now you have two pieces, made up of four sewn-together segments. Pin two of the open edges of the pieces together, then sew along that pinned edge.
You should now have a nearly complete sphere and one last, lonely, unsewn felt wedge:
4) Take that last lonely felt piece, and pin one edge to one of the open edges of the sphere. Match everything up as precisely as you can, especially at the tips of the shape. Sew along the pinned edge.
You should now have a complete sphere with one open edge:
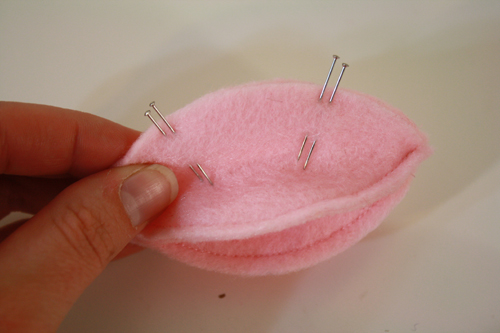
5) Pin the last open edges together, marking (with pins or a pencil) a 1 1/2 inch gap in the middle of the edge.
6) Sew either end of this last opening together, but do not sew across the gap you marked! Leave that as an opening in the fabric.
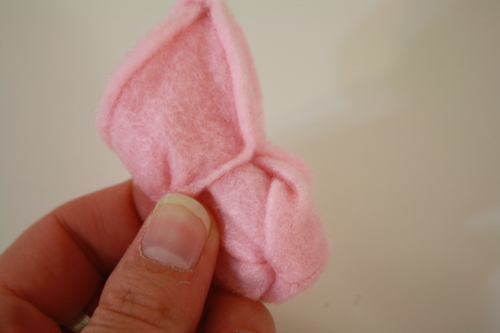
7) Using the gap left in that one piece of the sphere, turn the whole thing carefully right side out.
8) Stuff it. Make sure you fill it as full as possible! You can usually pack in a lot more stuffing than you’d first think. Also, be sure to see the notes about stuffing in the materials list at the top of the tutorial – if you’re planning to make a pig with this, it does actually matter what sort of stuffing you use.
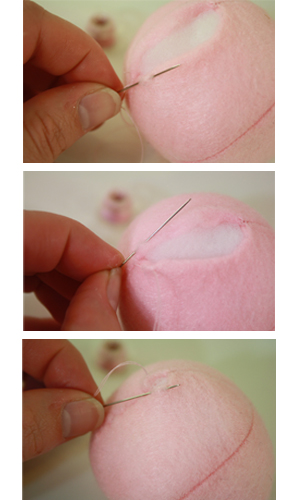
9) Thread a small sewing needle with a thread colour that matches your felt, and sew the gap closed. To do this, insert the needle at one end of the gap, then make a small stitch in the fabric on one side of the opening. Now make another small stitch across from it in the fabric on the other side of the opening. Now make another stitch back on the first side of the opening, slightly further ahead. Stitch back and forth like this, pulling the thread (and the gap) gently but firmly closed as you go. At the end, knot the thread and cut it.
10) Done! Now remember to save your felt scraps for next time, when we add all the details to turn this into an adorable little porcine companion. If you have more time & creative urges, make several future pigs, and later you’ll have a whole… what do you call a group of pigs, anyway? A slop of pigs? A pork of pigs? Hang on…
…
Ok, Google says a group of pigs can be referred to as a drove, a passel or a sounder. But I think we’ll just go with “a pork of pigs.” So come back next week to make a single pig or a pork of pigs, as you choose.
See you next week!

