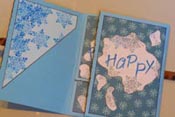
It’s like that old classic, the Duracell bunny: it keeps going and going and going…
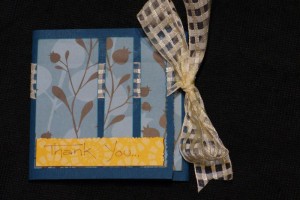
I started making this type of fold-up card a while ago. They’re great for occasions when you really need an extra-special card. They can take a while to complete, depending on how detailed you want to get, because there’s so much more surface area to decorate. But they’re really really cool!
While the embellishment can take some time, these cards are remarkably simple to create. Just cut out a plus sign, fold it up, and voila!
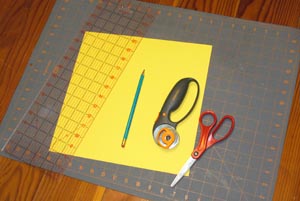
1) Choose your paper. I used scrapbooking cardstock, 12 inches by 12 inches. You can use any size of paper you want, depending on how big you want the card to be. Just trim it into to an exact square.
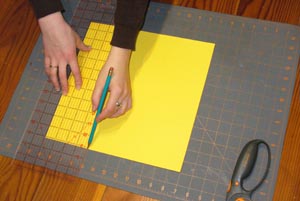
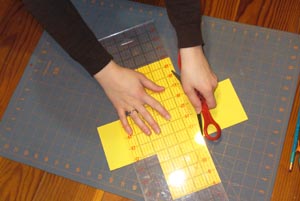
2) Mark out a grid on your paper, with three equal sections horizontally and vertically. For the 12 x 12 sheet I used, this gave me 4 inch sections.
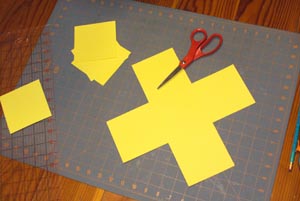
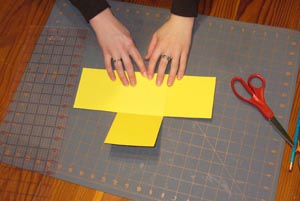
3) Using scissors, cut out the corner squares (and set them aside for some other, future project) so you are left with a plus sign shape.
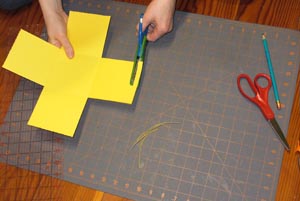
4) Again using your scissors, gently score a line between each arm of paper and the middle section. This will help you to fold the paper cleanly.
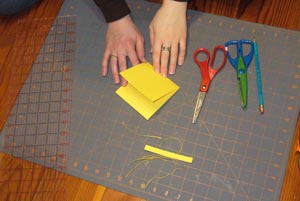
5) Trim about 1/8 inch off the end of each arm (you can do this with fancy-edged scissors, if you have them, for a more decorative look. Then fold each arm of paper inward, one at a time. You may need to trim a little extra off the side edges of some arms to make them all stack neatly on top of one another.
6) [optional] Decide which arm will be the front of the card. Cut a little extra off the outside edge of that arm, so the ribbon that ties the card closed will sit on the edge of the front of the card.
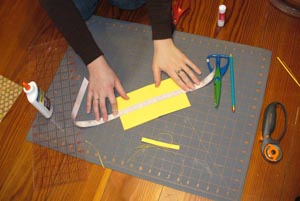
7) Start with the card folded up. Unfold only the front flap. Turn the card over. Center a piece of ribbon across the front flap and the back section of the card. Glue it down.
8 ) Decorate! If you’re daunted by all the space you now have to cover in interesting things, you can always  doodle a few flowers or critters, or glue down some smaller squares of pretty paper on each flap and then just write a little message on each section. Or use the card to write a letter, continuing across each successive segment, and simply decorate with your words.
[Note] Don’t throw away your paper scraps! You can either put them directly in the recycling bin, or keep them for some recycled paper-making fun later on.
The bunny thank you card was made for this fun online competition: send a preemptive thank you note and you may win a colourful poster for your wall. And it’s a great excuse to have some crafting fun and share it with the internet.

