I grew up in a house that had character. Translation: a house that was constantly being renovated. My brother and I spent a fair amount of time trailing behind my dad on trips to the hardware store, more because my mom wanted us out of the house for a while than due to any particular interest on our part. I’d love to say that my creative genius was sparked by all the mysterious and incredible construction gear a hardware store contains. Alas, no. I whiled away some time browsing through the free paint chip samples and absconding with a handful or so of the best colours, but after that I simply wandered, bored and complaining, after my father as he sought out galvanized three quarter inch wingnuts or caulking goo or whatever item was pivotal to fixing our house that day.
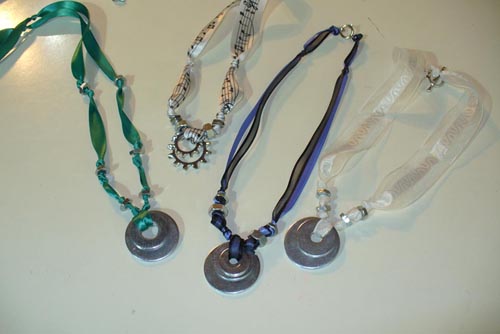
But now! I have an answer for all those bored kids out there, shuffling along behind their parents through aisles of lawn furniture and rubber tubing. Jewelry! Turn all those shiny nuts and bolts into something you can proudly wear. Find all those old washers in the bottom of your toolbox, or go to the hardware store and pick out the shiniest, most appealing dibs and dabs.
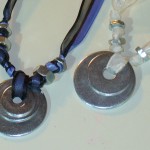
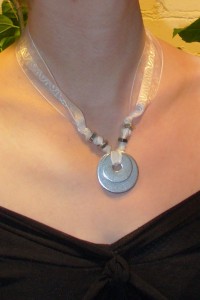
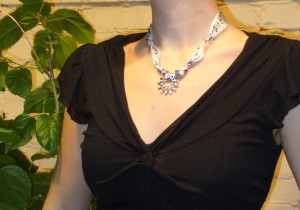
Voila:
For once, my impatience to start a craft stood me in good stead. Not wanting to wait till whenever I could get to the store to buy proper necklace chains, I decided to use something I had around the house: ribbon. And frankly, I like the look and the texture and the volume better than chain anyway. Ribbon offers so much more creative potential. Wind it around, tie knots in it, make it part of the decoration, rather than just a functional way to hang shiny things around your neck.
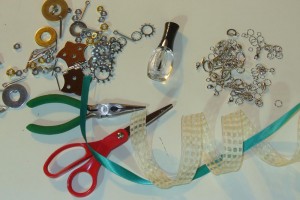
Here is what you’ll need:
Washers, nuts, bolts, etc. –> HARDWARE!!! Also ribbon, scissors, a jump ring or two and some kind of necklace clasp (or, alternatively, a needle and thread that matches your ribbon), clear nail polish, and possibly a pair of needlenosed pliers (if you have to attach said jump rings to said necklace clasps – it all depends on your exact method).
1. Cut a nice long length of ribbon. Hold it around your neck at about the length you want your necklace to be. Now double that. This is how long a piece you want. You can always cut it shorter, but you can’t make it longer. My first few necklaces were a bit shorter than I wanted them because my ribbon wasn’t long enough to begin with.
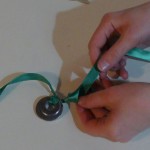
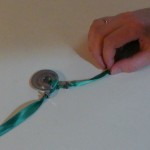
2. Start out with a couple of washers, one large and one small (or do 3, or just 1 – whatever you wish). Stack them on top of each other, loop your ribbon through the middle, and tie a knot at the back of the washers. Tie a second knot over top of it to keep everything in place.
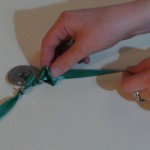
3. Tie another knot in each of your two lengths of ribbon. Maybe do two – you want to make sure there’s some space between the washer pendant and any other metal bits, for a neater, tidier look.
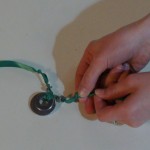
4. String a nut or any other small bit of hardware onto each length of ribbon. Tie another knot or two or three behind it. Depending on the thickness of your ribbon and the size of the hardware, you may need to tie a couple of knots on top of each other to keep the hardware in place.
5. Continue doing this with as many pieces of hardware as you like. Keep in mind that each knot shortens your ribbon, so don’t tie too many. Make sure the knots are spaced the same on each side of the necklace, and before you pull a knot really tight, make sure it’s exactly where you want it and looks the way you’d like.
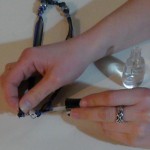
option 6a. When you’re satisfied with the necklace, get yourself a clasp (big enough to work with your ribbon) and tie it onto the ribbon. Double knot each end of ribbon, trim the ends and put a bit of clear nail polish on the knots to make sure they don’t come undone.
option 6b. If your ribbon is long enough, fold the ends over twice, sew them in place with matching thread, and you can fasten the necklace by tying it in a bow at the back of the neck. A bit more elegant in its way, but also a little bulky. Another bonus though: this gives you adjustable length.
Ta da! Wear with pride. And next time you’re dragged into a hardware store, you can rejoice at the opportunity to buy more cool crafting stuff! It’s almost as good as going to the candy shop, walking through the aisles of shiny little goodies, filling up a small paper bag…
NOTE: My oh-so-clever-and-witty boyfriend points out that if you like listening to music while you work, this would be a good opportunity to enjoy Weird Al’s “Hardware Store.“*
For other kinds of cool hardware jewelry, check out this online store, Additions Style. The woman who makes the jewelry wrote that she and her teenage daughter decided to make hardware jewelry as an inexpensive line of funky custom jewelry affordable for adolescents and others on a budget. Very neat stuff.
I’ve got a whole goodie-bag of hardware still waiting, so there will be further updates on this project to come!
*Can’t for the life of me find the original music video on Youtube, hence the link to the Veggie Tales version.

