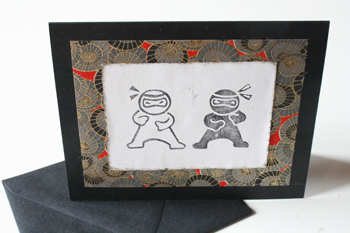
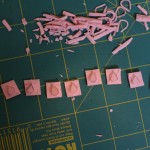
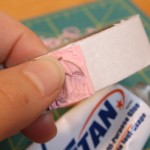
I have a love/hate relationship with rubber stamps. As with die-cuts, I hate to use them because they’re not mine, and I feel like it takes away from the personalization of my cards. On the other hand, stamps are terribly convenient and frequently adorable. That’s why I decided to try making some of my own.
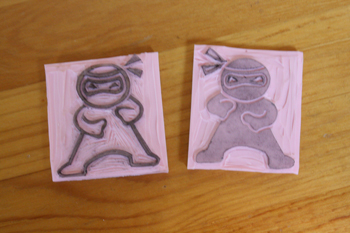
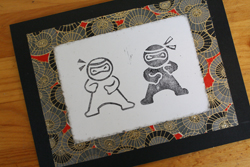
Stamp making is ridiculously simple when you get right down to it. You take a block of rubber (possibly just an old eraser), draw a picture on it, and then use what is essentially a tiny spoon with a sharp end to carve out your drawing. Once you’ve got the tools (and they’re not especially expensive) you can make a whole library of your own rubber stamps. Which is handy, because “I <3 Ninja Stars” stamps are really tough to find in the store, and they probably won’t be allowed in your luggage, even if you’re Steve Jobs.
The process of making rubber stamps is pretty simple and self-explanatory – the main trick is just having all the right materials.
What you’ll need:
1) Rubber. Or “easy cut” as I believe it’s actually called. It’s rubbery and comes in various sized blocks about 1/4 inch thick. You can get this at craft stores like Michael’s and Hobby Lobby, or at more specialized art supply stores. It may be pink, or it may be white or gray. It’s not terribly expensive, though it’s not terribly cheap, either. You can also use old erasers, if they’re big enough for the stamps you want to make.
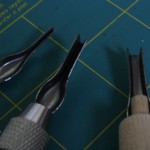
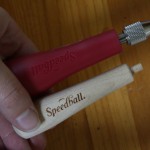
2) Cutting tools. These are the same tools used for lino carving. They’re like little scoops with differently sized and shaped ends, the ends being the sharp bits for cutting and carving. You can get them at craft stores or art supply stores, and you can get a kit with a bunch of different bits in it, or just buy the handle and all the bits you want separately. I’d recommend starting out with 1 to 3 different bits:
- a larger “scooping” bit for carving out big areas – this will have a squared off bottom and sides
- a smaller, narrower bit, V shaped, for carving more precise and detailed areas
- possibly another, even smaller V-shaped bit if you’ll be trying stamps with really fine detail
3) Cutting tool holder. This goes with #2, but you need a handle piece for your cutting bits. You really don’t need anything fancy: I’ve got the cheap wooden one that came with a stamp making kit from Michael’s, and it works just fine. The red one is the same brand, and I bought it simply because the end pops off and gives me a place to store the cutting bits, which is really useful. It was about $5 at the art supply store.
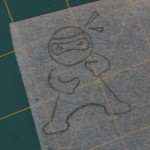
4) Paper and pencil. You can use normal paper or tracing paper for this. Tracing paper is nice because you can trace a drawing you did somewhere else and then transfer it onto the stamp, but normal paper will also work. You can always draw straight onto the rubber, too.
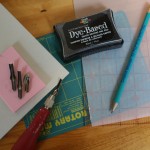
5) Exacto knife. You’ll need this to cut your rubber into smaller pieces for your individual stamps. You’ll also want a cutting mat or other appropriate surface, and a thick plastic ruler or straight edge to cut along.
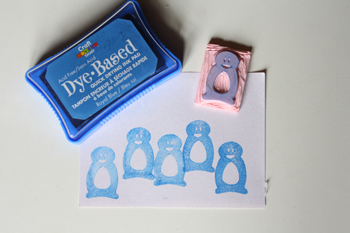
6) Stamp pad. For, y’know, actually using the stamp. And for testing it out to make sure it looks the way you want it to. Or you can use washable markers to colour your stamps – which allows you to use multiple colours on one stamp. A fun trick to experiment with.
For a cost-cutting method of getting supplied, I recommend getting one of those 40% off any item in the store coupons for Michael’s, and buying one of their stamp making kits. It’s a good way to start out – the kit comes with rubber, a cutting tool with 2 different bits, a piece of tracing paper and all kinds of instructions and ideas that I didn’t actually bother reading because it’s more fun to figure these things out on one’s own.
You can get these coupon’s by buying something at Michael’s (you’ll get a receipt with one of these coupons for the following week), subscribing to their e-newsletter and printing the coupons they send you, or by finding them in the local paper.
Putting it all together:
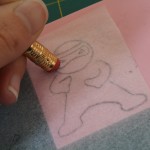
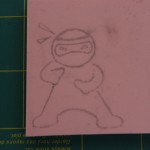
When you’ve got all your materials together, decide what you want to put on your first stamp. I recommend starting out with small and simple images to get some practice with the tools and materials. All you have to do is draw the image you want on a piece of paper (or trace it), then flip the paper over on top of your rubber and “erase” all over it. Basically, just use a pencil eraser to press down hard enough on all parts of the image that the graphite transfers to the rubber.
I like to cut my rubber down to size at this point around the edges of the image. Just use an exacto knife and a nice solid ruler or other straight edge.
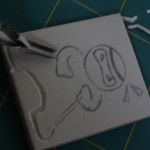
Then all you have to do is carve. Decide whether you want a stamp with a solid block of colour and lines/shapes cut out of that, or an object made up of lines with everything around it cut away. The first option is probably the easiest to start with.
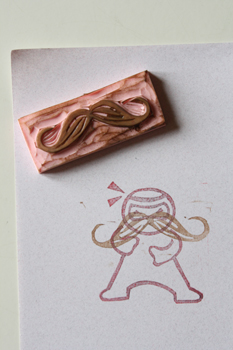
Practice with your tools, and make as many crazy stamps as you can come up with. Then use them to make other cool stuff!
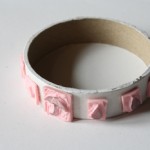
I made an attempt at a rolling stamp, but I had trouble cutting the rubber in half (it needed to be thinner) evenly enough, and it was not a stellar first attempt. Perhaps I will try again and post better results as their own tutorial later on.
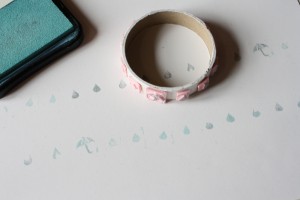
You should definitely check out this ingenious tutorial on how to make a rolling pennant stamp out of a wallpaper tool from the hardware store and a wide rubber band. Brilliant!

