Halloween approaches, and with it the stress of finding a costume that doesn’t make you look like a stripper on her way to Fantasy Land. (Y’know, beyond the fact that they’re totally skanky, has it occurred to anyone that those costumes would be f***ing cold?!)
Fairy costumes are super easy to put together because all you need are wings plus a cute little dress or flowing skirt or other clothing item you probably already have in your closet. As optionals, you can add a headband with antenae, a mask or some facepaint or glitter. So the only tricky part is the wings,* and they’re actually quite easy. Allow me to explain.
*Note: this is a tutorial for fairy wings. To make fairie wings you’ll need to add a large dose of pretentiousness, several obscure fantasy novel references and a stick of overpowering incense.
What you’ll need:
- 2 wire clothes hangers
- 1 pair of pantyhose (or tights)
- duct tape
- scissors
- pliers
- elastic (probably 1 to 2 feet)
- paint, glitter, ribbon, other decorations as desired
for the flower:
- ribbon (1 1/2 to 2 yards)
- needle and thread
- button
Putting it all together:
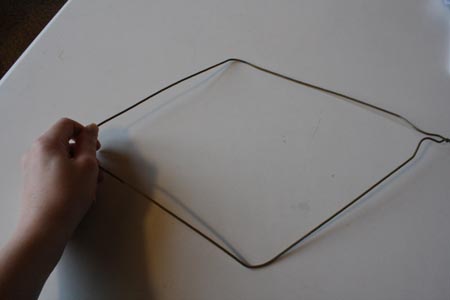
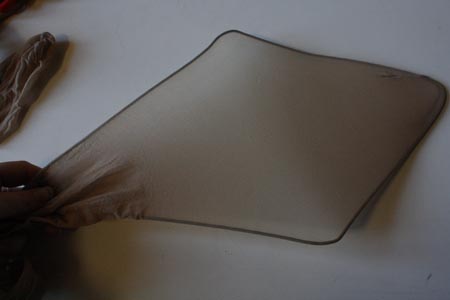
1) Start with one of your hangers. Hold onto the hook part with one hand and to the middle of the bottom with the other. Pull. This will elongate the hanger into a diamond shape.* Repeat with the second hanger.
*I’ve seen a million and one online tutorials that tell you to bend your hangers into all kinds of fancy wing shapes. You can try this, but A) it’s hard to get both wings the same and B) I don’t know where the heck these people are finding such cheap hangers (probably their dry cleaners, actually) but my wire hangers are way too thick and durable to bend into fancy curlicues and what have you. Shaping them into anything other than diamonds was really not an option. Regardless of how exactly you shape your wings, follow the rest of the steps the same way.
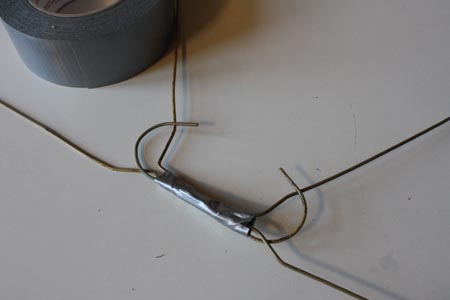
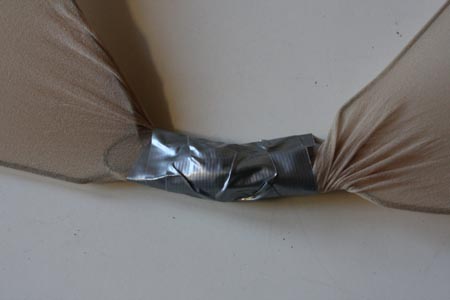
2) Overlap the two hangers’ hooks and duct tape them together. (If possible, it is advisable to use coloured duct tape, in a colour or complementing your wings. I didn’t think of this till later, at which point I wrapped coloured duct tape over top of the boring gray stuff. Which worked out fine.)
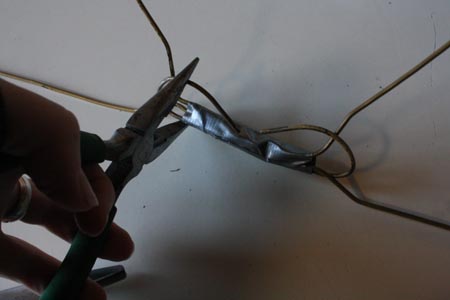
3) Using your pliers, bend the hooks of the hangers down towards the duct taped bit as much as possible.
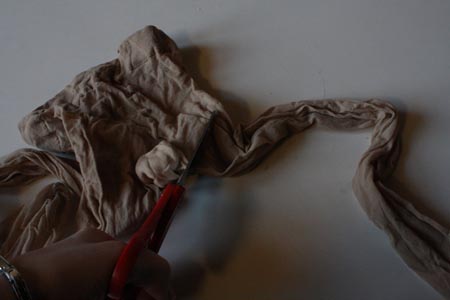
4) Cut the legs off a pair of pantyhose. White or coloured pantyhose would be especially pretty (a small pair will work fine – you’re more likely to find coloured tights in little girls’ sizes), but your average nude hose are perfectly adequate if, like me, you simply want to use what you have around the house. You could also use black hose and paint some white and silver highlights onto them in a later step.
5) Take one pantyhose leg and stretch it over one of the wings. Do the same with the other leg and other wing. Try to get the toe seams to line up as closely as possible over top of the outer corner of the wire hanger, so the seams don’t show as much.
6) Pull the pantyhose legs in towards the middle (you can cut off some of the excess) so they’re pulled tight over the wings, then wrap more duct tape around them to keep them in place.
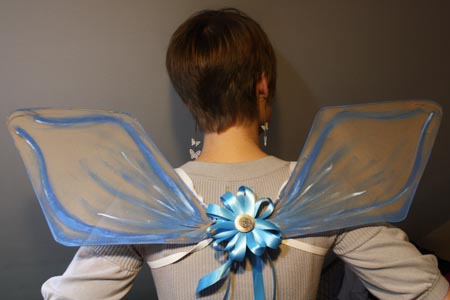
7) Decorate the wings as you see fit. I painted mine with watered down acrylic paint. If you do paint them you’ll probably want to paint both sides of each wing, and you can use whatever paint you’ve got around, including cheap watercolours. You could also try markers, crayons, chalk (you’ll have to spray some fixative on that, though). For extra pizzaz add glitter, or sew on some ribbon, buttons, etc. Whatever you wish.
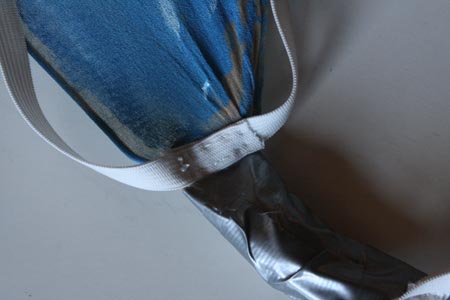
8) Once your decorations are affixed and everything is dry, cut two lengths of elastic. They should be long enough to make a loop that goes over your shoulder and under your armpit, but it should be a fairly snug loop.
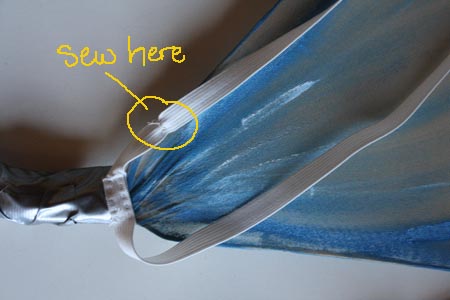
9) Make a loop of one piece of elastic with the ends overlapping slightly. Sew the part where the ends overlap to the place on the wing where the pantyhose meets the duct tape. Once you’ve done this on both wings, try them on to make sure the elastic is about the right size. Adjust as needed.
Now also sew the elastic down about an inch and a half higher up along the wing. This will keep the wings from hanging upside down on your back.
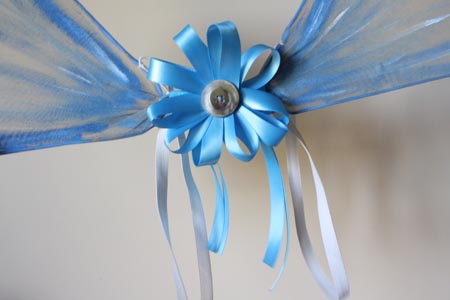
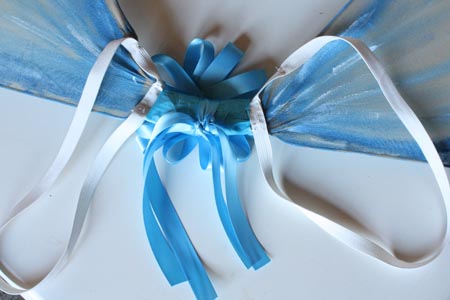
10) The middle section (the duct taped bit) you can wrap in coloured duct tape or ribbon or paper or whatever to tidy it up and make it pretty. I covered mine in sky blue duct tape and then put a nice little ribbon flower over it.
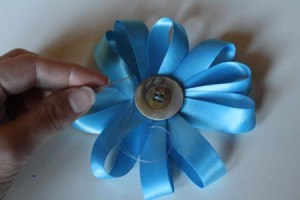
To make this flower:
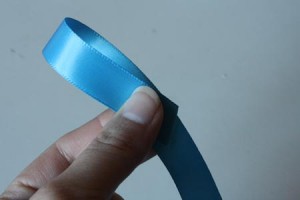
- Prepare your needle and thread ahead of time. Then start with a nice long length of ribbon – at least a yard. Make a loop.
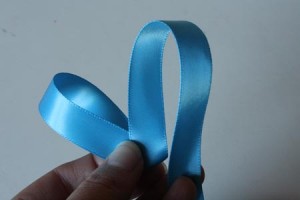
- Hold the first loop in place and make a second loop that sits slightly to the side of the first, but with the base of both loops overlapping.
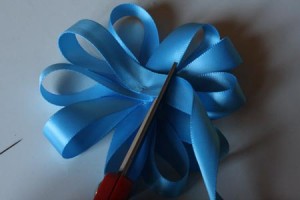
- Continue doing this. Every 4 or 5 loops, take your needle and thread and sew a couple stitches through the center to keep everything in place. Do this until you have a full flower.
- Trim the extra ribbon, tuck the end under and sew it down. Then sew a button or bead onto the front middle of the flower.
- Take two longer pieces of ribbon (about 12 inches each) and center them over the back of the flower, forming an X. Sew them in place.
11) Attach your flower by tying the long pieces of ribbon over the duct taped center bit of your wings. Let the extra ribbon hang down.
12) Combine your wings with whatever other butterfly or fairy accessories you wish and you’re ready for Halloween, or the next Tinkerbell cosplay.


