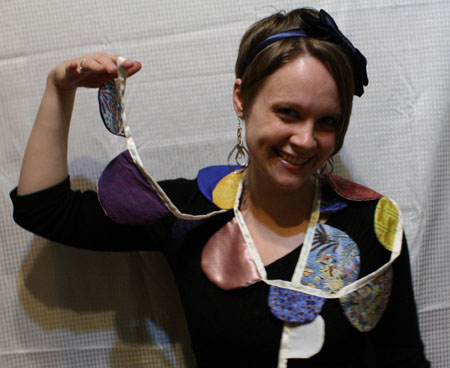
Guess what? It’s been a whole year!!! That’s right, a year ago I began blogging, shouting into the bustle of the internet, waving my arms and hoping to be heard above all the tweets and the porn and the snickering over at 4-Chan and the sound of puppies being cute and of kittens reducing people to d’awwww-ing puddles.
And now, today, we celebrate that some of you have heard me and that I continue to wave my arms and blog. Remember a year ago, when this blog was just crawling? Now it’s up and running with scissors, getting into the expensive Japanese paper and playing with superglue. This calls for a party!
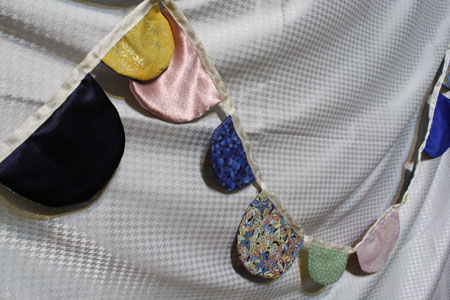
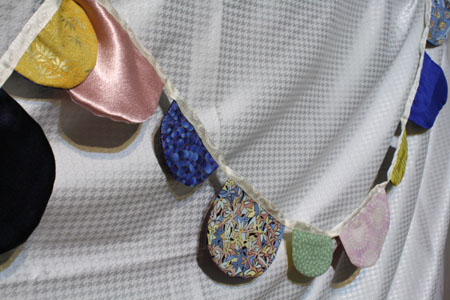
In celebration, I will teach you a super simple, super colourful and even super washable way to make party decorations. While I’m at it, I’ll also give something away. What will I give away? That’s up to you. If you could have any of the items featured in tutorials on this blog, which would you choose?
Leave a comment on this post answering the above question. Also include your favourite thing about the blog, and one thing you’d like to see changed or improved. Only one entry per person, though you can post multiple comments if you have more to say, it just won’t increase your chances of being drawn.
At the end of the week I will randomly draw a winner, and announce it in next week’s post. The winner will get to choose as their prize anything that I have made and featured in a tutorial here, with a couple of exceptions.* Here are a few quick details:
- You can have me resize and modify a t-shirt, but you have to either provide me with the shirt or allow me to buy a cheap plain shirt (you’ll get to choose the general colour) from Value Village to mod for you. Either way, you’ll also have to send me your exact measurements and a photo of yourself (it can be blurry, I just need to get a sense of your build).
- *The exceptions are: D&D stat boosters (way too heavy to ship), play dough (might cause issues with customs), sugar cookies (most of the supplies used belonged to a friend, not to me, and I don’t have current access to them). These probably weren’t your first picks anyway, so it shouldn’t be a problem. Also, I’m sorry to say that the plush Myr is not an option, as he’s not actually part of a tutorial. He’ll be up for sale at some point, though.
- There is no geographical requirement: people living anywhere in the world are welcome to participate and are eligible to win. I’m pretty sure Canada Post can even ship to Antarctica, but it might take some extra time getting there.
- In most cases the winner will not receive the original item from the blog post, but another iteration of that item. (Most of the originals are in use, given away or sold, frankly.)
And now, on to the tutorial!
What you’ll need:
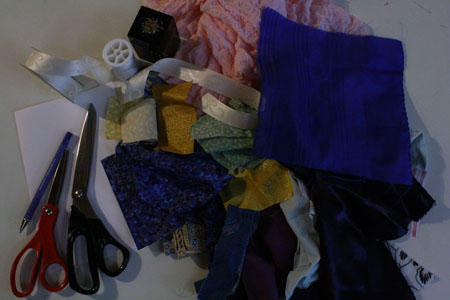
- fabric, lots of fabric – this is a great opportunity to use up all the little bits in your scrap pile, or to cut up old shirts or towels or anything colourful. You don’t need very large pieces, just a lot of small ones, and it doesn’t matter what kind of fabric it is – cotton, polyester, satin, silk, felt, fleece – use it all!
- thread
- 1″ to 2″ wide ribbon (a looooooooong piece, or several pieces sewn together) OR double wide bias binding
- sewing machine OR needle and thread (this option will not be so quick, but it’s not impossible to do this project by hand, just time consuming)
- iron & ironing board
Putting it all together:
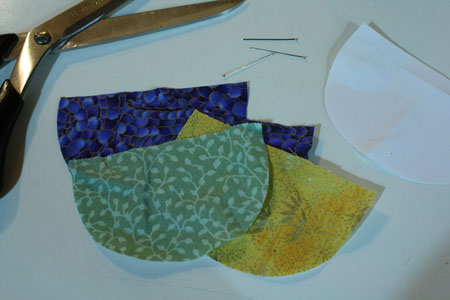
1) Decide what shapes you want to make your garland from. Half circles (like I used) are pretty, but triangles (like on pennants) will be faster and simpler. You could try long narrow strips, too, or combine any or all of these shapes. Your choice may depend partly on the size and shape of the fabric scraps you’re using, as well.
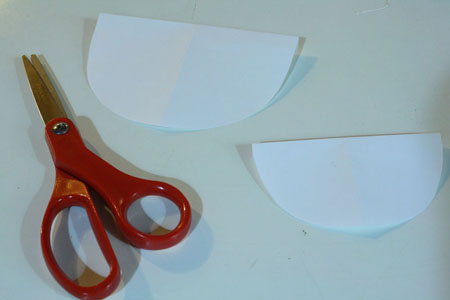
2) Make a pattern by folding a piece of paper in half, drawing half the shape you want, and cutting this out. Unfold the paper and you have a symmetrical pattern. You can get a nice look by varying size, as well. I used two different sizes of half circle.
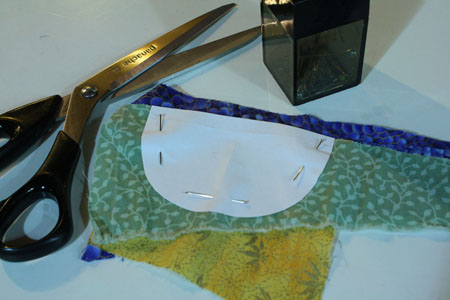
3) Use the pattern to cut a whole ton of these shapes from your fabric scraps. Make sure you have equal and even numbers of each shape. Each piece of the garland will use two fabric shapes, but the two sides don’t have to match. In fact, it may look more fun if they don’t.
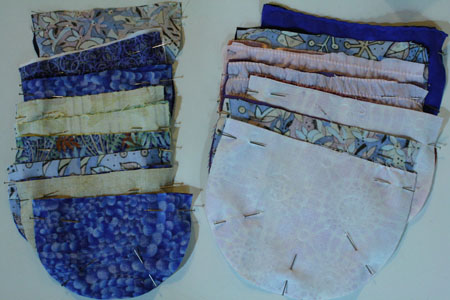
4) When you have enough shapes cut out, pair each piece with a matching shape and pin them, right sides together.
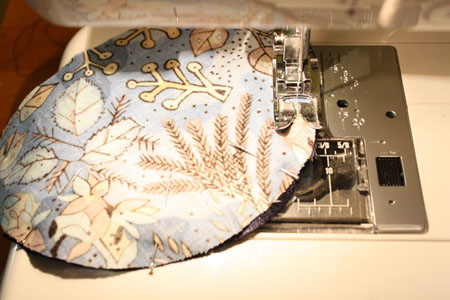
5) Sew each piece together, leaving the top edge open.
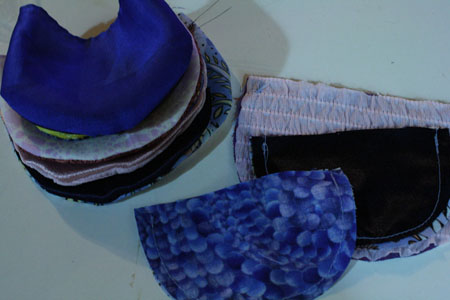
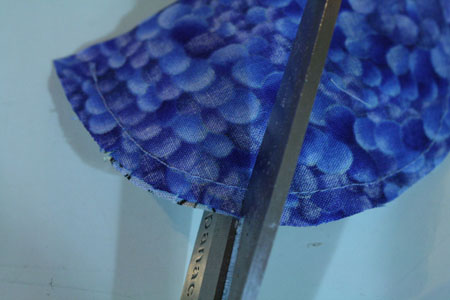
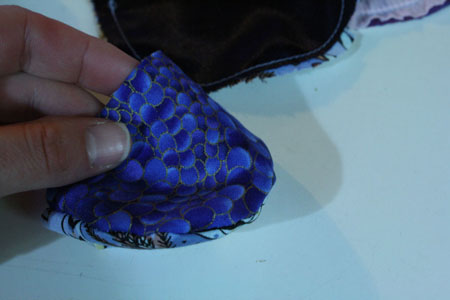
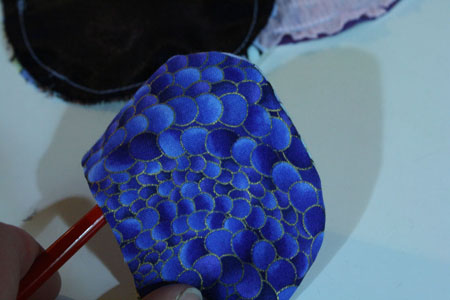
6) Turn each piece right side out. If you’re using a rounded shape, as I did, you’ll get neater results by making cuts around the edge of each shape. Cut from the edge of the fabric up to the thread (be careful not to cut through the thread, though). Make these cuts about 1/4 inch apart along all curved edges, and they will curve more neatly when you turn them right side out.
Use a chopstick or the end of a pencil to poke all the corners out and smooth the edges.
7) [optional but recommended] Iron each piece flat.
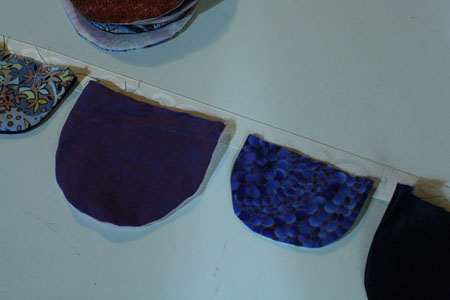
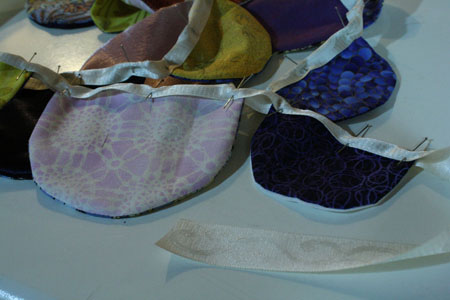
8) Arrange all your pieces (now facing right side out) in a line according to colour, shape, etc. – in whatever order you want them to be on the garland.
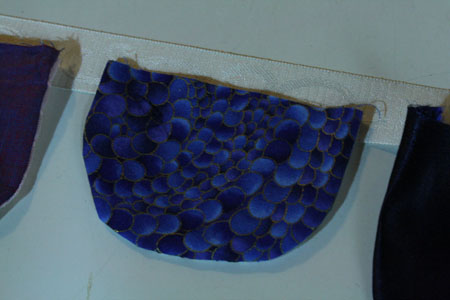
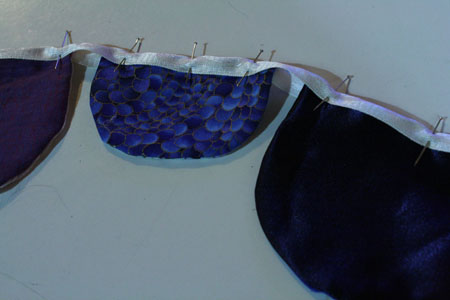
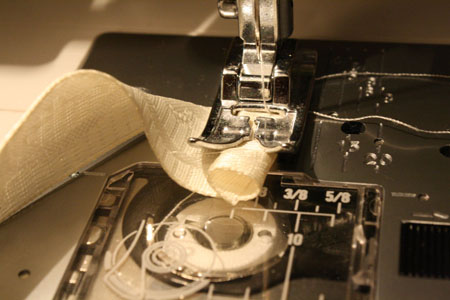
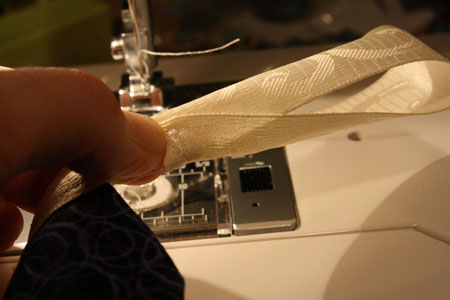
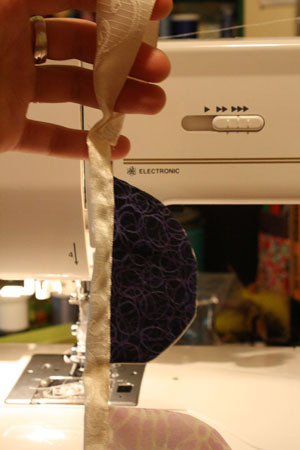
9) Lay your ribbon out, wrong-side up. Now place each garland piece down on your ribbon, so the raw edge sits in the middle of the ribbon. Then fold the ribbon over and pin it, so the top, raw edge of each garland piece is hidden by the ribbon.
Leave several inches of ribbon dangling at either end of the garland.
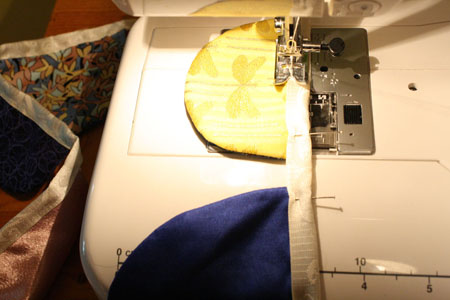
10) Sew along the edge of the ribbon to secure each piece of the garland in place.
Be sure that your stitches are going through both sides of the ribbon.
11) At either end of the garland, tuck the ribbon ends under and sew them down to hide the raw edge and prevent fraying. Then fold the end of the ribbon in next to the first fabric piece and sew it in place to make a loop that you can use to hang the garland.
12) Decorate!


