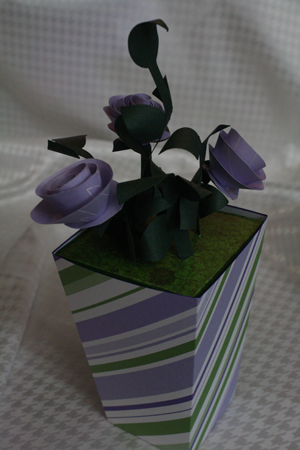
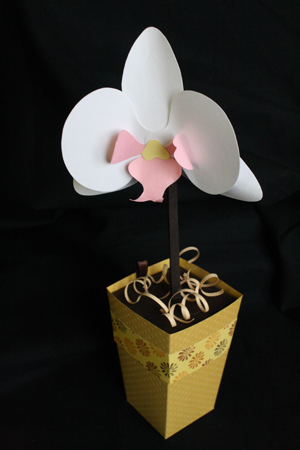
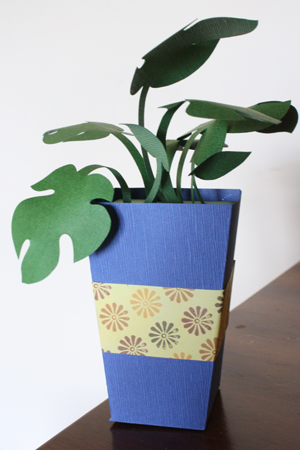
All of my houseplants go through a sort of trial by fire. Or trial by neglect, to be more accurate. If they can withstand my general gardening ignorance and sporadic-at-best attention, they get to stay. If not… well in that case there isn’t much of them left anyway, is there?
It’s not that I dislike plants (quite the opposite, in fact), it’s just that I’m not very good at caring for them. Years ago my boyfriend gave me an African violet (because I’m such a shrinking violet, haha – he got the idea somewhere that sarcasm is sexy). It did very well until January, when – coming home after 2 weeks of Christmas break at my parents’ – I sort of forgot to take care of it. And it sort of, um, died. My boyfriend gave me another one with the threat that if I let this one die I would get a cactus next. Spite is a great motivator for me, and I’m proud to say that violet #2 is still alive 3 years later.
I don’t want to push my luck too hard, though. For now, keeping three houseplants (two African violets and one towering Hibiscus that I’ve nicknamed Lazarus for its ability to spring back from the dead repeatedly) alive is about the upper limit of my green thumb abilities. However, I’ve come up with a way to add some more fauna around here, and do some paper crafting.
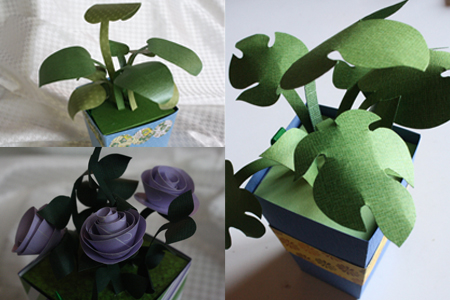
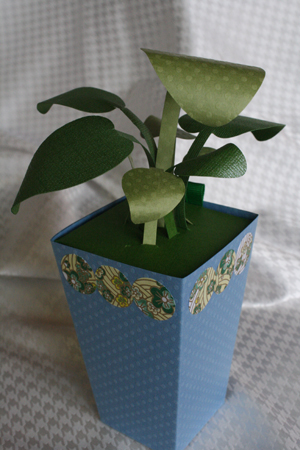
So here’s the paper plant that you can’t kill and never have to water. You can use its container to hold office supplies, snacks, gifts, etc. It could be lovely gift for Mothers’ Day* or any other flowery occasion; I’ve given paper plants to my coworkers for their desks, to greatly enthusiastic response.
*Those with faraway moms, take note – you can stuff these plants in boxes and mail them, even across international borders.
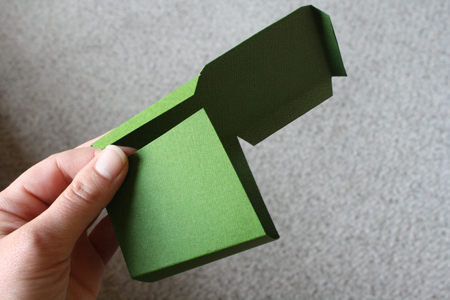
——————————————————-
What you’ll need:
- colourful and/or patterned cardstock for the planter and the planter insert (cardstock is basically just a thicker weight of paper that falls somewhere between the stuff you put in your printer and cardboard)
- green cardstock – or whatever other colour you want your plants to be – who says plants have to be green?
- mechanical pencil
- scissors
- ruler
- glue and/or tape
- exacto knife
- [optional] ribbon, a very very small amount (say two inches)
- templates* (“planter insert template” and “leaves template” – numbers 6. & 7. under “Paper patterns and templates”
——————————————————-
*Every crafter is also a borrower, and I based my flower pot on this simple, wonderful template from The Sunset House blog. Go there to download it, and have a look around the rest of the blog for other lovely paper crafts. There’s a ton of creative content to keep you occupied and inspired. (But come back here afterwards to finish your paper planter, of course.)
You can also download my planter insert template, which I designed to fit into the flower pot template above, and my leaves template. There’s also lots of room to experiment with designing your own leaves and flowers.
Putting it all together:
1) Print out the templates. You can either print them directly onto your nice cardstock, or you can print them on plain cardstock, cut them out and trace them onto your fancy paper.
2) Start with the planter insert. Before cutting it out, use a ruler and the tip of your mechanical pencil (with no lead showing) to gently score* all the dotted lines.
*This means you drag the metal tip of the pencil along the line so it makes a slight indent, which will make the cardstock easier to fold, and will make it fold much more cleanly.
If you’re doing the print-and-cut-out-the-template-then-trace-it-onto-your-fancy-paper thing, rather than printing directly onto the fancy paper, then make some little marks around the template to show where those lines are, so that when you lift the template off the paper you can match your ruler up to those marks to get the score lines in exactly the right place on your paper.
3) Cut out the insert.
4) Fold along all the score lines.

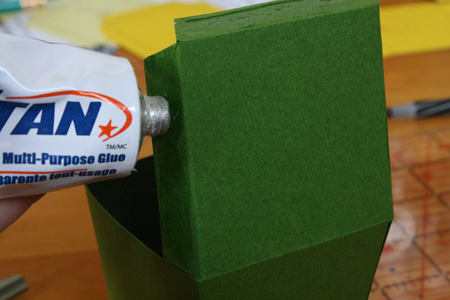
5) Glue tab A to the inside of the insert, holding the insert’s bottom together. I used superglue for this whole project because it dries so quickly. White glue would work as well, you simply may have to hold things in place a bit longer while it dries. You could probably get away with doing this project with a really good gluestick, but I wanted a bit more strength.
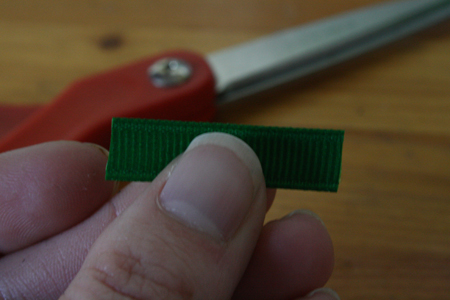
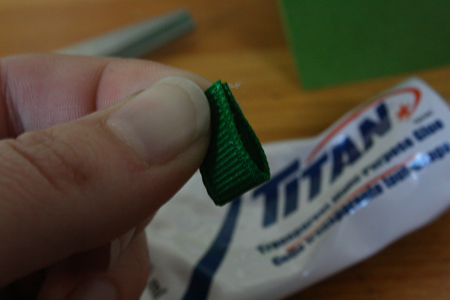
6) Cut a very short piece of ribbon (about 1 1/2 to 2 inches), put glue on one of its ends and fold it in half so the ends are glued together. You could also do this with a short, narrow piece of paper. This step is not essential to the project, but it allows you to lift the insert out of the planter and use the whole thing as a little container, whether to store stray paperclips on your desk, or to fill with a small gift for someone. I like having this option, so I always add the ribbon.
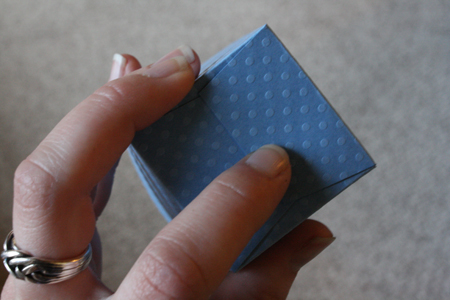
7) Apply glue to tabs B, C and D and fold the insert’s lid down, pushing the tabs to the inside and holding them in place until they dry. But quick, before they actually do dry, continue to step 8.
8) Before the tabs’ glue dries, insert your ribbon, raw ends down, into the gap between the insert’s edge and one of the lid’s tabs. You can put an extra dab of glue on the ends of the ribbon first, if necessary. You could also glue the ribbon to one of the tabs before step 7. Up to you.
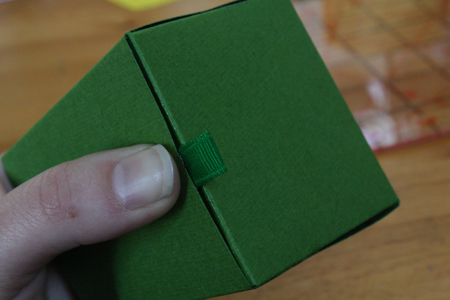
9) Cut out the planter pattern from your fancy paper. The template, as mentioned at the top of the post, can be found on this site, along with another lovely paper flower idea to fill it with. Do the same trick with the score lines that you used on the insert in step 2.
10) Fold along all the score lines, then glue the long narrow side tab into the planter, creating its basic shape. The bottom should still be open.
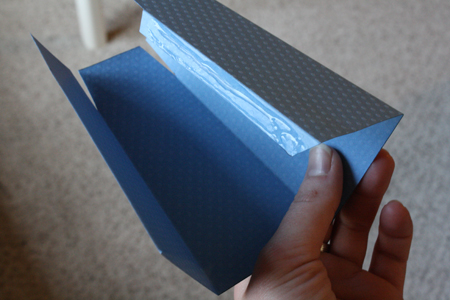
11) Glue the bottom tabs into place on top of one another.
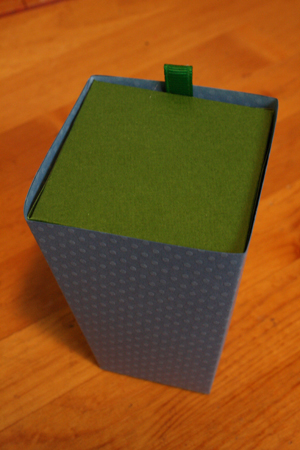
12) Decorate as desired, with strips of colourful paper or cut-out shapes or ribbon or whatever you like.
13) Trace/print and cut out a whole bunch of leaf shapes. I like to use leaves of varying sizes and even colours. I’ve provided a sheet with 3 different leaf templates, but if you’re designing your own the main trick is to have a long, skinny stem with a leaf shape roughly centered at the top. Of course, you could also come up with many other ways to make foliage for this project, so really, just do whatever you like.
14) Using your pencil, or a narrower object like a bamboo skewer or the end of a paintbrush, curl your leaves around it to give the leaves shape. Try curling in one direction, then in another to give extra dimension. Curl the stems a little bit as well.
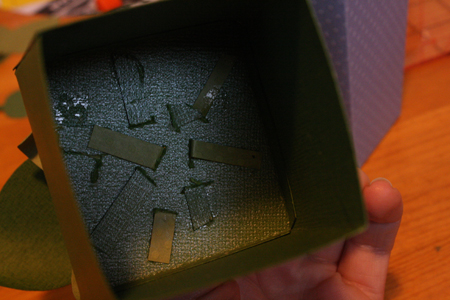
15) Very carefully, use your exacto knife to make small cuts in the top of your planter insert. This is where your plant stems will go. You can make a bunch of cuts all at once, or make one or two, place stems in them, and then decide where you want to put the next ones.
16) Insert a plant stem into one of the cuts. On the underside, put a dab of glue on the end of the stem and fold it up so it lays flat against the underside of the insert. Lather, rinse, repeat until you have filled the insert with as many stems as you wish.
17) Fill the planter with goodies or office supplies or whatever. Insert the insert and give to someone special, or use to adorn your desk and other areas lacking in greenery. Do not water.
You can also try combining this project with various paper flower-making techniques for some blossoming planters:
EDIT: This post seems an appropriate place to share this an adorably informative graphic all about flowers, from thefrugaldad.com. Check it out:

