Sometimes life is about laziness, sometimes it’s about busyness and sometimes it’s about delayed gratification. This week it’s about all three. Because I’ve been busy packing all my possessions into cardboard boxes, I got lazy and decided to just watch Arrested Development at the end of the day (several days in a row), thus you’re now experiencing the delayed gratification that comes after waiting for a blog post that was supposed to be up five days ago.
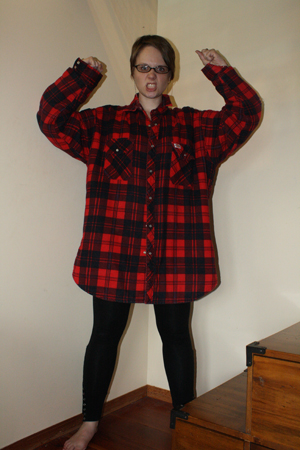
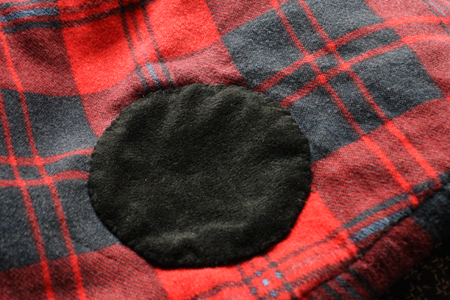
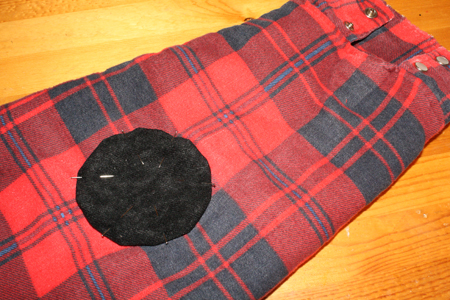
Speaking of delayed gratification, almost exactly a year ago I borrowed this spiffy jacket from my friend to use at a work function. (I work with international students and some of them needed to dress up as lumberjacks for a play… my job is kind of off the wall like that.) He was sad that one elbow had a hole in it, so I said I’d patch it for him when our students were done with the jacket. And I did… a year later.
What I’m going to show you is not how to patch hole so much as how to make a smooth, hemmed fabric shape with round or otherwise complicated or oddly shaped edges. One where you don’t have to leave a gap and then fold the raw edges in and hand stitch them, since that can mean it’s hard to get that hand-stitched piece completely even or curved exactly the right way. It’s actually a very simple thing to do.
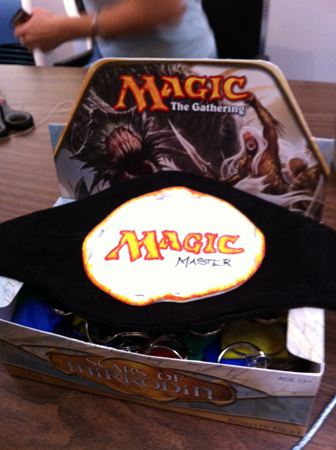
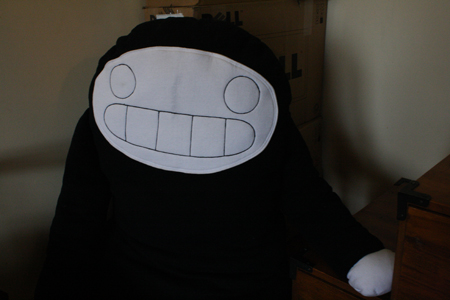
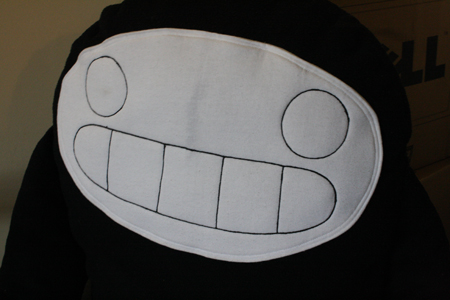
This post is a particularly practical one at first glance, though the technique is one you can apply to a variety of projects and needs, practical or not. For example (see below), I used it to make a face plate for a fabric champion’s belt awarded to the winners of our friendly Magic drafts*. I also used it on a much larger scale to create a face for Harry the giant Creepy Doll.
*Yet another reason friends (especially ones with iPhones) are awesome. I accidentally packed the belt two days ago, but luckily my friend Graham had these pictures of it on his phone. Thank you Graham!
———————————————————-
What you’ll need:
- fabric – for the patch or MtG badge or whatever else you want to make
- thread to match the fabric
- scissors
- straight pins
- sewing machine
- iron
- chopstick or pencil
- hand needle
———————————————————-
Putting it all together:
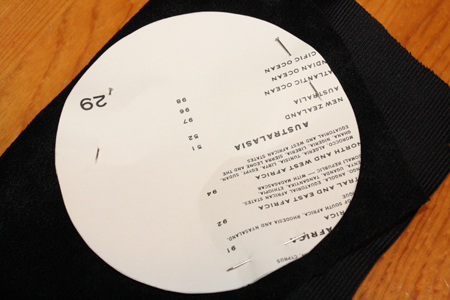
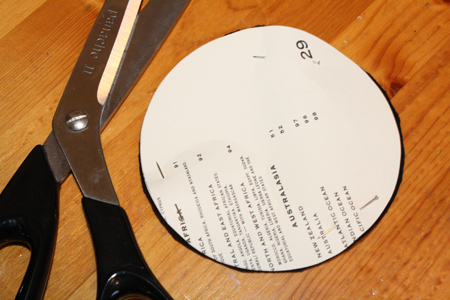
1) Cut two circles (or any other shape you want your patch to be) of the exact same size from your fabric.
2) Stack the two circles with their right sides facing together, then pin them.
3) Sew all the way around the circles, being sure to backstitch when you start and stop. Use the edge of your presserfoot as a guide, letting it follow exactly along the edge of your fabric.
That’s right, you’ve just sewn your two circles completely together, and the side of the fabric that you want to see is now trapped facing inward. This is the correct result.
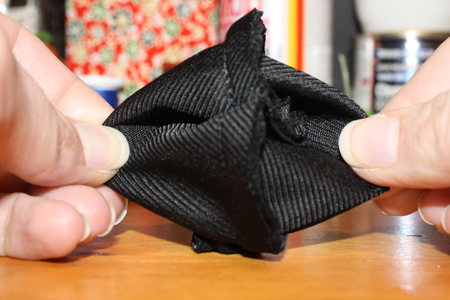
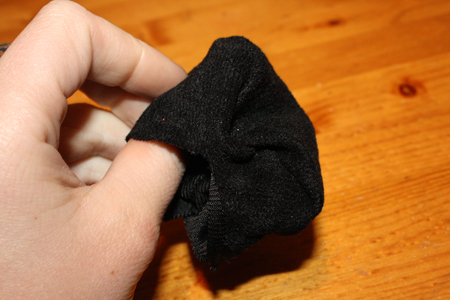
4) Pull on the center of one circle with one hand, and the other circle with the other hand, pulling the two layers of sewn-together fabric away from each other in the middle.
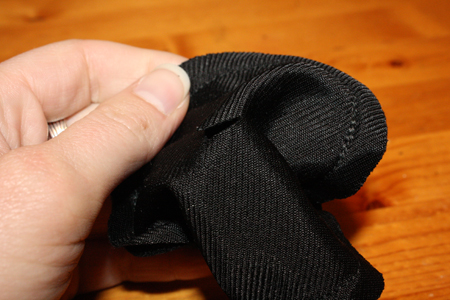
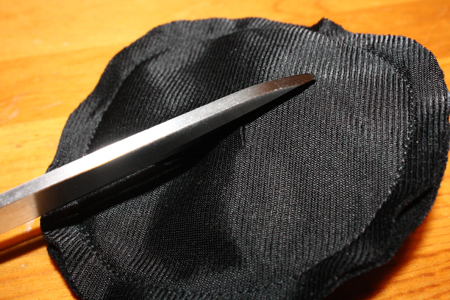
5) Now take your scissors and, very carefully, make a small cut in one of the circles with the tip of your scissors. Make absolutely sure that you are only cutting through one layer of fabric!
6) Insert the tip of the scissors into the hole you’ve mad and enlarge it, cutting an opening that extends across 2/3 of the shape.
7) Using this opening, turn the circles right side out.
8) Use a chopstick or the tip of a pencil to poke out the edges of the circle, making them even all the way around.
9) Use your iron to press the patch flat.
10) You’re now ready to sew your patch onto whatever you wish.
If your patch is a light colour, and the object your sewing it onto is a dark colour, you may want to grab a needle and thread and use a few quick hand stitches to sew up the opening on the back of the patch. Otherwise, you may end up with a strip of that darker material showing through like a smudge or shadow in the middle of the patch. That’s exactly what happened with poor Harry the giant Creepy Doll, giving him a scar down the middle of his face (and thus bestowing the name Harry upon him).
You can also stitch or otherwise apply any decorations onto the patch. This will, of course, lock the two layers together even more. Depending on what you wish to apply, you can do this now (which is how I made Harry’s face) or you can do it at the very beginning, before ever sewing the two layers together (which is what I did for the Magic belt patch.
Depending on what you’re applying the patch to, you can either hand stitch it in place (as I did with the jacket and MtG belt) or use your sewing machine (as I did with the Creepy Doll).

