This week’s post is a two-parter. I’ve got a tutorial for you, but first I want to tell you about the amazing crafting event I was at on Wednesday night.
Last summer my friend Missie Peters, a local poet and performer, put on an awesome craft fair that involved not only vendors but also poetry, a film screening, booze and button-making. It was the best craft fair I’d been to, and I told her so while begging to be part of the next one (and demanding that there be a next one).
This year Missie wanted to change things up, and had the idea of getting people to do their own crafting. Because ostensibly that’s what’s so cool and fascinating about craft fairs: everything you see has been made by the person showing it to you. So what could be more fun than discovering that you, too, can make this stuff? So Missie, myself, Sammie Gough knitter, beer brewer, Intrepid Theatre publicist, and co-organizer of the first Iconocraft) and Amanda Farrell-Low (arts and music writer, cat lover) spent a bunch of time drinking, crafting and munching on local cheeses while we planned this year’s Iconocraft.
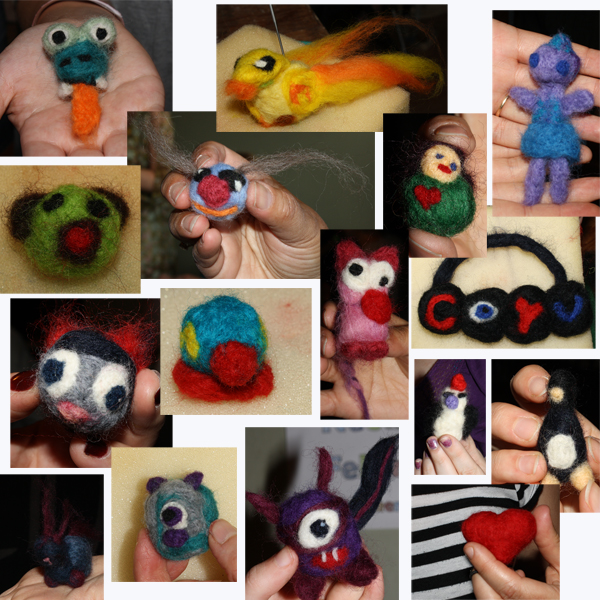
At the event, which took place on Wednesday night, I ran a needle felting table, where I taught people the fine art of stabbing things. So many people were amazed that a little (well, a lot, really) of stabbing was all that was required to create a little statue, and they got straight to work creating critters of the most adorable kind.
All but one of the visitors to my table had never ever done this before, and look at what amazing things they came up with!
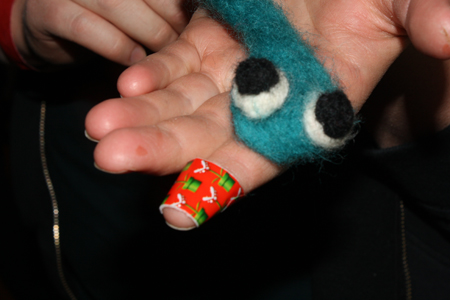
There were only a few finger-stabbing incidents, but they were nothing some hydrogen peroxide and a Mario band-aid couldn’t fix.
At other tables, local artists taught the public how to make earrings, terrariums, paper toys, buttons, stationary and chainmail. You could learn how to finger knit, how to screenprint, and watch a laser cutter in action. There was an amazing live painting presentation and a demo of how to wet felt your own bandana. And of course there was booze.
The evening was a raging success, so much so that my voice decided to take a little vacation the next day. We all most definitely hope to do this again. In the meantime, I’ll be working on my chainmail terrarium with paper figurines and feather earring accents.
If you missed out on the event (or live in some far-off, non Victoria BC reach of the internet), check out the list below of the crafters from the evening, along with links to their work online.
DIY craft tables:
chainmail – Jess Bell
feather earrings – Rebecca Peters
screenprinting – Olio Artists & Workers Cooperative
stationary – Kaitlyn Patience
paper toys – Vinny W
terrariums -Heather from Wayward School
button-making – Dave Morris & Missie Peters
finger knitting – Sammie Gough
needle felting – Tally Heilke
Demonstrations:
live painting – Kristin Grant & Urbanheart Live
laser cutting – Derek Jacoby of Victoria Maker Space
wet felting & drum carding – Ryan & Stephanie of Knotty By Nature
cupcakes – Angela Krewda & Robyn Larocque
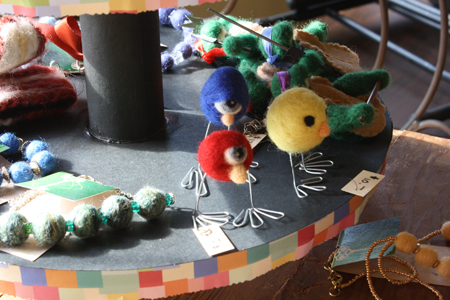
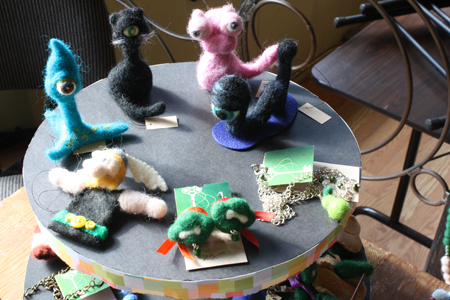
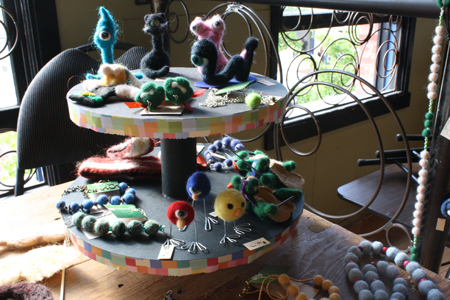
When it came time to prepare my own crafts for this event, I realized that I didn’t have any kind of small platform-y display for my little needle felted critters. I wanted them neatly shown at one end of the table, for people to see and examine and perhaps be weirded out by – needle felting is so much more fun when a small one-eyeballed creature gazes at you while you work.
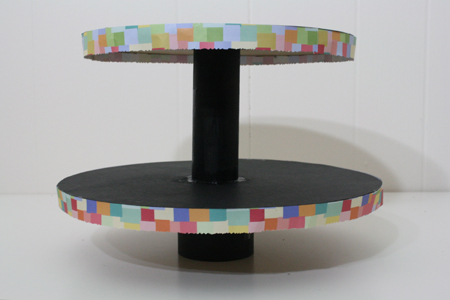
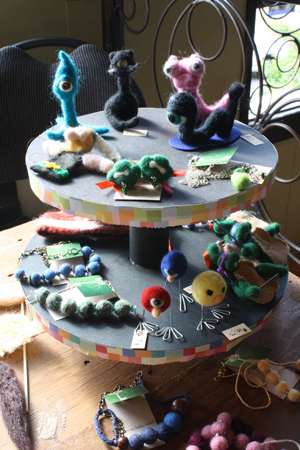
So I didn’t have a display, but I did still have a lot of cardboard moving boxes, some cardboard tubes and nice paper. I made a two-tiered round stand, the sort of thing you might put cupcakes on, created from cardboard and paper. Here’s how.
———————————————————–
What you’ll need:
- medium or large cardboard box
- narrow cardboard tube (a toilet paper tube may work – something thicker like a paper towel tube would be better)
- wide cardboard tube (such as from a wide roll of ribbon or twine)
- two large circular, traceable objects, one larger than the other (plates & platters work well for this)
- exacto knife
- pen or pencil
- black paper (or whatever colour you wish), at least 12″ x 12″
- ruler
- pretty coloured or patterned paper (or substitute ribbon – 1″ or wider is recommended)
- scissors or a cutting mat or a paper cutter
- glue of choice (eg: white glue, superglue, glue gun – but not a gluestick)
———————————————————–
Before we begin, I must apologize for the quality of some of my photos this week. I’ve been having some trouble with the lighting in my new crafting space, and I’m still getting a handle on it. I’m afraid I didn’t realize until too late that several of my tutorial photos were fuzzy, so I hope you’ll forgive and bear with me this week, and I’ll try to do better for next Friday.
Also note that I made my stand completely out of order and not in the most convenient fashion. I’ve reordered the tutorial, but sometimes the photos don’t correspond exactly. Follow the written instructions and look only at the part of the photo that’s demonstrating the particular text of that step, and it should all make sense.
Putting it all together:
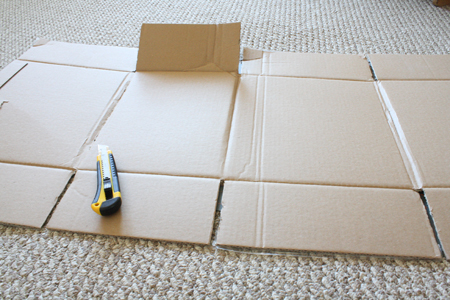
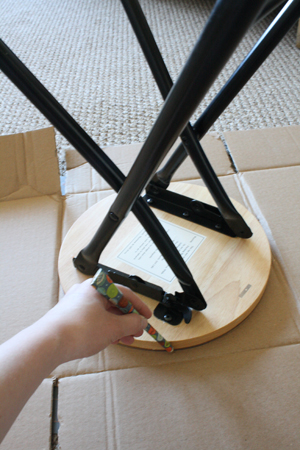
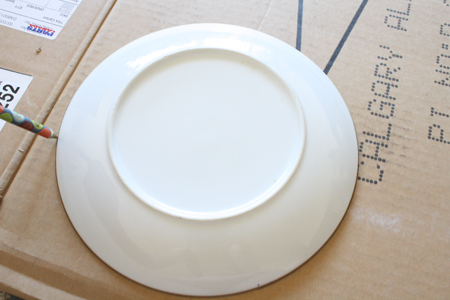
1) Flatten out your cardboard box and trace the larger of the circles onto it. (The top of this wooden stool was perfect for the job.) Repeat, so you have two circles.
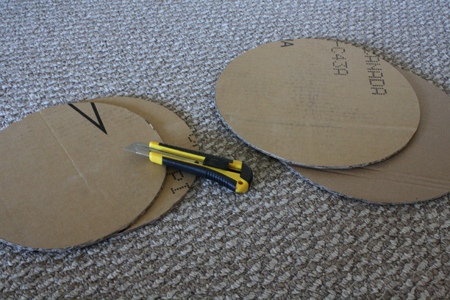
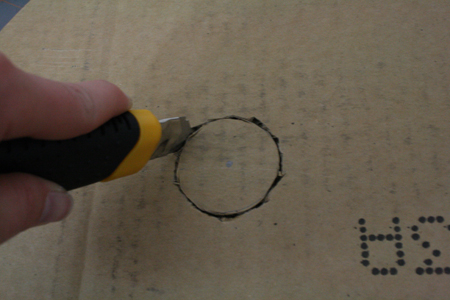
2) Use your exacto knife to cut the circles out. Start by cutting very shallowly so you can keep control and cut a reasonably accurate line, then go over that line using more pressure to actually cut through the cardboard.
3) Trace two of the smaller circle and cut those out, so you have a total of four cardboard circles.
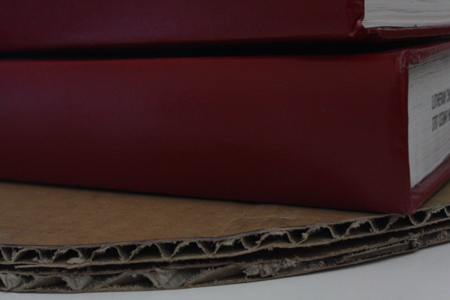
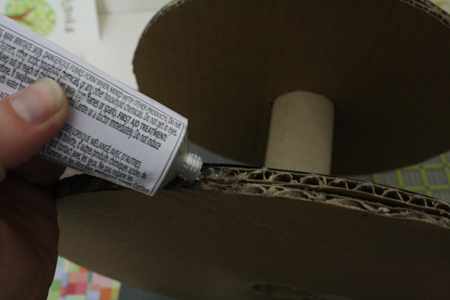
4) Glue the two larger circles together, and the two smaller circles together. Set something heavy like books on top of them and let them dry.
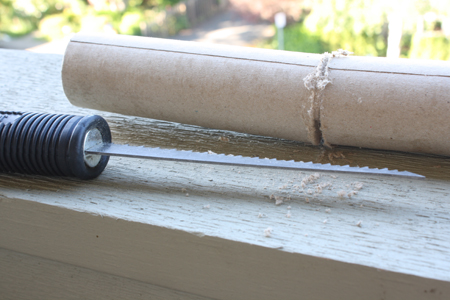
5) If necessary, cut either or both of your cardboard tubes to the desired height. For the display’s central post, I used a very very thick cardboard tube from a roll of fabric, which had to be cut using a handsaw.
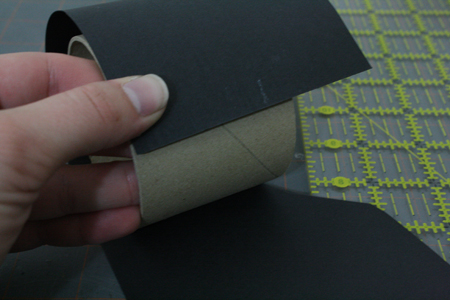
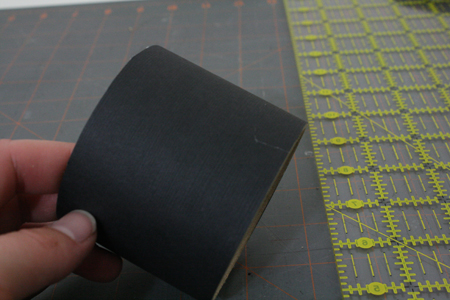
6) Wrap a cut-to-size strip of black (or other coloured) paper around each cardboard tube, and glue the paper in place. You can also paint the tube instead. I completely forgot to do either of these things for the main, taller tube, which is why in the following photos the center post is still plain cardboard. Oops. I went back and painted it at the end.
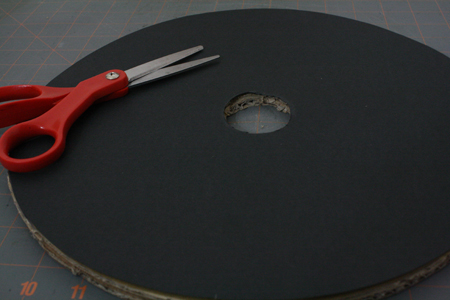
7) Measure the diameter of your circles and mark the middle. Then center the taller, narrower cardboard tube over the middle of each cardboard circle and trace it. Cut out this area from the center of each large cardboard circle.
8) Trace each cardboard circle onto your black (or other coloured) paper. For the larger cardboard circle, be sure to trace the hole in the middle. For the smaller circle, only trace around the outside of the circle.
9) Cut out these paper circles (be sure to cut out that center bit of the larger circle, as well). Glue the larger of the paper circles (with the hole in the middle) on top of the larger of the cardboard circles. Set the smaller paper circle aside.
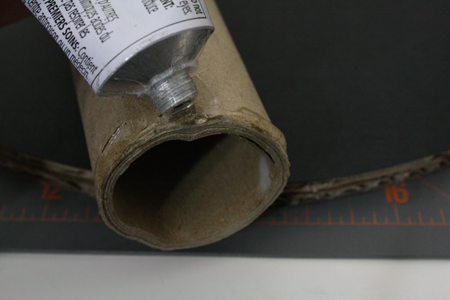
10) Apply glue to the top rim of the larger, shorter cardboard tube and glue it to the underside of the larger cardboard circle.
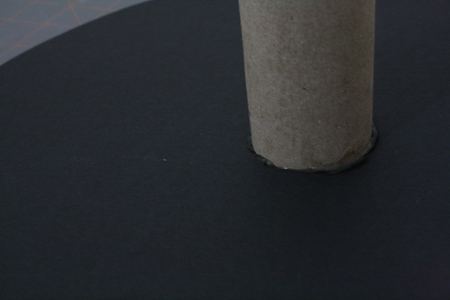
11) Apply glue around one end of the taller, narrower tube and insert the end into the hole in the center of the larger cardboard circle. Then apply glue to the other end of the tube and insert it into the hole in the underside of the smaller cardboard circle, pushing it in till the top of the tube is even with the top of the hole in the upper cardboard circle.
12) Now glue the small paper circle on top of the upper cardboard circle, so that it covers up the hole in the middle.
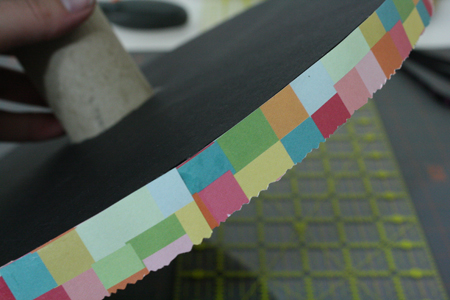
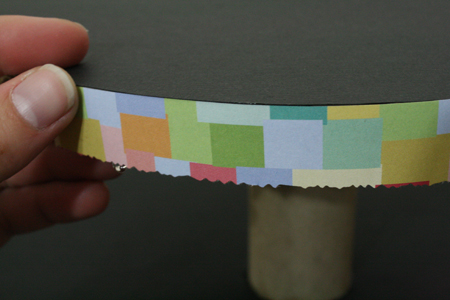
13) Cut several strips of your colourful and/or patterned paper. I made my strips 1 inch wide, and cut one edge with a pair of fancy patterned scissors. If desired, you could use ribbon rather than paper.
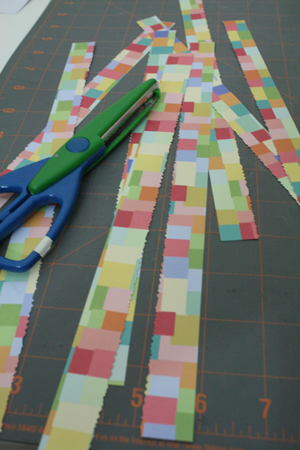
14) Apply glue to the outer edge of the upper cardboard circle, and lay a paper strip down along it, so that the strip’s upper edge is even with the top of the cardboard circle. Continue around the circle, adding another paper strip when the first one runs out. Repeat this process for the lower circle.
15) Garnish with crafts, or cupcakes, or whatever you wish. If you did want to make such a stand for food display purposes, you might try using a coated paper to cover the cardboard, or wax paper – something that could be wiped off with a damp cloth and wouldn’t get grease marks. You could also apply some sealant or varnish, if you found some you were certain was non-toxic. You could also try scribbling all over the paper with crayon, as the wax would create a bit of a seal over the paper (and you’d get a fun, whimsical look from the crayon scribbles), and kids have been eating crayons since time immemorial without any nasty medical effects. The stand is reasonably sturdy, and should be able to take a decent amount of weight. Certainly it could hold things like cupcakes or cookies.
Note: In retrospect, it may be easier to glue the paper edging around each cardboard circle before attaching them to the central tube. I recommend doing this in whichever order you think will be simpler and less likely to mess up the paper edging.

