Today’s post comes to you at the request of Twitterer @safaiagem.
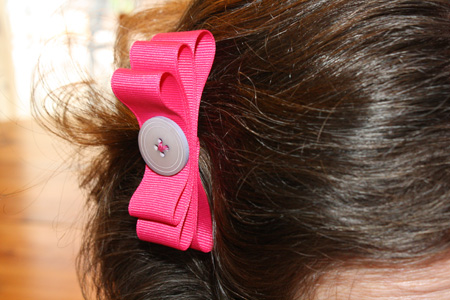
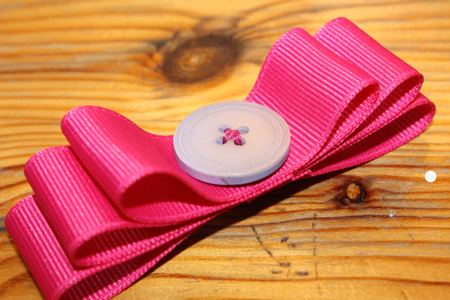
Team spirit has never been my strong suit. In high school I went to our football games (the largest of our school’s social gatherings) mainly in an attempt to brush elbows with that cute guy I was crushing obsessively on. But when I did show up to games (even if it was for all the wrong reasons) I usually (ok, sometimes… ok, that one time) made some effort to wear our team’s colours. What I offer you today is a very quick and simple way to adorn yourself in your own team’s colours while also looking appallingly cute. If only I’d worked out these little tricks back in high school.
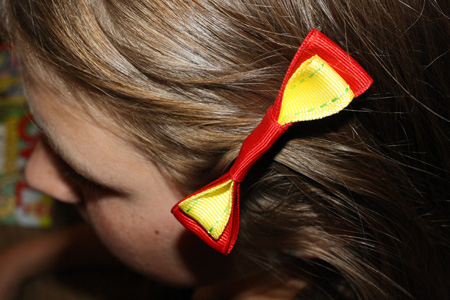
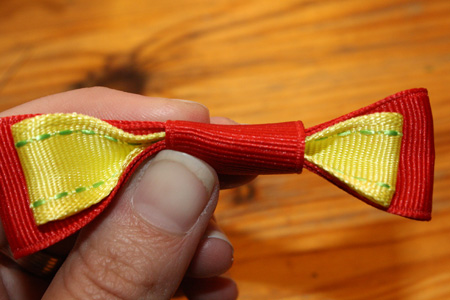
This tutorial covers two ways to make quick and simple bows from ribbon. The first method gives you a single colour bow, and could be easily used to make bows for present wrapping, as well as for one’s hair. The second method is the one you’ll likely want if you’re competing with the cheerleaders for team spirit, as it allows you to stack multiple colours on top of one another.
———————————————————
What you’ll need:
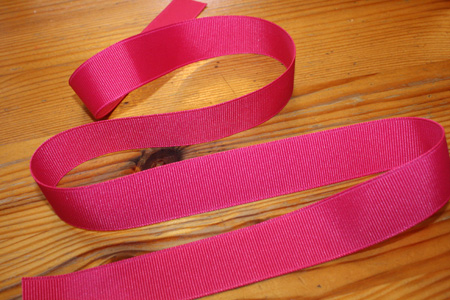
- ribbon – quite a long piece for the first method (20+ inches), or somewhat shorter pieces for the second method (between 5 and 8 inches), ideally of 2 or 3 ribbons of different widths and different colours
- scissors
- straight pins (you’ll actually only need one, and could also substitute a second small needle)
- thread to match your ribbon
- needle
- hair clip or bobby pin or pinback, etc.
———————————————————
Putting it all together:
Method 1
For this method, you’ll need one long piece of ribbon, at least 20 to 25 inches long.
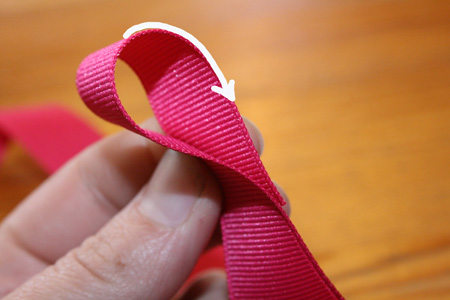
1) Start with one end of the ribbon. Trim it as needed, so the end is straight across and not frayed, then fold the end under by about 1 to 1 1/2 inches, so you have a loop.
2) Another 1 to 1 1/2 inches along the length of the ribbon from the place where the ribbon end is, fold the ribbon under again, so it passes beneath the ribbon end and the first loop. As you go, keep holding the ever-growing stack of ribbon in its center.
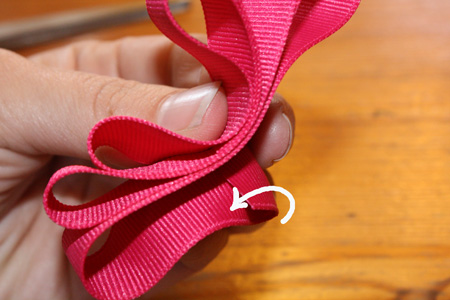
3) You now have two loops opposite each other, pinched together in the middle. Make a third loop underneath the first one, folding the body of the ribbon back under itself again, but making sure that this loop protrudes a bit further out than the one that lies above it.
4) Now you have three loops. Make a fourth loop under the second loop, folding the ribbon under itself yet again, and again making sure that this loop sticks out a bit further than the loop above it. Basically, you’re making a stack of loops, each a bit bigger than the one above it.
5) Continue this process until you have as large a stack of loops as you wish.
6) When you are satisfied with the size of your bow, cut the ribbon and fold the end under in the middle.
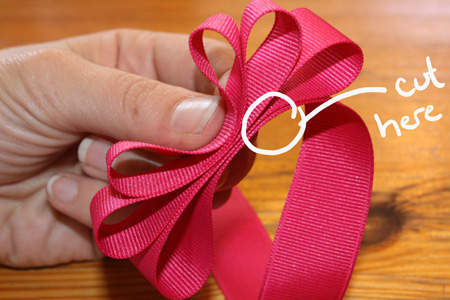
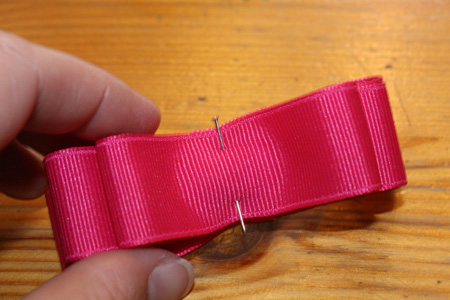
7) Put a pin through all the bow’s layers, right in the middle, to hold them all in place.
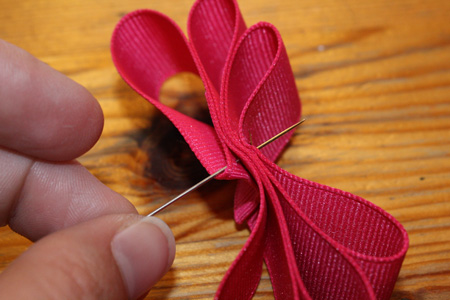
8) Thread your needle (with thread matching the ribbon). Start from underneath, poking the needle up through the top of the bow, in its center. Sew a line of small, even stitches across the width of the bow. Then pull the needle to the underside of the bow and knot the thread.
9) If desired (and before you cut the thread), sew a button or bead onto the top middle of the bow. Also if desired, sew a hair clip, barrette, bobby pin, safety pin or whatever else you wish to the underside of the bow. Apart from making it into a pin or a hair piece, you could also use this bow-making when wrapping gifts.
———————————————————
Method 2
For this method, you will need 2 or 3 (or more) pieces of ribbon, ideally of different widths and colours. The widest ribbon should be the longest piece (7-8 inches), and the other pieces should get progressively shorter as they get narrower. You can also do this method with pieces of ribbon the same width, but they’ll still need to have the varied lengths.
1) Start with the widest ribbon. Or, if all your ribbons are the same width, start with the colour you want to be on the bottom.
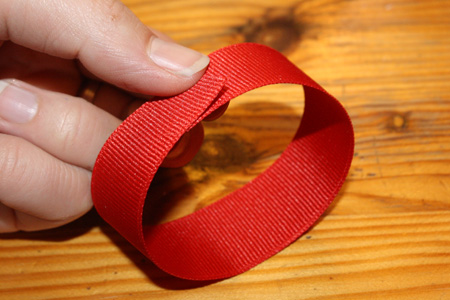
2) Make the ribbon into a loop, with the ends overlapping slightly.
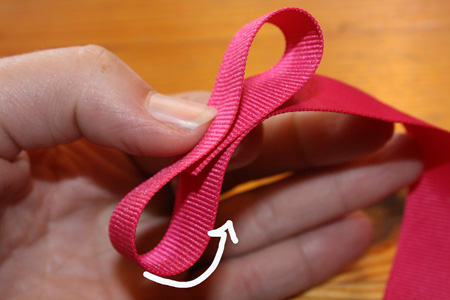
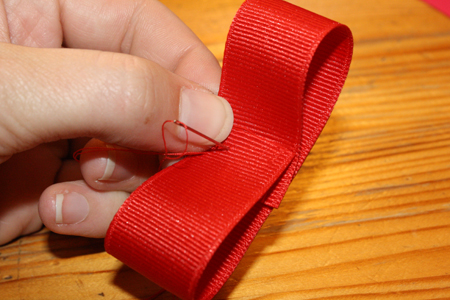
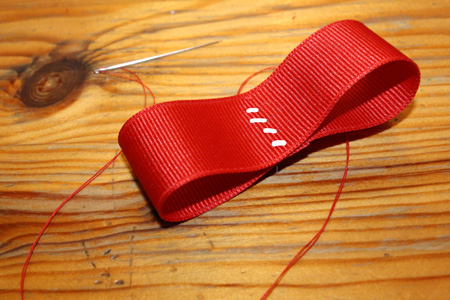
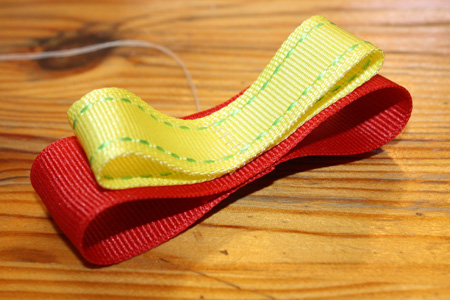
3) Pinch the overlapping ends together with the side of the loop directly opposite. This will create two loops. Adjust the ribbon as needed so that the ribbon’s overlapping ends are in the center, and the two loops are equally sized. Now take your needle and thread (you may want to pin the ribbon together in the middle, to hold it in place while you work) and sew a line of small, even stitches across the ribbon, right between the two loops. (The little white lines drawn onto the second photo below illustrate this). Knot the thread and cut it.
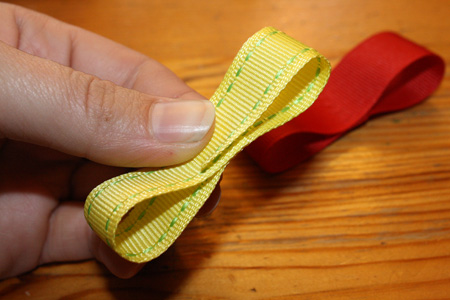
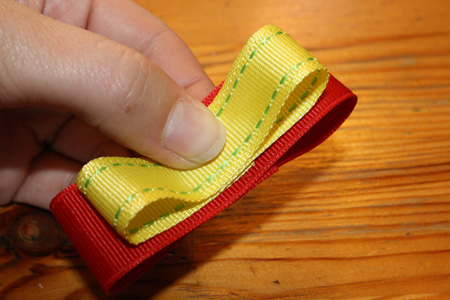
4) Take your second piece of ribbon, which should be slightly shorter than the first, and make it into a loop with overlapping ends. Pinch it in half as with the first piece of ribbon.
5) Stack the second ribbon on top of the first, overlapped ends facing down (sandwiched between the two pieces of ribbon), centered over the first ribbon.
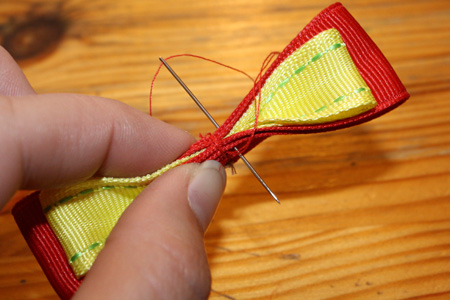
6) Pin the two ribbons together, grab your needle and thread again and stitch them together down the middle.
7) Repeat as desired with any more ribbon colours (decreasing the length each time) you wish to include.
8) From here, you have several options.
- Call it good and quit here. Sew a hair clip, pinback etc. to the underside of the bow as desired.
- Add a button or bead in the middle of the bow, then attach to a hair clip, pinback, etc. as desired. This will give you an end result that looks like the first method, except multicoloured.
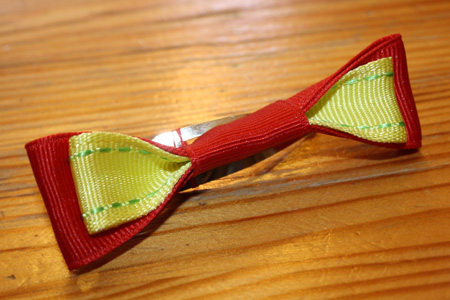
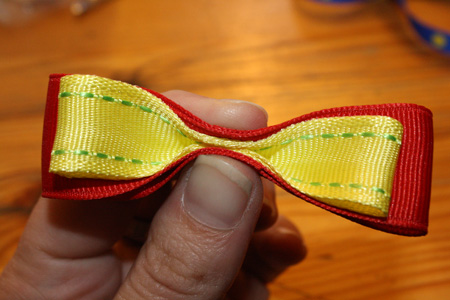
- Continue to step 9 to make your bow look like the one in the picture at the beginning of the post.
9) In the center of the bow, pinch the sides upward and inward, so they’re touching. Stitch them together.
10) Cut a small piece of ribbon (about 1 inch long) in one of the bow’s colours, and wrap it around the center of the bow to hide the stitches you just made. The ends of this small bit of ribbon should meet and overlap on the underside of the bow.
11) Stitch the overlapping ends of this small bit of ribbon together. Be sure to catch some of the bow itself in your stitches as well, so that this center bit of ribbon can’t move around. Knot and trim your thread. Instead of ribbon, you could also wrap thread or yarn around and around the middle of the bow to hide your stitches.
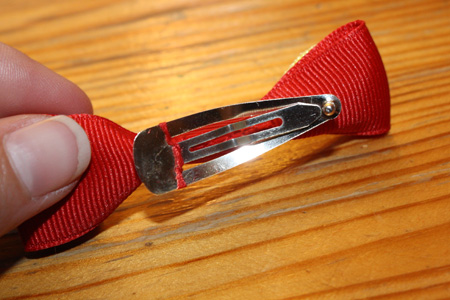
12) Attach a hair clip, pinback etc. to the underside of the bow as desired. Keep in mind that wide hair clips will be a bit visible, since the bow narrows so much in the middle. A bobby pin, on the other hand, will remain pretty much invisible.
13) Wear with pride and, of course, oodles of team spirit.

