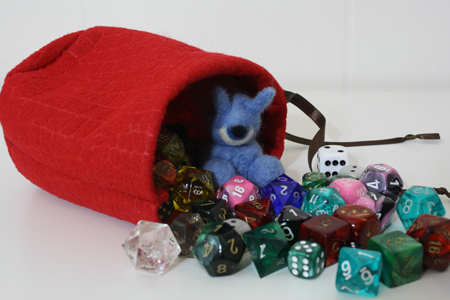
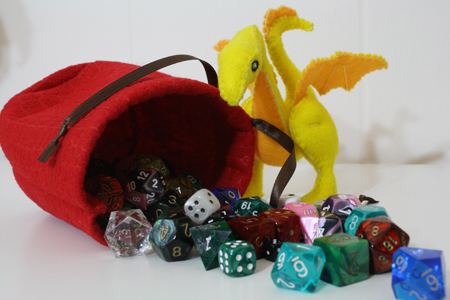
This past Friday I posted a tutorial for simple, fully lined dice bags. An easy, classy, tidy way to store and transport your polyhedral treasures, or your MtG tokens, or any other small objects. For those who don’t have a sewing machine, I promised a tutorial for how to make a hand-sewn bag, and here it is.
The main difference, apart from this bag being stitched by hand, is that this bag is not lined. You could follow the same tutorial as for the lined bags and simply do the sewing by hand – possible, but a pain, and most people just don’t do that kind of hand sewing anymore, just like most folks (even craftsy ones) don’t hem sheets by hand or sit around doing embroidery to pass the time and fill a hope chest.
The simplest and cleanest way to do a hand-stitched dice bag is to make it from felt, which doesn’t fray. A double layer of felt on something this small size would make it too bulky to work well, hence, this bag is unlined.
—————————————————————–
What you’ll need:
- felt (The easiest thing is to buy a sheet of it from the dollar store, or a craft store like Michael’s. It comes in all different colours, and in 12″ by 9″. Around here sheets are 25 to 50 cents each. You’ll need two 12 x 9 inch sheets for this project.)
- fabric scissors
- thread to match your felt
- needle
- pen
- ruler
- a circular object with a diameter of 3.8 inches OR this hand sewn dice bag base template
- ribbon or cord – about 20 to 24 inches
- fray check or clear nail polish
—————————————————————–
Putting it all together:
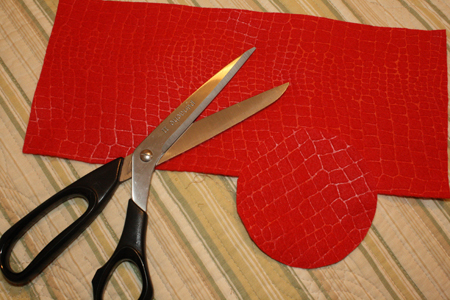
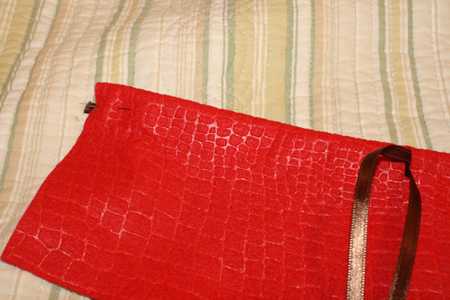
1) Cut a rectangle 12 inches long (the full length of a sheet of felt) and 6 inches tall, and cut a circle with a diameter of 3.8 inches… or print this circle hand sewn dice bag base and trace it onto the felt.
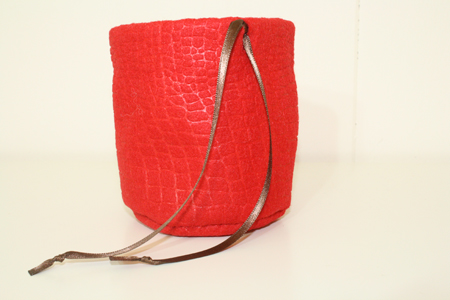
As you can see in the photo, I found some very neat patterned felt at Michael’s, that looks a bit like snake (or in my view, dragon) skin.
To make a dice bag of a different size, start with the circle size you want (this will be the bag’s base, and you can just trace a convenient bowl or lid). Then measure the diameter (width) of the circle and multiply it by pi (3.141592). The resulting number is how long you need to cut your rectangle. You can also make your rectangle wider, to make a taller bag, or narrower to make a shorter bag.
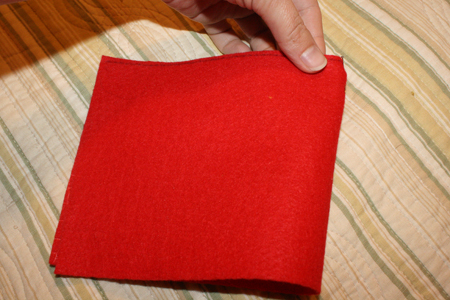
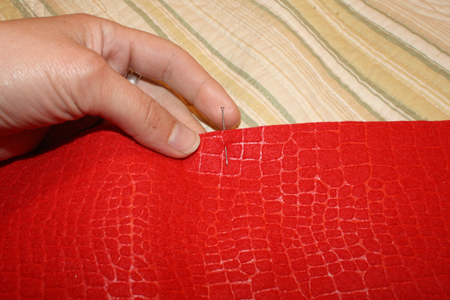
2) Take the rectangle you want to use for the outside of the bag, and fold it in half. Stick a pin in the center fold of the fabric.
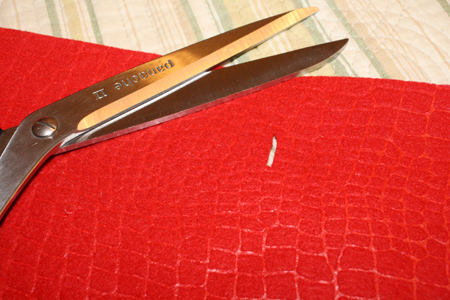
3) Open up the fabric, and, use the tip of your scissors to cut a small vertical line right below where the pin is, starting about an 1 1/4 inches from the top edge of the fabric. Make the cut about 1/2 inch long. You may want to mark a small line with a pen first, then cut.
Because this is felt, it won’t fray or run, so you don’t need to do anything to deal with the raw edges of the slit you’ve cut. Isn’t that lovely? Felt is such great stuff.
4) Fold the entire top edge (above the slit) of the fabric down by about 1 1/4 inches. If your felt has a definite front and back side, as mine did, fold it backwards, so the back side is the side with the line of folded fabric, covering the slit you cut. The slit should still be visible on the front side of the felt. Pin the fold in place.
5) Stitch the bottom edge of the fold in place. You can use any stitch for this, but the key is to make your stitches small, close together and tight, and to find thread that closely matches the colour of your felt so that the stitches are nearly invisible on the fabric’s front.
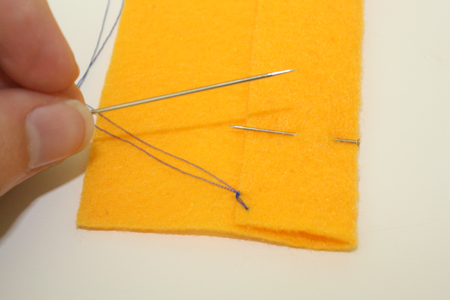
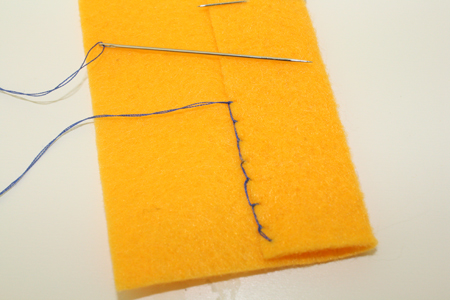
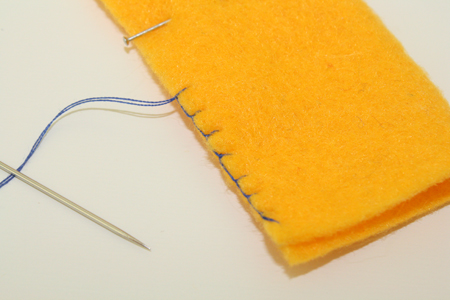
I used a blanket stitch, which is great along open edges like this. Below are instructions for how to do a blanket stitch. I’ve used contrasting colours of felt and thread, so you can easily see the stitches.
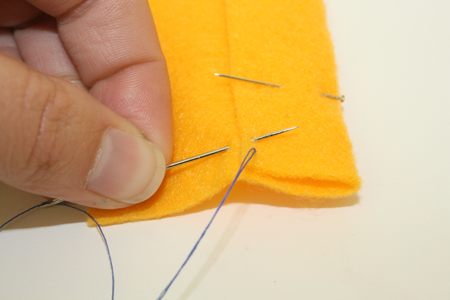
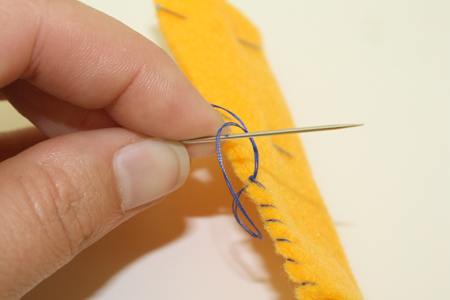
a) Start by threading your needle and knotting the thread, of course, then insert the needle under the folded over edge of fabric and pull till the knot catches.
b) Right next to the knot, insert the needle again so that it catches a bit of the outer layer of fabric, and comes up through the folded-over flap of fabric.
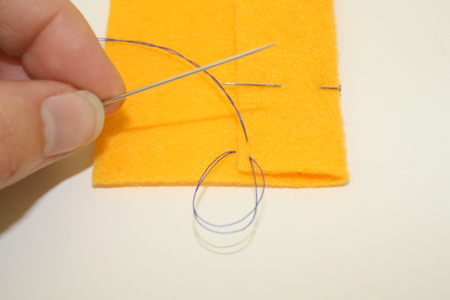
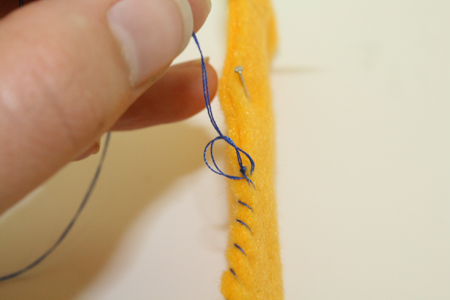
c) Pull the thread almost but not quite all the way through, so there’s a loop of thread left.
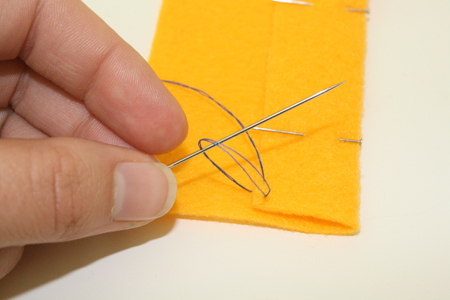
d) Insert the needle through this loop of thread, then pull it tight. The first stitch will look a bit weird. That’s entirely normal and unavoidable. Just keep going.
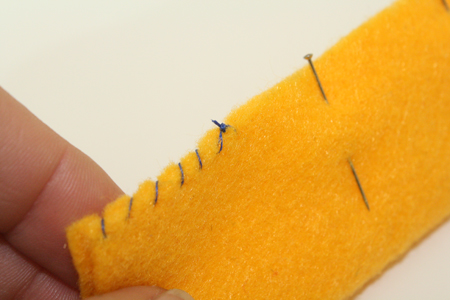
e) Repeat the process, inserting the needle through both layers of fabric, leaving a loop, putting the needle through the loop and pulling the thread tight. After a few stitches, your work should look about like this:
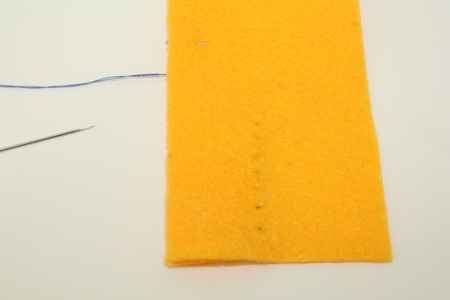
And on the front, like this:
As you can see, small stitches and the fibrous felt mean that the thread isn’t very visible on the front, even with these contrasting colours. If you use thread the same colour as your felt, the stitches will be all but invisible on the front side.
To knot thread (in any hand sewing circumstance), you actually do pretty much the same thing. Insert the needle underneath a previous stitch, leave a loop, put the needle through the loop and pull tight. Repeat this two or three times in the same spot, then cut the leftover thread.
6) Once the fold is completely stitched down, flip the whole piece of felt over. Grab your ribbon, cut it in half, and insert one end of each piece of ribbon in through the slit. Push it down, so that an end of the ribbon pokes out from the side of the felt rectangle, and is encased in the tube along the top of the felt. Pin the poking-out end of ribbon in place.
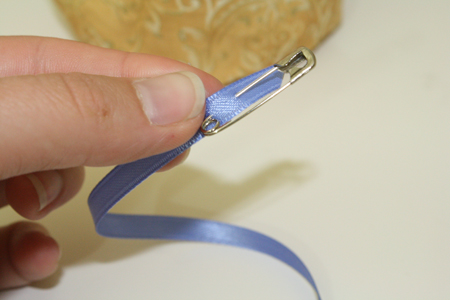
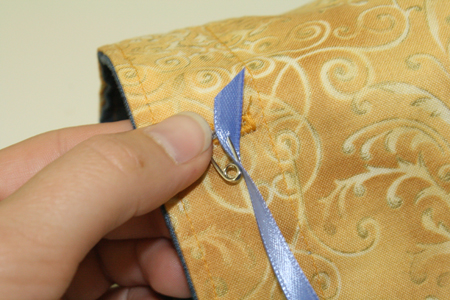
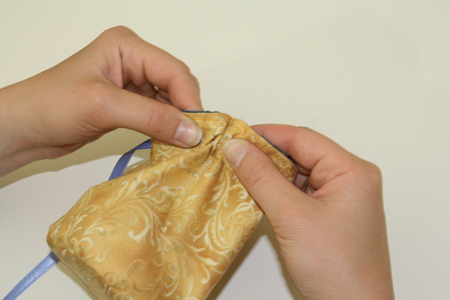
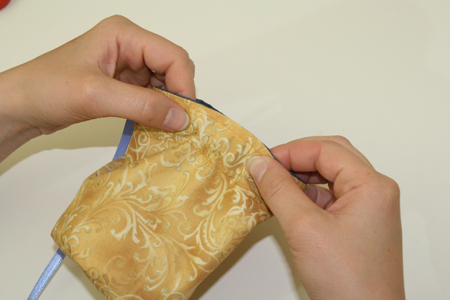
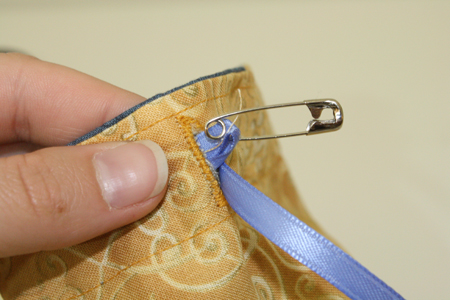
With felt, I find it’s pretty easy to just push the ribbon through. However, if the ribbon gets stuck, you can use this trick (photos from my lined dice bag tutorial, but the concept is the same) with a safety pin:
a) Take your ribbon, and attach the safety pin to one end. Insert the safety pin into one side of the buttonhole at the top of the bag.
b) Work the safety pin all the way around the bag. To do this, hold the back end of the safety pin through the fabric, and scrunch more fabric up over it. Then grab front other end of the safety pin with your other hand, and let go of the pin’s back end. Continue this until the safety pin pokes out the other side of the buttonhole, then pull till there’s an equal amount of ribbon dangling from either side of the hole.
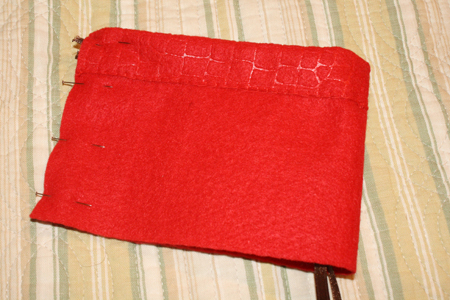
7) With the felt still face-up, fold the whole thing in half (right sides together) and pin the ends together. The dangling ends of ribbon should just hang down inside the felt, out of the way.
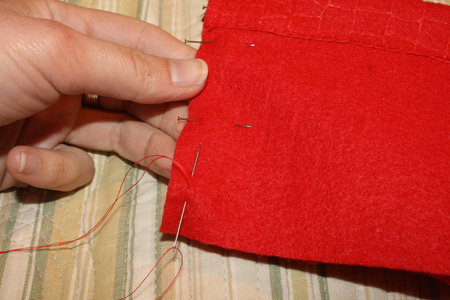
8) Thread your needle, knot the thread, and use a simple straight stitch to sew a line along the pinned edge, about 1/4 inch from the actual edge of the felt. Once you’ve sewn the whole edge up, it’s probably a good idea to sew over the same line again, to make sure it’s nice and strong. When doing this step, be sure that you catch those pinned ribbon ends in the stitching them, sewing them firmly (very firmly) into place. Do a couple extra stitches on the ribbon ends; you’ll be pulling on them every time you close the finished bag, so you want them to be well attached.
9) To clean up the resulting raw felt edge, you can do a whip stitch along it. Instructions for a whip stitch are below. It’s basically the first part of a blanket stitch, simply excluding the bit where you put the needle through a loop of thread.
a) Insert the needle into the fabric, about 1/8 inch from the edge of the fabric and pull till the knot catches.
b) Bring the needle around to the other side of the fabric a short distance from the knot, push through both layers of fabric, and pull tight.
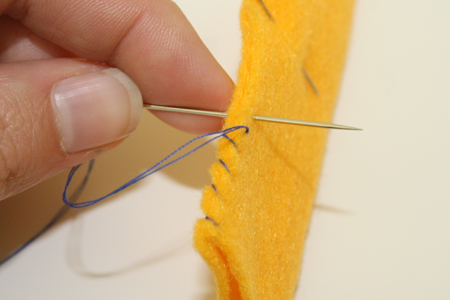
c) Repeat. At the end, knot the same way as described in step 5.
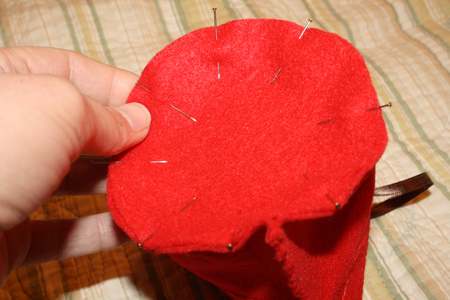
10) You should now have a tube of felt, open at both ends. Now take the circle you cut in step 1. With the circle’s right side (if it has one) facing inwards, pin its edges to the edges of one end of your fabric tube – the end that does NOT have the buttonhole! Make sure that the dangling ribbon ends are tucked up inside the bag, out of the way.
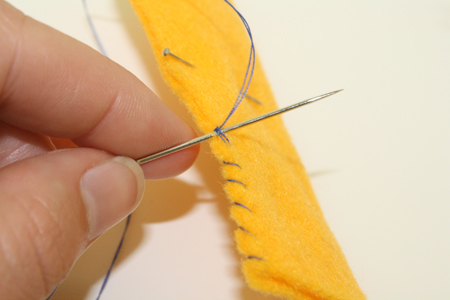
11) Use a blanket stitch (as described in step 5) to attach the bottom edge of the bag to the circular base. You’ll use the same steps, but this time you’ll be stitching together two matching edges, so it will look like this:
When you’ve sewn all the way around the base, knot your thread and trim it.
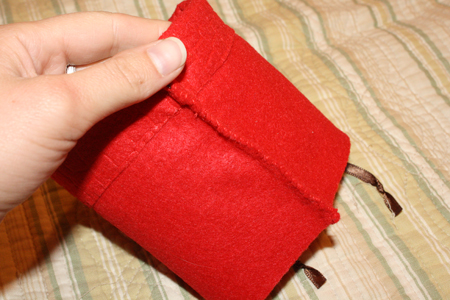
12) Turn the bag inside out. Knot the ends of the ribbon if desired, and put some fray check or clear nail polish on them to keep them from fraying.
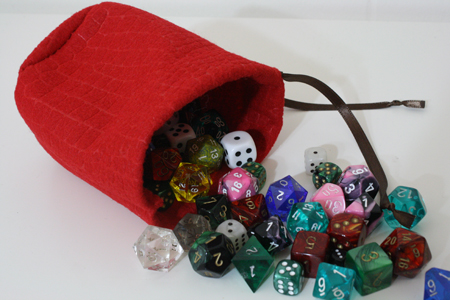
13) Fill will good things!

