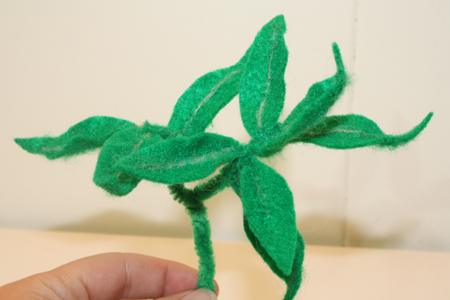
The other day I looked over into the corner of my office where I pile the things that will need dealing with soon but not right now, and realized that my one poor little office plant was back there, looking decidedly unhappy. I wrote a while ago about how I’m not the best grower of green things, and offered a paper plant solution. Today I’ll offer another fake plant solution, but in felt.
Apart from providing another undying way to spruce up a beige office corner, the needle-felting-onto-felt procedure outlined in this post is also a generally useful technique. It can be used to decorate all kinds of felt objects. As you’ll see below, this method gives you the ability to add details to felt, “drawing” them on with a felting needle, and it also allows you to give flat pieces of felt some shape and three dimensionality.
Plus it’s another opportunity to stab things. Good stuff.
On the topic of needle felting, I’ve just written another tutorial for an online crafting course being put together by Kaitlyn Patience, another Victoria crafter, and a participant in Iconocraft, which I blogged about back in June. The course is $45, and for that you get 20 different tutorials over a span of 8 weeks, written by many different crafters, on various topics (sewing, cooking, graphic design, paper crafts, photography, etc.). Check it out here.
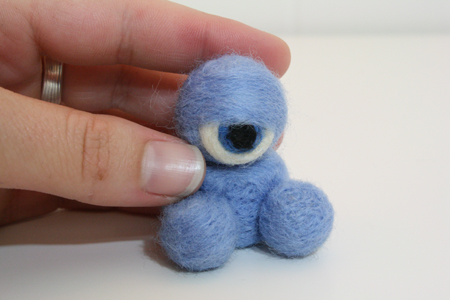
My own tutorial will teach you to make one of these monstrous cuties:
For now, though, on to the undying felt plants. You can also find some of my other felting projects (and some more on the basics of needle felting) here (felt beads), here (bacon bracelets), here (moustache on a stick) and here (mice).
—————————————————————
What you’ll need:
- felt
- pen and paper
- fabric scissors
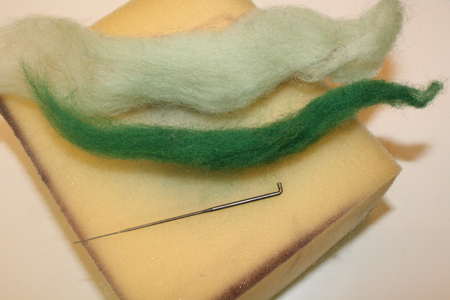
- wool rovings – this is soft, unspun wool, sold at wool and yarn shops, and online. It comes in many colours, is pretty inexpensive, and a little goes a long way. Corridale wool is one of the best types for needle felting.
- felting needles – long, sharp barbed needles (photo below), which can be found at wool and yarn shops, as well as some craft or fabric stores.
- foam – should be at least a couple inches thick. You can always stack two thinner pieces on top of each other, and wrap duct tape around the edges to hold them together.
- pipe cleaners (in the same colour as the felt)
—————————————————————
Putting it all together:
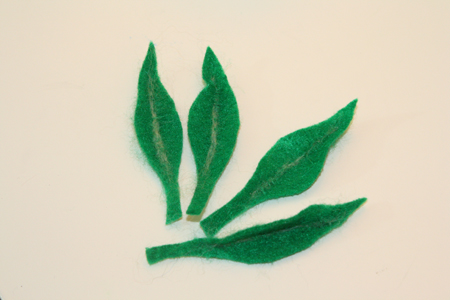
1) Start by cutting out a bunch of felt leaf shapes. Be sure they have a stem at least an inch to an inch and a half long. As I often do for felt patterns, I drew a shape on cardstock (pieces of cardboard from cereal or other food boxes also work well), cut it out and traced it onto the felt in pen multiple times. Then I cut out the felt shapes, cutting just inside the pen lines so they won’t show on the final shape.
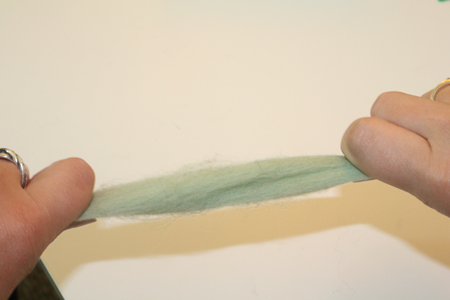
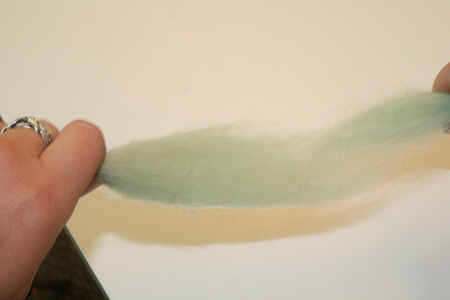
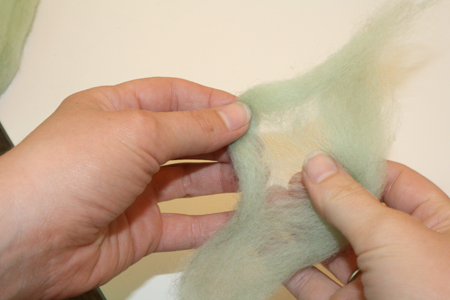
2) Take your wool rovings and place your hands about eight inches apart. Pull firmly. If the wool doesn’t come apart with relative ease, put your hands a little further apart and try again. The fibers should separate where they naturally want to, leaving you with two smaller pieces of roving.
Next, you can pull small pieces off the sides of your roving. You’ll want only a very thin line of roving for this.
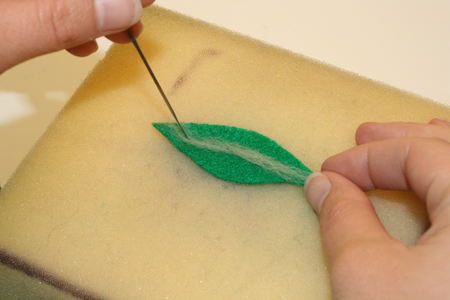
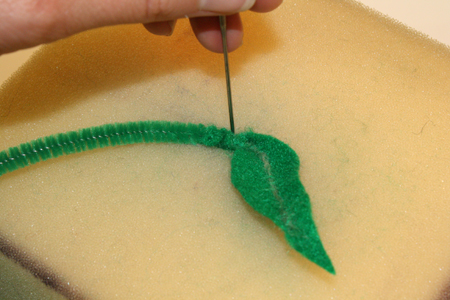
3) Place a felt leaf shape down on the foam. Place the tiny bit of roving on top of it, where you’d like to add a line on the leaf.
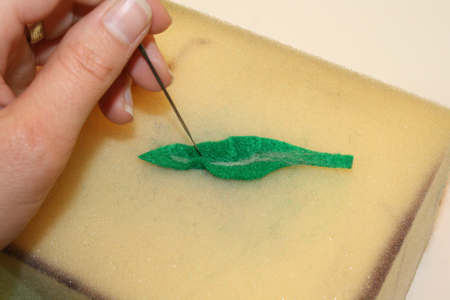
4) Using your felting needle, stab along the length of the roving, jabbing it into place. The felt leaf will curl up a bit, and will attach itself somewhat to the foam. That is both unavoidable and just fine. Use the needle to make it curl and bend how you wish, giving it some realistic leafy shape.
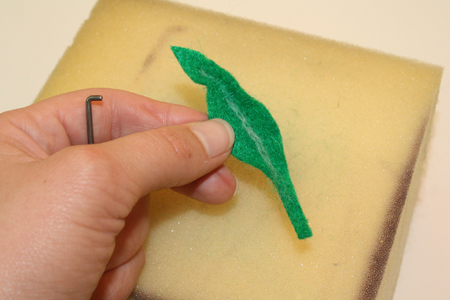
5) Pull the felt gently away from the foam and turn it over. There will be a bunch of fibers from the rovings and the felt sticking straight out the other side. Curl these fibers around the end of your needle and stab them back down into the felt, but gently, so they won’t protrude too much back out the front of the leaf.
6) Go back and forth between the front and back of the leaf, flipping it over and using the needle to gently prod the fibers back down until both sides of the leaf are relatively smooth. Finish off by again using the needle to give the leaf the final shape you want.
7) Repeat this several times, to create as many leaves as you wish.
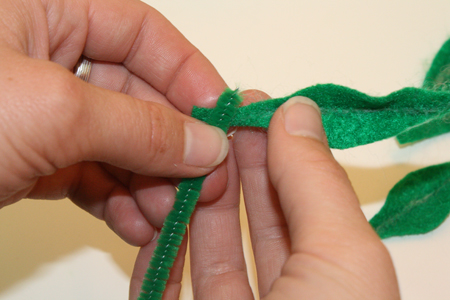
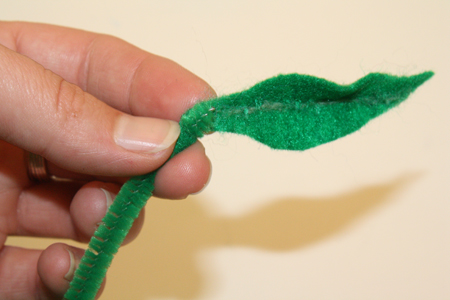
8) Take a leaf and wrap its stem around the top of your pipe cleaner. Make sure the step overlaps itself a bit.
9) Use your needle to felt the fibers of the leaf stem together, and to the fibers of the pipe cleaner.
10) Repeat with your other leaves, adding them to the pipe cleaner at the desired intervals. Trim the pipe cleaner at the desired length. You can also add a second stem of leaves with a second piece of pipe cleaner, and wind the ends of the two pipe cleaners together to connect them into one branching plant.
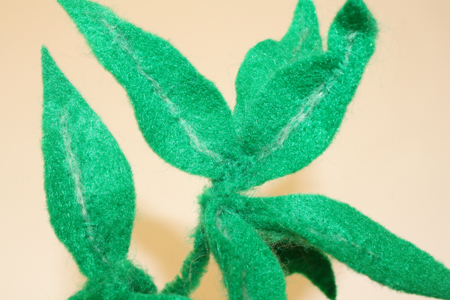
11) Bend the pipe cleaners this way or that to create a bendy, twisty, realistically imperfect plant look. Use the plant to decorate your office. It’s fine to forget to water it.

