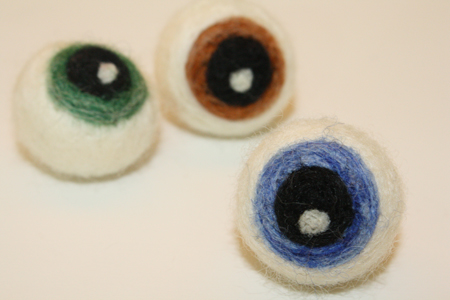
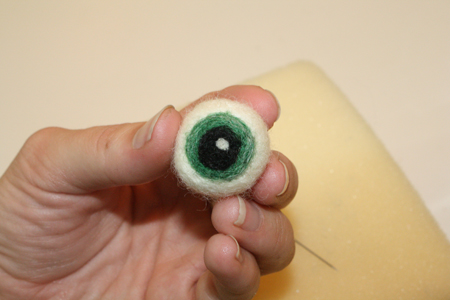
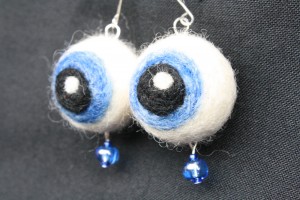
My eye doctor (wanting me to see the benefit of glasses despite only needing a corrective lens for one eye) always used to tell me that “two eyes are better than one.” Well Dr. Pohl, I was listening. And if two eyes are better than one, than three, four, five or six eyes must surely be better than two!
I feel these are particularly appropriate for the Halloween season (though extra eyes could come in handy any time of year). What better way to spook the place up than with a load of disembodied eyeballs floating around? And there’s the totally creepy aspect of repeatedly stabbing a long sharp needle into an eye (which is how you make these…).
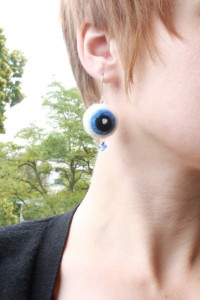
I especially like making two matching eyeballs into earrings – they look pretty funky hanging on either side of your face. A bit Muppet-like, actually.
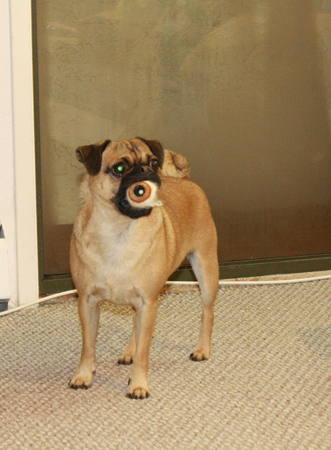
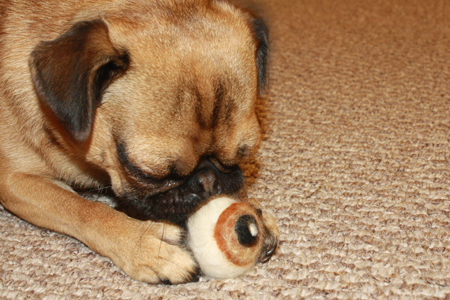
Apparently they’re good pet toys as well (if you make them a big bigger). A few days ago I got my eyeball earrings out to show some craftsy friends, and Ash’s adorable little dog Buster went nuts for them. No idea why, but they appeared to be his new favourite thing. So I made him a larger needle felted eyeball of his own, which was equally popular with him. And with us. Turns out it’s highly amusing to watch a wee dog trot about with a drool-dampened eyeball hanging out of his mouth. Observe:
(And if you just don’t feel like making your own right now, or if needles+eyeballs makes you twitch, the earrings shown above are for sale in my Etsy store.)
—————————————————-
What you’ll need:
materials:
- wool rovings in 3 or more colours (white for the eyeball, any colour(s) you wish for the iris and black for the pupil) – Rovings – the term for cleaned, combed un-spun and un-processed wool – can be found at wool and yarn shops, or online. Corriedale wool, which comes from Corriedale sheep (native to New Zealand) is usually the least expensive, and comes in the most colours. It’s also fairly coarse, and ideal for needle felting. You won’t need very much – a little goes a long way.
- [optional] jewelry findings, cord/string & a large sewing needle to string it with, keychain, etc. (basically, stuff to attach your eyeball to if desired, making it into a pendant, keychain, earrings, garland and so on.)
tools:
- thick foam – a squarish piece about 2 inches thick and roughly 5 or 6 inches wide. Larger is fine. You can also use thinner foam – just cut two pieces about the same size, stack them and wrap duct tape or packing tape around the sides to hold them together. You can buy suitable foam at many fabric and crafting stores, and at some hardware stores that have home decorating sections. Most places sell foam in large sheets, but will cut off smaller pieces for you if asked.
- felting needles – these are particularly long, sharp needles, with barbs on the ends. You can find them at many crafting stores such as Michael’s, Hobby Lobby and Joanne’s, or at a wool or yarn shop. For this project you’ll probably want a large size needle and a smaller, finer needle. It’s a good idea to get a couple of extras as well (they’re not too pricey – about $1 to $1.5o each), as it’s fairly common to break a needle or two when first learning how to needle felt. Even the ones you don’t break do take a fair bit of pressure over time and will eventually snap.
For more information on needle felting basics, and for other needle felting projects, check out these tutorials:
- felt beads – basic wet felting & needle felting methods
- needle felted mice
- needle felted bacon bracelet
—————————————————-
Putting it all together:
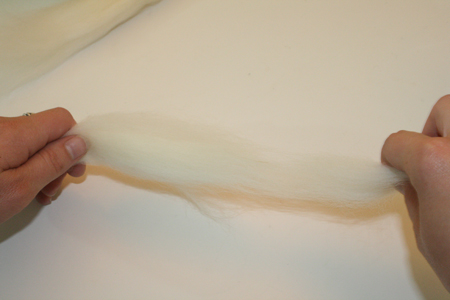
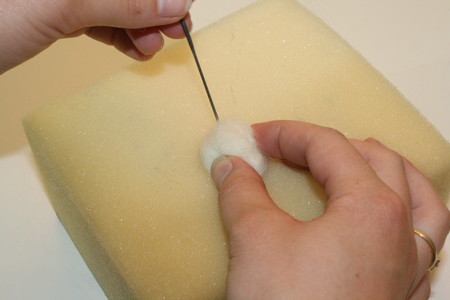
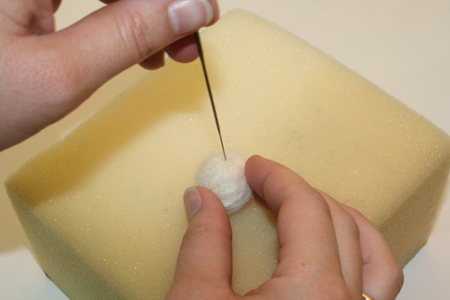
1) Start with the white wool. You’ll need to tear off a smaller piece of wool to begin with. To do this, unwind the roving so it’s in a long thick rope. Place your hands about 6 inches apart and pull firmly. If the roving doesn’t come apart, put your hands a little further from each other, and pull again. The roving should break fairly easily. You can pull your smaller bit of roving apart some more, until you have a piece about the size of the one in the second photo below.
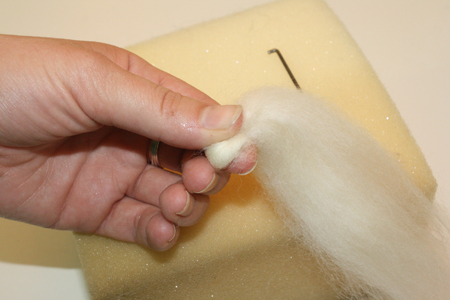
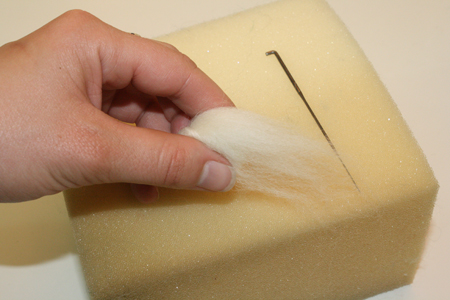
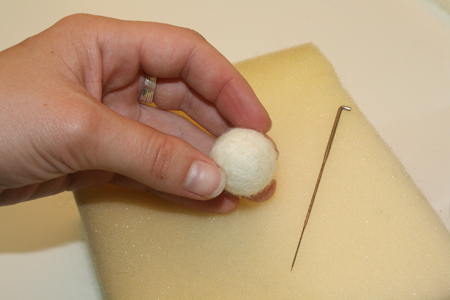
2) Ball one end of the roving up. Continue rolling the rest of the roving up into a ball, keeping it as tight as possible. Roll the entire piece of wool up this way, and place it on top of the foam, pinching it together between thumb and forefinger.
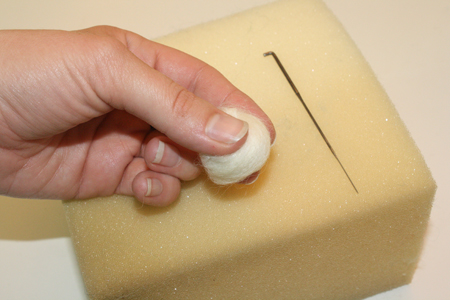
3) Hold the wool in one hand, on top of your foam block. Take your felting needle and stab the wool with it, straight up and down. Always keep your eyes on the needle. Roll the ball around, continuing to stab, so that you are stabbing all sides of it equally, keeping its round shape. The ball will compress and grow smaller as you stab, and as the fibers lock together. Continue stabbing and stabbing, and the wool will continue to compress and take shape.
Be sure to hold the needle at the top and in the middle, putting no pressure on the lower end, or it will break. Also be sure to keep the needle straight. And, as mentioned, always keep your eyes on the needle and the fingers that are holding the wool away from where you are stabbing. Go slowly at first until you feel comfortable increasing your stabbing speed.
This is basically all there is to needle felting. With practice, you learn how to control and shape the fibers with your needle tip, stabbing more where you want to make an indent or compress the wool, adding more wool onto the shape, etc.
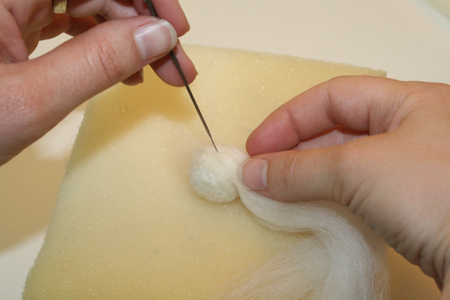
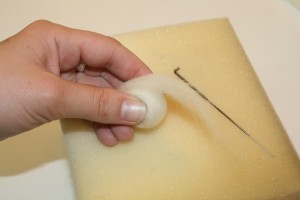
4) To make the ball larger, take another piece of wool roving and wrap the end around the ball you’ve made. Stab the end into place a bit, then roll the rest of the roving around the existing ball, and stab it smooth and into place, building on the surface of the ball you’ve created. Now you’ve got your eyeball – you just need to add iris and pupil.
To make a significantly larger ball (like for a pet toy), I rolled some long strips of actual white felt (like, the fabric) into a ball and needle felted those together roughly (yes, you can do this – more on that sometime later, but there are some amazing things you can do by needle felting shapes cut from felt onto other things…), then wound white wool rovings around that and continued making the eyeball as described in the rest of this tutorial. This meant that I could make a much larger eyeball much more quickly, because normally to make a needle felted ball larger than about an inch or two across, you’re starting to look at way more time and stabbing…
In the end, the wool ball should be quite solid. You should be able to squish it a bit between your fingers, but only by pressing quite firmly. Needle felting can create objects nearly as hard as a marble, if you continue stabbing and compressing for long enough.
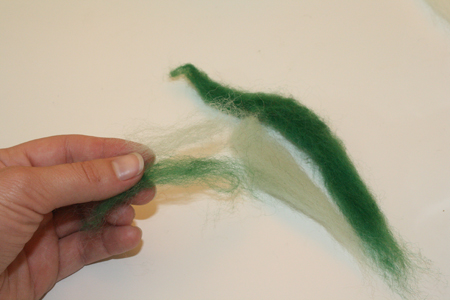
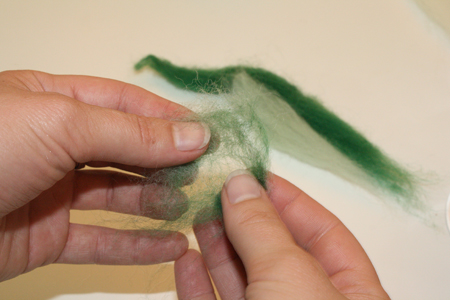
5) Take a small piece of your coloured wool roving, and wind it around into a flat circular shape. Place this shape on top of the white eyeball. To make a multi-coloured iris, place portions of two (or more) colours of wool on top of each other to form one length of wool roving. Pull this length apart, put it back together, lather rinse repeat. Basically, use your hands to mix the colours together. You simply want to be sure that you still start and end with the wool’s fibers facing in roughly the same direction, in vertical lines.
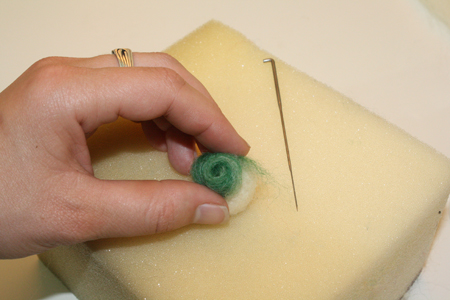
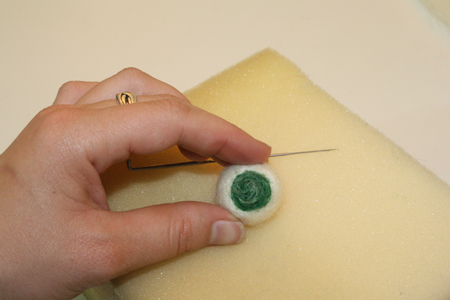
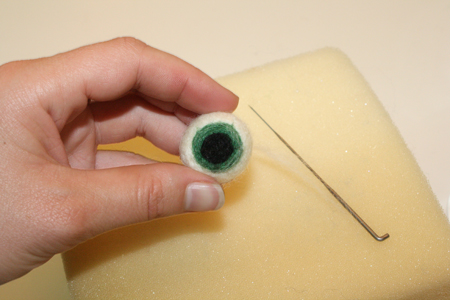
6) Stab the coloured circle into place on top of the ball, using the tip of your needle to shape and even out its edges as you go. You will notice that you can use your needle tip to push the wool circle inward, making it smaller, or to push it outward, widening it. If the circle is too small, add more wool around its edges, stabbing it into place.
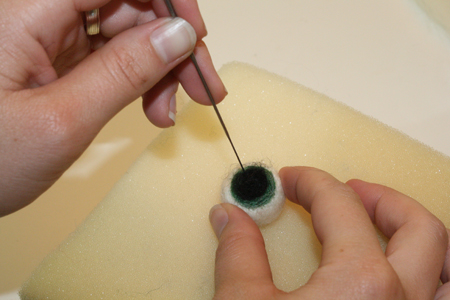
7) Once the white circle is solidly in place, take an even smaller piece of black wool and do the same thing to create a flat coloured circle in the middle of the white circle.
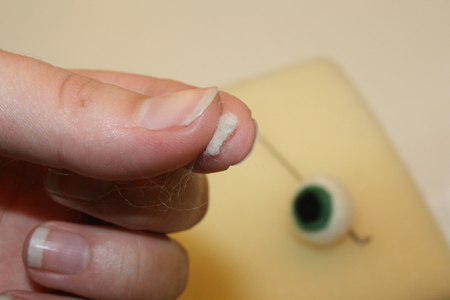
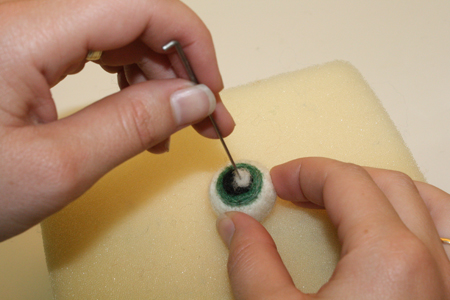
8) If desired, you can then take a very small bit of white wool roving, ball it up, and stab it into place in one corner of the pupil, to create the impression of light reflected in the eyeball. It adds some depth and interest – I pretty much always do this step.
9) To turn your eyeball into earrings or a pendant, or to string several eyeballs together into a garland, simply use a long, thick sewing needle to make a hole through the middle of the ball.
To string eyeballs on a garland, just thread the needle with string/wire/yarn/embroidery floss/etc. and pull the needle through the eyeball.
To put a head pin or other jewelry wire through the eyeball, I use an unthreaded needle, push it through the center of the wool and leave it sitting there sticking out either side of the eyeball. Work it around a bit, trying to enlarge the hole. Then pull it out and immediately thread the pin or wire through the hole. Sometimes it takes a few tries to get the hole to stay present enough for the wire to be pushed through.
To make a larger hole, start with the needle, then work your way up to thicker objects poking through the eyeball, such as a dollmaking needle, a bamboo skewer, a bead holer.
10) Wear, display or throw at an unsuspecting coworker. Or give to your dog just before he trots to the door to greet visitors. “Oh heavens, WHAT is your little Fido chewing on?!”

