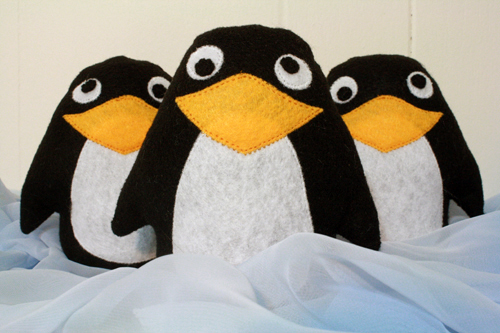
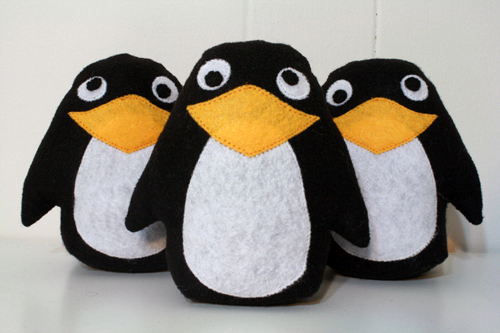
Tis the season of penguins! And a lot of other stuff, like eggnog and pretty lights and reindeer antlers and super annoying pop remixes of Christmas carols. But for today, we’re focusing on penguins.
These little guys are adorable as decorations or as playthings for the kids in the house. If you fill the bottoms up with rice or beans (a simple process explained in the tutorial), you can make them into little bowling pins to make a game for the little kids in your life.
This tutorial also explains how to put a flat base on a simple doll like this, allowing it to stand on its own. It’s a good place to start for some simple plushie making, and you could modify the pattern to make it Santa Claus, or a reindeer, or basically anything else, just by changing the wings to arms and designing different faces to sew onto the front.
——————————————
What you’ll need
Materials:
- felt in black, white and yellow
- thread in black, white and yellow
- polyfil or other stuffing material
- [optional] a small scrap of thin cotton – about 6-8 inches long by 3-4 inches wide
- [optional] rice (about 1/4 to 1/3 cup)
- penguin doll pattern – number 8. under “Sewing patterns”
Tools:
- sewing machine (though this could also be entirely sewn by hand if you have the time and patience)
- fabric scissors
- straight pins
- (hand) sewing needle
- chopstick (to help with turning and stuffing)
——————————————
Putting it all together:
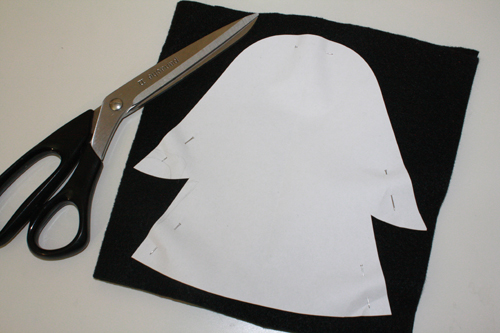
1) Start, of course, by printing and cutting out the pattern pieces. Pin the pattern pieces to the appropriate colours of felt and cut them out.
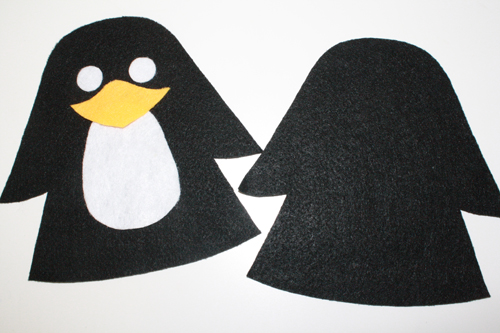
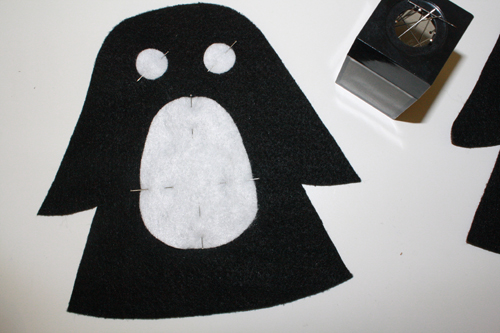
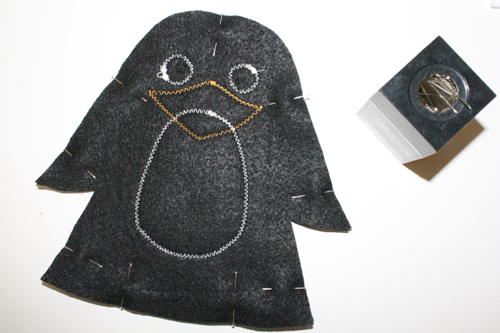
2) Lay out the stomach, beak and eye pieces on one of the black penguin shapes, so you can see exactly where you want everything to go. Be sure to situate them fairly high up, as you are going to lose material at the bottom of the penguin, where it will fold underneath to create the doll’s flat base. Then pin the eye and stomach pieces in place, and remove the beak for now.
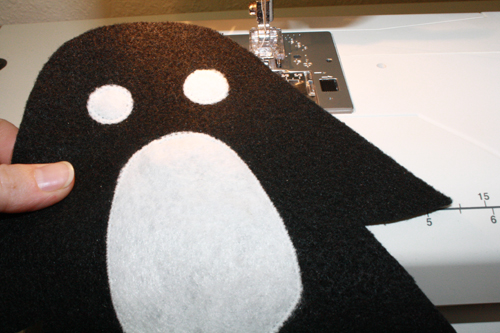
3) Using white thread, use a very close-together back and forth stitch (like a zig zag, or some variation thereof) on your sewing machine, going all around the edges of the eyes and stomach.
A couple of helpful hints: when you’re sewing a line around the edges of curving objects like this, especially small ones, it can be tricky to twist the fabric enough to keep your needle where it needs to be. Don’t try. Instead, when you reach a sharp turn, leave the needle embedded in the thread, lift the presserfoot and twist the fabric around. The needle sticking into the fabric keeps the thread tight, but the fabric can be moved around as needed, pivoting on the point where the needle is.
Also, knotting a zigzag stitch can look messy, as backstitching creates quite a lumpy area of thread. So instead, stitch all the way around your shape, stop with the needle out of the fabric, switch to a straight stitch and then stitch back and forth a small amount over the zigzag stitches, locking them in place. It’s both neater and more effective.
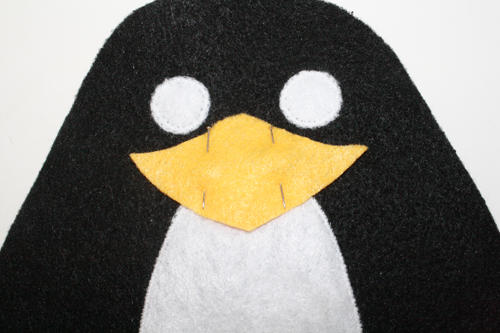
4) Now pin the beak in place and use the same method (with appropriately coloured thread, of course) to stitch it in place.
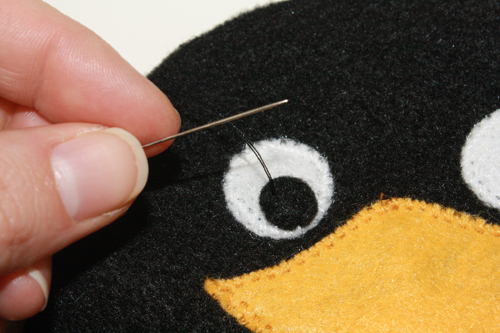
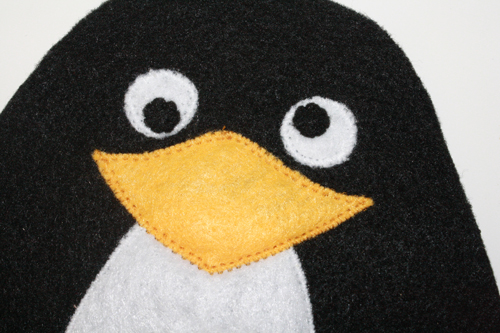
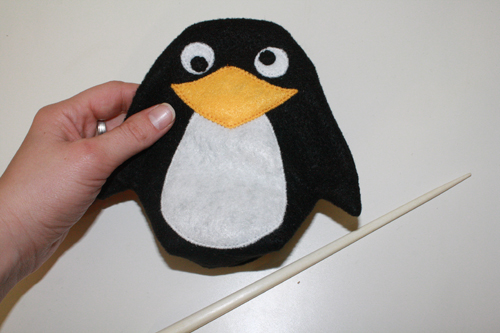
5) Right now, with those blank white eyes, this is more of a creepy penguin than a derpy penguin. To fix that, cut two very small black circles from felt, and hand stitch them into place. For that derpy look, just place the black circles in a different place on each eye.
6) Now pin the two halves of the penguin together, with right sides together so the face and tummy bits are facing inward.
7) Sew all the way around the shape, except where the “leave opening here” line is marked on the pattern, at the center bottom of the penguin.
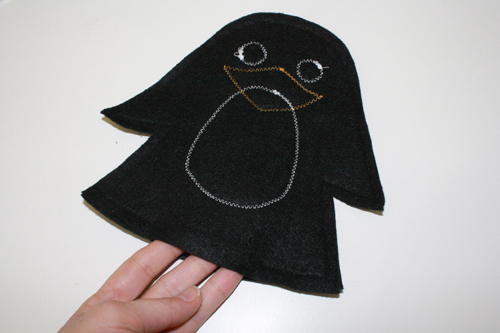
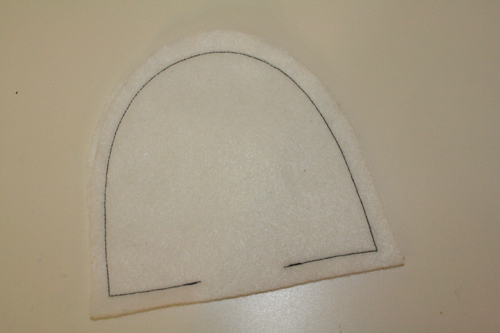
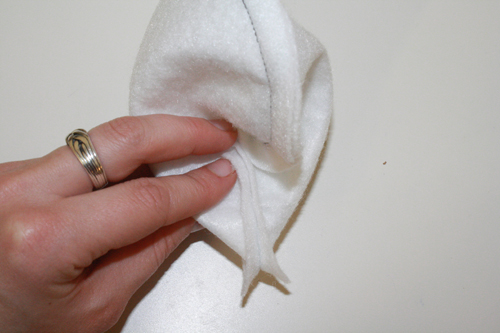
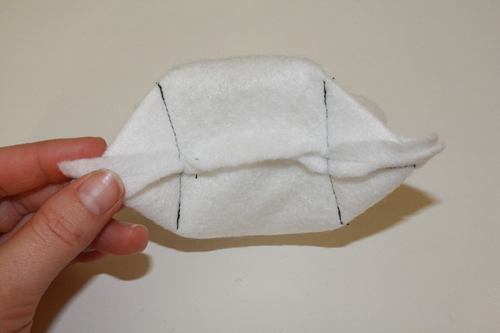
8) Now I’ll explain how you give your doll a flat base, so it can stand up on its own. For the purposes of this tutorial, I’ve used a similar shape, but in white felt with black thread, so that it’s easier for you to see what’s being talked about.
You should have a penguin shape with a straight base, and a gap in the middle of that base.
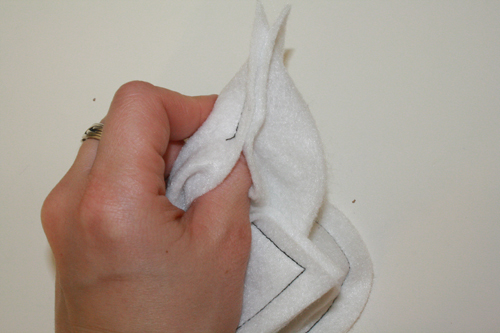
Put your fingers through that gap and into one corner of the bottom of the penguin. Flatten out the sides of the penguin in either direction, so you have a triangular corner.
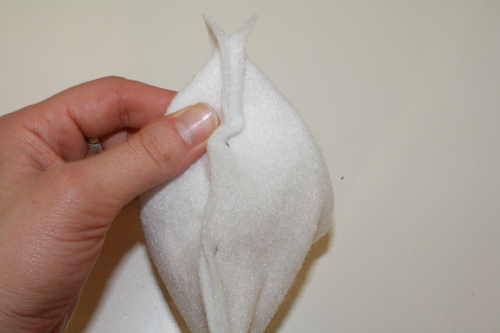
The seam on the bottom of the bird and the seam along the top of the bird should be lined up, flattened together and lined up on either side of the triangle.
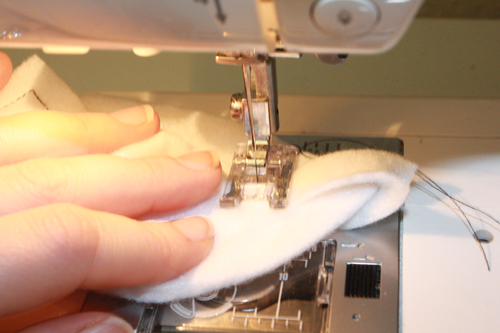
9) Now stitch a straight line across the triangle, about an inch to an inch and a half from its outer corner.
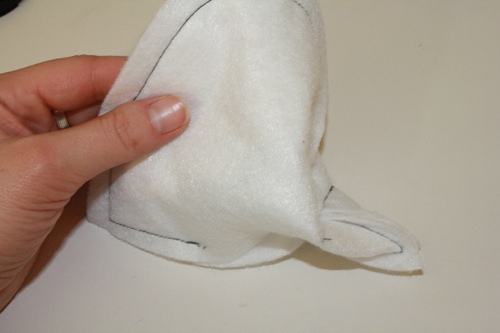
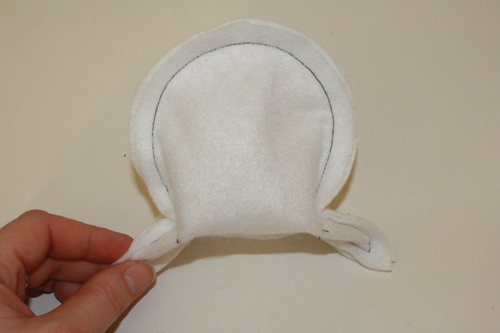
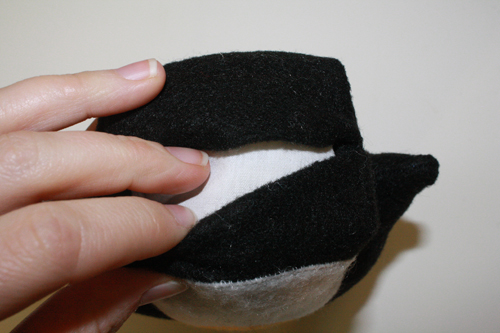
10) Repeat on the other side of the penguin’s base. When you’re done, you should have an inside out penguin shape with a base that looks like this:
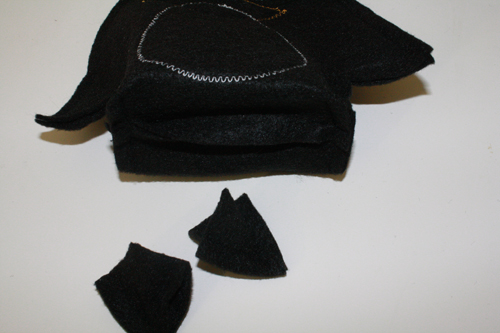
How it looks ont he actual penguin doll:
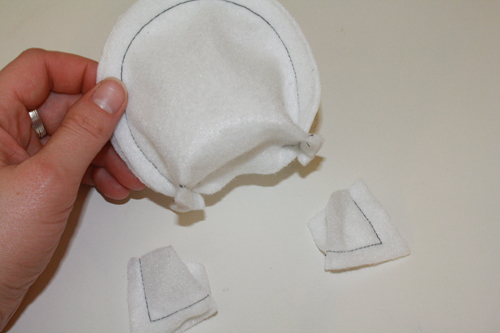
11) Now cut those corners off, about 1/4 inch from the stitched lines.
12) Turn the bird right side out, again using that gap in the bottom. You can (carefully!) use the tip of your scissors or the end of a chopstick to push all the little corners and wing tips all the way out.
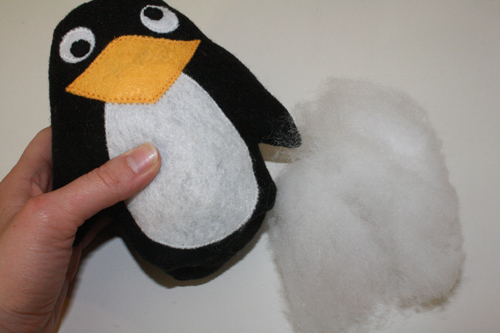
13) Stuff!
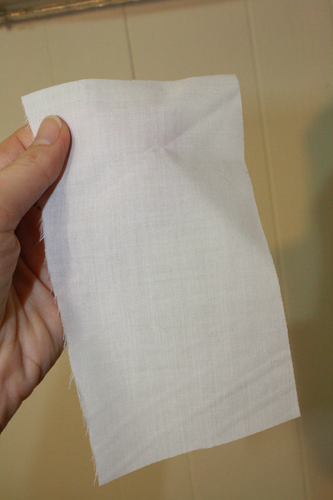
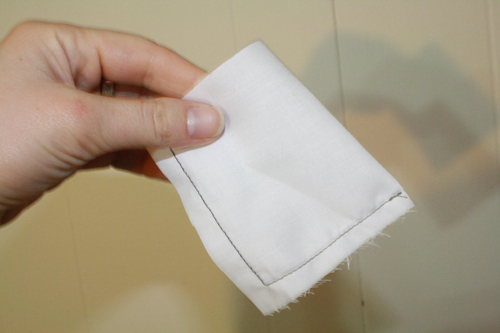
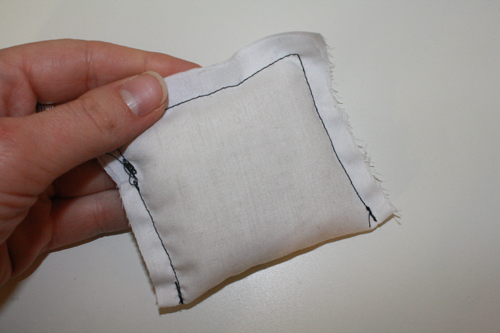
13) If you want to make a weighted penguin (so it stands up a little more easily, or so you can go penguin bowling), leave some space at the very bottom of the bird when stuffing it. Then cut a small rectangle of fabric (about 6-8 inches by 3-4 inches should do it), fold it in half, and sew around two of the open edges.
14) Fill up the little pouch with rice or beans or similar.
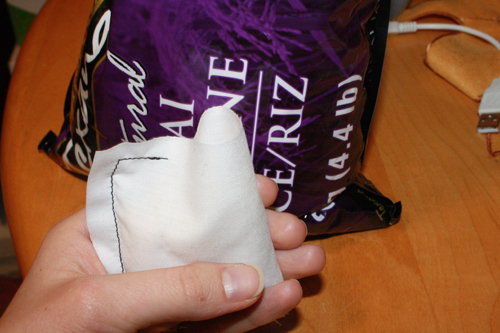
15) Sew the last side shut. Then insert the pouch into the bottom of the penguin and add any more needed stuffing around its edges to completely fill the doll.
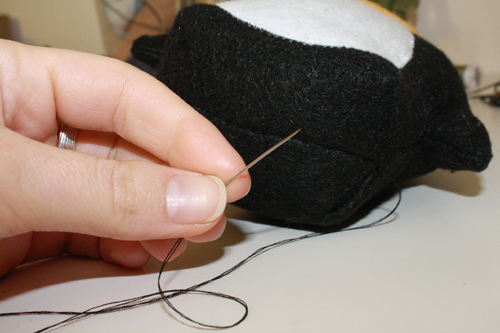
16) Use a sewing needle and thread to stitch up the gap in the bottom of the bird. The fabric on either side of the gap will want to fold under by about 3/8 inch – let it. Use a ladder stitch (back and forth, putting a stitch through the fabric one side of the opening, then across from it in the fabric on the other side of the opening).
17) Line up your derpy penguins for added winter joy. You can use a beanbag (or substitute that cute monster wheat bag you totally made a couple weeks ago) to go penguin bowling! Good distraction for little kids while parents are trying to clean the house or get the Christmas baking done. Just, y’know, no bowling anywhere near the TV or the good china.

