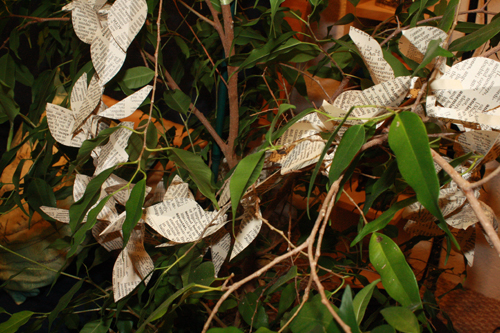
I’ve been wanting to do some Christmas decorating, but a few things have been holding me back. First and foremost is my total lack of time, as I desperately try to get ready for Christmas and do a hundred other things. This past week I’ve been working on a very neat commission project, and completing my first attempt at making a dress without a pattern from a non-stretch fabric. (It’s for the fancy schmancy Child’s Play charity dinner that my friends and I are headed to today – or yesterday, by the time you read this. Pics of that later.)
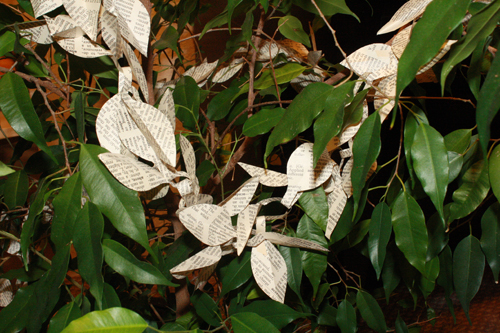
Anyway, my boyfriend and I are also going away for the holidays this year, so there’s no point in putting up a tree. Which is just as well, since I’ve not had time to start a fight with the building owners over their “no real trees” rule. Their argument being that they’re a fire hazard, but given that there are no rules against candles, hair straighteners, curling irons, incense or toaster ovens, I feel this is pretty feeble logic. But hopefully there will be time to take up that cause next year. For now, there’s no tree, no time, and I’m trying to find some way of making our place look a little more festive.I’m a fan of paper chains, elementary as they are, but I wanted to try something slightly different this time. Since we can’t add real greenery, I thought I’d try making some fake stuff. Not that I’m ok with fake Christmas trees, but handmade paper leafiness is a different matter. It’s also suuuuper simple, and a great way to use up some pages out of that old Encyclopedia I’m sure you’ve got lying around.
—————————————————-
What you’ll need
materials:
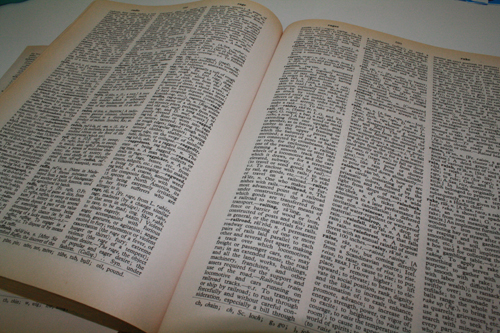
- paper – coloured, plain or patterned, and no thicker than your typical computer paper. Old book pages work well for this.
- glue stick
tools:
- scissors
- [optional] pencil
—————————————————-
Putting it all together
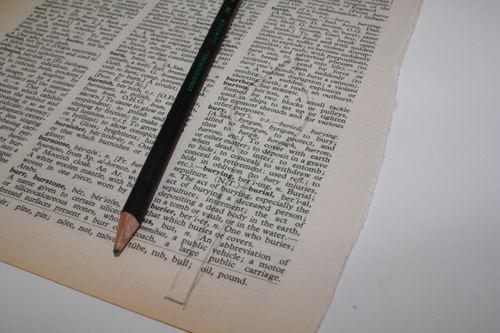
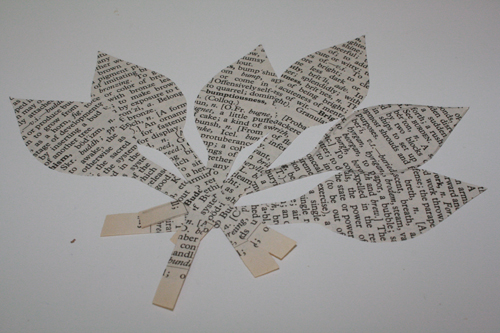
1) Start with a few sheets of paper stacked together. You can sketch a leaf shape on the top sheet of paper or just freehand it, but what you’ll want is a leaf shape attached to a long, narrow stem, about 2 to 2 1/2 inches long.
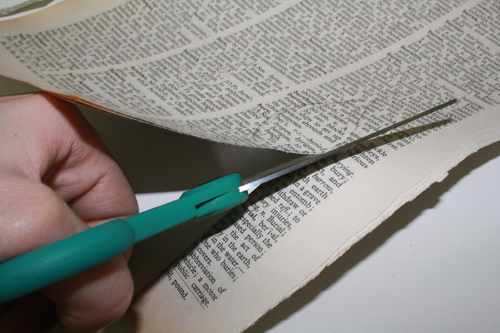
Cut the shape out, cutting through several sheets of paper at once.
2) You’ll now have a small stack of identical leaves with long straight stems. Cut out another bunch, and another, so you have lots of leaves. If you want to give your leaves and garland a little extra shape, make a crease down the middle of each leaf.
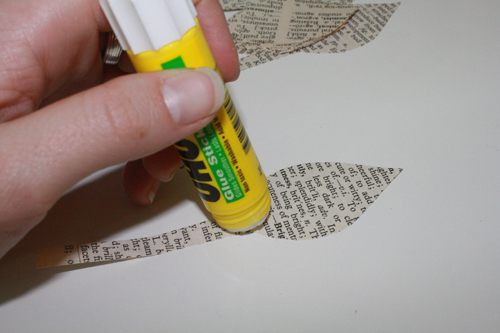
3) Take one leaf and dab some glue onto the paper where the base of the leaf meets the stem.
4) Loop the bottom of the stem upwards and press it into the glue.
5) Dab glue onto the same part of a second leaf.
6) Put the end of the second leaf’s stem through the loop of the first leaf’s stem. Then loop the end of the second leaf’s stem up and press it into the glue. The two leaves should now be looped together.
7) Repeat, attaching a third leaf to the second leaf.
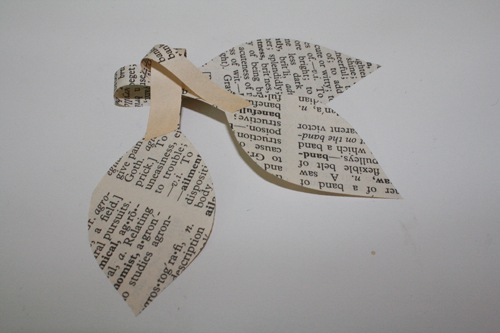
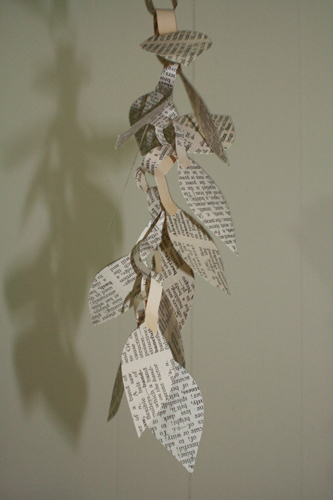
8) Repeat, repeat, repeat, looping more and more leaves together. For a while, it will just look like a crazy clump of leaves – it takes quite a few before it really starts to become a line, but once you reach that point the chain feels like it progresses very quickly.
9) Cut more leaves as needed to make your chain as long as you want. I haven’t tried it yet, but I think it might be fun to make some colourful felt balls and attach them with thread at various points in the chain.
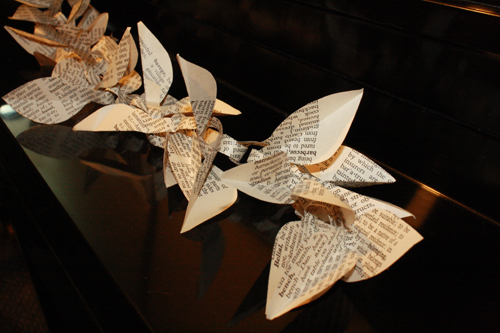
10) Decorate!


