Sunday afternoons should look like this: a glass of red wine, a relaxing craft project and dinner in the slow cooker, steaming up the windows and making the neighbours drool at the smell winding through the building.
Sadly, the view from the couch where I sit with my glass of wine and crafting looks awfully white, and not because of a nice snowfall. Our horribly vast, blank walls are still horribly vast and blank, despite my determination when we moved here back in June to deal with this problem straight away. We didn’t even put many Christmas decorations up, which would have combatted the whiteness somewhat. Since we were away for the holidays, a tree seemed unnecessary, and when I went to get out the other decorations, I discovered that the mice who invaded our old place just before we moved thought boxes of Christmas ornaments were a nice place to set up house. Meaning poo in. They also ate all but one of my straw stars from Germany. I didn’t have time to deal with clearing out rodent latrines before we left for the holidays, so most of the decorations didn’t go up.
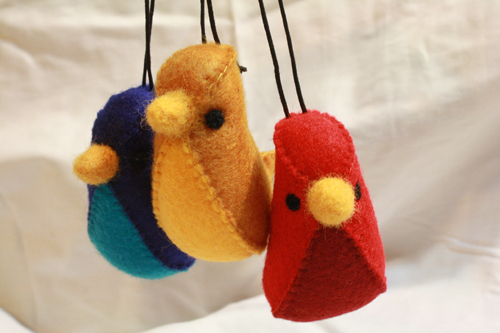
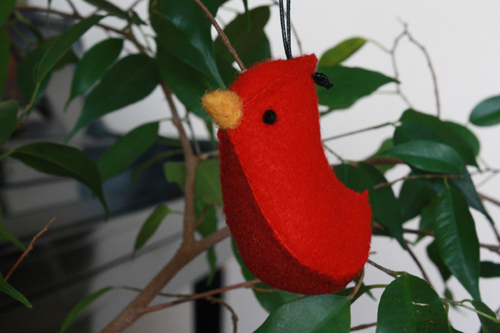
Now that I’m preparing to take down the one decoration I put up (a quilted Christmas tree wall hanging crafted by my mother), I’m seeing all over again this terrifying expanse of blank white wall, and looking for any splashes of colour to throw around the room to add a little pizzaz. I’ve begun a project specifically to cover some of the walls (more on that in a future post), but in the meantime just some colourful ornaments will help. I’m not interested in going for an early Valentine’s Day theme and strewing little hearts all over the place, and there aren’t any other holidays looming. So I’ve decided on birds. A few little birds in the window seem a good way to brighten up dull January days. Appropriate as Christmas tree ornaments, these fellows can stay out once baby Jesus and his retinue of nutcracker soldiers, jolly reindeer and glittery pink flamingoes (thanks, Great Aunt Gertrude*) have been packed away.
*I do not actually have a Great Aunt Gertrude, but I feel it’s worthwhile to invent an outside, uncontrollable force to name and blame for one’s own demented impulse purchases.
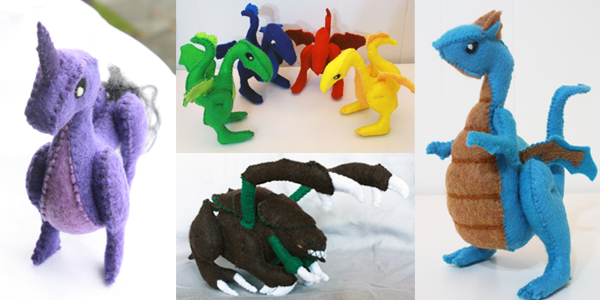
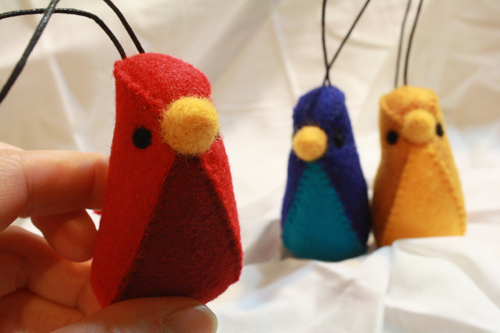
As a little technical bonus, this tutorial will also introduce you to a great plushie-making technique, where everything is stitched by hand, and the seams are on the outside. It’s a great soft-sculpture-making style. I find it much more straightforward to make patterns for creatures sewn this way because the pattern pieces keep their original look and shape much more, so you spend much less time worrying about how each piece will “translate” once it’s been sewn to another piece and turned right side out, which can cause its shape to change quite a bit. It also helps you to achieve sharper angles. Below are examples of other, more complicated pieces I’ve made using this technique.
Thanks to my boyfriend, Jeremy, for the term “banana birds.” He started calling them that while he watched me make flocks of these guys to give away at Christmas, saying that their curving shape was reminiscent of a banana.
Featured on:
————————————————
What you’ll need
materials:
- felt in two colours of your choice
- thread to match one or both of your felt colours (and yellow and black thread if you are using felt for the eyes and beak)
- polyfil or other stuffing material
- 8 – 12 inches of upholstery thread, cord or embroidery thread
- [optional] clear nail polish
- banana birds pattern – number 9. under “Sewing patterns”
- wool rovings in yellow and black (for the eyes and beak)
OR
- a very small piece of yellow felt
- small beads for the eyes
- straight pins
- fabric scissors
- small sewing needle
- large sewing needle
- chopstick
- felting needle and a block of thick foam (if you’re using rovings for the eyes and beak)
————————————————
Putting it all together
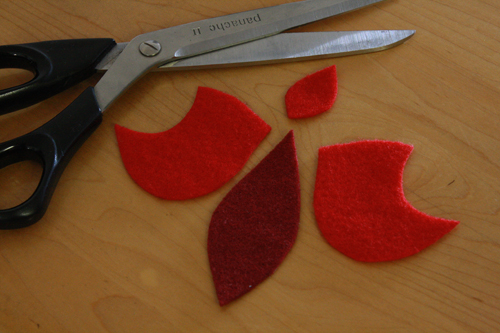
1) Print and cut out the pattern pieces. Pin the pieces to the appropriate colours of felt (head and body pieces to one colour, tummy piece to the second colour) and cut them out.
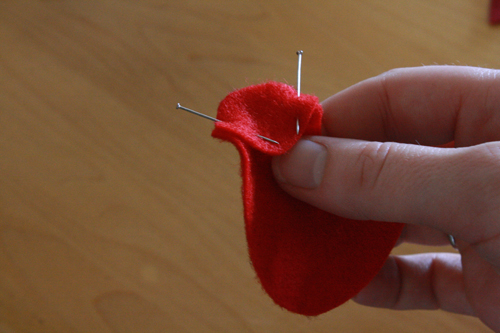
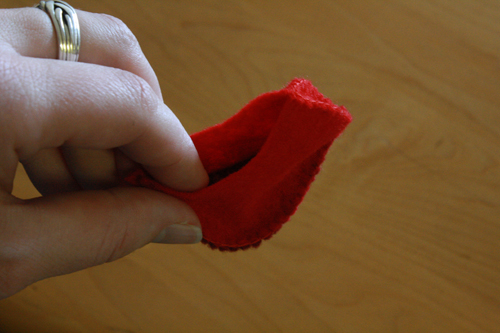
2) Start with one of the body pieces and the head piece. Pin one edge of the head piece to one edge of the top of the body piece. It’s going to be a little bumpy, and that’s ok.
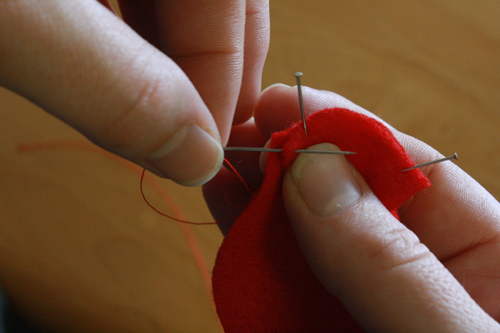
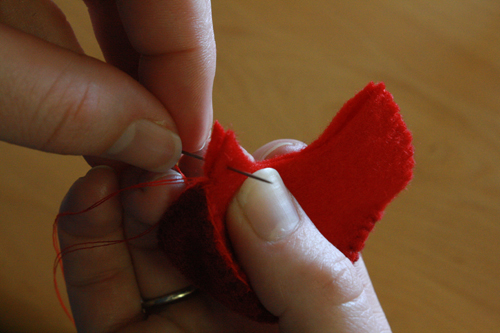
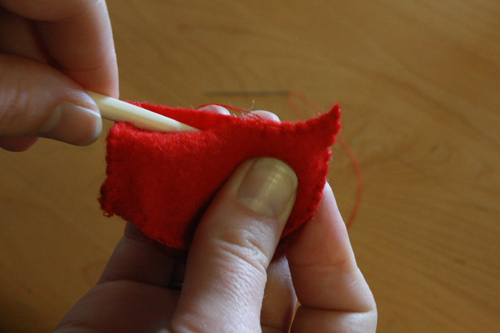
3) Thread your needle (with thread that matches the felt you’re using) and knot the thread. Insert the needle at the front of the bird’s head. You want to insert the needle by putting it between the two pieces of felt, and through one piece to the outside of the bird, so that the knot will be hidden inside the bird.
4) You’re going to sew the two pieces of felt together using a small blanket stitch. If you are unfamiliar with blanket stitching, or if you need a refresher, just follow the instructions below. Otherwise, go on to step 5.
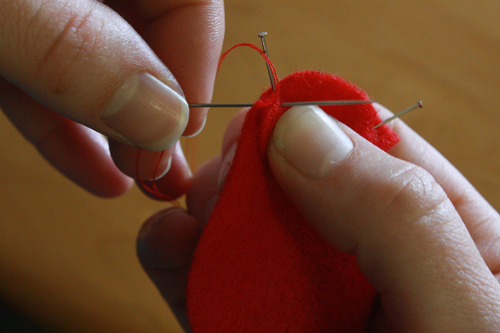
a) First, of course, you’ve inserted your needle between the two layers of fabric, hiding the knot, as instructed in step 3. Now, in the same place, insert your needle again, but this time go through both layers of fabric.
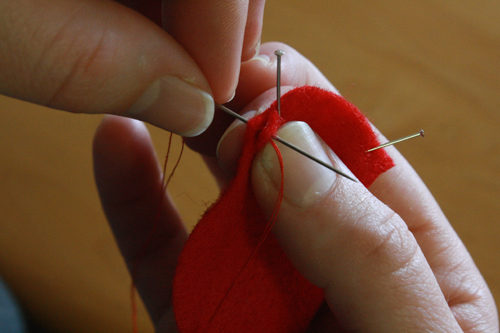
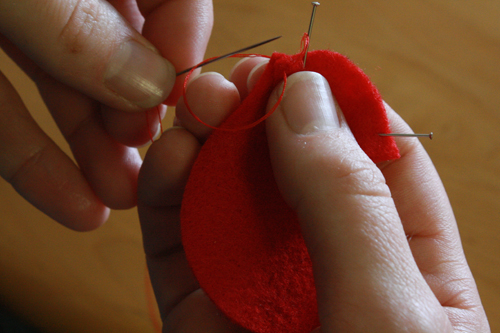
c) Pull the thread almost but not quite all the way through, so there’s a loop of thread left.
d) Insert the needle through this loop of thread, then pull it tight. (The first stitch may look slightly off. That’s quite normal and often difficult to avoid. Just keep going.)
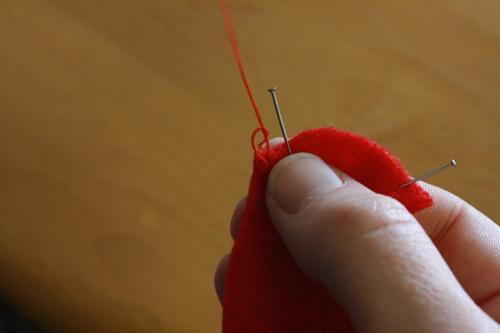
e) Repeat the process a short distance along from the first stitch, inserting the needle through both layers of fabric, leaving a loop, putting the needle through the loop and pulling the thread tight. After a few stitches, you should have even stitches going off to either side of the line where the two fabrics meet, and a line of thread riding right on top of the edge where the two fabrics meet.
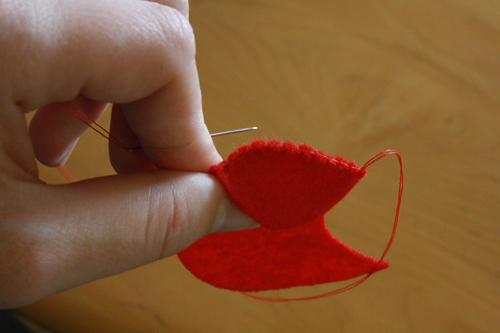
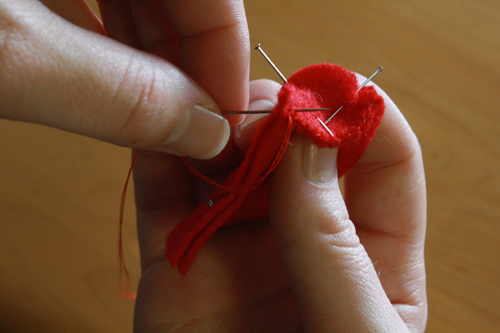
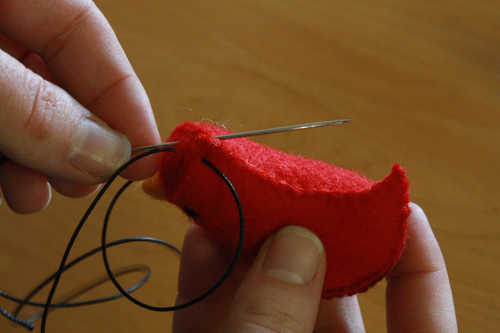
5) Stitch all the way along this edge, connecting the side of the head piece to the top of the body piece. Once you’ve finished that side, take the second body piece and match it up to the first. Pin the two pieces together along the back to keep the new one in place. Then pin the unsewn side of the head piece to the top of the second body piece.
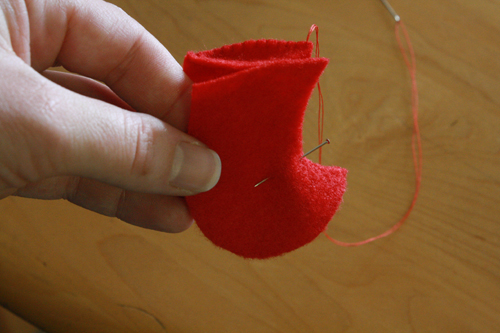
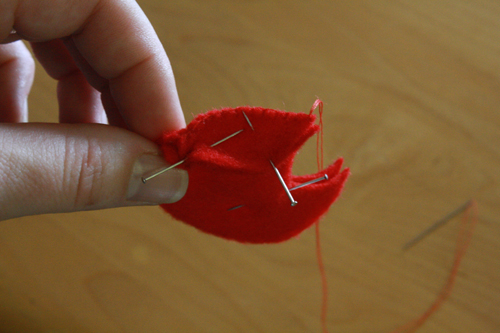
6) At the back of the head, put one stitch through the top of the two body pieces, connecting them. Then continue stitch back to the front of the bird, sewing the head piece to the top of the second body piece.
7) When you get back to the front of the bird, so the head piece is entirely sewn in place, put one stitch through the two body pieces, connecting them. Then knot the thread and cut it.
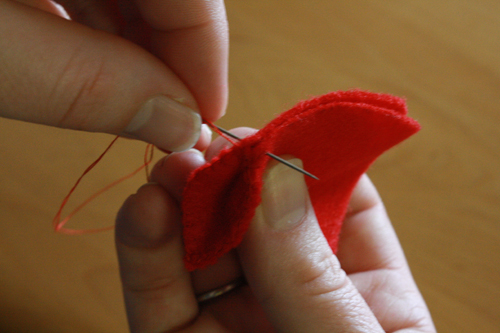
To knot thread (in any hand sewing circumstance), you actually do pretty much the same thing. Insert the needle underneath a previous stitch, leave a loop, put the needle through the loop and pull tight. Repeat this two or three times in the same spot, then cut the leftover thread.
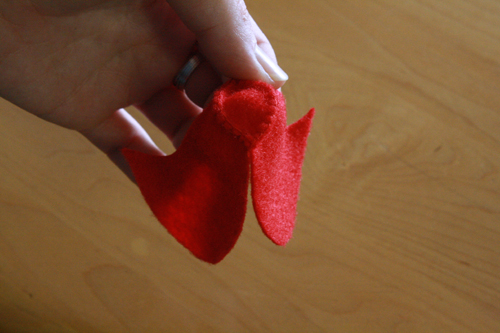
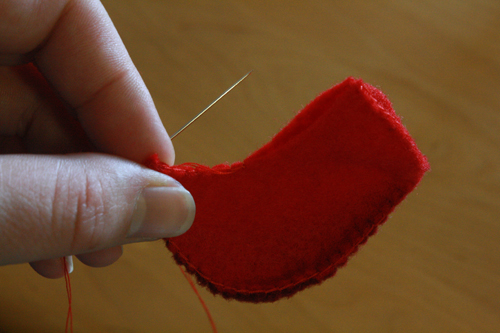
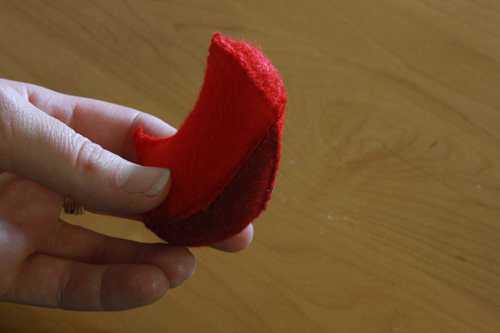
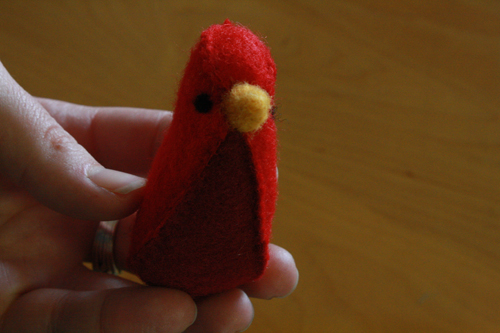
At this point, your bird should look about like this:
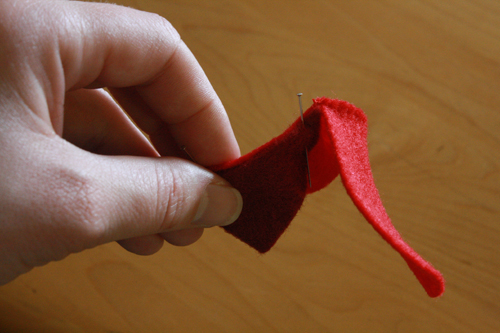
8) Pin one side of the stomach piece to one of the body pieces, starting right underneath where the body and head pieces connect.
9) Using a blanket stitch, sew the stomach and body piece together.
10) When you come to the end of the stomach piece (you’ll still be about 1/4 inch away from the end of the body piece), match up the two body pieces again, and put one stitch through them, connecting them at the base of the stomach. Then pin the other side of the stomach to the other body piece, and stitch back up the stomach to the top of the bird again. Knot the thread and cut it.
At this point, you should have a definite bird form, with a head and stomach, and an opening all along its back.
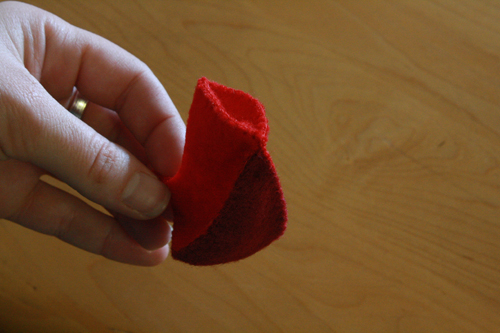
11) Now pin the two body pieces together, along that opening at the back of the bird. Start stitching at the base of the bird’s stomach, closing that gap left between the two body pieces on the underside of the bird. Then continue stitching along the bird’s back, connecting the two sides of the body. STOP about halfway along the back.
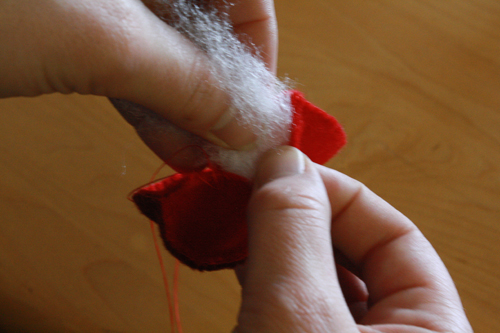
12) Let the needle and thread dangle, and stuff the bird. You can use a chopstick or the tip of your scissors (carefully) to poke stuffing into all the corners, particularly the head area and the tail.
13) Once the bird is stuffed, finish stitching up the back, then knot and cut your thread. The whole bird should be closed up at this point.
14) For the eyes and beak, there are a couple of options. You can needle felt them, or do a felt beak and beads for eyes.
To needle felt the beak:
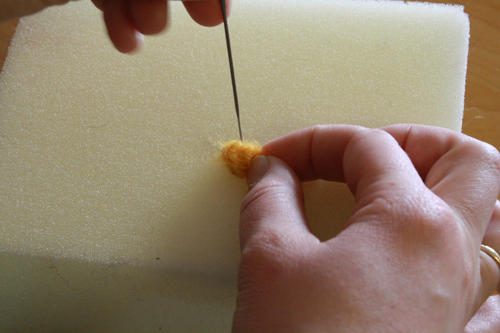
a) Roll a small amount of yellow wool roving into a ball and needle felt it enough that it keeps its shape.
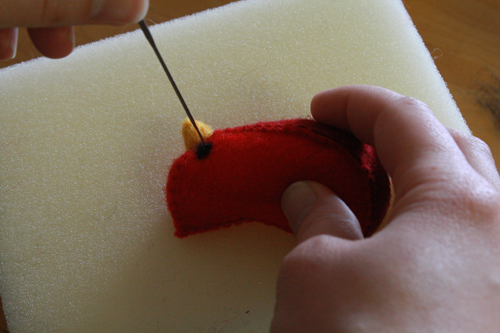
b) Needle felt it onto the bird (where the four pieces – body, body, head and stomach – meet), shaping with your needle as you go to give it a pointed beak shape.
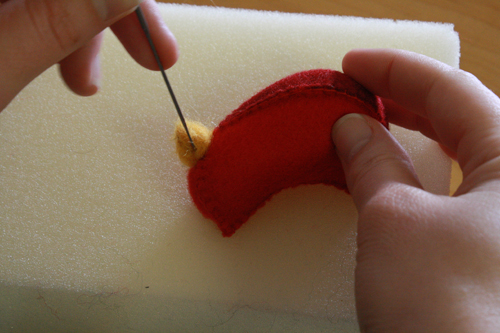
To needle felt the eyes:
a) Take a tiny amount of black wool roving, roll and squish it into a little ball with your fingers, then felt it into place with your needle. Here, here and here are some tutorials with further details on how to needle felt (including how to do tiny things like this).
To make a felt beak:
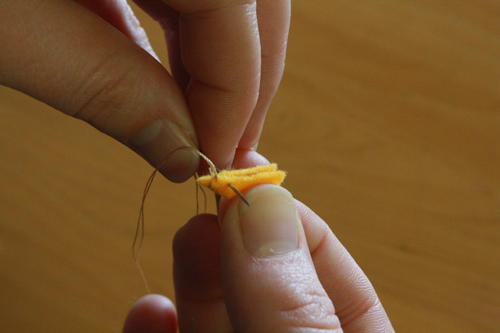
a) Cut out the beak shape from an appropriate colour of felt. Thread your needle with a matching colour of thread.
b) Insert the needle at the tip of the triangular beak shape.
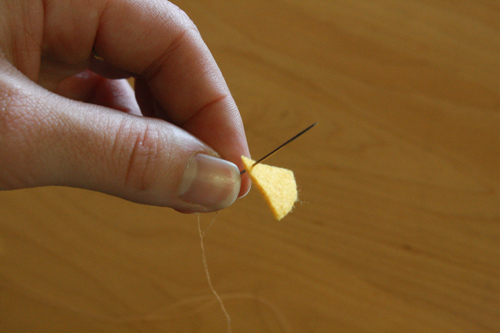
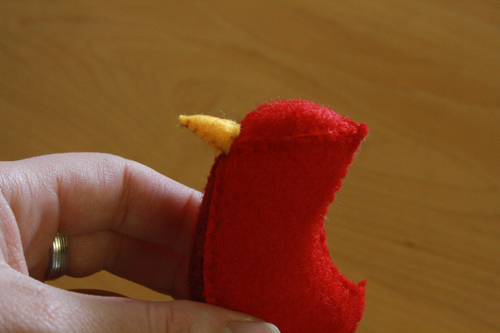
c) Fold the triangle in half, hiding the knot of thread, and use a tiny blanket stitch to sew the sides opposite the folded edge together.
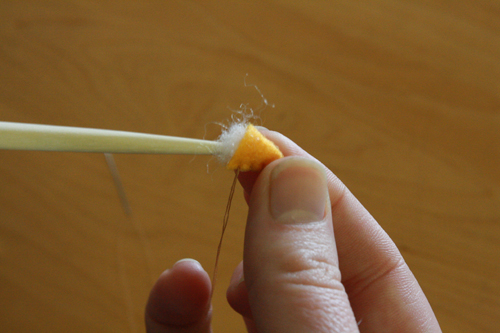
d) Let the thread dangle, and use the tip of a chopstick to push a tiny amount of stuffing into the beak.
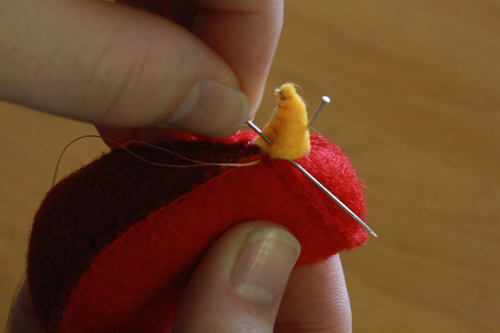
e) Position and pin the beak in place (where the four pieces – body, body, head and stomach – meet), then use small stitches all around the base of the beak to secure it to the bird.
To use beads for eyes:
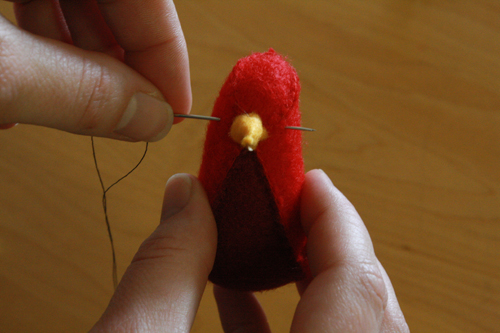
a) You’ll want a slightly longer needle for this. Thread the needle (with a thread that matches the beads you’re using as eyes). Insert the needle where you want one eye to be, and push the needle right through the bird’s head and out at the place where you want the other eye to be.
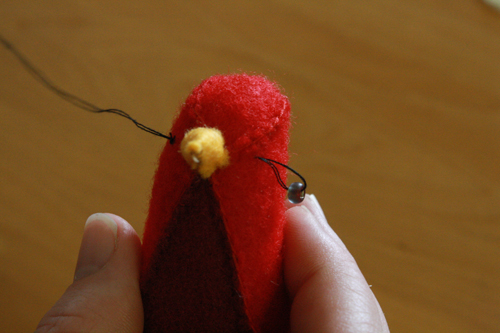
b) String a bead onto the needle. Then insert the needle back through the bird, at exactly the same places it went through the first time.
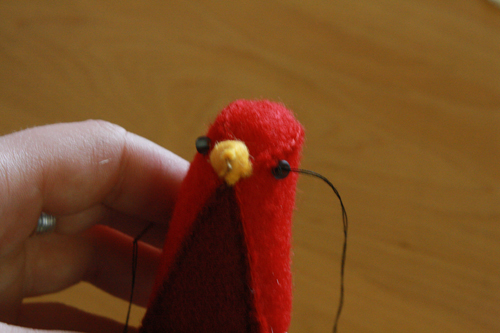
c) String another bead onto the needle, and go back through again, in exactly the same place, coming out in the center of the other bead. Go back and forth a couple times till the beads are securely in place, then knot and cut your thread.
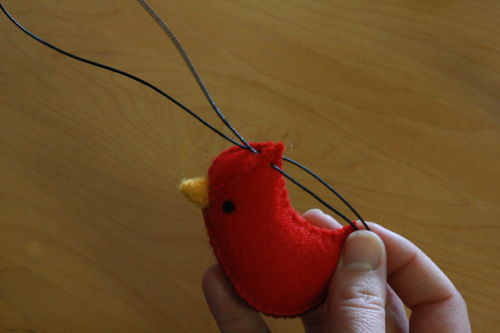
15) Now you just need a cord to hang the bird up with. Thread a large needle with upholstery or embroidery thread, or thin cord. Do not knot the thread. Insert the needle at the back of the bird’s head, up and out the top of its head towards the back. Leave some thread dangling.
16) Insert the needle back down and out the back of the bird’s head, opposite where the first insertion was made. Leave a loop of thread coming out the top of the bird’s head.
17) Knot the thread together behind the bird’s head. If you want, you can secure the knot by dabbing on a bit of clear nail polish. Pull the loop of thread taught so the knot is right up against the back of the bird’s head.
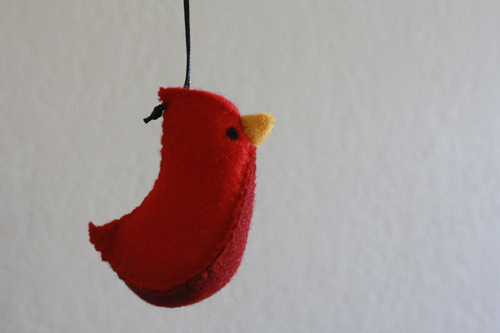
18) Display!

