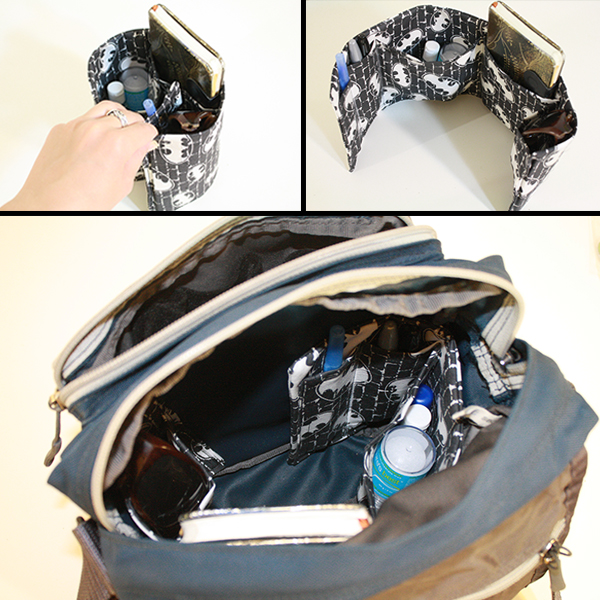
It’s one of those little those little truths in life: there are never quite enough pockets. Whether in bags, backpacks, pants or other clothing articles, there are just never quite enough pockets not to be shuffling your fingers around the bottom of your bag, looking for whatever small item has gotten lost in the depths.
It’s bad enough having too few pockets at the best of times, but lacking a well organized bag is especially frustrating when you’re at a convention, carrying every little thing you might possibly need for the next 12 to 16 hours with you. I’ll be attending PAX next week, a massive 3-day convention of geeks and gaming, and as I’ve been getting my gear together for the convention, I’ve realized that I absolutely need more pockets.
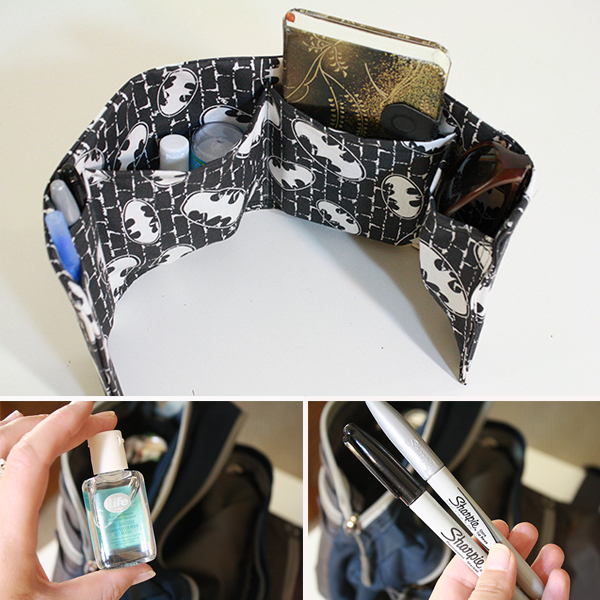
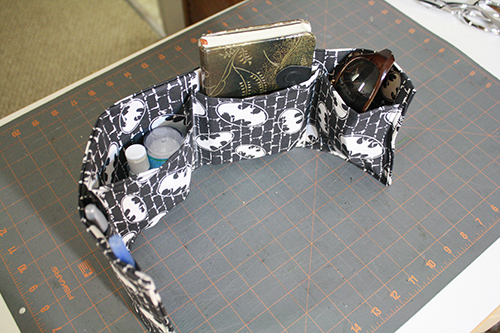
The solution? Make a pocket insert! This is a strip of fabric, held stiff with some thick paper on the inside, and with pockets all along the outside, into which you can place all your little items to keep them organized and ready to hand. Then you place the whole thing inside your bag, hugging the edges of the bag, and throw your other stuff into the space left in the middle. It also means you can easily lift the whole pocket strip out and move it to another bag, making transferring stuff from one bag to another that much quicker and easier, and making you that much less likely to forget to transfer something crucial.
But just what might you need all those pockets for exactly? Well, conventions require some special gear. First, you need all the same stuff as for normal trips: fresh clothes, clean socks and underwear, toothbrush, etc., and as always you should know where your towel is (presumably back at home, if you’re staying at a hotel or with friends). For conventions, you’ll also probably want to pack a few extra pairs of clean socks, clean underwear, clean shirts etc, and you’ll want to give some careful consideration to packing not only the things you need to get dressed each morning, but the things you’ll want to have and carry with you at the convention itself.
There are a ton of posts out there on this, and the basic conventional* (ha!) wisdom on convention packing is basically:
- comfortable shoes
- water bottle
- bag/backpack
- deodorant
- maps and a game plan (Hint: if you’re travelling from out of the country, load up a map of the general area on your phone or tablet before you leave your wifi-enabled hotel. Also, type the address of where you’re staying and where you’re going into your device somewhere, so you have it easily accessible.)
In addition to all that, I have a few other suggestions from my own convention experiences:
- hand sanitizer
- pen – to, y’know, write stuff down with, like the name and email of that awesome person you just talked to for an hour while in line to see Wil Wheaton, or the DeviantArt page of that guy who had that stellar cosplay outfit, or the web series of that internet celeb you somehow had never heard of before but your friends assure you that she’s awesome and you want to remember to check out her work.
- notebook – in which to write down the above information. You could also just use your phone for such info, but you should have paper in case you want to collect autographs from someone but don’t have specific swag or other items for them to sign! Also good for doodling in line.
- sharpies (1 black, 1 silver) – this one’s for anyone who thinks they might at some point meet someone from whom they’ll want an autograph. Sure, a lot of celebrities carry around their own supply of sharpies for just this purpose, but it doesn’t hurt for you to be prepared as well. Speaking as someone who travels with folks who get asked for autographs, it’s perfectly likely that the person whose autograph you want won’t have a sharpie, having forgotten it, left it at their table/booth, lost it, had someone walk off with it or had it wear out on them. If you carry a black one and a silver one you should be able to get pretty much any surface satisfactorily signed.
- smart phone or tablet or handheld gaming device – for all that time spent standing in line. Though sometimes it’s also a good idea to put down the gaming device and chat with some of the people around you. I’m gonna say chances are you’ve got some common interests you could talk about.
- business cards – if you do a thing that you might want to tell other geeks about and you have business cards about that thing, bring a good supply! Conventions are a great place to meet people and talk about the cool creative stuff you do.
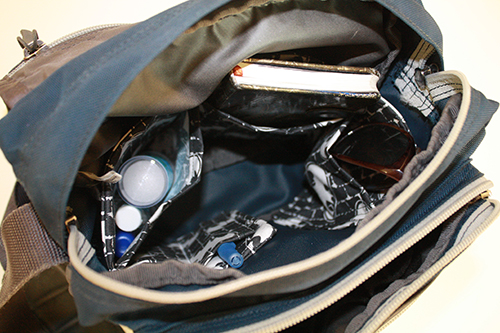
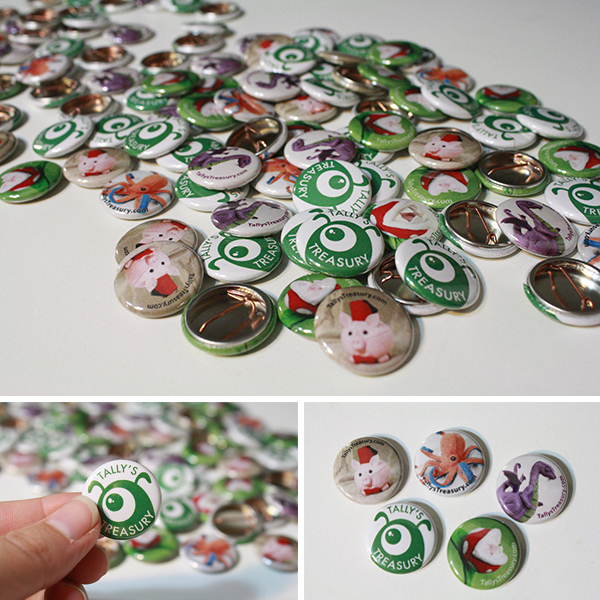
- buttons – either as a promotional tool, or because you’re joining in the PAX Buttoneering tradition, designing a button or two and trading them with other Buttoneers. It’s fun!
- a pocket, card holder, etc. set aside for assorted flyers/papers & other people’s business cards – you will probably collect at least a few of these, and losing them in the depths of your swag-filled bag is a pain, as is trying to sort through a big jumble of them at the end of the convention. Stick the ones you actually want to keep track of in a designated space.
- toothbrush and toothpaste or breath mints – y’know that icky
- bandaids or Moleskin – good shoes or not, you may need some of these by the end of the day.
——————————————
And now, how to make a super useful, super easy pocket insert for your bag!
——————————————
What you’ll need
materials:
- fabric of your choice – Something non-stretch, though. A simple cotton works well. You’ll probably want around 1/2 a yard, maybe a bit more, maybe a bit less. Depends on how large a pocket strip you want to make.
- thread to match your fabric
- thick paper – a piece of poster board will work well, or you can tape together a couple standard sized pieces of cardstock [EDIT: As my clever mother has noted in the comments, you could also use thin craft foam instead of paper, which would allow you to wash your pocket inserts if needed. Could be helpful!]
- ruler & pen OR a cutting mat, ruler and rotary cutter
- fabric scissors
- paper scissors
- straight pins
- sewing machine
- iron & ironing board
- chalk or pencil – whichever will show up best on the fabric you’re using
——————————————
Putting it all together
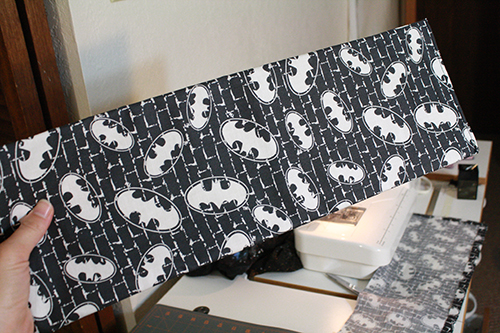
1) Start by deciding just how large a pocket insert you want to make. This depends entirely on the size of the bag(s) it needs to fit into, how many extra pockets you need and how big, that sort of thing. Once you’ve decided how big (ish) you want your pocket insert to be, cut 3 identical rectangles from your fabric that are slightly larger than that. My rectangles were around 7 inches wide and 19 inches long, I think. I didn’t measure, I just eyeballed it for size, and cut some straight lines.
2) Set one of the fabric rectangles aside. Take the other two rectangles and lay one on top of the other, right sides together, and make sure all the edges match up exactly. Then pin them together. Leave one short end of the rectangles unpinned.
3) Sew around three sides of the pinned rectangles, leaving the 4th, short edge unsewn. I’d do just a basic 3/8 seam allowance, by matching up the edge of your fabric with the outer edge of your presserfoot as you sew.
4) Now cut a piece of your thick paper that’s just a bit smaller than your fabric rectangles. Make it about an inch shorter and an inch narrower than the fabric. If your paper isn’t large enough, cut two smaller pieces, overlap them slightly and tape them together in order to get a piece of paper large enough to not-quite-equal the size of your fabric pieces.

The weird patterns on the paper? That’s bleach. It’s the same paper I used underneath my galaxy dress project when I was bleaching the fabric. I’m going to have to do a project with bleaching paper sometime, because it actually looks really neat.
5) Turn the fabric sleeve right side out, and use the tip of your scissors or a chopstick to gently poke the corners all the way out. Then slide the paper inside the fabric sleeve. If the paper just won’t fit, trim it down a little around the edges until its just the right size.
6) Once the paper is fully encased in the fabric sleeve, tuck the raw fabric edges in at the end with the opening. Then pin the opening shut.
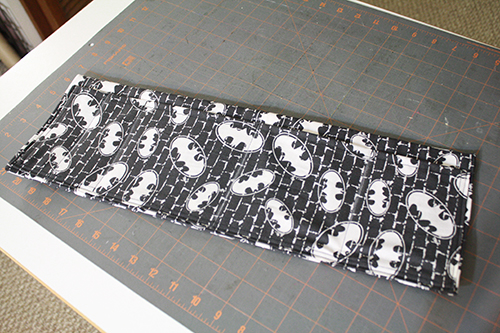
7) Sew the opening closed. You should now have a semi-stiff piece of thick paper fully encased in fabric – all one long rectangle.
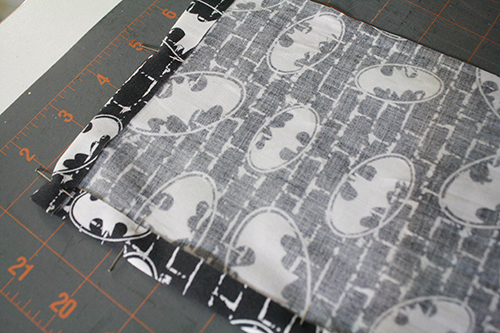
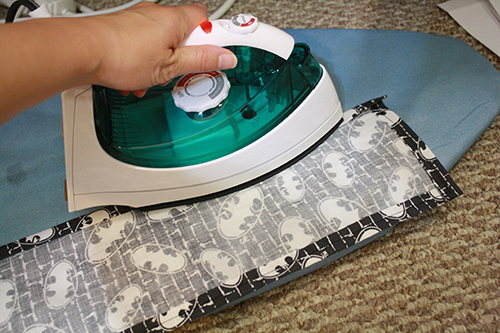
8) Set the fabric-and-paper rectangle aside, turn on your iron, and grab that third fabric rectangle you cut out back at the beginning. Fold and iron down three of the sides of the rectangle. The folded edges should be around 3/8 to 1/2 inch wide.
9) Pin the folded edges in a few places, then sew them down.
10) Go back to the iron, and fold over and iron down the top edge of the rectangle. Then, fold it over and iron it down a second time.
11) Pin the folded and ironed edge, then stitch it down.
12) Place this now-smaller rectangle on top of the paper-and-fabric rectangle, right side up. The bottom edge of the smaller, fabric rectangle should match up with the bottom edge of the larger, paper-and-fabric rectangle. Pin the smaller rectangle in place. (Either push the pins right through the paper, or just catch the top layer of fabric on the paper-and-fabric rectangle with them.
13) Stitch along the very edges of the smaller rectangle, along its sides and bottom edge, but leaving the top edge unsewn. You’ll be sewing right through the paper encased in the larger rectangle for this step – that’s fine, and your sewing machine should be able to handle it with no problem.
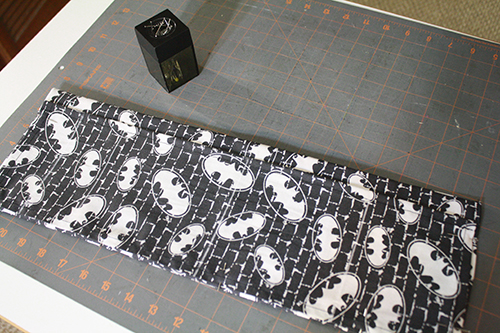
14) Using a ruler and a piece of chalk or a pencil (whichever will show up best on the fabric you’re using), draw lines on the front rectangle. These lines designate the size and spacing of the individual pockets, so place them according to how big you want the pockets to be, depending on what you plan to put in them.

15) Stitch along the lines you’ve drawn, creating a row of individual pockets.
16) Now fill the pockets with things! As you put items into each pocket, the rectangle will curl up a bit, curving. This is normal and even helpful.
17) Once you’ve filled up the pockets as desired, Place the strip inside your bag, pushing it out to fit along the edges of the bag and leaving a space in the middle for your other items. You can also use this to quickly and easily transfer a bunch of little items from one bag to another. So handy!

