Christmas is upon us! In fact I’ve been so busy getting ready for it and travelling for it and mowing down yummy cookies for it that I completely forgot to write an introduction to this blog post. Oh, and I took some time out to watch How the Grinch Stole Christmas and to stomp about in the snow and… look, I’ve been really busy doing super important things, ok?
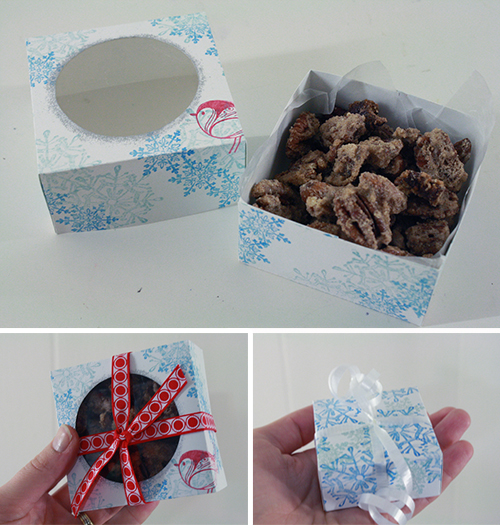
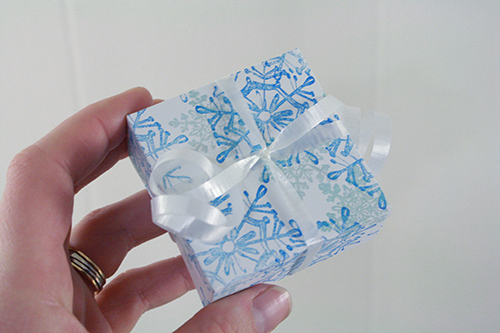
And now it’s time to wrap all the presents that I finally managed to find and buy and stuff into my suitcase. These boxes are a lovely way to wrap small gifts, and if you put a little see-through window in them they’re especially great for gifting goodies. Change up the decoration on them to make boxes not just for Christmas but perhaps for birthdays, Valentine’s Day, Easter treats and more.
What you’ll need
materials:
- card stock (can be white or can be coloured, patterened, etc.)
- rubber stamps & stamp pads (if you want to decorate your cardstock – if it’s already decorated then don’t worry about these things) OR markers, crayons & other supplies for decorating the card stock
- [optional] piece of clear stiff plastic (like from toy packaging, or cleaned food packaging) OR contact paper
- [optional] small circular object to trace
- scrap paper OR old magazine/newspaper pages
the last two, and optional, items on this list are needed only if you wish to create a box with a see-through window it it
tools:
- scissors
- ruler
- papercutter OR scissors and ruler and pencil (and you’ll need scissors and a ruler anyway)
- mechanical pencil with a metal tip
Putting it all together
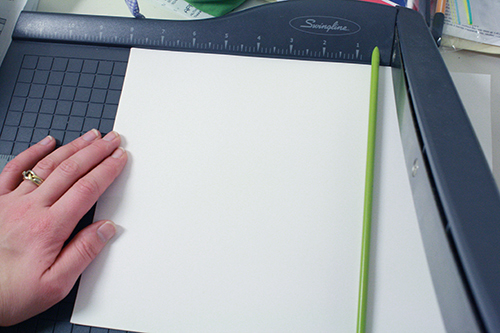
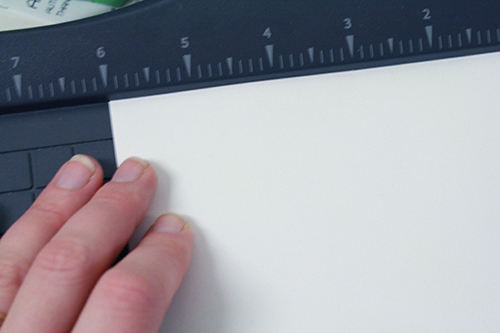
1) Take one sheet of card stock and cut it into a square. How big a square you cut will help determine the final size of the box.
I’m having some issues with my camera’s autofocus – I need to take it into the shop (hopefully it can be fixed). So apologies for some of these photos being all fuzzy. I didn’t realize until afterwards that this had happened.
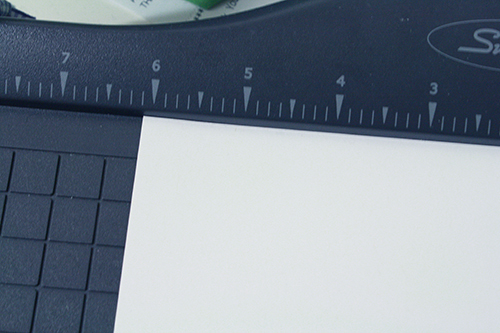
2) Cut your second sheet of card stock into a square that is 1/8 inch smaller on each side than the other square of card stock. So for example, I cut my first sheet of card stock to 6 1/8 inch on each side, so the second sheet of card stock needed to be cut to 6 inches on each side.
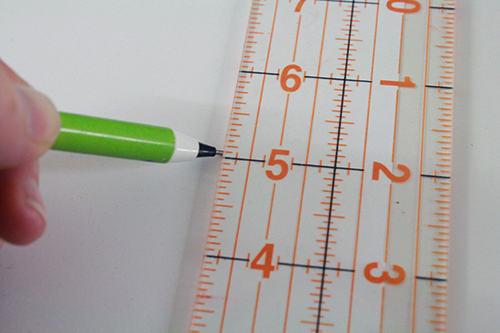
3) Now grab a ruler and a mechanical pencil with a metal tip, and decide how deep you want your box to be. I usually make mine between an inch and 2 inches deep, depending on what I want to put in the particular box and how large a square of paper I have to work with. In this case, I went with an inch and a half deep.
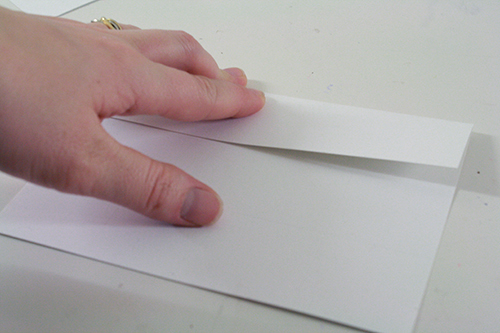
Say you’ve decided on making your box an inch and a half deep (just like these photos show, look at that). Use your mechanical pencil – without the lead poking out – to score* a line an inch and a half from one edge of the square of card stock. Repeat this on all 3 other sides of the card stock, and inch and a half (or whatever other measurement you choose, so long as it’s the same on all four sides) from the edge.
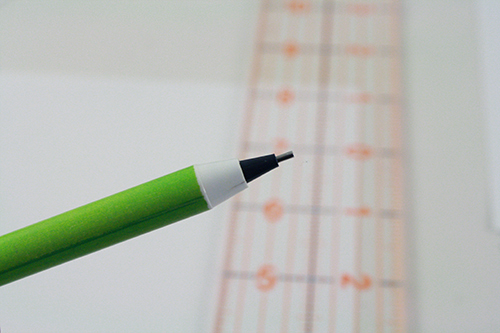
*Unlike in sports or in creepy dude bro talk, to “score” here means to make an indented line along the paper, a place where the paper is marked and scratched, but not actually cut through.
4) Do the same thing on your other square of cardstock, using the exact same measurement in from the edge as before.
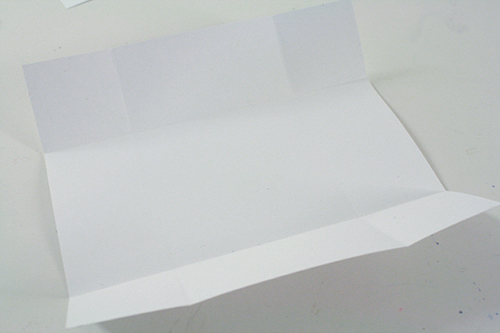
5) Now fold the card stock inward along each of those scored lines, one at a time, creasing the fold down firmly with your finger. Do this for both squares of card stock.
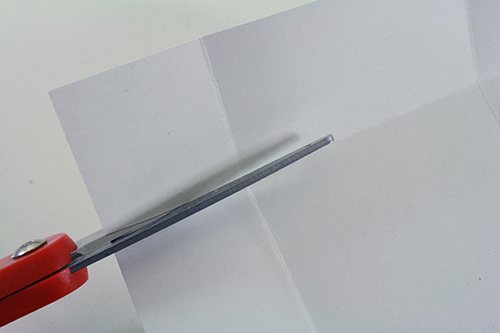
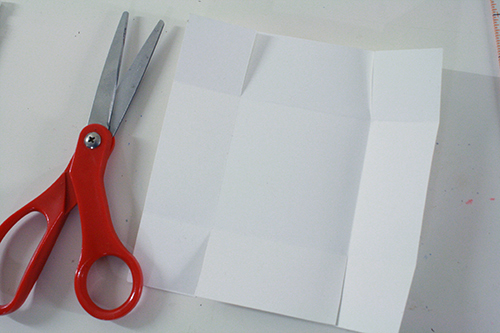
6) Take your scissors and, on two opposite sides of your square of card stock, cut along the fold lines at each end of that side until you reach the intersecting, perpendicular fold line. So you should now have four little cuts in your square. Do the same thing on your other card stock square.
7) Optional step: if you want to make a little round window in your box, do steps 7-8. If not, skip ahead to step 9.
Find a traceable circular object that is smaller than the inside square area on your larger square of card stock – the central square area created by all those fold lines.
Make sure that you are, in fact, doing this on the larger of the two card stock squares – that’s the one that will be the box lid.
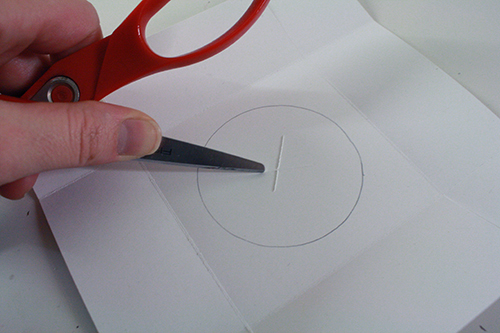
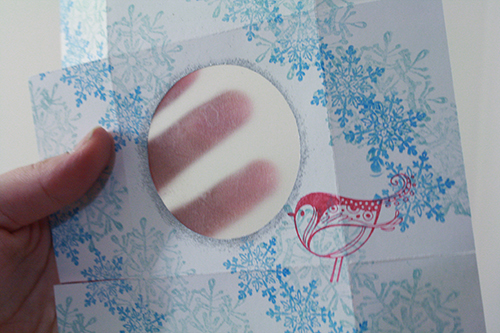
Place the card stock so that the folded edges come up towards you. Center the circular object in that middle square area and trace around it with a pencil.

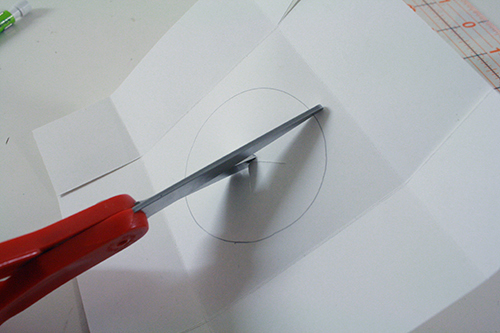
8) Now get your scissors and use one blade to slice an X in the middle of the circle you traced. Use that X to more easily (and without crumpling the paper) punch through the card stock with the scissors and cut out the circle.

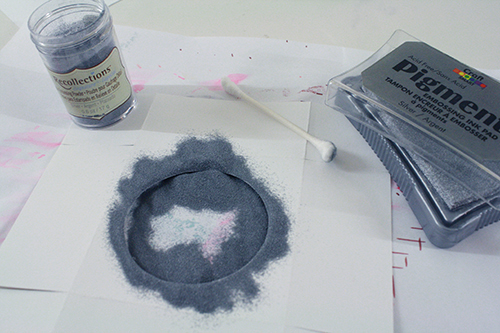
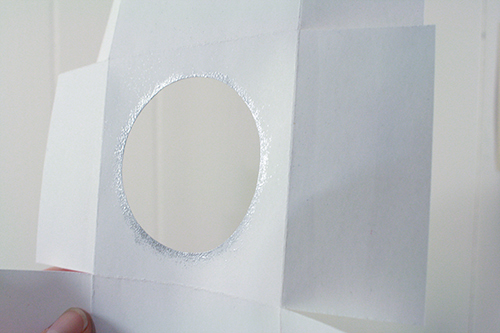
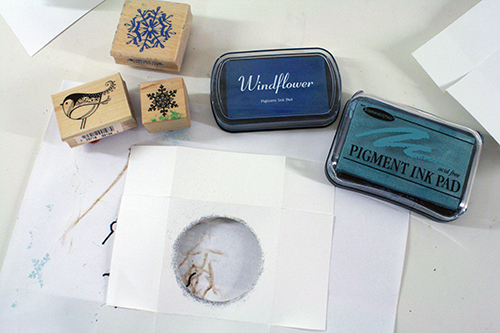
Note: if you want to do that embossing thing around the edge of your circle, here’s how. You rub a Q-tip on your embossing ink pad, then run that Q-tip around the edge of the circle. You’ll probably have to replenish the ink on the Q-tip a couple times. Then dump embossing powder on the inked edge of the circle, shake off the extra powder, and hold over a hot stove burner or use a heat gun to melt the embossing powder. Voila. Shiny embossed edges on your circle.
Also, I recommend doing the embossing now, before the stamping. Non-embossing ink pads still cause bits of embossing powder to stick to the stamped images they create, so you’ll have powder sticking to other bits of the box and won’t get nearly as tidy a result.
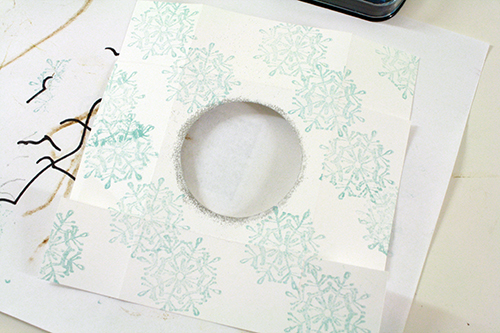
9) Now lay both your card stock squares down, face up, on top of some scrap paper. This means that the folds in the card stock are facing downwards.
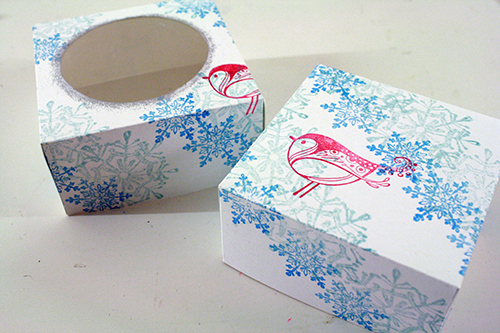
Get out your stamps and stamp pads, and go crazy with the decorating! You can stamp randomly, or in patterns, layer colours and images, etc. I’ve found I like the result of doing diagonal lines of stamps across the box, overlaid with lines of other stamp images in other colours.
Or, of course, you could decorate with paints (make sure you don’t warp the paper too much if you’re using watercolours, markers, crayons, etc. Or skip it altogether if your box is made from fancy patterned card stock.
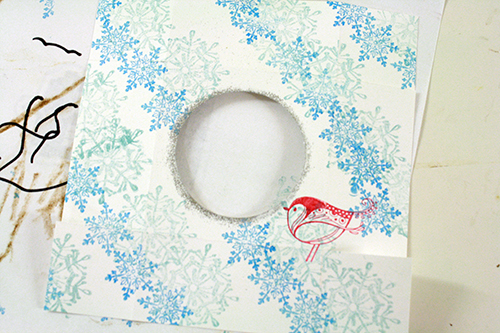
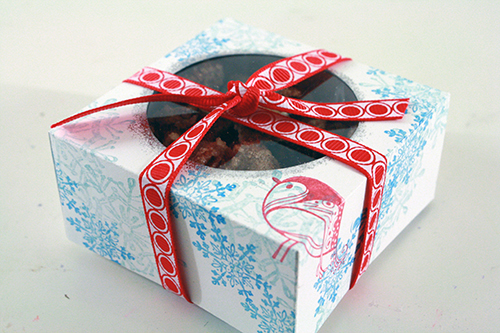
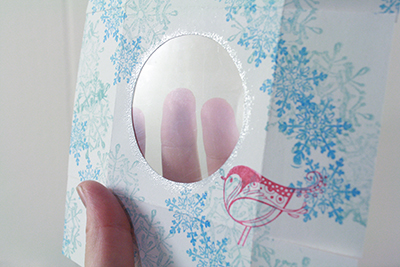
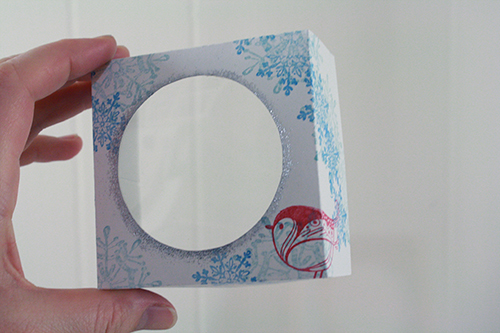
Note: why do this now, and not before all the folding and cutting? Well you really can do it in any order, but I prefer to do the stamping second for a couple reasons. First, because then I can see what part of the box I’m stamping onto – I know exactly where the square that’s the top of the box will be, and can also stamp around the circular cutout if I want. If I wish to add a special accent stamp (like the red bird on this box), I can tell for sure that I’m putting it where it will be visible and not awkwardly placed over a fold.
And second, because the stamp ink can still smear and rub off for a while afterwards while it’s drying, so doing the cutting and folding first minimizes risk of smearing your stamped images. Or you could just give it some time between this step and the next ones, but I’m an impatient person. Also, I gotta get these gifts wrapped!
10) If you opted for putting a window in your box, do this next step. Otherwise, skip ahead to step 11.
There are two ways to create a clear layer inside your cut out window circle, depending on your preference and, more significantly, what supplies you have.
Method A:
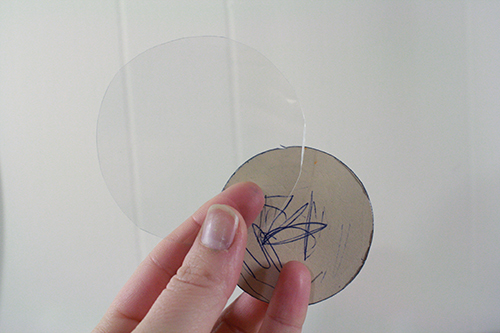
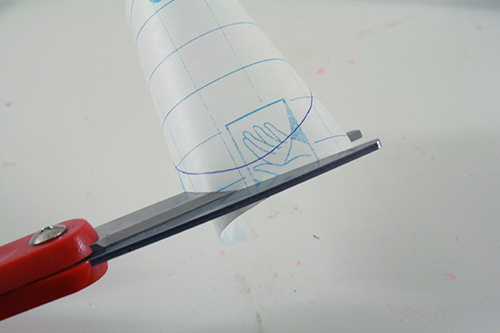
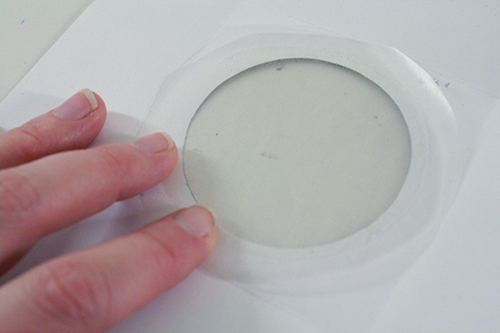
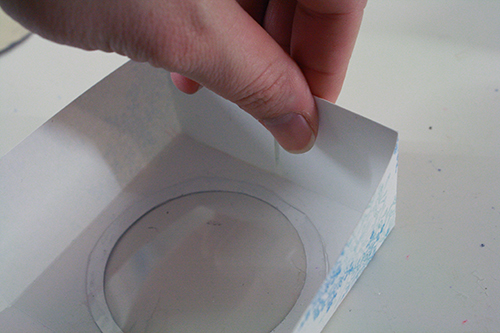
- Get a piece of flat stiff plastic – some bit of old packaging or a cleaned disposable food container. I used the plastic front from a Magic: the Gathering intro pack. Cut a circle of plastic that is a little bigger than the circle you cut in your card stock. It doesn’t have to be a perfectly tidy-edged circle. Also, plastic is hard to trace onto, so I recommend just holding your tracer circle against the plastic with one hand and cutting roughly around it about 1/4 inch from its edge.
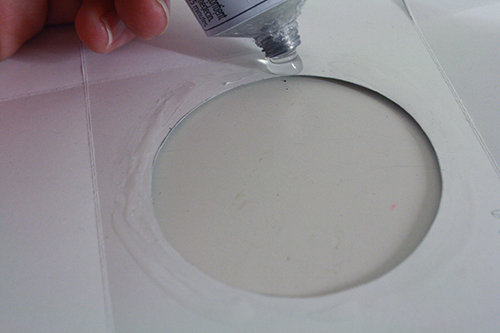
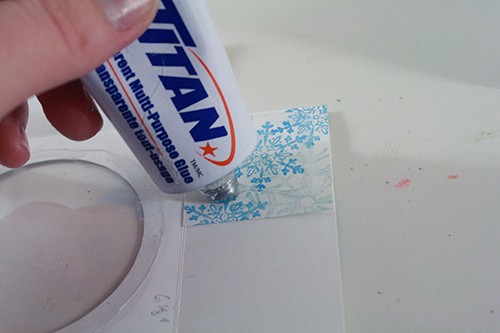
- Put a bit of glue around the edges of this plastic circle (not as much as in the photo – it just started pouring out while I was concentrating on taking the picture!), then apply it to the underside of the box lid, where your circular hole is cut.
Method B:
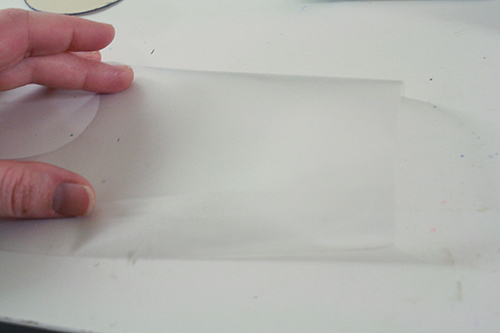
- Trace the same circular object you used to make the circle in your card stock onto the back of some contact paper (the clear stuff that’s sticky on one side, and comes in rolls, with a paper backing that you peel off when you’re ready to use it).
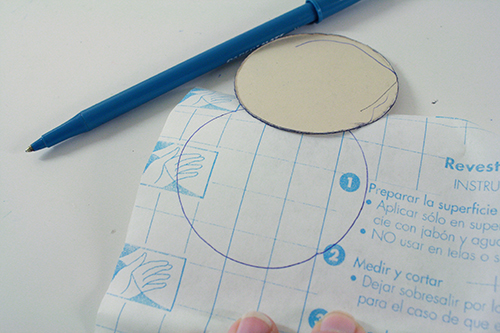
- Cut out the circle, cutting about 1/4 inch out from its edge, so you have a circle of contact paper a bit bigger than the one cut in your box lid. Again, the edges don’t need to be perfect.
- Peel the paper backing off another piece of contact paper that is larger than the circle you’ve just cut, and lay it down flat (or as flat as you can), sticky side up. Now peel the paper backing off the circle piece and stick it to the other piece of contact paper, so their sticky sides are together.
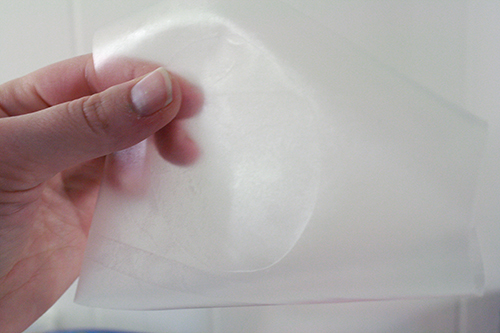
- Cut around the circle on the larger piece of contact paper, but again cutting about 1/4 inch away from the circle’s edge, so that what you end up with is a circular area of two pieces of contact paper stuck together, with a rim around it that is just one layer of contact paper, that can stick to things.
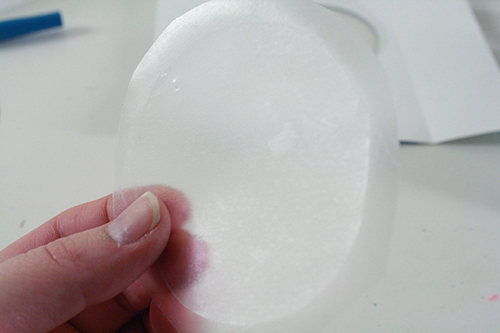
- Center the contact paper circle over the underside of the circle cut in your box lid, and run a finger around the outer edges of the contact paper to stick it in place.
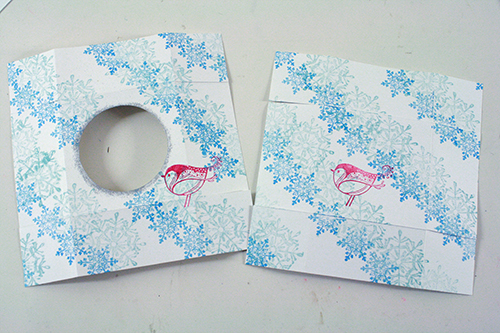
11) Apply glue to the outside (so the stamped side) of the two tabs along one edge of your box lid.
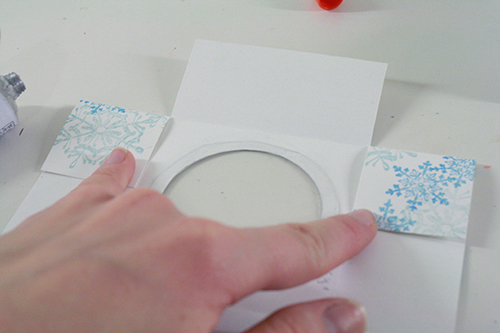
12) Bring those tabs up and fold them inward towards each other, then fold the remaining rectangle along that side of the box up, so the tabs are glued in place to the back of the rectangle. The picture will hopefully clarify that befuddlement of a sentence. It should be pretty clear how this works when you actually have it all in front of you, too.
13) Repeat with the tabs on the other side of your box lid, and then with the tabs on both sides of your box bottom. If needed, use paperclips or binder clips to hold the tabs in place while they dry.
14) Fill with good things, tie up with a ribbon and a tag, and gift it!