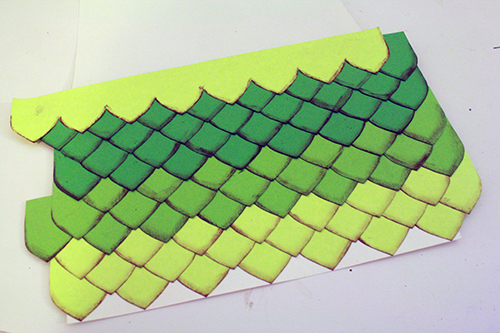
Here, as they say, be dragons.
I have loved dragons forEVER. Patricia C. Wrede’s Dealing With Dragons and subsequent sequels were some of my favourite books as a kid (and I reread them now and again to this day), I collected all the castle themed lego I could and especially coveted the sets with dragons in them, I recall doodling a dragon mum and baby on the bulletin during a Sunday sermon. Ok well, I doodled all kinds of things on church bulletins during sermons (often princesses and castles and fantasy landscapes), but I specifically remember those dragons.
And in third grade, my friend and I made little dragon-ish shaped toys from wadded up and taped paper, and took them out to the playground with us every recess. We’d fly them out to the field where we played at making them have adventures and terrorize the local landscape of patchy grass and clover. That must have gone on for several weeks. I have roughly 8 specific memories of playground events from my entire elementary school time, and that is one of them.
Dragons are awesome.
 Lately I’ve been working on a few dragon-related projects, more of which you will (hopefully, if they don’t completely fail) see later. One thing I wanted to do was make a simple but effective pattern of dragon scales to put on a greeting card, and that project I think turned out very well indeed.
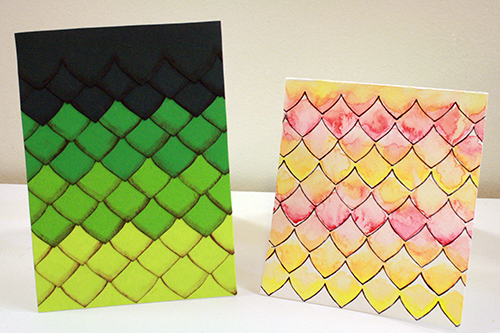
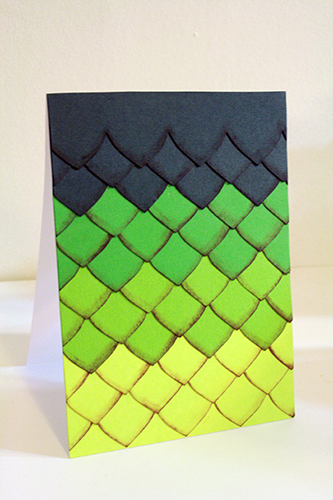
Dragon scales (which can obviously be made from any colours or mix of colours) make for some beautifully patterned cards, and it’s quite simple to create this look. I will show you how to do this two different ways.
Because here be dragons.
———————————————
What you’ll need
materials for paper cut card:
- paper – I recommend card stock weight, so that when you glue layers of scales on top of one another you can’t see the shape of the underneath layers pushing against the top layers. Also, it’s fun to do this with a few different colours (or different shades of one colour) of paper
- blank card (or a piece of plain card stock you can fold into a card)
- [optional] stamp pad, crayons or coloured pencils
- piece of blank card stock, any colour – will be used to make your template
- piece of scrap paper, printer paper weight
tools for paper cut card:
- paper scissors
- pencil
- fine tip black felt pen
- glue stick
- [optional – to be used in tandem with the optional stamp pad] 2-3 Q-tips
materials for watercolour card:
- watercolours – they don’t have to be the fancy ones for this, either – use whatever. You could also try the same idea with coloured pencils or crayons or chalk pastels or whatever else you can think of that allows for colour and shading.
- blank card (or a piece of plain card stock you can fold into a card). If you have actual watercolour paper you can use, that’s the best, but it’s not strictly necessary. Just make sure your paper is nice and thick, card stock weight at least.
- piece of blank card stock, any colour – will be used to make your template
- piece of scrap paper, printer paper weight
tools for watercolour card:
- paper scissors
- pencil
- small paint brush
- fine tip black felt pen
———————————————
Putting it all together
Paper cut dragon scale card
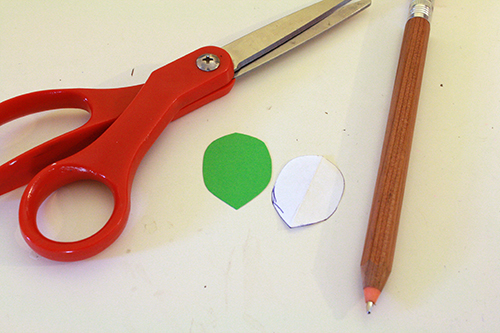
1) First you need a scales template. To make this, fold a scrap of normal weight paper in half and sketch half a scale, with the middle of the scale at the paper’s fold. Make the side straight at the top, but the bottom you can shape however you like – pointed, rounded, somewhere in between, etc.
Cut out the shape you’ve made, then unfold the paper and you have one full, symmetrical scale.
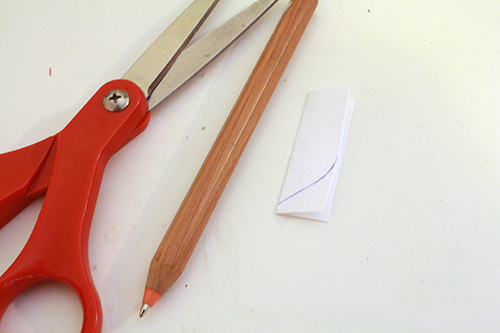
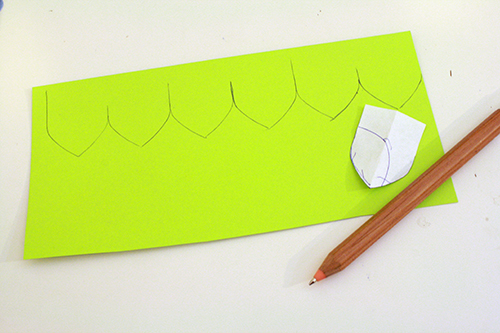
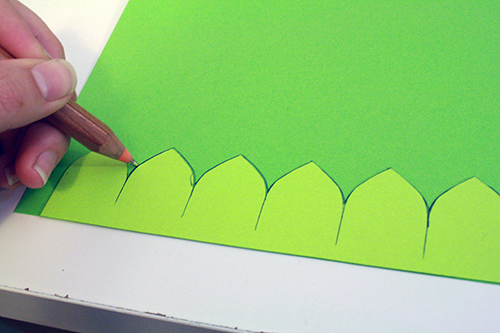
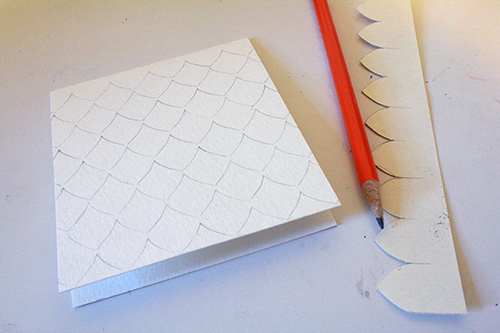
2) Trace the scale onto a piece of card stock. Then lay the scale down right next to the first one you traced, and trace it again. Continue until you have a whole straight line of scales traced.
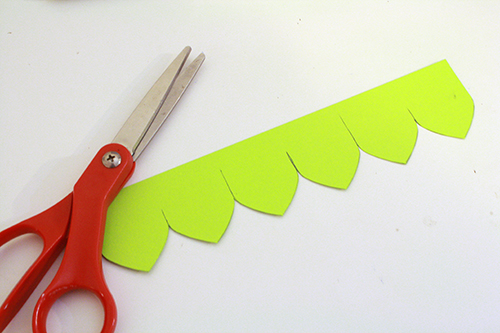
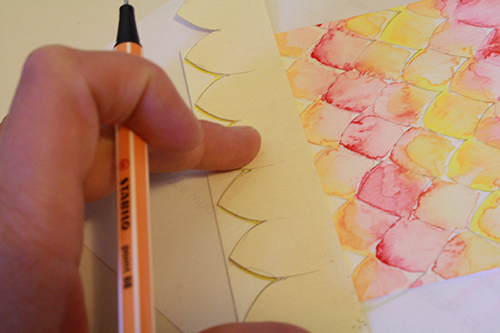
Then cut out this line of scales. It’s now your template for making more scales.
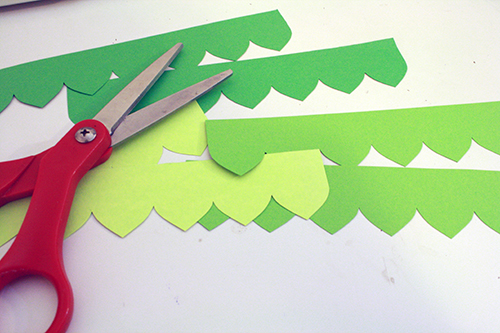
3) Choose your colour (or colours) of card stock and trace the template onto them multiple times. Make sure that each line of scales is at least 1 or 2 scales wider than the card you’ll be gluing them to.
And then, as I was finishing this post, a GIANT spider wandered across the room and I had to get up and kill it or spend the next several days flipping out about where it could possibly be, and then I needed to tell Twitter all about it in order to relieve my resulting jitters and also tell the world how brave I was, b/c it’s the biggest spider I’ve ever had to deal with and my husband is of course fast asleep, and now it’s way past my bedtime and I’ve been sick and I have a full day at work tomorrow so I’m going to do the unprecedented and post this unfinished. I will try to complete it after work tomorrow. What’s here already is enough to show you how to do the full watercolour scales card at least, and to get started on the paper scales card. A bientôt. -Tally
Aaaand we’re back! Let’s finish this tutorial up now.
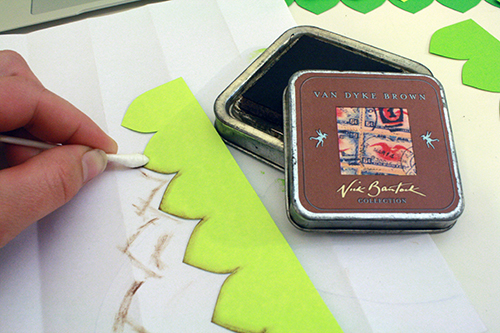
4) [optional step] Take your lines of scales and lay them on top of a piece of scrap paper. Grab an ink/stamp pad and a Q-tip, rub the Q-tip on the ink pad and then rub it along the bottom edges of the scales. You’ll probably have to “refill” the Q-tip a couple times.
You can also do this with a crayon or coloured pencil, just shading the bottom edges of the scales a bit. It’s not a necessary step, but it does make them stand out better, and I think it gives the finished card a bit more depth and a more polished feel. It’s especially handy if you’re going to be overlapping lines of scales that are the same colour.
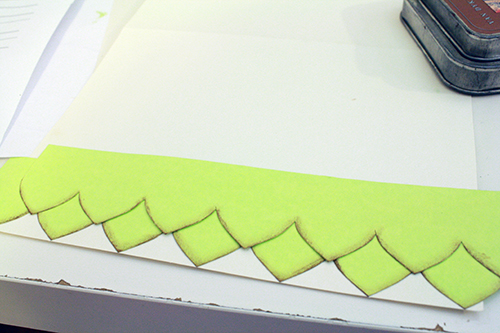
5) Figure out the order you want your lines of scales to go in colour-wise, and start with the bottom one. Apply glue to its back and stick it down along the bottom edge of the card.
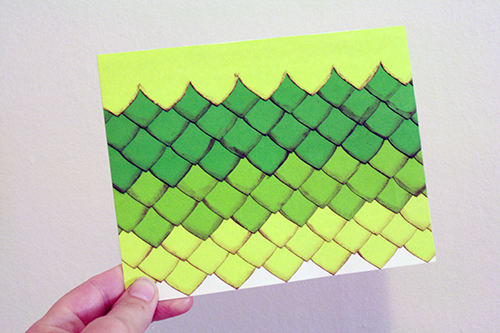
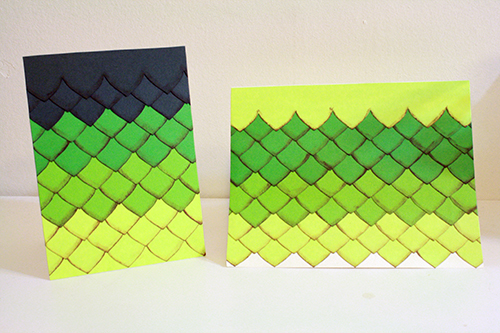
If you want, you can cut a straight-bottomed strip of your coloured card stock and glue it to the very bottom edge of the card first, so the surface and colour of the card itself will be completely hidden. This gives the result at the bottom of the card on the left in the photo below, rather than the card on the right.
6) Apply glue to the next line of scales up, and press it into place. Vary the scale shapes so that the points of one row line up with the upper indents of the row below it, and in fact go down overtop of those indents a bit.
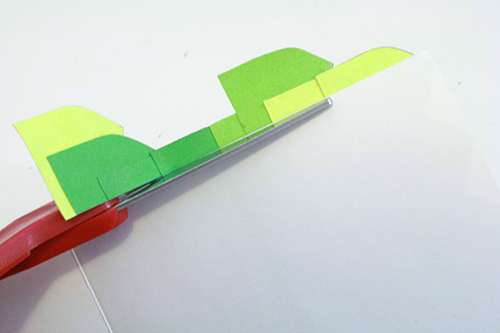
7) Once the glue is dry, flip the card open and over and carefully cut along the line of the sides and top edge of the card, removing any overhanging scale paper.
8) Voila, dragon scale card! Add other embellishments on top of the scales or leave as is.
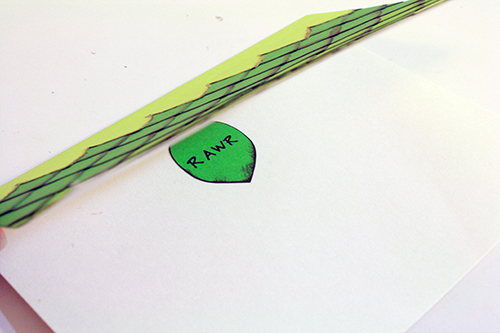
I cut one individual scale to glue inside the card…
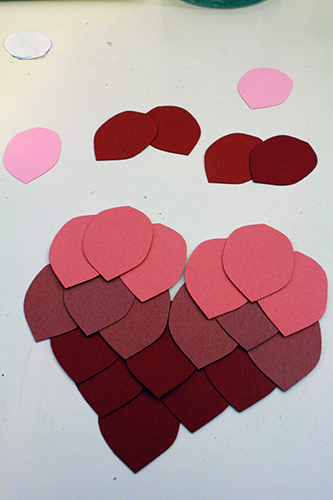
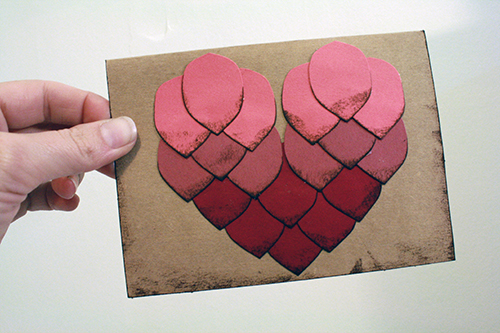
9) Here’s another possibility: cut a bunch of individual scales and lay them out to create a shape.
Here’s an example of that, where I made them into a heart, as a wedding card for some very dragon-appreciative friends.
10) RAWR!
Watercolour dragon scale card
I hadn’t used watercolours since I was a kid, and it turns out that real watercolours are a whole different thing than I always thought they were. I thought watercolours were those trays of hard, dry paint that you add water to and then it becomes useable. Which they are.
But the real, fancy schmancy watercolours that serious painter types use are apparently liquids that come in little tubes. I discovered this (and we have a whole set of them) because my husband took some art electives while finishing his couple a few years ago, and had to buy real paints and learn all this stuff. So actually, he’s the one who taught me how to use “real” watercolours.
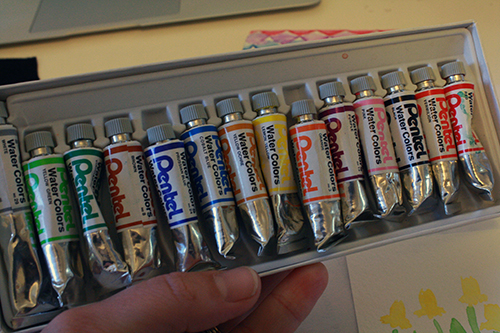
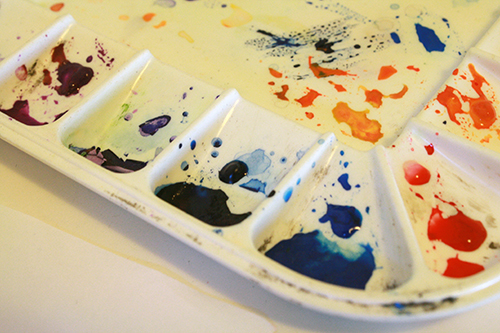
It’s pretty simple really. You only need a wee bit of paint. You squeeze it out onto your tray or palette or whatever and add water. The more water you add, the softer and paler the paint will be on the paper. You can also add water straight to the paper after the paint is on it, to dilute and soften the paint further. Watercolours are a very, well, fluid type of paint to work with, and can give some lovely effects. I’m not very good at using them yet, but you really don’t have to be for this.
Here are the basics of how I did these cards.
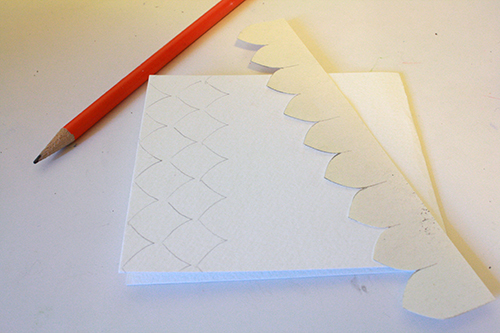
1) Use the same method as for the paper cut cards to make a card stock template of scales. Then lay the template directly onto your watercolour paper or card, and trace the bottom edge lightly with a pencil. Keep your traced lines tidy and exact.
Repeat this, making stacked and shifting rows of pencilled scales. Unlike with the paper cut scales, you won’t overlap these layers. Just trace each right above the one before, but moved over so the placement of the scales shifts back and forth from row to row, just like with the paper ones.
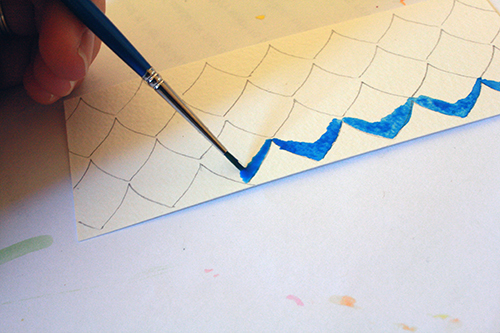
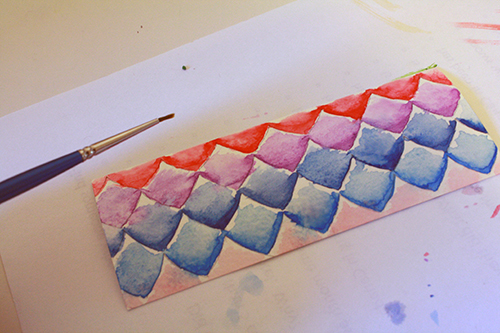
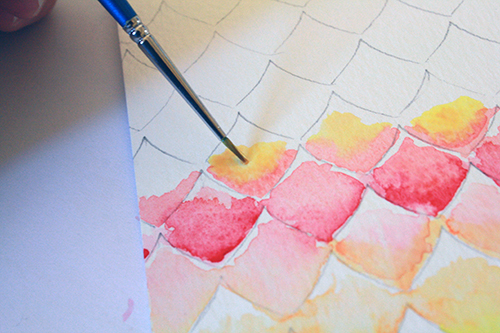
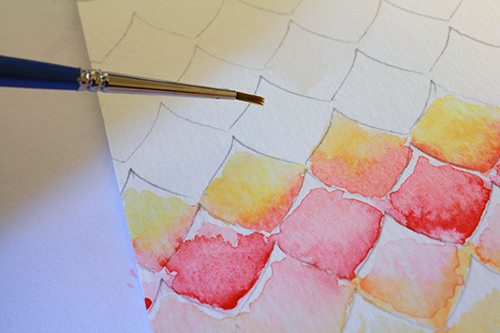
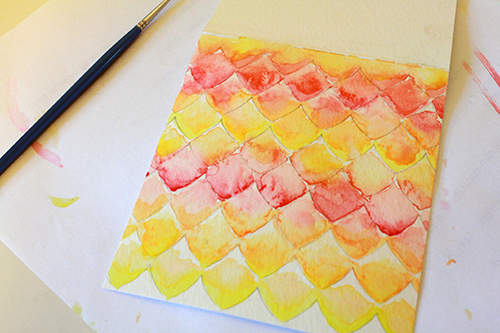
2) Get out your paints, and colour in the scales.
I tried a couple different ways of doing this.
First and simplest, take a colour, water it down just a little and apply it to the bottom edge of a row of scales. Let that dry a bit.
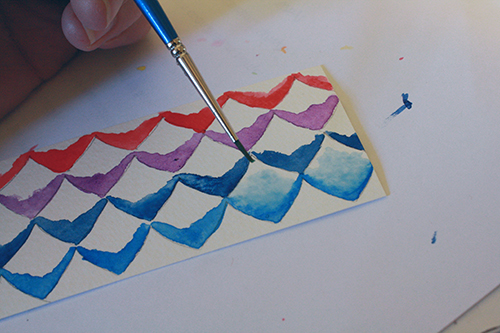
Then rinse your brush and dip it in water only. Run the watery brush across the painted base of the scales, re-wetting the paint and pulling it upwards, so it bleeds up and fades as it goes, creating a gradient.
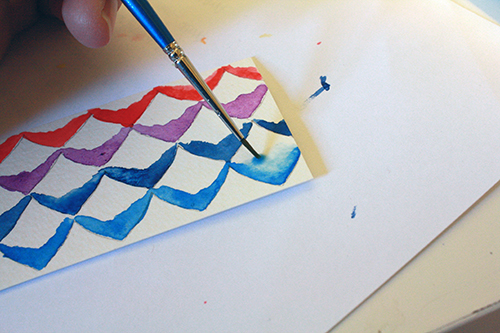
The second thing I tried was a bit more complicated and not quite as tidy, but it was fun to experiment with.
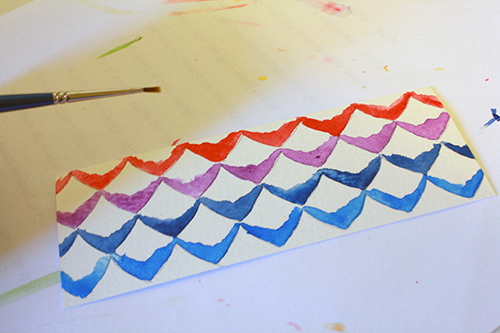
First I picked a colour, watered it down a bit and applied it to the bottom edge of a row of scales, like before.
Next I picked a second colour and applied that above the first colour, blending the two together a bit.
Then I let those dry, watered down my brush as with the first method and re-wet the upper colour of paint, pulling it upwards and again creating a bit of a gradient.
On the next row of scales upwards, I outlined the bottoms with the same colour that had been at the tops of the row of scales below, and put a complimentary but different colour or shade above that. And so on and so forth.
3) When all the scales are coloured in, let the paint dry completely. Clean your brushes while you wait. If there’s a substantial amount of leftover paint on your palette, you can just leave it there and let it dry, then re-wet and re-use it again later.
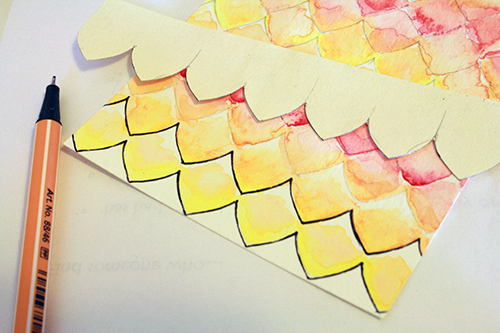
4) Once the paint is dry, get out your card stock template again. Line it up with the pencil lines on a row of scales, and again trace carefully and tidily around the template, but this time with your fine tipped felt pen.
5) Ta-da! Add any other embellishments you wish, write a message, and send to a fellow dragon lover.
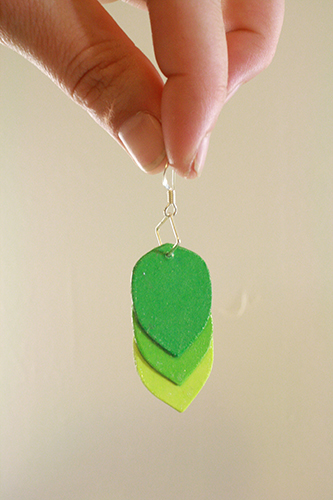
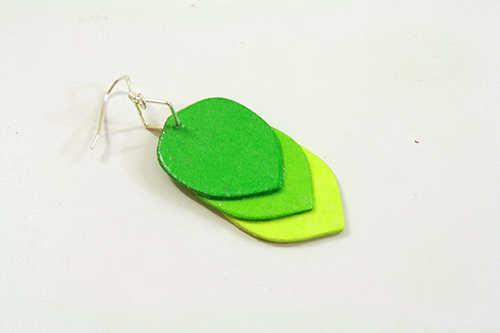
And here’s one more idea. From the paper cut dragon scales, cut a few individual scales in multiple colours of card stock, say 3-4 of each colour. Glue the stack of each colour together, then use what you learned from the my two paper earrings tutorials, sanding each stack. Glue the stacks together, overlapping but not totally matched up. Then make a hole in the top, varnish them, and add jewelry fastenings for earrings or a pendant. And you have dragon scale jewelry!

