I just looked through all my recent posts and realized that the last 3 (not including the Scaled Wurm bonus post) have been about crafts done with felt. I’m beginning to appear obsessed. In the interest of continuing to be unbalanced, this week’s post is also about a felt craft, but I promise to post a non-felt craft for next week. Maybe. And you could do this week’s craft with paper, if you wanted.
The world of fashion – to which I pay mild sporadic attention – seems to be going through a headband fad at the moment, and I’ve realized that this is one of the only hair accessories I can pull off on my short-cropped head. As with all fads, it’s best to jump on and enjoy it while it’s here, because it probably won’t last. Luckily, many of the headband styles that are so very in right now are ridiculously easy to manufacture at home. Bands featuring colourful flowers or bows or half the plumage of some exotic bird are pretty simple to make yourself. Well, maybe not the bird one, unless you live a few blocks from a park housing wildly roaming peacocks, like I do. They get pissy when you tug on their feathers, though.

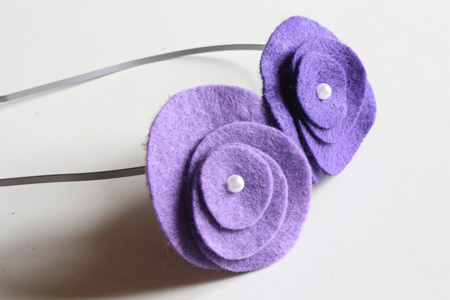
This week I’ll show you how to make the most absurdly simple, fast, cute round felt flowers. You can put them on a headband or a broach or a card or anything, really. This is also a good craft for kids, in that it’s well within their abilities, possibly with a bit of assistance.
Before we get started, let me congratulate the two contest winners from last week. I decided to award a prize not only to the person whose guess was most accurate, but also to the person whose guess was farthest off the mark.
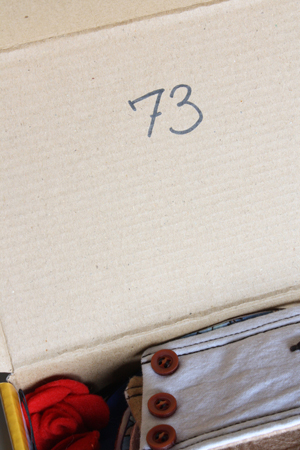
The number I wrote on the box was 73, so congratulations to our winner John, who guessed 74.
And the second prize goes to Anthony L., who guessed 2. You will each receive a box full of incredibly random crafts and crafting supplies. Enjoy them, share them, do whatever you like with them so long as you at least pretend to be delighted about whatever the heck you find in there.
And now, on to this week’s craft.
——————————————————————–
What you’ll need:
- felt (ideally in two different colours, if you’re making a two-flower headband)
- scissors
- a pen
- a compass or circle cutter or 4 circular objects of different sizes
- needle and thread
- a bead or button
- [optional] a headband, pin back, magnet, card, purse or anything else to which you want to attach your flower(s)
——————————————————————–
Putting it all together:
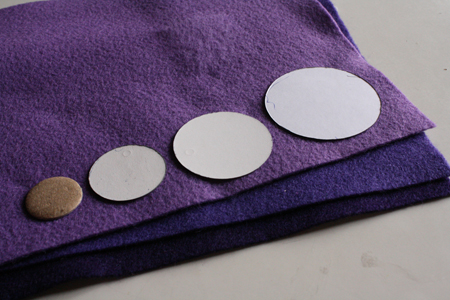
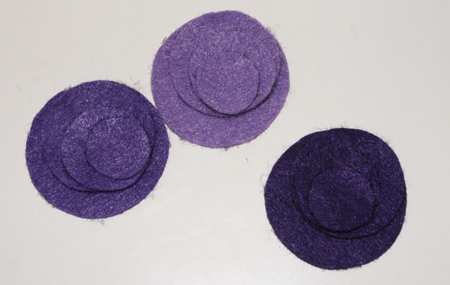
1) Draw/trace/create four circles of varying sizes on your felt. Either draw them on paper, cut them out and then use those as templates to draw the circles onto your felt, or trace circles directly onto your fabric.
My circles were 1 inch, 1 1/2 inches, 2 inches and 2 1/2 inches across, respectively.
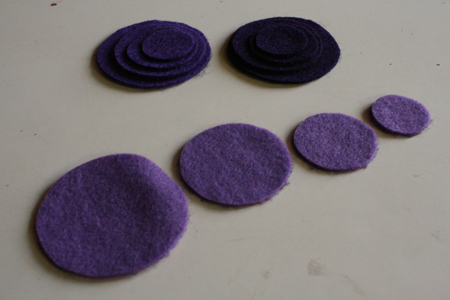
2) Cut out the circles.
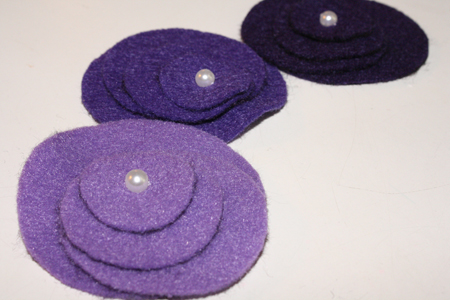
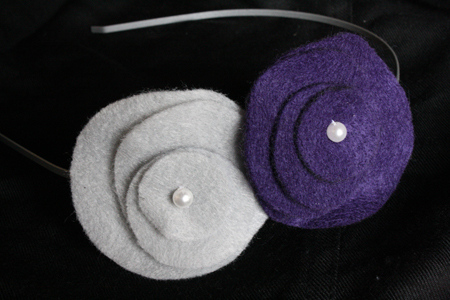
3) Stack the circles on top of each other, but don’t center them. In other words, stack circle 3 on top of circle 4, but a bit off to one side. Then stack circle 2 on top of circle 3, but a bit off to another side. And so on. Placing the circles in a random, a-symmetrical pattern makes them look more like a layered flower, and not just stacked circles. It also makes the finished product look deceptively complicated, when it’s actually the simplest thing in the world.
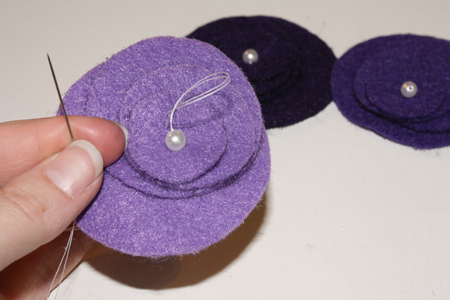
4) Place a bead or button in the middle of the top circle, and sew it into place. If you make stitches that are slightly wider than the actual bead or button, then pull the stitches tight, it will give the flower a little bit of an upward curve and add a bit of shape. Knot the thread and cut off any extra.
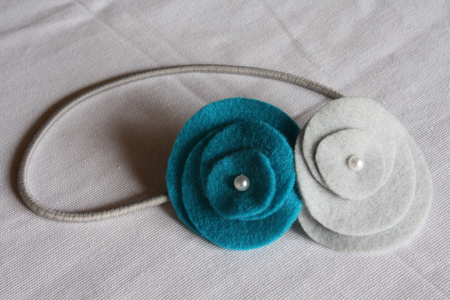
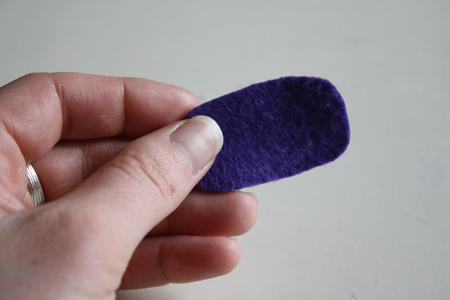
5) If desired, sew the flower onto a card or pin back or headband. To sew it onto a headband (I got my headband at the dollar store and removed its original tacky metal heart to attach my flowers instead), cut a narrow rectangle or oval of felt.
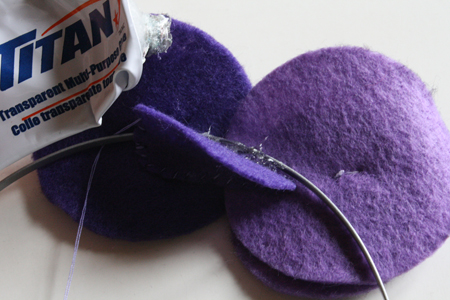
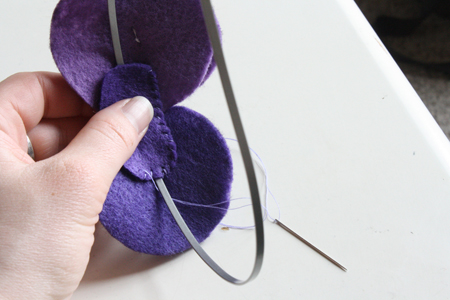
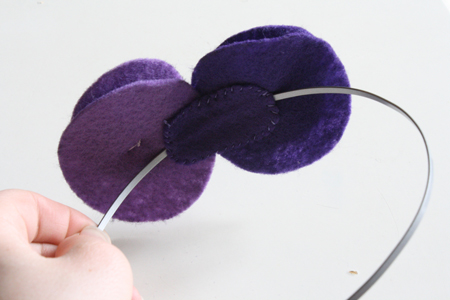
Place your two flowers next to each other so they overlap a bit. You may want to pin them together temporarily. Then center your felt rectangle on the back so it spans the backs of both flowers. Sew one long edge of it in place.
Slide the headband underneath the rectangle (you can use some glue to help it stay in place).
Sew around the rest of the rectangle, securing it in place overtop of the headband.
Knot your thread, trim it, and wear your new accessory.
See? So simply and inexpensive you could make one to match every outfit you own, if you were so inclined. I’ve received an astonishing number of compliments on mine in the past couple days. And to think they charge 20 bucks for this kind of thing in the stores.

