Today, dear readers, a quiz: What’s the first thing you do when preparing to move? Is it:
- A) Calmly assess your packing needs and begin to look for boxes.
- B) Book a moving van and start sucking up to your friends. (“Oooh, you have such impressive biceps! I bet you can lift really heavy stuff!”)
- C) Freak out about decorating a new living room that you haven’t even moved into yet.
If you guessed C, you are correct! A and B can come later.
My boyfriend and I recently (as in last weekend) moved from a very small and charming apartment to a much larger boxy, white-walled and sterile space. We now have a crafting room and a bathtub and a patio and a kitchen sink that could comfortably house a family of ducks, but we also have a whole lot of empty, blank, bland neutral-toned space. It’s been keeping me up nights.
Before we moved, I decided that our new living room colour would be blue. An interesting decision, as we owned not one single piece of furniture or decor in that colour. In tandem with this blueness, I decided that some map themed decor would be nice. Maps are gorgeous, interesting, and busy enough to distract the eye a bit from all this blank white space. And I have some beautiful old atlases I’ve been cutting up for crafts.
Some people will object to destroying atlases (the woman at the book sale where I bought a particularly nice one looked ready to faint when I told her what it was for), but answer me this: when is the last time you actually took your atlas out and leafed through its beautiful pages? If it was within the last six months, congratulations. Keep it intact on the bookshelf. Otherwise, why not put those gorgeous geographical images on your walls, where they can be seen and enjoyed all the time? Or on your table.
As a first step towards our new living room decor, I made some map themed coasters. This was a particularly inexpensive and simple project, requiring only a measure of patience while waiting for coats of paint and varnish to dry. You could decorate coasters in this manner with any kind of paper product you want: old book pages, scrapbooking paper, newspaper, ticket stubs, you name it.
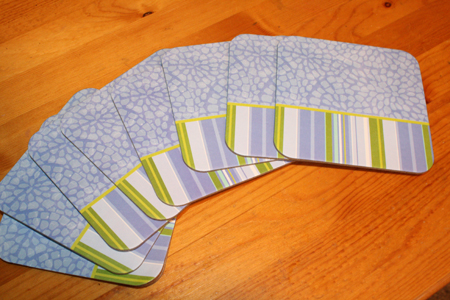
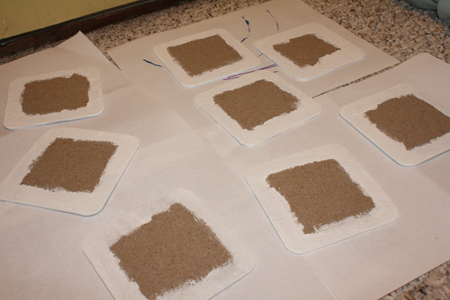
So just to clarify, this tutorial will turn these:
into these:
Before we get started, just a quick note: a couple people have suggested that I create a Facebook page for this blog. Since my understanding of the world is that things don’t really exist until they can be officially “liked,” I have done this, listing it under the name Tally’s Treasury. Feel free to check it out and “like” it. I’ll also be posting links to all blog posts on the page (if I remember), for all who dislike venturing outside the comforting walls of Facebook to look for stuff on the internet. Hey, it’s scary out there.
——————————————————
What you’ll need:
- cardboard coasters – I got mine in the sale pile at Michael’s for a dollar. You could use drink coasters from a pub. It doesn’t matter what they’re decorated with, since that part will be disappearing
- paint in the colour of your choice – simple acrylic works perfectly
- varnish
- paper of your choice to decorate the coasters
- 1 sheet of plain cardstock
- white glue
- piantbrush
- pencil
- scissors
——————————————————
Putting it all together:
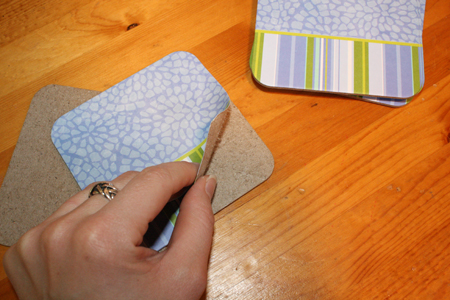
1) Start by peeling the original decal or graphic off of the coasters. In the case of the coasters I got from Michael’s, this was very very easy. I simply got my fingernails under the first layer of cardboard, then pulled. In the case of pub coasters it may take more work to get the top layer of paper off. You could always skip this step entirely, in that case, and go straight to step #2, simply adding an extra application or two of paint to completely hide the original graphic.
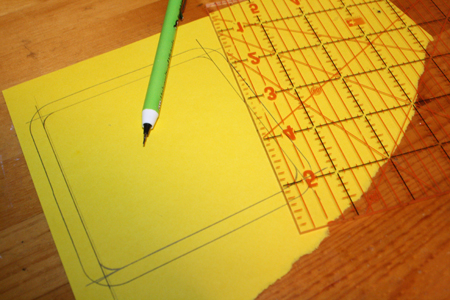
2) Trace the outline of one of the coasters onto your piece of cardstock.
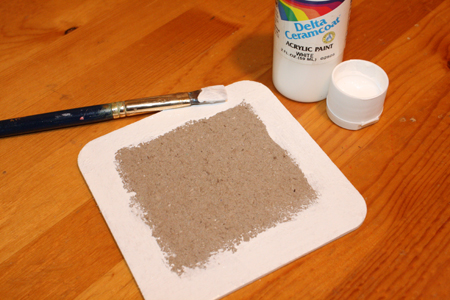
3) Paint the coasters whatever colour you wish. I used white, and since my coasters already had white bottoms, I only needed to paint the tops and sides. Let dry and apply a second coat of paint. You may want to apply a third if you’re using a light colour or are painting over the coasters’ original graphics. Since only the edges and sides of the coasters would be showing once I put the maps on, I only worried about painting those parts of the coasters.
4) While the paint is drying, use that tracing of a coaster from step 2 to make a template for the paper you’ll be redecorating your coasters with. You can make the paper decals the exact same size as the coaster, or make them smaller as I did, so you have a painted border around the edges. You can make the decals the same shape as the coaster, or make them different – cut a paper star out to place in the center of each coaster, or make paper stripes across them.
5) Trace the template onto your nice paper, once for each coaster. Cut these shapes out. With the maps, I chose places that Jeremy and I have lived, been to or (in the case of Japan) would like to go to someday. There are far more than 8 such places, so I also chose based on aesthetics and what maps I had available.

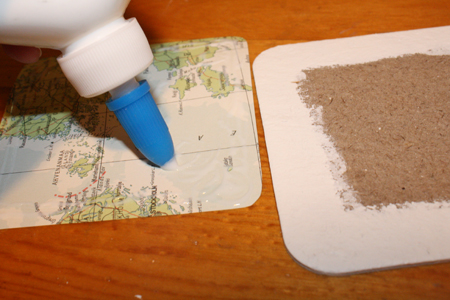
6) Once the paint on the coasters is dry, glue on the decals. It depends on what kind of paper you’re applying, but I don’t recommend a gluestick for this, as it probably won’t be strong enough. I used white Elmers’ glue, and ran my thumbnail along the edges of each decal to make sure the glue went all the way to the edges and held them down.
7) Let it all dry.
8) Apply a thin coat of varnish. Not too thick, or the paper will get too wet and will bubble up and you won’t have a nice smooth flat surface.
Which I forgot to take a photo for, but if you’ve been reading this blog for a while you know very well what my can of varnish looks like already.
9) Once the first coat is dry, apply a second coat of varnish. Be sure to varnish the edges and the bottoms of the coasters, as well, for greater durability. I did about four coats in the end. Ultimately, these are cheap coasters, and they won’t last forever, but they should last fairly well if you varnish them thoroughly. And I’ve never met a set of coasters I loved so much I wanted to keep them forever, so by the time you’re ready for new ones, these will have worn out anyway and you won’t have to feel bad about getting rid of them.
10) Serve cold drinks comfortably in the living room, and try not to freak out about the fact that your walls are still vast and white. The rest of the decorating will come in time.
In addition to the coasters, I put some pretty island atlas bits in an old photo frame.
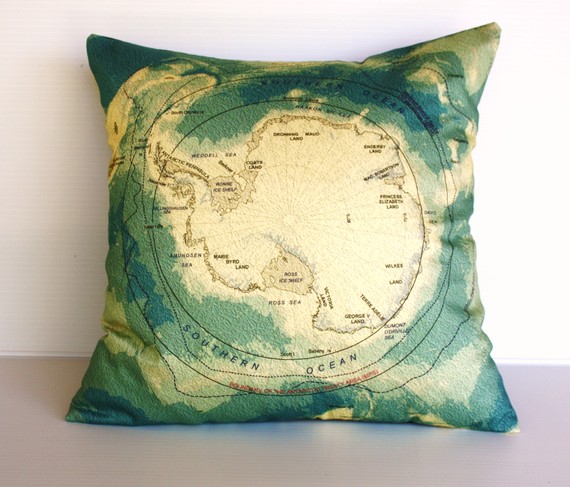
We’ve also ordered some gorgeous screenprinted map cushion covers from mybeardedpigeon on Etsy. Aren’t they beauoooootiful?!
And I’m debating whether or not the landlords would notice if we just painted a wall… We could say it was an accident. I was crafting and had a really big paint spill…?
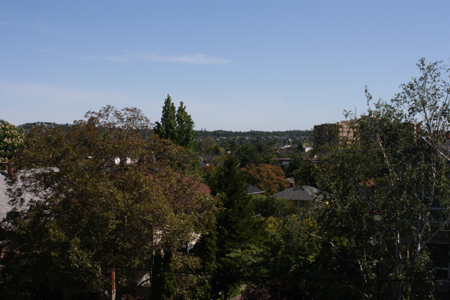
For now, at least there’s lots of blue sky to be seen out our windows:


