First of all, ladies and gentlemen, I must apologize. I am still trying to get caught up on various projects after the whirlwind of moving, and I’m afraid I’ve gotten a bit lazy with the blog in the past couple weeks. I shall endeavor to get back on track with timely updates.
It seems that right now everyone around me has hockey on the brain. The Canucks have made it to the playoffs, and my understanding is that this hasn’t happened for well over a decade. I myself am decidedly not a hockey fan, not because I dislike it (though soccer players are way cuter), but because I never cultivated the kind of detailed understanding of the game that brings thorough appreciation of it. I’m not sure “nuance” is an entirely suitable word for a sport that involves knocking other players’ teeth out, but I’m sure there are at least a few subtler details of gameplay that I’m missing out on.
 So while everyone else is screaming at the ref, I’ve been off in my crafting corner, making curtains and envelopes and more t-shirt dresses. And then I realized I could use my own all-consuming hobby to show a little team spirit. That, combined with all the cardboard boxes still sitting on our deck from the move, is what brought me to this week’s project:
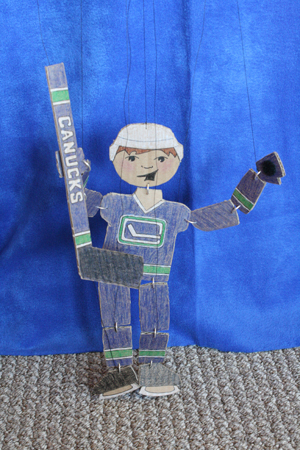
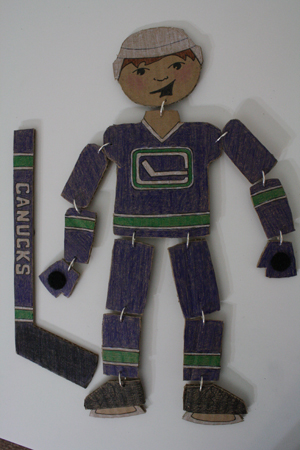
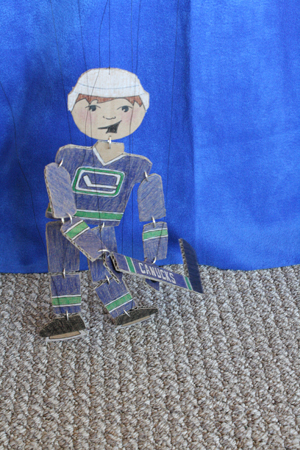
a cardboard hockey player marionette.
This will not be the world’s most functional marionette, as cardboard doesn’t have enough weight to really make the doll’s movements smooth and simple. But it’d be a great low-cost toy for kids (and they can colour it themselves), and it shows you the basics of constructing a marionette. Perhaps later I’ll move on to some more complex and durable puppets…
————————————————————
What you’ll need:
- cardboard
- pencil
- exacto knife
- crayons/markers/pencil crayons
- string, cord or yarn
- needle nosed pliers
- round nosed pliers
- large jump rings (about 1/2 inch in diameter)
- wire (or you can use more string or yarn)
- two small beads
- a large hand needle
- a small hand needle
- hockey player marionette template – number 8. under “Paper patterns and templates” Or you can design your own. Or use this template as a general guide when designing your own.
————————————————————
Putting it all together:
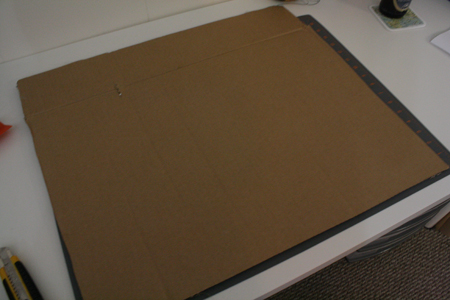
1) Find yourself a nice sheet of cardboard, or flatten a cardboard box and cut off one of its sides.
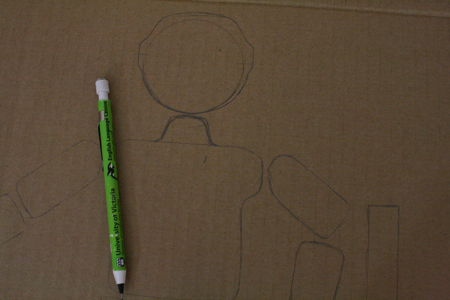
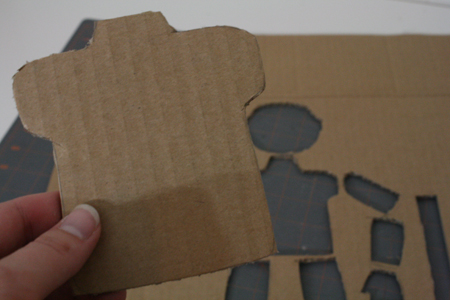
2) Print and cut out the template, then trace it onto your cardboard. Or simply draw your own figures straight onto the cardboard. I’d keep them fairly square-sectioned, to make cutting them out with an exacto knife easier.
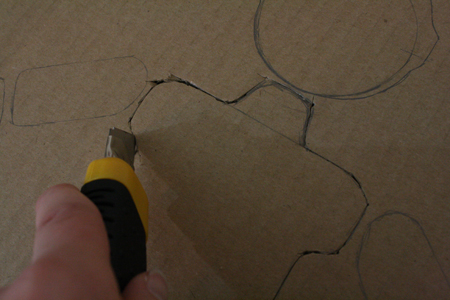
3) Cut out the various pieces. When following an exact line on cardboard with an exacto knife, it works best to make a very shallow cut first, aiming for accuracy. Then go back and cut deeper, only now aiming to really cut through the material. It’s easier to follow the line having first made that shallow cut for the knife to fit into.
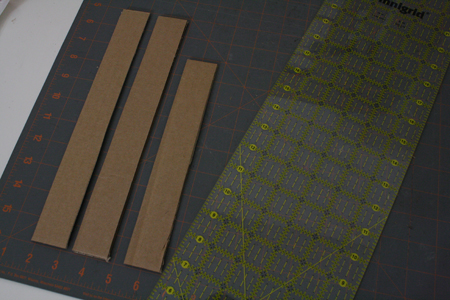
4) Also, cut three strips of cardboard about an inch and a half wide. Make two of the strips about 10 inches long, and the third strip about 8 inches long. (Mine are longer in the photo, but I later trimmed them down.) This isn’t an exact science – you just want room for a hand to hold onto these cardboard pieces (which will become the controls for the marionette), and for them to be long enough that enough space exists between the cardboard bars for the puppet’s strings not to get tangled up too easily.
5) Draw whatever features and details you wish onto the cardboard pieces, then colour them in. Obviously you don’t have to decorate your hockey guy as a Canucks player… but why wouldn’t you? If you’re making the puppet for a kid, you might want to let them do the decorating.
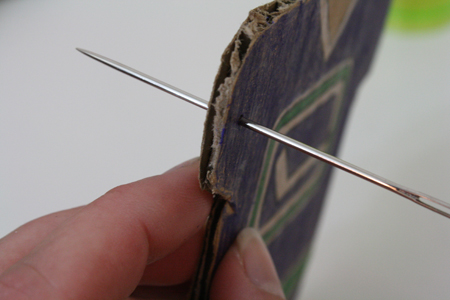
6) Take your large needle and take the puppet’s cardboard torso, and poke a hole in the torso, right in the middle of the shoulder, where it connects with the upper arm. Make the hole about 1/8 to 1/4 inch from the edge.
7) Now take the piece of cardboard that’s the upper arm, and poke a hole in the middle of the upper end.
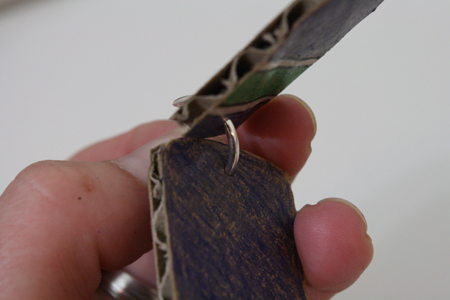
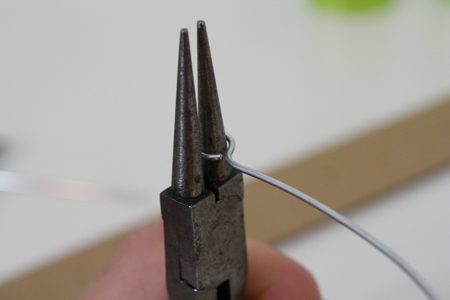
8) Using your two pairs of pliers, pull one of your jump rings open. Do this by pulling the two sides away from each other, one forwards and one back, rather than pulling them apart in such a way that the ring is no longer circular.
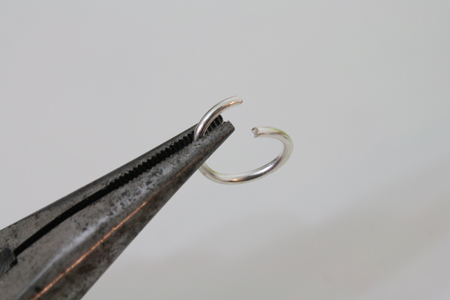
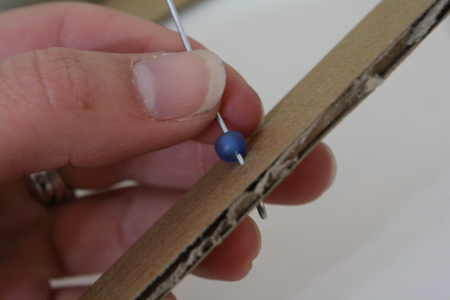
9) Push the open end of the jump ring through the hole in the upper arm, then push the jump ring’s other open end through the hole in the torso. (Make sure the coloured sides of both the torso and the arm are facing the same direction!)
My photos below are of the joint connecting the upper and lower arm, rather than the upper arm and torso, but the process is exactly the same.
10) Use your pliers to push the jump ring closed.
11) Repeat this process for each of the doll’s joints. When finished, your figure should look something like this:
12) Set the doll aside and pick up the cardboard strips that will be the puppet’s controls. Lay one of the long pieces down, then other long piece across it, towards the bottom of the first piece, and lay the short piece across the top of the first piece.You’re making a sort of double cross here.
13) Use your needle to punch a hole through the places where the lower and upper cardboard strips intersect. Or, where the two blue dots are on the diagram below:
14) Cut a short piece of wire, and make a loop at one end, using your round nosed pliers. Poke this through one of the holes in the bottom of the long bottom cardboard strip. Thread a small bead onto the wire, then poke the it through the hole in the long upper cardboard strip. Make another loop to keep the wire in place, then cut off the extra. Repeat this process for place where the third cardboard strip joins the first one.
If you don’t want to use wire, you can accomplish the same effect by putting yarn through the holes. Knot it at one end, string it through, put a bead on, string it through the other piece of cardboard, and knot it again. Frankly, this might be easier than wire anyway.
15) Now for the strings. They will be attached to each of the places marked by a red dot in the diagram below.
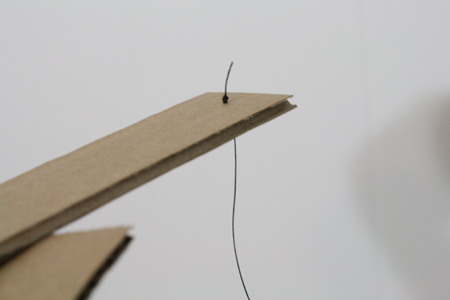
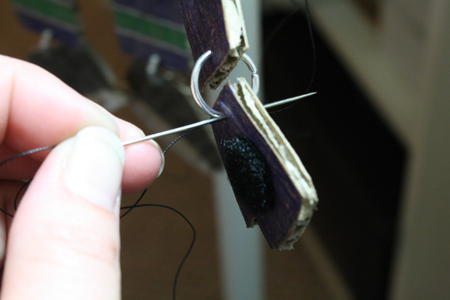
Start with the head. String your thread (or yarn) onto a needle. Knot it at one end and poke it through the cardboard controls from the top, where the diagram shows the head string. (The first photo below shows generally how the string was attached, though the particular string pictured is one for a hand, not for the head.)
Poke the other end of the needle through the top of the head, then pull the needle off of the thread, pull the thread through until the puppet is hanging the distance you want it to from the controller, then knot the thread.
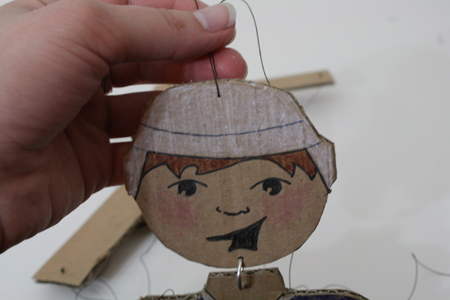
16) At this point, you’ll either need an assistant to hold the puppet still and straight by it’s controls, or you’ll need to hang it off something (I used my lamp) that can keep it straight and fairly still. You can thread the controller all at once and leave each thread dangling until you’re ready to attach it, as I did, or you can just thread the controller and corresponding joints one by one.
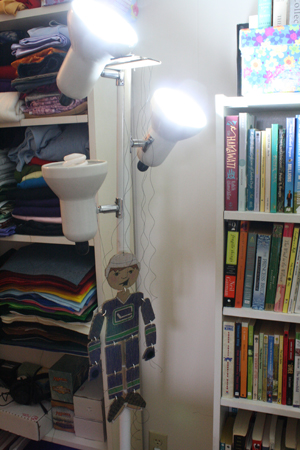
Following the diagram below, attach threads to the controller and the appropriate joint. The trick is to pull the thread just enough so that it is exactly taught, but not pulling up at all on the joint. For each joint, I poked the needle through the same hole made by the jump rings connecting the joints.
17) When all the joints are attached, your puppet should look something like this.
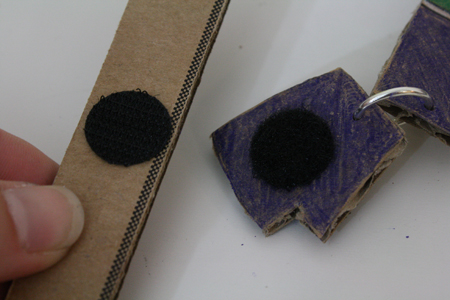
If your puppet has accessories or props (eg: a hockey stick), put little stick-on velcro circles (or pieces of normal velcro plus superglue) onto the front of the puppet’s hands and the backs of the accessories, so the puppet can hold them.
18) Now play ball! No… wait… wrong sport. Play… hockey? Oh whatever, Go Canucks!

