A few weeks ago I wrote a post about old craft projects I rediscovered while moving, and one of those projects involved dolls and figures made out of empty toilet paper tubes. This follow-up post comes to you at the request of Jenn, to provide some details and ideas on just how to put one of these figures together.
As I mentioned in that previous post, toilet paper tubes are one of the best crafting supplies ever (one of humankind’s greatest inventions, too), especially since everyone has them in abundance. When my brother and I were kids, my mom put together epic birthday parties for us, and every party involved a treasure hunt. Sometimes the treasure would come in little bags or purses she’d sewn (detailed with fish or princesses or whatever that year’s party theme was), but at least once the treasure came in fabulous little containers made from toilet paper tubes.
A couple of years ago I followed in my mother’s footsteps, making a little tube person for each of the guests at a surprise party for my boyfriend. Every tube character corresponded to the interests of the individual who received it, and all were filled with candies and treats. Making them was an outrageous amount of work that I will probably never repeat, but gosh it was fun.
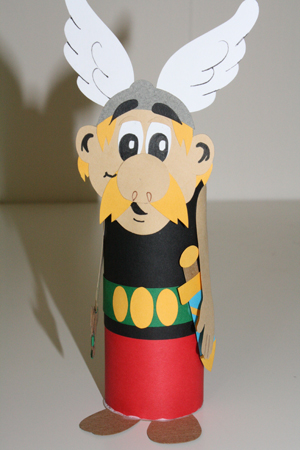
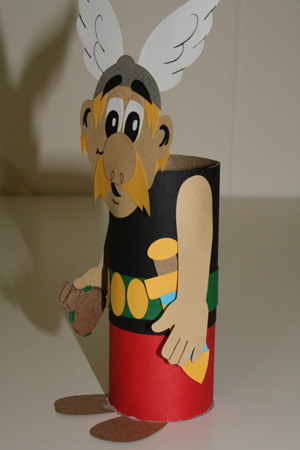
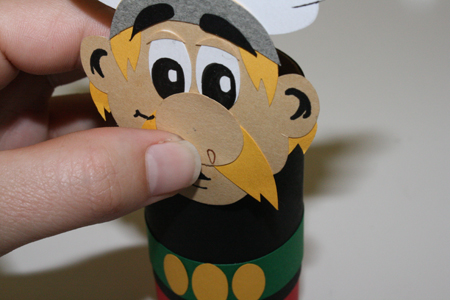
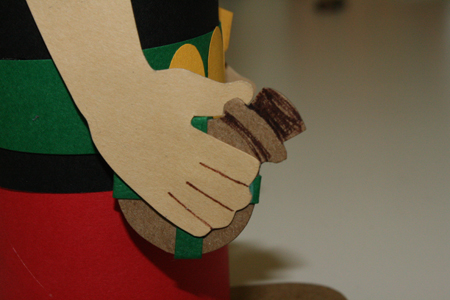
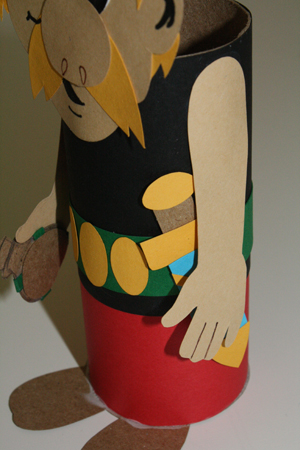
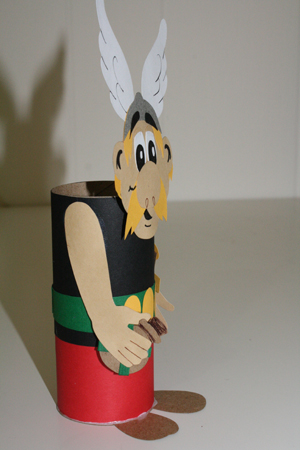
This week I’ve gone back to my childhood again, reproducing a character I’ve loved since I was a kid. Here he is, magic potion and all, and here are the basics of how to create your own beloved characters from upcycled bathroom products.
——————————————————–
What you’ll need:
- toilet paper tube(s)
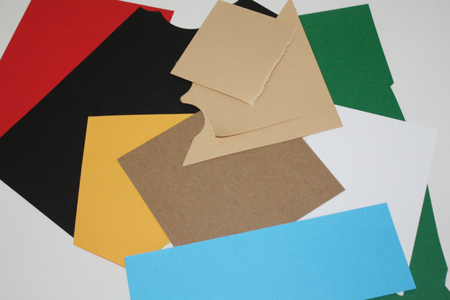
- paper – in colours appropriate to whatever character, creature or object you’re making
- pencil
- scissors
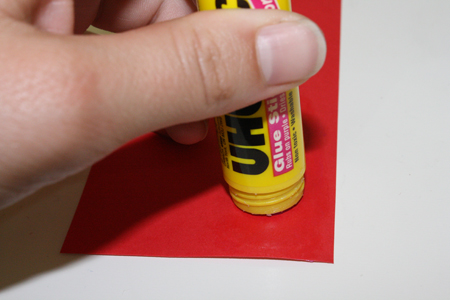
- glue – it’s useful to have both white glue and a glue stick on hand for this project
- [optional] tape
- [optional] toilet paper tube dolls template – number 9. under “Paper patterns and templates”
——————————————————–
Putting it all together:
For replicating known characters, you’ll probably also want to have an image of the original on hand to work from. For Asterix, I of course had an actual book for this purpose. For other things, Google image searches are a gift from heaven. Or, well a gift from the internet.
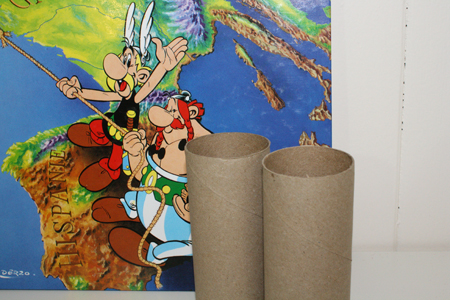
Body
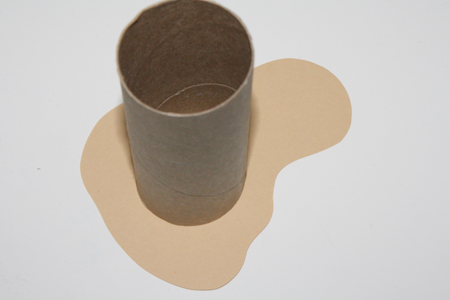
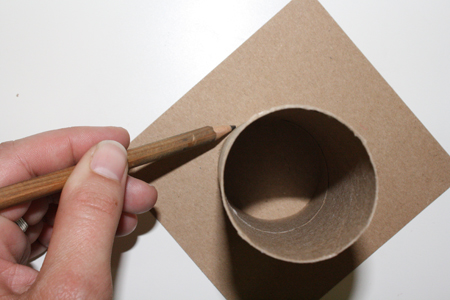
1) We’ll start with the base. Select the paper colour you want for the feet. It’s best to use a sturdier paper (like cardstock) or thin cardboard for this, especially if you’ll be putting candies or other items in the finished tube. Place the tube upright on the paper and trace around its base. Then sketch some foot shapes sticking out from it and cut the whole thing out. Erase any visible pencil marks, and set this piece aside for now.
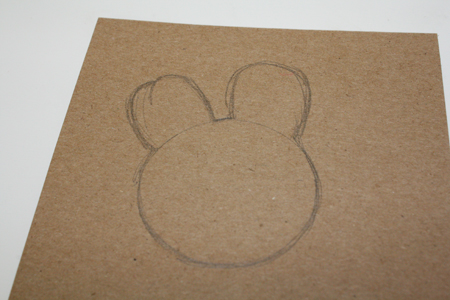
2) Determine what colours your character needs to be (its skin, clothes, etc.) and cut the appropriate number of paper strips in the appropriate colours. For a pants-and-shirt kind of combo (like with Asterix here) I cut each piece between 2 and 2 1/2 inches wide. To fit easily around the tube the paper strips should be about 6 inches long.
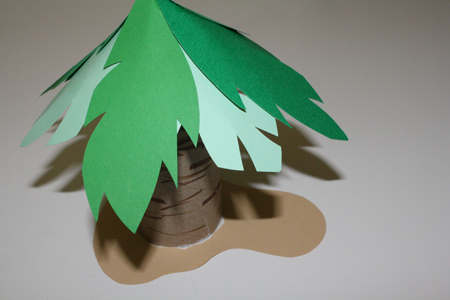
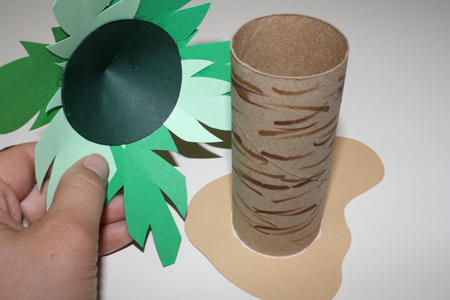
If you’re not making a creature or person, but rather an object (say a palm tree or a castle tower), you could cut out a larger circle for a moat, or an oddly shaped bit for a patch of sand.
3) Determine how you want your layers to overlap. Asterix has a tunic that hangs down over his leggings, so I did the leggings first, then the tunic overtop of them. Also, make sure your paper strips are going to fit all the way around the toilet paper tube. You may, at this point also want to add any desired drawn details onto the paper in the appropriate places. Depending on the doll, it’s sometimes easier to do this now, while the paper is flat, and sometimes easier to do it later, when you can tell exactly where on the paper to draw a specific detail, relative to the rest of the doll).
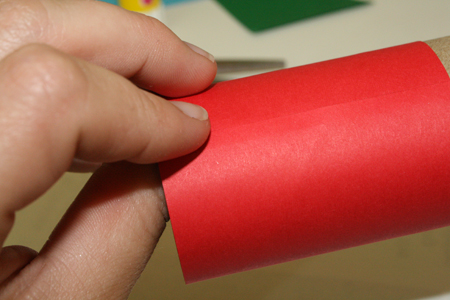
4) Apply glue to the underside of the first paper strip, then line the paper’s edge up with the tube’s edge and press the paper into place, applying more glue if necessary. The two ends of the paper should overlap at the back.
5) Repeat step 4 with your other paper strips. So for Asterix I overlapped the red leggings with black paper for his tunic and a green strip for his belt. Try to keep the ends of all the strips roughly lined up, so the place where they overlap and close can be the back of your character.
You may need to use a slightly stronger glue at the ends of the paper, especially if you’re using thicker, heavier paper. You may also need to hold it in place while it dries (paper clips can help with this), and you can always tape it if you don’t mind the tape showing.
Face
There are a couple different possibilities for creating faces.
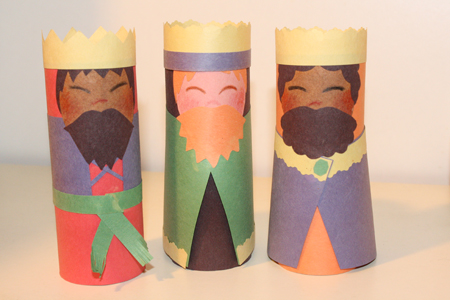
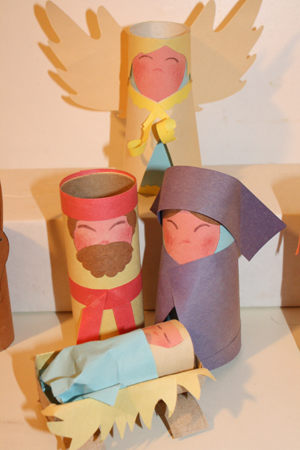
1) The first option is to keep the entire character confined to the body of the tube, as with the nativity characters pictured below. To do this, follow these instructions:
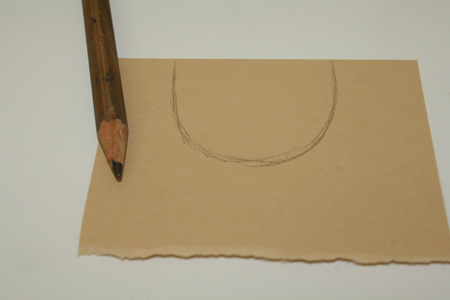
- Draw an oval with one end cut off. Start against the straight edge of a piece of paper, and draw a face shape coming down from that edge. You can also copy one from the template posted at the beginning of the tutorial, or use them as a guideline when creating your own.
- Draw (or cut from paper) eyes, nose, mouth, etc. as desired.
- Glue this flat-ended oval to the tube with the paper’s straight edge meeting up with the top edge of the tube (having first glued on all the paper for clothing and such, of course, since the face should be overtop everything else). Add hair as required. You can make hair from paper, or perhaps glue on some yarn.
- To create a hat, crown, headband etc., use another strip or shaped piece of paper glued over the top edge of the face.
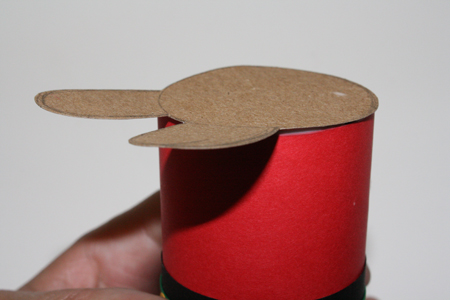
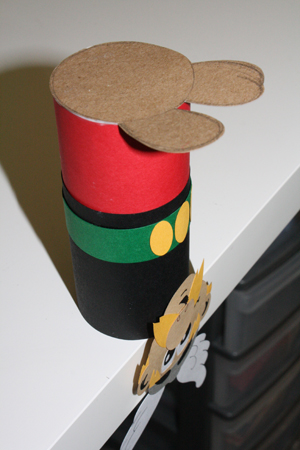
2) The second option is to create a face that protrudes from the top of the tube, as with my Asterix doll. To do this, follow these steps:
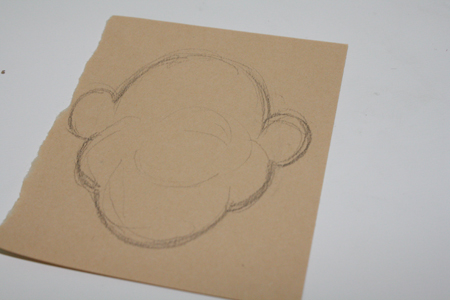
- Sketch whatever face shape you want in an appropriate size and cut it out. When not making actual comic book characters (who have odd or interesting or exaggerated face shapes), I usually just use a simple oval shape. You can also copy one from the template posted at the beginning of the tutorial, or use them as a guideline when creating your own.
- Flip the face over to the side with no pencil marks, and draw (or cut from paper) eyes, nose, mouth, etc.
- Add hair (from paper, yarn, string, etc.) as desired. Add any other accessories (hats etc.) as desired.
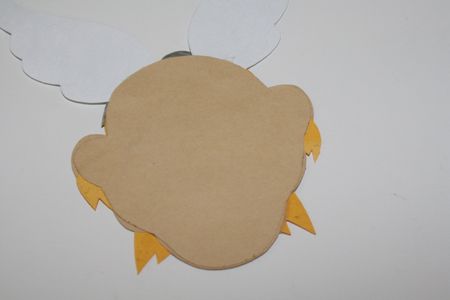
- Trace the face shape onto another piece of paper and cut it out. Cut a little bit inside the lines, so that this second face shape is slightly smaller than the original. If you’ve been attaching hair or hats or such behind the face, it’ll be looking a bit messy right now, so this step will make the back of the head look a bit more clean, since it will be partially visible on your finished product.
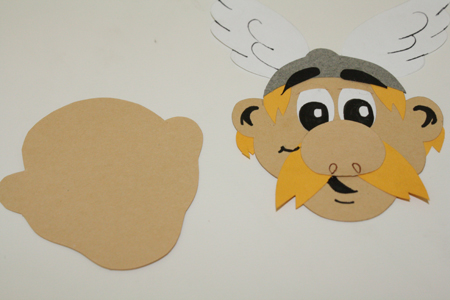
- Glue this second face shape to the back of your doll’s face.
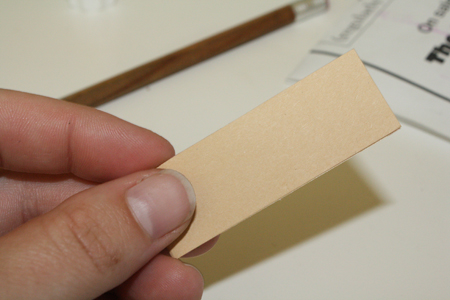
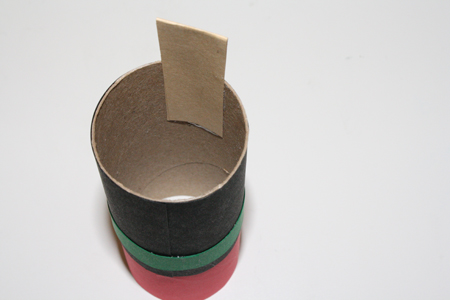
- Cut a strip of paper about 3/4 inch wide and 2 1/2 inches long. If the paper’s a bit thin, cut a longer strip then fold it in half and glue it together to make it stronger.
- Glue one end of the strip to the inside of the toilet paper tube. Make sure you glue it to the top end of the tube, where your character’s head will be, and to the side of the tube that is the doll’s front, the side where the face will go. You can tape it as well for extra strength, if you don’t mind the tape showing.
- Dab some glue on the front-facing side of the paper strip that sticks out the top of the tube, and to the outside of the tube just below the strip.
- Attach your doll’s face so the strip holds it in place. Again, you can use some tape to attach the strip to the back of your character’s head, if you don’t mind the tape showing.
Arms
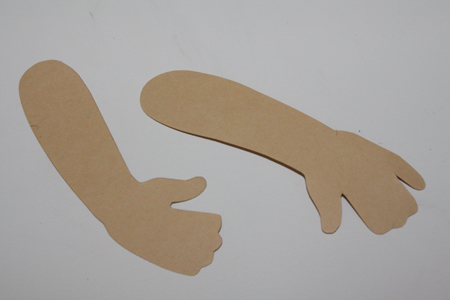
1) Draw and cut out a couple of arms (or more, if your character requires a few extra appendages). You can also print out the ones provided in the template at the start of the tutorial, or use them as a guideline to create your own.
If the character has sleeves, cut out the sleeves from the desired colour of paper, then cut hands from an appropriate colour and glue the ends of the sleeves overtop of the hands. Draw in fingers or other details as desired.
2) If desired, trace the entire arm shape onto another piece of paper, then cut it out and glue it to the back of each arm. Like with the head, this is just to make the visible backside of the arms look a bit cleaner. It’s not a necessary step.
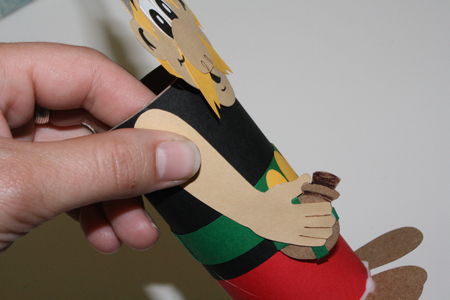
3) Apply glue to the top of each arm and stick them in place. Only the shoulder area of the arm should be glued – the rest will hang free, away from the body. Unless you want the character to, say, be holding his or her heart, or crossing his or her arms, etc. Then you may want to shape the arm differently, of course, and glue it completely to the body.
Accessories
1) Create any desired accessories and attach them as desired. So for example, Asterix is holding his little gourd of magic potion, and has his sword glued to his side. I also added those three yellow ovals on his belt.
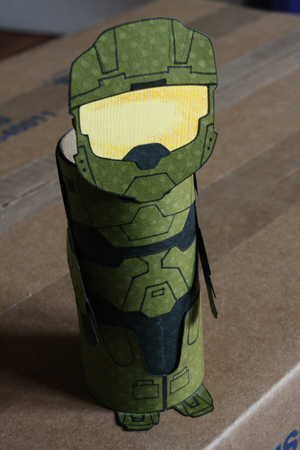
2) Draw or glue on any last details. For the Master Chief doll, I drew lines onto the armour as I made and attached it. On a Captain Kirk doll I made, I drew his little Star Fleet badge onto his chest. You can also shade areas, or draw a line down the middle of the doll’s bottom half to indicate pants legs, or glue on actual small beads or buttons and so on and so forth. Often, for the drawn-on details, you’ll want to add these to the pieces of paper before gluing the paper to the tube.
Feet
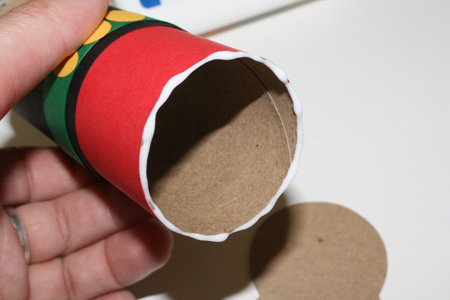
1) Last of all, apply glue to the bottom rim of the tube and attach the base with the character’s feet protruding from it. Be careful with your glue – my white glue didn’t dry nearly as clearly as I’d anticipated, so there’s a bit of a white ring around Asterix’s feet. Once the feet are glued on, it would be wise to use a little piece of paper to scrape away any extra.
2) Place the tube upside down (along a table edge if it has a protruding face) to dry. You might want to put something heavy on the bottom end to hold the base down while it dries.
Lids
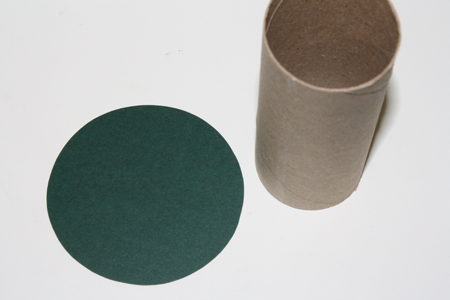
If you’re making a non-creature container, like a tree or a castle tower, you’ll want to put a lid on it for the tree leaves and the roof, respectively. If you’re making a doll with a non-protruding face, you could also use this method to give it a hat.
1) Trace and cut a circle a bit larger than the circumference of the toilet paper tube.
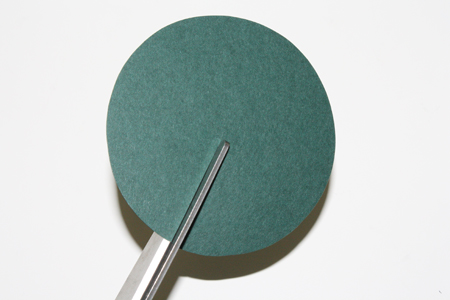
2) Cut a slit in the circle, from one edge to the center.
3) Pull one side of the slit over the other, making the circle into a small cone. Pull the slit further to make the cone steeper and smaller around. Then glue or tape the paper in place.
4) Decorate as desired. So for a palm tree, for example, I simply cut a bunch of palm leaves and glued them onto the cone, overtop of one another.
Done!
Now put your creation to use. You can fill it with candies as a gift or party favour, use it as a pen jar, fill it with paper clips… whatever you wish.

