My parents live far far away from me, in a land of where-there’s-a-job-for-Dad. I frequently complain that they need to live closer, and not only because of the lack of family visits and their beyond-belief local politics. When my mom lives that far away, she does things like this:
Mom (over the phone): I’ve discovered a wonderful new technique for appliquéing with fleece. I can get the most amazing detail! You will like this technique. You could do so many excellent projects with it.
Me: How does it work?
Mom: Oh, I’ll have to show you.
Me: So… Skype?
Mom: I’d rather do it in person, it’s so much more fun that way.
Me: You’re not visiting for another six months.
Mom: Oh, well, things to look forward to!
And then she proceeds to tell me every couple of weeks about doing a new project with this technique. The woman is infuriating, I tell you. That’s where I get it from.
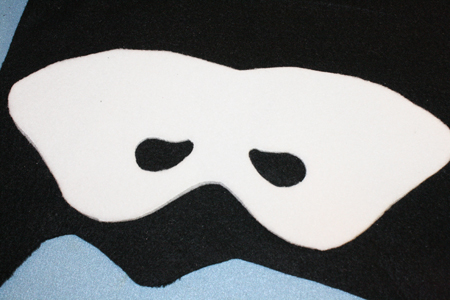
Well my folks finally visited two weeks ago, and Mom, having used the USPS over previous months to be sure I was well stocked with fleece, finally taught me her techniqe. She and my brother and I put my crafting lair to full use and made masks, which is what I’ll teach you to make today.
You can use this technique for so many different things, really. My mom has decorated bags and blankets and hats, made Mardi Gras masks and even created a sort of fabric mural for her church’s Advent services with it. It will even feature on her contribution to this year’s Desert Bus Craft-Along. I’m planning to make use of the method in future doll making projects, and who knows where else. Remember that blank living room wall I keep complaining about? Maybe I need to go have a chat with the boyfriend…
[Note: I apologize for the utter lack of formatting (no spaces between steps) in this week’s post. I formatted the whole thing properly, but WordPress undoes my work every time I save the post, and I’ve not yet figured out how to fix it. This is probably retribution for using an unsanctified steak knife in this month’s goat sacrifice to the WordPress deities. Sigh.]
————————————————————
What you’ll need:
- fleece – black, white and a tiny bit of blue for the sad panda mask, or any other colours you desire for any other masks you want to make
- thread to match all your fleece colours
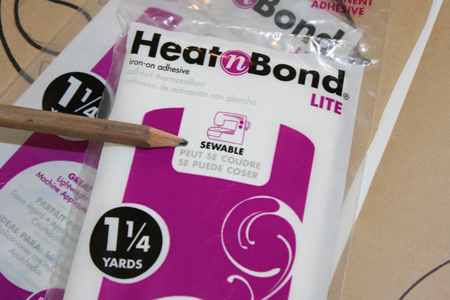
- sewable HeatNBond – it must be the sewable kind. You can get it from craft stores like Michael’s, and from fabric stores, for about $5 a package. It goes a fair way – mine has done 4 masks so far and there’s still half a package left.
- fabric scissors
- embroidery scissors or other small scissors with a very fine, sharp point
- iron & ironing board
- pressing cloth (to protect the fleece from the heat of the iron – an old teatowel or largish scrap of fabric will work fine. Just make sure the cloth doesn’t have dark colours whose dye might bleed)
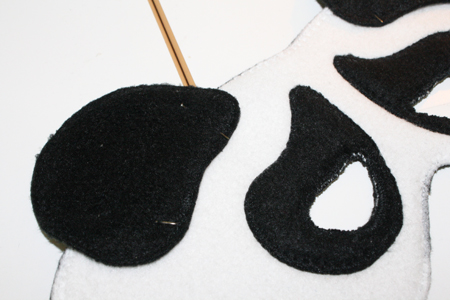
- sewing machine
- pencil
- permanent marker (if you are designing your own mask or mask template)
- coloured markers or crayons (if you are designing your own mask or mask template)
- ribbon (2 -3 feet)
- [optional] beads, sequins, feathers or other decorations to add to your mask
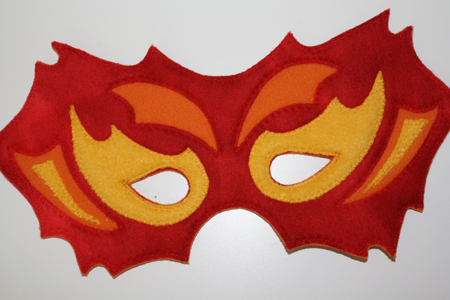
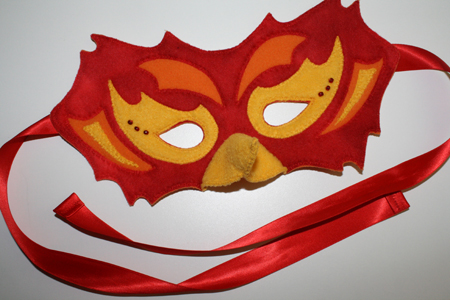
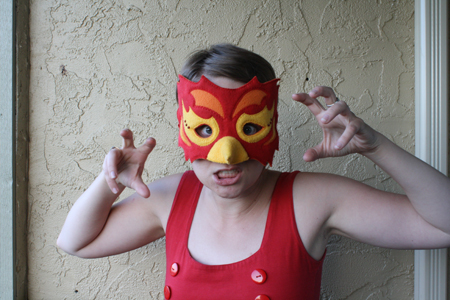
- sad panda mask template – number 3. under “Sewing patterns” – OR follow the instructions in Part 1 below to design your own. I’ve also posted my phoenix mask template – number 4. under “Sewing patterns.”
————————————————————
Putting it all together
Part 1
I’ve posted mask templates above, which are designed around a small to average face size that is completely symmetrical. Of course, no one’s face is entirely symmetrical, so you may still want to make your own template. To do this, follow the steps below. Otherwise, skip to Part 2.
The steps below will also offer some information and advice on designing your own, not-a-sad-panda mask. For any mask, you’ll need to start with a fully designed, this-is-what-it-will-look-like template.
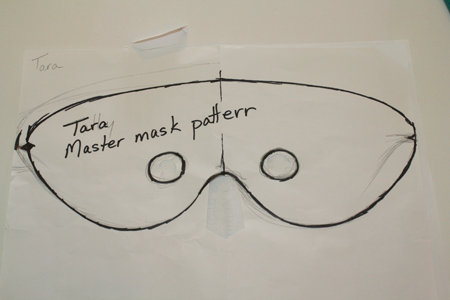
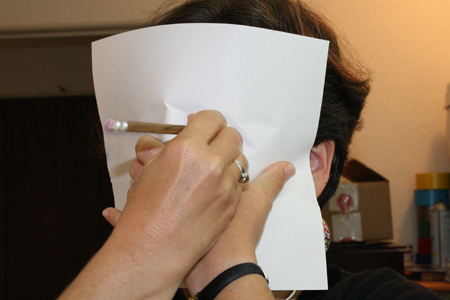
1) Take a piece of plain white paper and center it over your face. If you’ve got a larger head, you may want to use a larger piece of paper, perhaps legal size rather than 8.5 x 11.
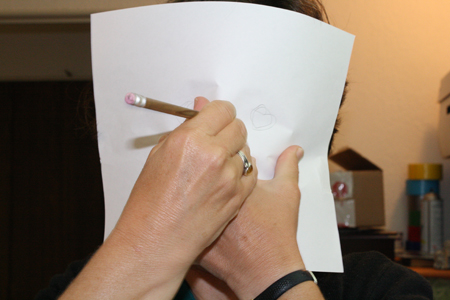
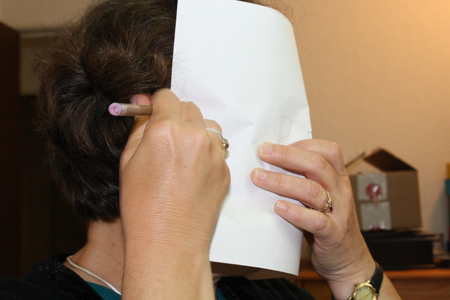
2) Using a pencil (gently), feel where your eyes are and make a little circle roughly around those area.
Do the same for your nose, making a little circle around the tip and marking where the bridge of your nose is.
Then make a little mark near the top of your ears, where they connect to your head.
3) Put the paper down and clean up the marks, drawing proper eyeholes in the marked places. Draw a mask shape around the face area, making an upwards indent where the nose is, so the line of the mask goes over the bridge of your nose, leaving the tip uncovered. The corners of the mask should go right the the marks you made for your ears.
If you have a pretty symmetrical face, you can simply fold the paper in half, draw one side of the mask, go over it in permanent marker and then trace it onto the other side of the paper. Then you’ll have a mask that’s identical on both sides.
Tip: move the eyeholes together a little bit, so that when the mask is finished the inside corners of your eyes will be visible. This will lessen or even eliminate that slightly cross-eyed look that masks often give people.
4) Go over all the lines of the mask in dark, thick permanent marker.
This is your mask template, the basic outline of a mask that fits your face. From here, you can trace the template onto another piece of paper and mess around with it, changing outer lines to make it droop downwards, soar upwards, make it a-symmetrical, add decorations and designs and layers around the eyes or on the forehead or wherever you like. The only things that must stay the same are the location of the mask’s corners (where your ears are), the line over the nose and the location of the eye holes (though the shape and size of the eye holes can change)
With the fleece applique technique I’ll describe below, you can add very small details in fleece, down to about 1/4 inch across at the smallest.
When you have a design you like, go over all the lines in permanent marker, so that you’ll be able to trace them onto the HeatNBond. You may also want to colour in the template with crayon or coloured markers, so you can get an idea of what the colours will look like on the actual mask, and remember which piece of the mask is supposed to be which colour. These masks are made of two main layers, so you can cut out a piece from the front layer, in order to see the colour of the back layer show through. You can also add more layers (and thus more colours) on top. So you’ll want to determine which mask details will be cut out of the front layer, and which ones added on.
Part 2
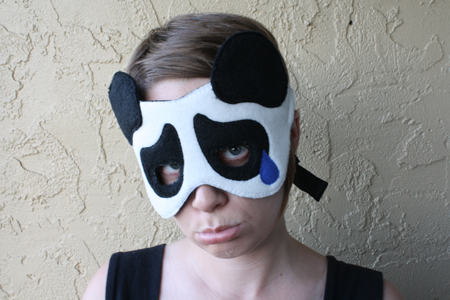
So here’s where I tell you how to specifically make the sad panda mask, starting from my posted template, or the one you created using the steps in Part 1. These same steps also outline the basic instructions for making any mask.
1) Turn on your iron. You want it on a high setting, or at cotton or linen level. You are never supposed to set the iron this high when working with fleece, because it can melt the fleece. But every “never” has an exception, and this is the exception.
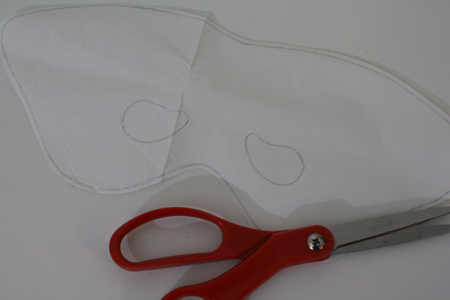
2) Open your HeatNBond and unfold it. It will be about the thickness of writing paper, white and with a smooth side and a textured side. Place it textured side down on top of your mask template.
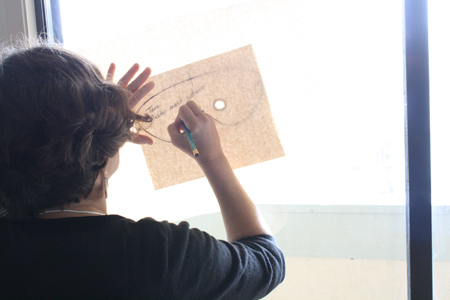
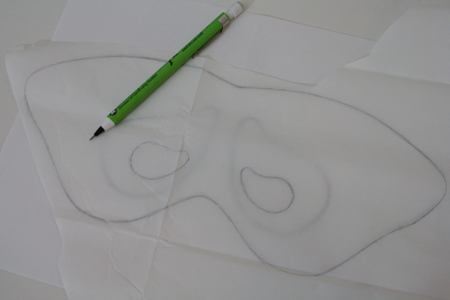
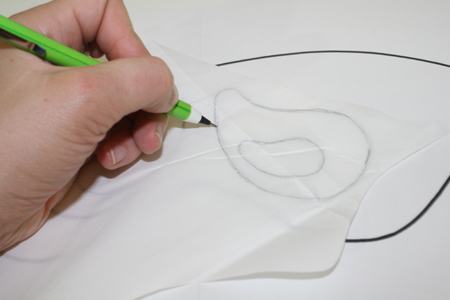
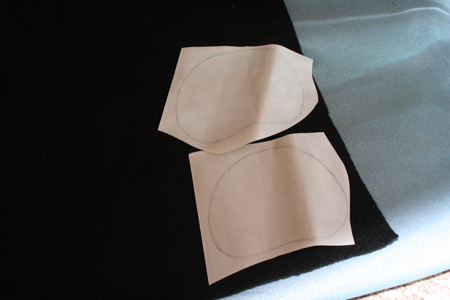
3) Use a pencil to trace the outer lines and the eye holes of the mask template onto the HeatNBond.
4) Cut out the mask shape from the HeatNBond, cutting about 1/8 of an inch outside the pencil line. Use your fine-tipped scissors to cut out the eye holes, this time right on the pencil line.
If you’re making the phoenix mask, or any other mask with cut-out details, you’ll want to cut those pieces out of the fleece at this stage, the same way you cut out the eye holes.
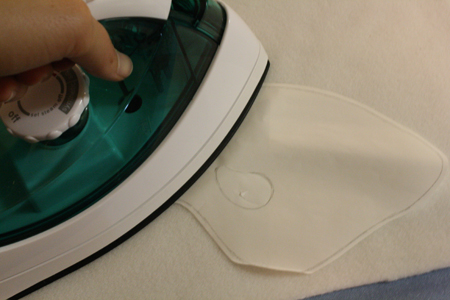
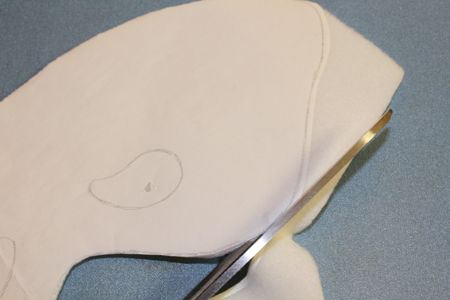
5) Take your white fleece and lay it on the ironing board, right side down. Lay the mask shaped HeatNBond on top of it, textured side down.
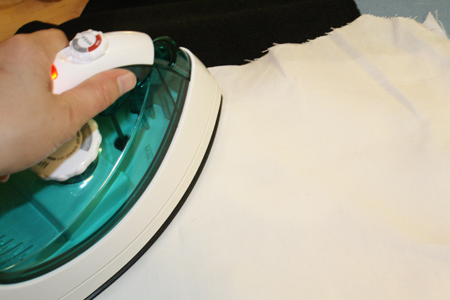
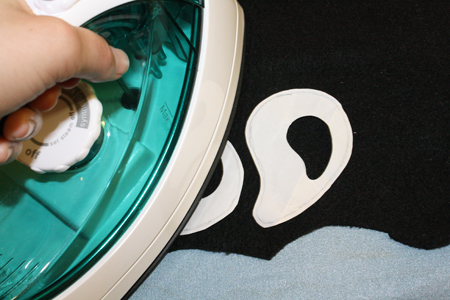
6) Run the iron briefly (very very briefly) over entire surface of the HeatNBond. When you lift the iron, the HeatNBond should be stuck to the fleece. Make sure it’s completely stuck, especially at the edges, and iron again if needed.
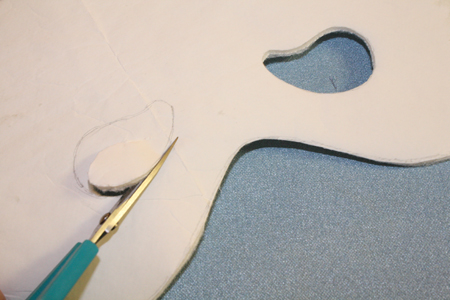
7) Cut out the mask, this time following the pencil lines exactly, so that you have your mask shape cut from the white fleece, with the HeatNBond stuck to the back side. Use your fine-tipped scissors to cut out the eye holes as well.
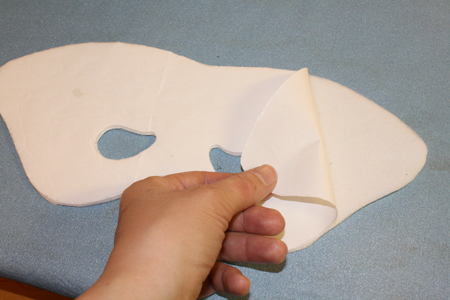
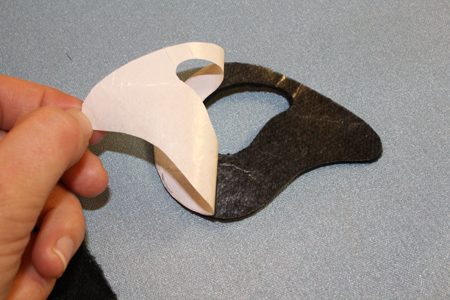
8) Lay your black fleece down on the ironing board, right side down. Now check out this HeatNBond that’s stuck to the back of your white mask piece. It’s actually two layers , and the white papery later peels right off if you dig a fingernail under its edge. Pull it off and lay the white fleece on the black fleece, right side up (so the HeatNBond is sandwiched between the white and black fleece).
9) Place your pressing cloth over the fleece and iron the mask thoroughly, pressing down hard and holding the iron in place for several seconds. Lift the pressing cloth up to see if the two pieces of fleece have stuck together. If any areas remain unstuck, replace the pressing cloth and iron again, until the pieces of black and white fleece are completely fused.
10) Set the mask aside. Get a new piece of HeatNBond and go back to your mask template. This time, trace the sad panda’s eye pieces, again remembering to also trace the eye holes in the middle.
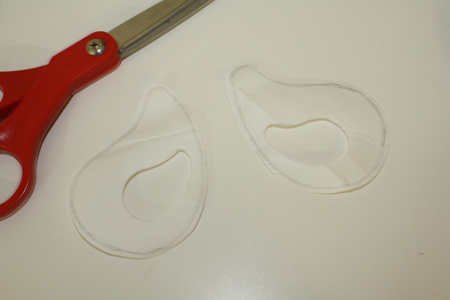
11) Cut the eye pieces out of the HeatNBond, cutting 1/8 inch out from the pencil line, and cutting out the eye holes in the middle.
12) Lay a piece of black fleece on the ironing board, right side down, and place two HeatNBond eye pieces on top of it, textured side down. Iron briefly so they stick to the fleece.
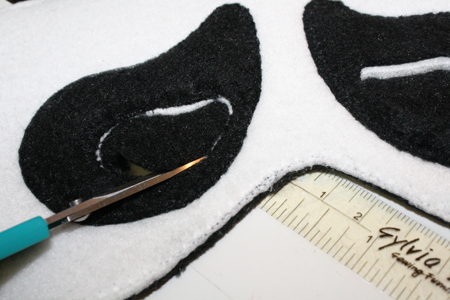
13) Cut out the eye holes from each eye piece.
14) Peel the papery layer of HeatNBond away, and put the eye pieces in place on top of the white side of the panda mask, matching up the eye holes in each layer.
15) Lay the pressing cloth down on top of the fleece and iron until the eye patches are fused to the rest of the mask.
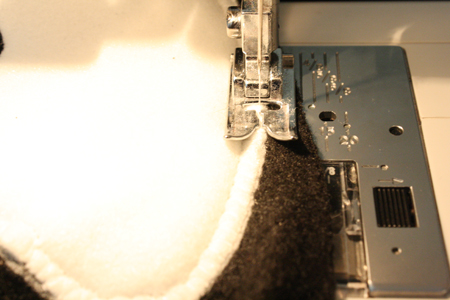
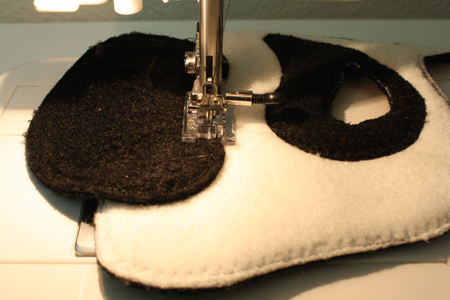
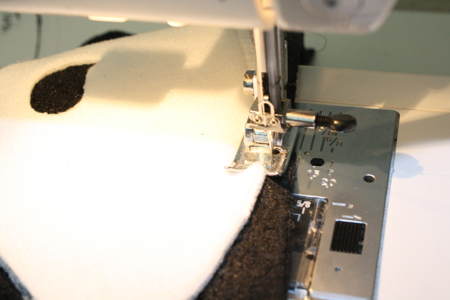
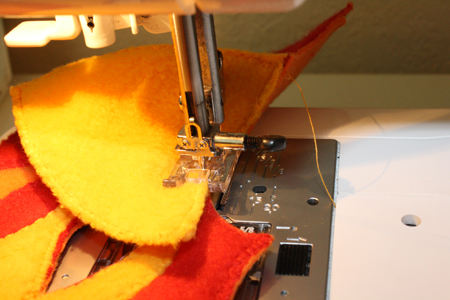
16) Head to your sewing machine. Thread it with white thread (or, if you wish to be particular, use white thread on top and black for the bobbin). Set your machine to a nice back-and-forth stitch. A zigzag stitch will work, but you may want to look for something that will be a bit prettier. Set it to a medium width, and a fairly small length – something just above buttonhole length worked well for me. You may need to experiment on a bit of scrap fleece to find just the right settings. Basically, you need a stitch that goes back and forth horizontally, and is quite tight vertically.
17) With the white fleece facing up, sew around the very very edge of the mask. Once you’ve gone all the way around, go around again with a simple straight stitch, right along the edge again.
18) Using your fabric scissors, cut carefully around the edge of the mask, just outside the stitches. You should now have a mask with a white front and black back.
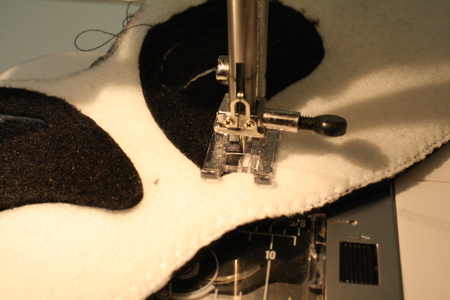
19) Change the top thread in your machine to black. Using the same stitch you used in step 16, sew around the edges of the eye piece, and around the edges of the eye hole.*
*I didn’t do this, but in retrospect it might be wise to cut out the back layer of the eye hole before stitching around the hole’s edges. Otherwise you’re stitching around black on black, and it’s very hard to see where the edge is. If you don’t go this route, you’ll want to cut out the back layer of the eye hole once you’ve stitched around it.
20) Set the mask aside, go back to your template, and trace the teardrop onto a bit of HeatNBond and cut out the shape. Following the same step as for the eye pieces, iron it onto a piece of blue fleece, cut the teardrop out of the fleece, then peel off the HeatNBond backing and iron the teardrop to the mask. Put blue thread in your machine and sew the teardrop onto the mask using the back and forth stitch you chose in step 16.

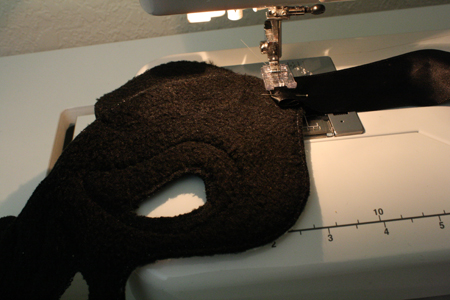
21) To make the ears, do the same thing you did to create the basic mask: Trace two ear shapes onto the HeatNBond and cut them out. Place the HeatNBond onto a piece of black fleece, iron it in place and cut out the ear shapes. Peel off the white layer of the HeatNBond, place the ears onto another piece of black fleece and iron them in place, using the pressing cloth to protect the fleece. Then sew around the very outside edges of the ears using your back and forth stitch, and again using a straight stitch. Cut around the outside of the stitching, so you have two double-layered ear shapes.
22) Pin the ears in place and sew around the bottom edge of the ears, using black thread. A simple straight stitch is fine for this.
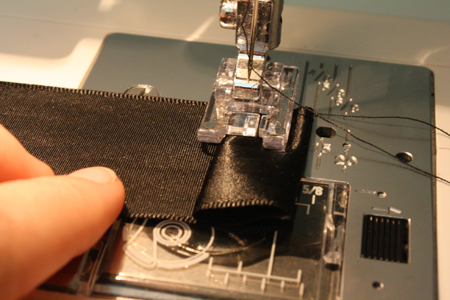
23) Cut your length of ribbon in half. You’ll want two pieces long enough to go from your ears to the back of your head and tie easily in a bow. Fold one end of each piece over twice, hiding the raw edge, and sew it down.
24) Put white thread in the bobbin and black or white thread in the top of your machine. Fold the still-raw edge of one piece of ribbon over, and place it down on top of one corner of your mask, with the back of the mask facing up. Sew the ribbon in place. Repeat with the other piece of ribbon on the other side of the mask.
25) Pout. Life is sad.*
*Actually life is pretty damn awesome when you can parade around in a sad panda mask, but keep pouting. Perhaps people will offer you hugs and chocolate.
————————————————————
Other tips and tricks
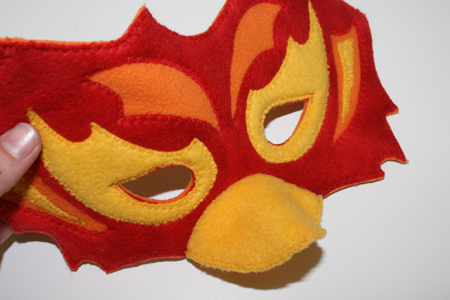
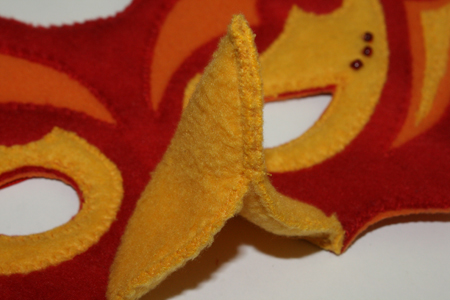
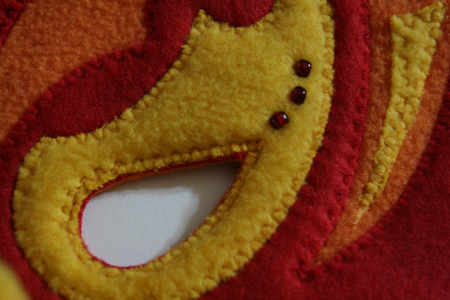
To create a beak (as with the phoenix), you’ll create a double-layered triangle (the same way you created the panda’s ears), where one side of the triangle is as long as the area of the mask that curves over your nose. Then you’ll pin the edge of the triangle along that curved nose area and sew it in place.
To make the beak more pointed, pin the bottom edges together and sew along them for an inch or two.
You can also add beads or sequins or feathers or bits of ribbon or whatever else you can think of to the mask for added detail.
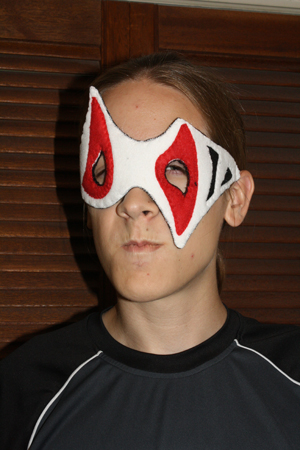
My brother came up with this fun a-symmetrical mask that can almost be worn either way up. Actually, fun isn’t quite the word. Freaky in a Sam Raimi meets hockey masks kind of way is more like it.
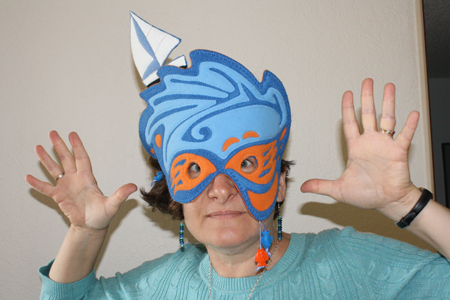
My mom designed another a-symmetrical mask, just going for fun and frill and choosing her colours based on which fleece colours I had the most of. She ultimately decided that it was a sea goddess sort of a mask, and added some colourful plastic fish beads dangling from one side, and a sailboat gliding along the top. Pretty funky. I told her she’ll have to host some kind of under-the-sea party now.
