Canada is a hipster nation. Before the Pilgrims went to Plymouth rock and got all famous and stuff, they ran aground on Newfoundland. Yup, we had the Pilgrims before the Pilgrims were cool. Anyway, they tried to make a go of it in good old Newfoundland, but it was way too damn cold and there weren’t enough friendly corn-wielding natives around to help them out, so they gave it up for a bad job and went south just far enough that only half their toes froze off during their first winter. And this is why we Canadians celebrate Thanksgiving in early October (which is way too damn early if you ask me, but I appear to be the only person in the entire country who thinks so).*
None of that is actually in the least bit true (though neither was some of the stuff we did learn in American history class) but it’s more interesting than the presumably true explanation, which is that our harvest comes earlier because we’re further north, and thus we celebrate Thanksgiving much earlier than our American neighbours.
Or maybe it has something to do with the fact that Canada isn’t a free country, which is what an American customs and immigration officer told me last week when I went down to the States to see my parents. But don’t let’s get started on that sad tale.
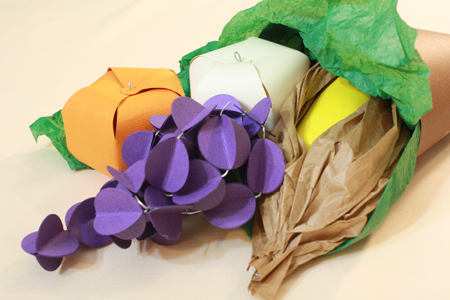
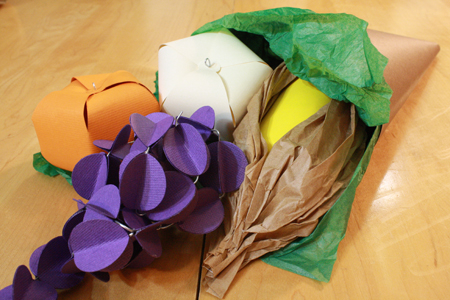
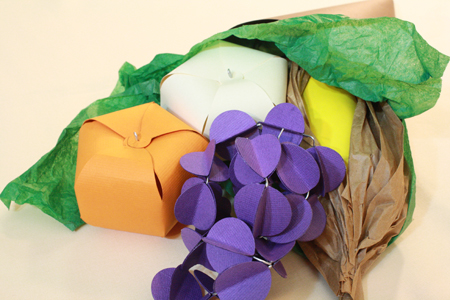
In celebration of Thanksgiving (which is this coming Monday in our fair Kanuckistan), today’s tutorial is on how to make a paper cornucopia, a lovely centrepiece for your turkey-laden feast table. For all you Americans, this can be an opportunity to get a head start on Thanksgiving decorating, so you’ll be ready when your own bountiful celebration rolls around, and won’t have to spend any extra time away from the football game. Really, it’s an appropriate bit of decoration for the whole autumn season in general. And it helps keep us all from putting Christmas decorations out right after Halloween, which I personally feel should be a ticketable offence.
*Personal background: I’m a Canadian who grew up in the States and has since moved back north, hence being used to a November Thanksgiving and being subjected to at least four American history classes during my primary education. That said, Canadian history is deathly dull by comparison – so much less war and violent drama, you see – so at least I didn’t have to sit through that multiple times. Pemmican is a great idea, but it loses its thrill in a real hurry.
——————————————————
What you’ll need:
- paper – The colours I used were orange, purple, off-white, yellow and brown. Add red if you wish to include apples, and green for green grapes or acorn squash.
- glue – white glue or superglue is recommended
- paper scissors
- pen or pencil
- small circle punch
- 1-2 small brown paper bags
- 1 empty toilet paper tube
- tape
- large sewing needle
- wire
- needle nosed pliers with wire cutting edge
- [optional] tissue paper
- paper pumpkin template
——————————————————
Making the components:
———-
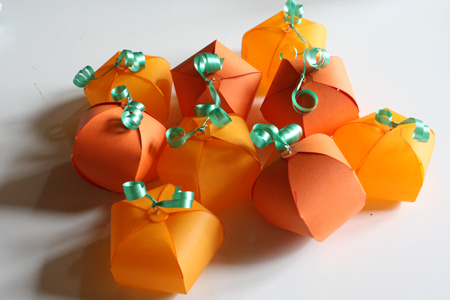
PUMPKINS & GOURDS
To make the mini pumpkins and gourds, head back in time to this tutorial from last fall. You can use this same tutorial to create paper apples, just use red or green paper instead, and perhaps cut and glue a little leaf on the top.
———-
GRAPES
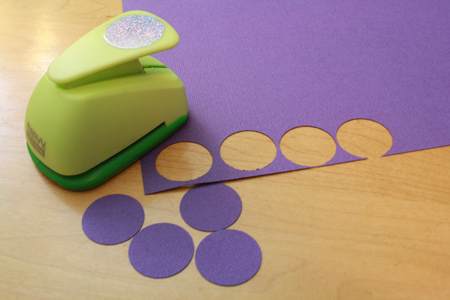
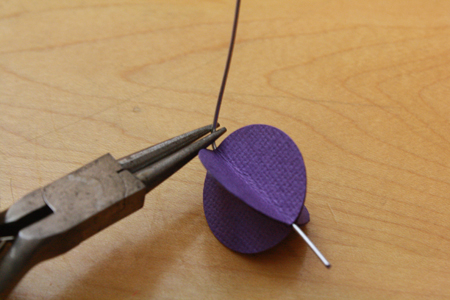
1) Use your circle punch to make four circles from purple (or green) paper.
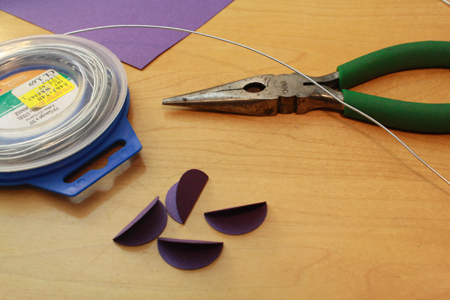
2) Fold the circles in half.
3) Cut a long piece of wire – probably at least a foot long, and longer than that wouldn’t hurt.
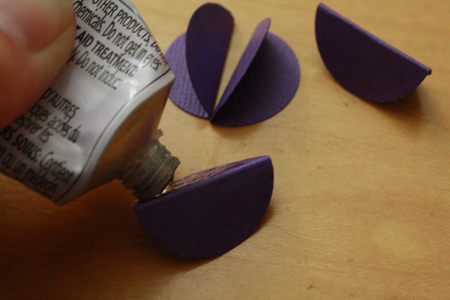
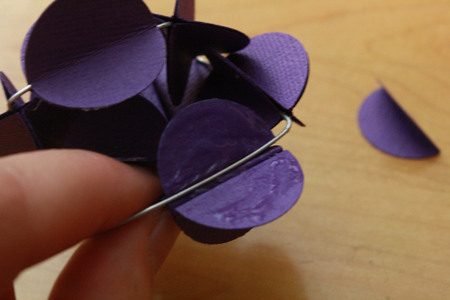
4) Glue two halves of two circles together. I used superglue for this, because it holds well and it dries fast, and I’m impatient. White glue would also work, though it will take much longer to dry. A glue stick is probably not strong enough for this.
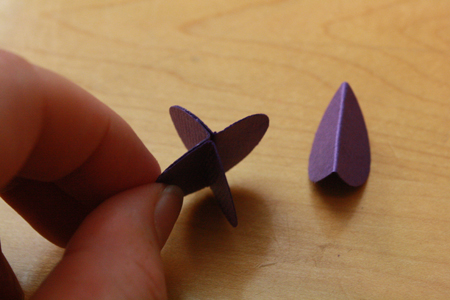
5) Glue the third circle to the other two.
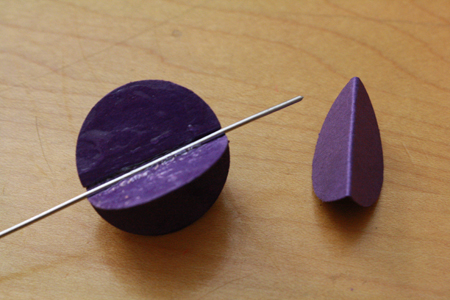
6) Apply a decent amount of glue to the open halves of the circle, and down the middle area. Then lay one end of the wire along the middle of the circles.
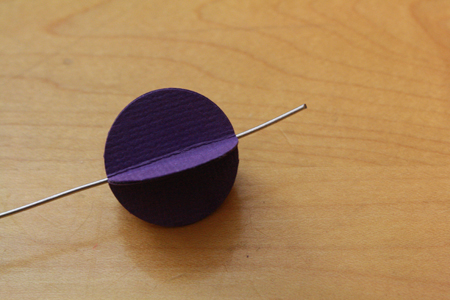
7) Lay the fourth circle on top of the other circles and the wire, finishing off the sphere.
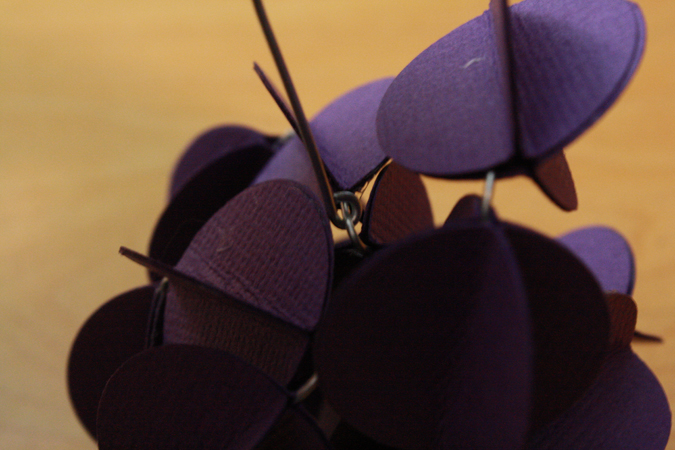
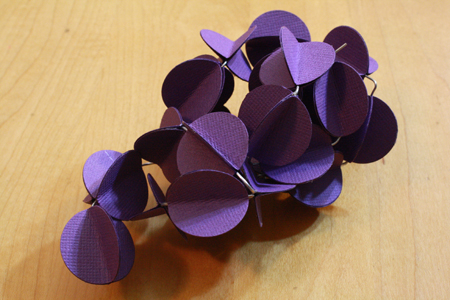
8) Use your needlenosed pliers to bend the wire at an angle where it comes out the bottom of the globe. Then attach another globe, and bend the wire again, going here there and everywhere to create a 3-dimensional bunch of grapes.
If you run out of wire before you have the shape or volume of grapes that you want, you can add more wire on by making a little loop and attaching it between two grapes, then just continue adding more grapes until you have enough.
———-
CORN
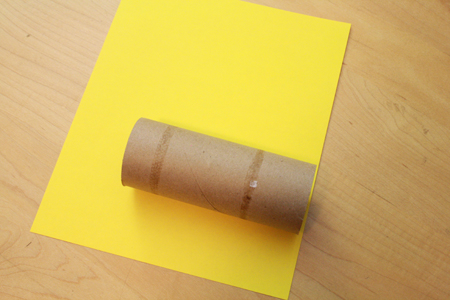
1) Get your toilet paper tube, and cut a piece of yellow paper about two inches longer than the tube.
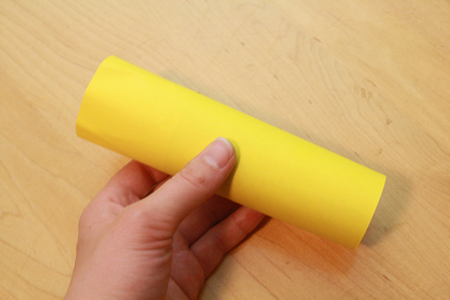
2) Wrap the paper around the tube, gluing or taping it in place. One end of the tube should match up with the edge of the paper, while the paper extends a couple inches past the other end of the tube.
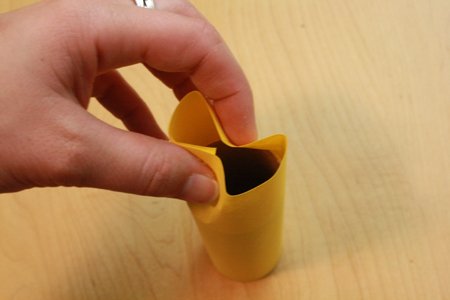
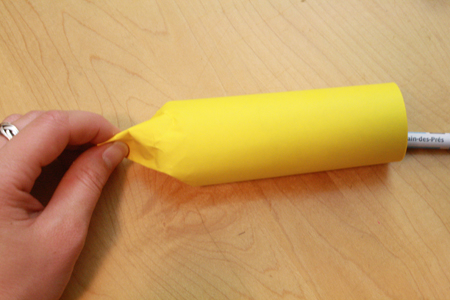
3) At the end where the paper extends past the tube, pinch two sides of the paper inwards, then flatten the unpinched sides together.
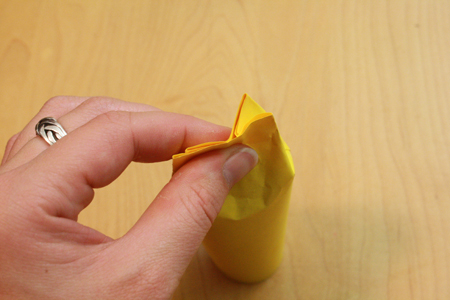
4) Fold and glue the two sides of this flattened end together. Hold tightly (or secure with a strong paperclip) until the glue is dry. You might also want to use a pen or chopstick to poke the paper outwards in front, so it’s smoother and not so crumpled.
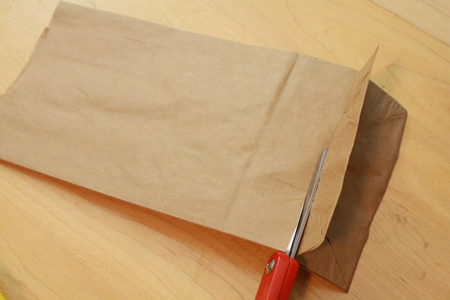
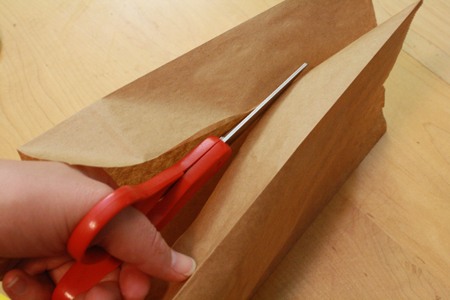
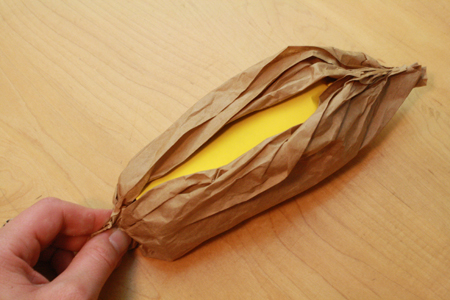
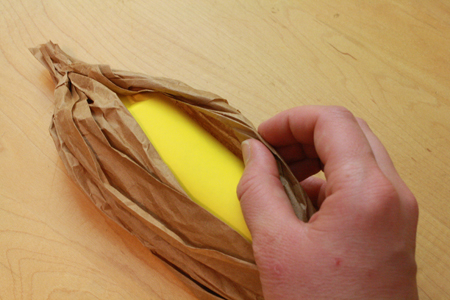
5) Cut the end off of a small brown paper bag. Then cut the bag open along one side. Lay the resulting rectangle of paper out flat.
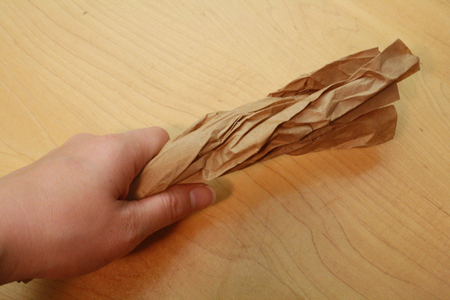
6) Crumple up the paper from side to side, then twist it back and forth a bit.
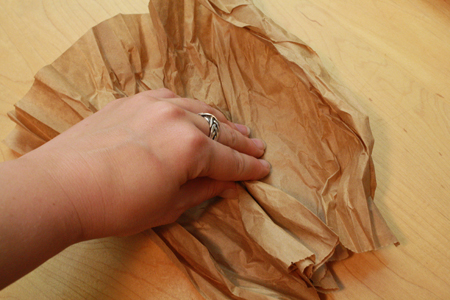
7) Open up the paper again, but crumple it together a bit in the middle.
8) Lay the toilet paper tube in the middle of the paper. You can glue it in place if you want, though I didn’t bother. Crumple up one end of the paper back around an end of the toilet paper tube, and dab glue in various spots to get it to stay in place. Do the same thing at the other end. Then just use your fingers (and glue as needed) to shape the bag around the toilet paper tube so it looks like an ear of corn.
———-
CORNUCOPIA
There are two simple ways to do this. The first uses a small paper bag, and the second uses a sheet of brown paper and some tape.
For the bag method:
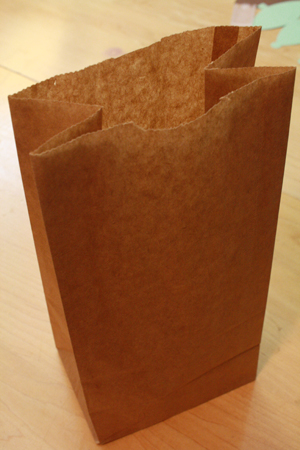
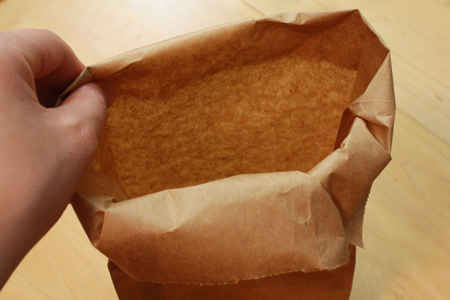
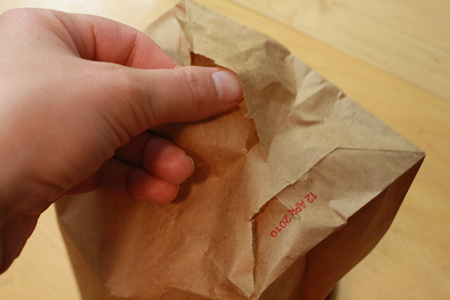
1) Open up a small paper bag.
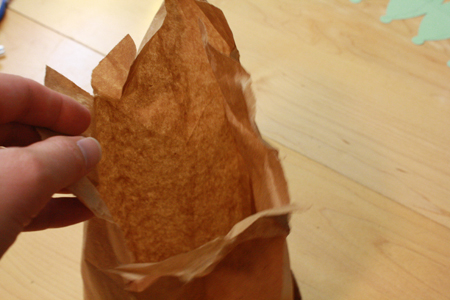
2) Fold the top of the bag over once, then a second time, forming a rim.
3) Carefully tear open the bottom end of the bag.
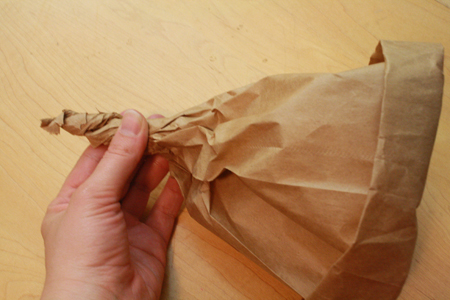
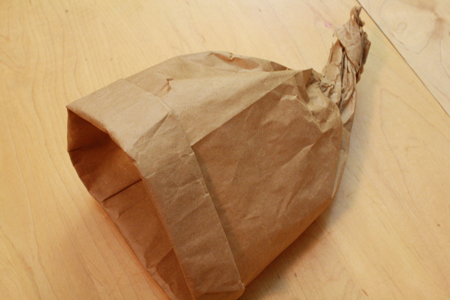
4) Twist the back end of the back together tightly and hold it for a moment till it mostly holds its shape on its own. Twist a little ways up the bag, and shape the opening so it’s rounded. You can also curl the “tail” of the cornucopia so it points a bit to the side, giving the whole thing a bit of curve.
For the paper method:
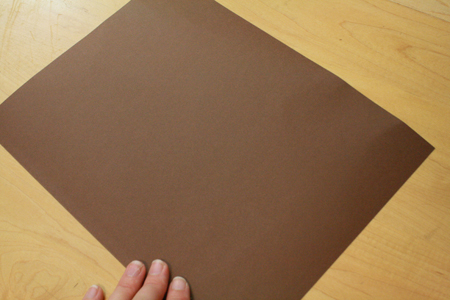
1) Start with a sheet of paper (I used an 8 1/2″ by 11″ piece of brown cardstock).
2) Cut 2-3 pieces of strong tape and have them ready to hand.
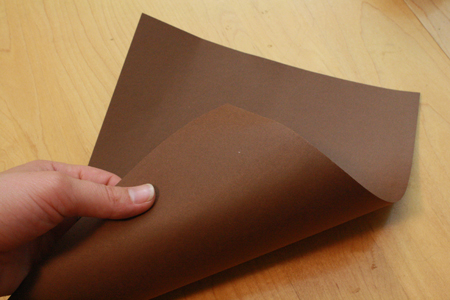
3) Pick up one corner of the paper and curl it towards the opposite corner.
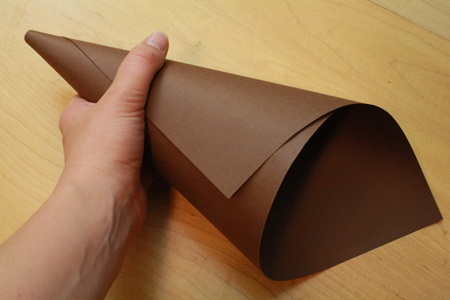
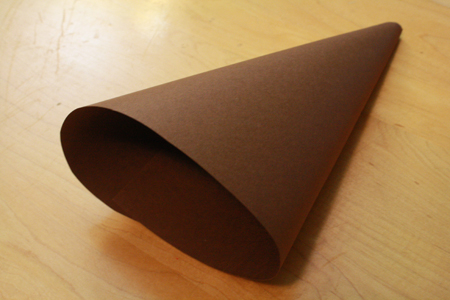
4) Keep curling, and as you go use one hand to hold one end of the paper together while forcing the other end apart, so that the paper forms a cone.
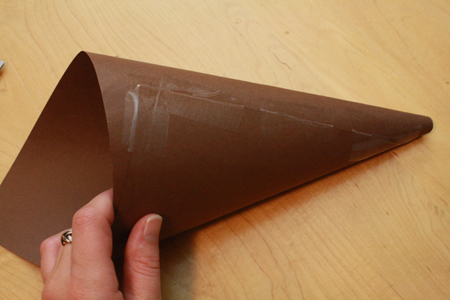
5) Tape the outside flap of paper in place so it holds the cone shape.
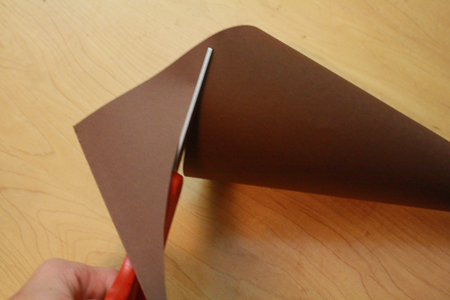
6) Use your scissors to cut the pointy end off the front of the cone and give it a more evenly rounded opening. (Profuse apologies for the horribly blurry photo!)
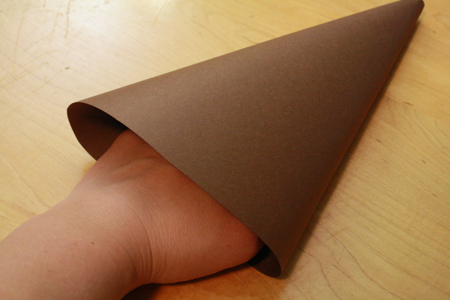
7) If you like, put one hand inside the cone and spread your fingers apart, flattening the cone a little so it will sit flat more easily without rolling.
———-
Putting it all together:
Now fill your cornucopia with all your little fruits and vegetables pouring out the front. I like to stuff some coloured tissue paper into the cornucopia first, then place the various harvest components.
Also note that, if desired, the little pumpkins (and even the corn) could be filled with treats, and thus given out after Thanksgiving as little after-dinner favours.

