Did you know that you can bleach paper? The same way you bleach fabric, in fact. This tutorial is a for-paper version of my lesson on making your own galaxy fabric, and it’s largely the same.
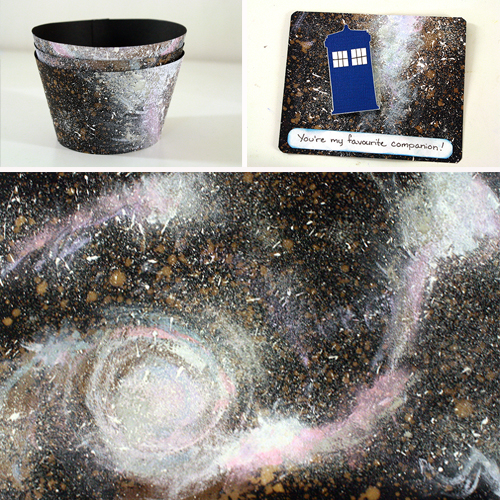
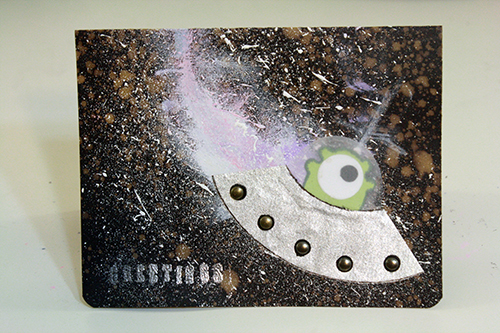
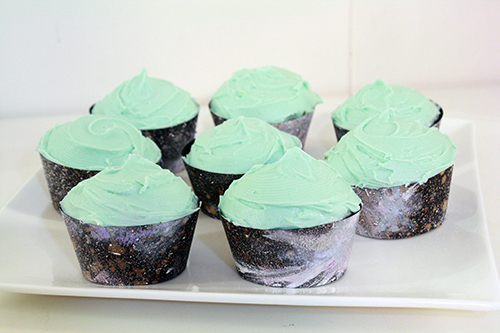
Beyond the fact that it’s just marvellously awesome, there are lots of great things you can do with galaxy paper. So far, I’ve made some sweet space themed cards, and some galactic wrappers to go on some Doctor Who themed cupcakes which were, frankly, pretty darn out of this world. Observe:
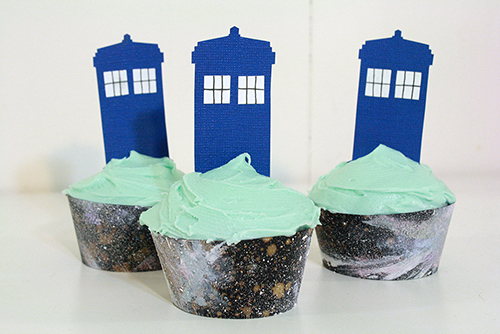
At the bottom of this week’s post, which will show you how to make your own galaxy paper, there’s a second tutorial, this one for how to make the cupcake liners out of your galaxy paper (or whatever other paper you want). Two tutorials at once! It’s because I love you all. Happy belated Valentine’s Day!
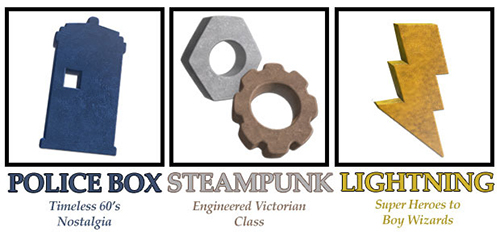
Now, cool as they are already, what would make these cupcakes truly magnificent is some teeny Tardis shaped sprinkles. Seriously, how awesome would that be? You can get some by backing my friend Tara’s (also known as the Geeky Hostess) Kickstarter. She’s also offering lighting bolt and Steampunk gear sprinkles. We’ve lined up a box, and I’m so stoked to use them!
Here’s what Tara is going to have made for the betterment of all our baking adventures once her Kickstarter is funded:
———————————————
What you’ll need
materials:
- black card stock
- bleach
- water
- acrylic or tempera paint – you definitely need white. I also suggest light blues, purples and/or pinks – at least one of these, maybe 2 or 3.
- small spray bottle (for bleach & water mixture)
- toothbrush (you will need a toothbrush for sure if you are not using spray-on fabric paint
- various old and/or cheap paint brushes (you won’t be treating them well)
- dropcloth OR some old newspapers or plastic bags
- paint pallette (or substitute a plastic yogurt tub lid or some other lid)
to make the cupcake wraps you will also need:
- cupcake wrappers template – number 20. under Paper patterns & templates
- pencil
- scissors
- glue
- binder/bull clips
———————————————
Putting it all together
1) Put a mixture of about 3/4 bleach and 1/4 water into a spray bottle. (If it’s not strong enough, you can always add more bleach later once you’ve tried it out and determined that it’s not strong enough.)
2) Lay your black card stock down flat in the bathtub. You should also be able to do this with lighter weight black paper, though it’s possible the bleach will run or bleed a bit more. And for making cards and cupcake liners and so on, you’re really best off going with card stock.
3) Spray the paper with the bleach and water mixture. Lightly. You can always add more bleach, but you can’t undo what you’ve already done. I do some light mists from further back, and a few close-up sprays of specific areas, to create heavily bleached blobs and patches here and there.
I, uh, forgot to take pictures of this. Because I’m dumb. And now, as I write this, I’m travelling and can’t go take pictures of more galaxy paper making, so I’ll have to insert pictures later. But this part is pretty simple and you should be fine without the photos.
4) Wait. Seriously, WAIT. At first it will probably look like nothing is happening. Get up, leave the room, do something else for 5 or 10 minutes, THEN come back and see where things are at and whether or not you want to add more bleach. Trust me on this one. You can always add more, but you can’t subtract what you’ve already sprayed. After 5-10 minutes, you can add more bleach if it’s desired/necessary.
I swear, the part where I actually did take photos is coming…
5) Let the bleached paper dry completely. Once it’s dry enough not to drip, you can move it from the bathtub (if you need the tub for other uses, like, say showering) or clothespin it up to dry entirely.
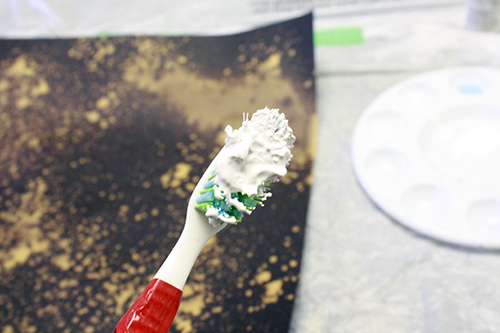
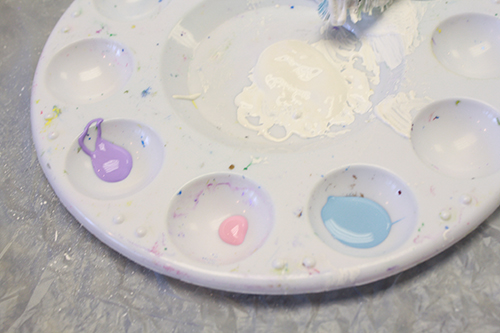
6) Next up, take your dry, bleached paper and get out your white paint (tempera or acrylic will work fine) and your pastel-y colours (light blue, purple and pink are good ones), your paint brushes and old toothbrush, and lay down a drop cloth or some newspapers or some plastic bags over your work surface.
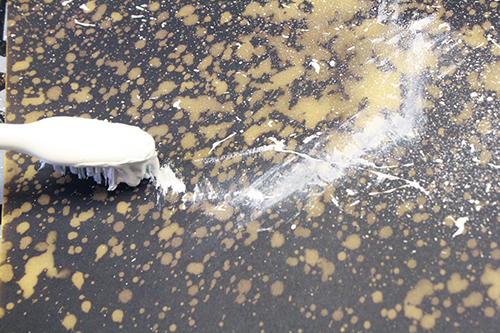
First, put a bunch of white paint on your pallette/plastic lid, and dip your old toothbrush in it. Hold the toothbrush over your paper, bristles facing down, and run your finger backwards over the bristles (so moving from the top of the bristles in towards you) to spray little dots of paint on the paper.
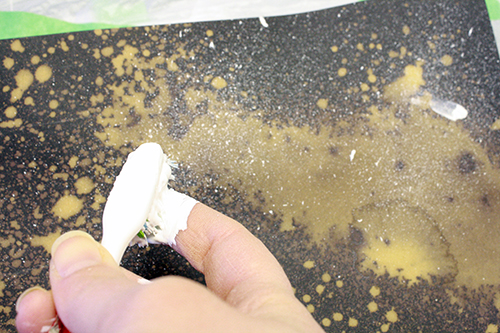
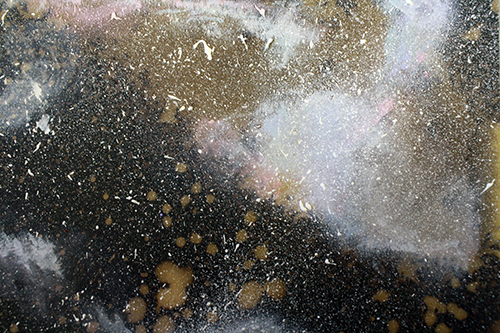
Do some areas of concentrated white paint, and some more spread out. One thing I’ve learned about galaxy-making, whether on fabric or paper, is you actually do want a bit of clear black space left in the end, to make it look more like space. This is especially true when you’ll be cutting smaller pieces out of the bigger sheet of paper or fabric.
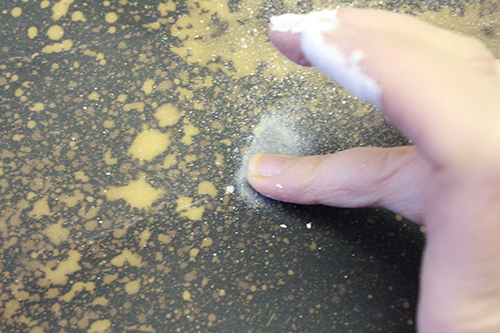
You can also do some smeary areas of white, and if you get any huge blobs of white paint on your paper, wipe them off with a finger, then smear the residual paint around a bit to create a sort of white cloudy area. Add a wee bit of water on top of the paint if you want, and rub it around. That will really give it a lightened, cloudy effect.

Also, maybe try wiggling the tip of the toothbrush along the paper with just a wee bit of paint on it, to make some interesting marks and patterns. Blur with a finger if desired.
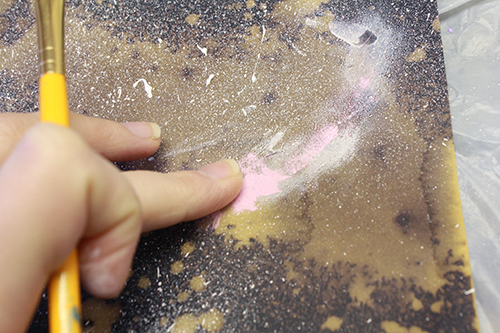
7) Once that’s done, take your paintbrushes and apply colour to various areas.
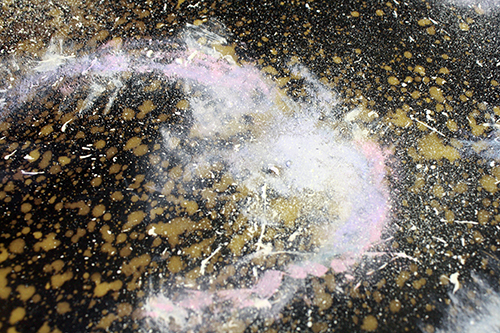
Ok, specific tips on this. One, you don’t need a lot of paint on your brush at any given time. Put just a little bit on and paint it onto your paper somewhere, then brush messily along the edges of that painted place to kind of give those edges a fading effect. Try spotting/dabbing your brush on top of the paper instead of doing actual brushstrokes. Try adding a little water with your brush or your finger to make a clouded, more easily fading effect. Do a few spots and dots of colour with your paintbrush. Experiment and see what works! You really can’t get outer space wrong, after all.

8) After you’ve put the colour on, give the paper another once-over of white paint spray with the toothbrush.
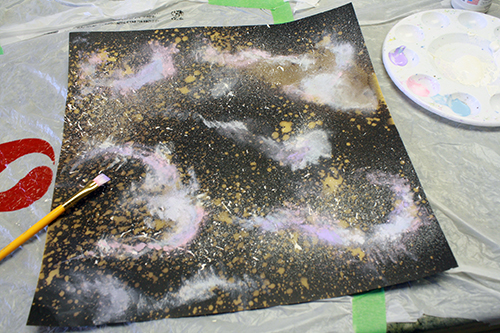

9) Let it all dry, then use your lovely galaxy paper to make cards and paper jewelry and ornaments and stuff!
And below are the specific instructions for cupcake liners, made with galaxy paper or any other paper, for that matter.
Making cupcake liners
1) Print out the cupcake liners template and cut the pieces out. Then trace them onto the back of your galaxy paper with a pencil. Yes, with a pencil. Believe me, on black paper graphite will show up better than anything else, unless you have a chalk pencil or a white coloured pencil.
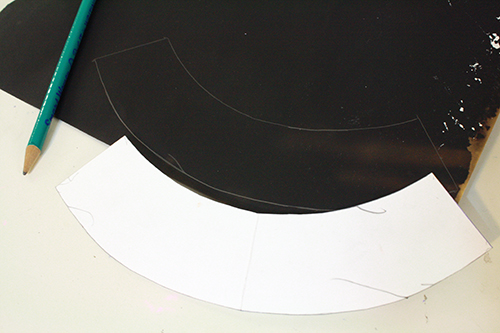
2) Cut the liner shapes out.

If you want to get fancy, you can use some specially-edged scrapbooking scissors to cut along the top (that’s the outward curving) line of the cupcake liners, so they’ll have a spiffy, special top edge.
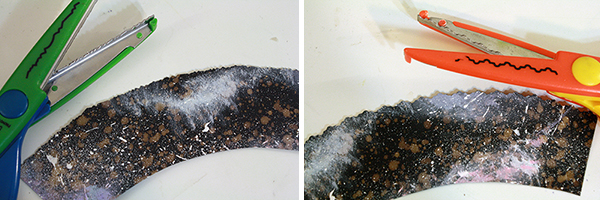
And if you made particularly small cupcakes and the liners are too tall, just trim them down a bit by cutting a little ways below that top (outward curving) edge, to make them shorter.
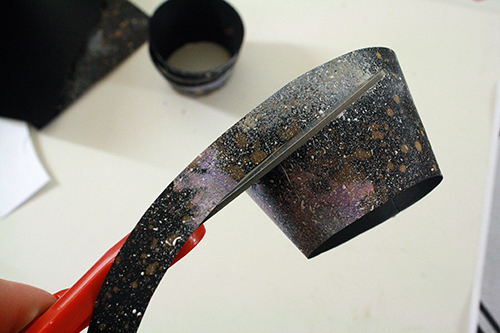
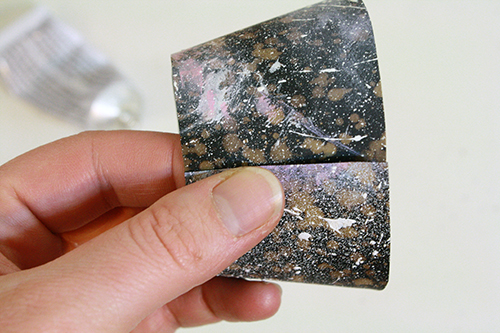
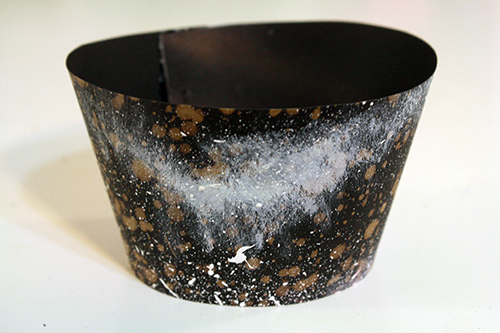
3) Apply glue to one end of the cupcake liner. Then wrap the liner around in a circle so the unglued edge overlaps the glued edge, and press down along that edge.

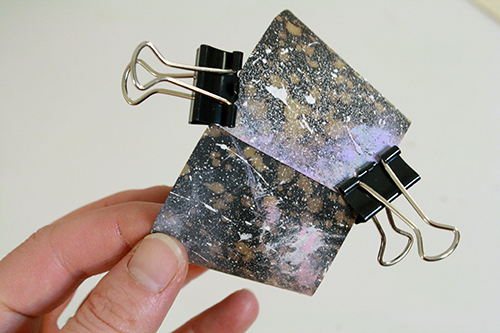
4) Hold the glued ends together with a couple of binder clips until the glue is dry.
5) Insert cupcakes! Enjoy!
Note: It depends on how tall your cupcakes are exactly compared to the liners, but I found it easier to frost the cupcakes before putting the liners on.
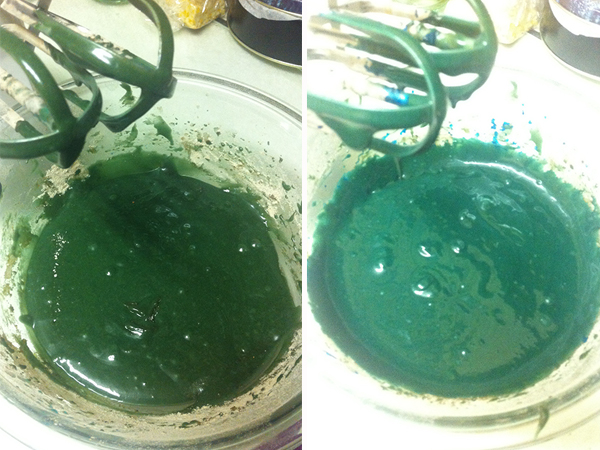
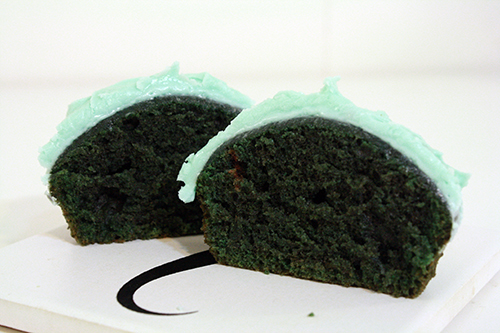
As a little side story, I discovered when making these cupcakes that red velvet cake batter does not like to be dyed blue. The cocoa in the batter combats the food colouring, and my batter turned a very murky, swampy, lagoon-monster green. I dumped a bunch more food colouring in, which made the batter slightly turquoise. And affected the taste – whoops. And then I didn’t have enough blue food colouring left to properly darken the icing, so it was a pastel blue, but the paper Tardis cutouts on top and the galaxy wrappers totally saved the day and made everything look good after all. (And a friend pointed out that they could just be rebranded Slitheen Green cupcakes instead of Tardis coloured cupcakes, which was a brilliant idea.) And, of course, some Tardis shaped sprinkles would really have been perfection. So obviously I’ll be making these again once our sprinkles arrive!