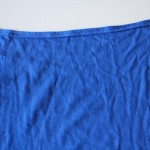
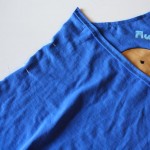
Welcome to the second in my series of posts on t-shirt modification. Wow, that sounds very scientific, doesn’t it? Like I’m a tenured professor at the front of a gaping auditorium, about to fill people’s minds with new and revolutionary theories on the alteration of the common t-shirt.
The common t-shirt is found throughout the world, sometimes plain and sometimes printed with colourful graphics and/or text. While a popular item of clothing in many cultures, it is frequently made without consideration for exhibiting the pleasing aesthetic of the female form. Today we will look at a second method of transforming these common articles of clothing, such that they will better flatter the curvaceous nature of the feminine figure.
What You’ll Need:
- a t-shirt at least one size too large for you, and with a few inches of extra length.
- fabric scissors
- straight pins
- a tape measure
- iron & ironing board
- thread matching the colour of your t-shirt
- a sewing machine (You could, theoretically, sew this by hand, but more patience and time, plus skillful hand sewing, is required. This is why they invented the sewing machine in the first place.)
- [optional] a seam ripper – you know, in case of mistakes. I use mine far more than I like to admit. It’s how you learn.
Putting it all Together:
1) You’ll need to take some measurements. Note: it is generally best to measure things like waist and hips without clothes on, to get a more accurate measurement. For bust measurements it’s best to wear a bra, since you will normally be wearing a bra under your clothing, so you need the clothing to accommodate this.
First, measure your bust. To do this, take the tape measure and place it around your back and breasts in a circle. Make sure it runs across the largest part of your bust. For all measurements, be sure to fit the tape measure snugly around the body parts you are measuring, but don’t tighten it enough to actually squeeze your body at all. And no sucking it in – you need accurate measurements for this to fit properly!
Next, measure your waist. This is not the place where your jeans waistband sits, but higher up – the narrowest part of your torso, the “in” bit of the female hourglass shape. Just above your bellybutton.
Now take these two measurements and cut each one in half, then add an inch and a half (for seam allowances). Write this number down. So for example, if your waist measurement is 28″, you’ll divide that by 2 for 14″, then add 1 1/2″, for a total of 15 1/2″. This is how wide the front and back of your shirt need to be at the waist. Do the same with your bust measurement.
2) Turn your t-shirt inside out and smooth it out so it’s completely flat.
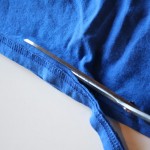
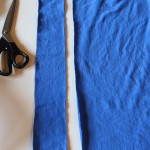
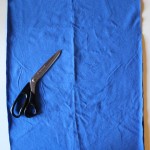
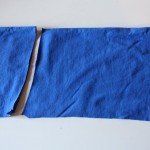
3) Cut the hem off the bottom of the shirt. Then cut a strip of fabric off the hemless bottom. The strip should be about 2 inches wide. Set it aside for use later on.
4) Cut off the arms by following the inside of the seam that attaches them to the body of the shirt.
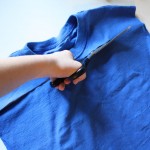
5) Cut a straight line from shoulder to shoulder across the top of the shirt (through both layers of fabric) just below the neckline.
6) Cut a rectangle through both layers of fabric, from top to bottom. The width of the rectangle should equal the final number you derived from your bust measurement. If there’s a graphic or any text on the front of the t-shirt you’ll want to make sure it’s centered.
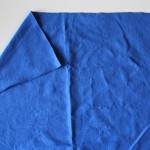
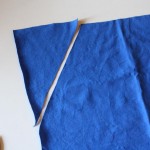
7) Measure the distance from your shoulder to your armpit. Fold one top corner of your shirt’s front inward. The distance from top to bottom of this fold should equal your shoulder to armpit measurement. Cut this triangle off.
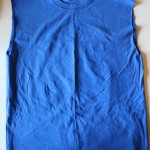
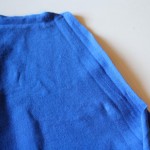
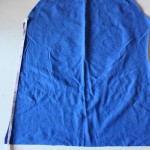
8) Fold the fabric in half and cut along the same line on the fabric’s other top corner. Now cut along this line again, curving it slightly inward this time. The two sides of your shirt front should now match, and should look about like this:
- 8b) Before continuing, measure the distance on the shirt’s front piece from the bottom of the arm hole to the bottom of the shirt. Write this measurement down.
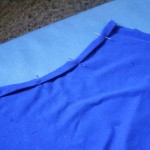
9) Along each of the curved arm hole lines, fold the fabric over to the inside and iron it down. Fold it over again and iron it down again, pinning as you go. Now fold the very top of the shirt down just once, and iron and pin it.
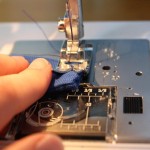
10) Sew along these folds. Set the shirt’s front piece aside for the moment.
11) Lay out the shirt’s back piece and refer to the measurement you got in step 8b. Mark that same distance from the bottom of the shirt. Make a mark where the measurement ends.
12) Fold the shirt back in half. Starting at the mark you made, cut a line that curves slightly downward from the outside edges to the middle.
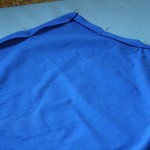
13) Fold this top edge of the shirt back over (to the inside) and iron it down. Fold it over again and iron it down again, pinning as you go. Now sew this hem in place.
14) Pin the shirt front and shirt back together (right sides together), matching up the sides and bottom. You will probably have a bit of overhang at the top of the shirt’s back. Leave this for now, and when you sew the front and back together just follow the line of the shirt’s front. Once you’ve made sure everything fits you can trim off this excess fabric.
Also, if you want the shirt to fit more snugly and flatter your figure better, cut a slight curve into the sides of the shirt, from armhole to shirt bottom, before pinning it. I recommend this – it makes the shirt look much nicer and more fitted.
Sew the sides of the front and back pieces together.
15) Try the shirt on and see if it’s fitting alright. You can bring the sides in more if necessary by sewing another line a bit further in along each side. If the back gapes open, put a couple little darts on either side where the back and front pieces match up at the top. If everything fits ok you can trim any excess fabric from the edges. Once you’re sure it fits properly, do a seam finish (zigzag stitch) along the sides.
16) Fold the bottom of the shirt up, towards the inside. Iron it down, pin it, and sew it. Now fold it over again, iron it, pin it, sew it in place. You sew this one twice instead of just folding it twice and sewing once, because it’s easier sewing it twice. You’ll find the t-shirt fabric down here wants to fold all over the place and go crazy, so it’s easier and far less aggravating to fold, iron, pin, sew and then repeat the process.
Important note: If your sewing machine has a stretch-stitch option, use this. It’ll enable your shirt’s hemline to stretch at least a little bit, making it easier to pull partially over your hips if you wish. Provides a bit of give.
17) Take the piece of fabric you cut from the bottom of the shirt in step 3. It should be a big loop, so cut across it at one point so it is a long strip of fabric. This will be the shirt’s neck tie. You have 2 options for how to do this – one is super easy and fast and the other is merely easy and not quite as fast.
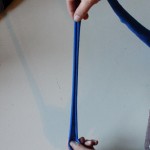
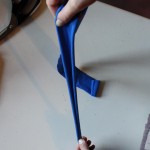
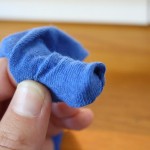
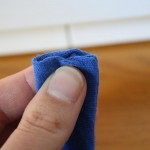
- Option 1: Hold the strip several inches from the end, with your other hand gripping the end of the strip. Pull. The fabric will curl up and form a narrow tube. Pull it tight all along the length of the strip so you have a long tube of fabric. Tie a knot at either end.
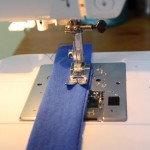
- Option 2: Fold the strip in half and sew the two open edges together. Turn the whole strip inside out so the raw edges are hidden. Fold the raw edges and either end inward and stitch them closed.
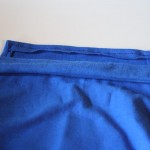
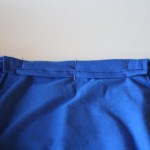
18) Center your neck tie about 1/2″ to 1″ below the shirt’s neckline. Fold the neckline over the tie and sew it down. You do not want to sew over the tie itself, as it needs to be loose and free moving in order to work.
Now try it all on and make sure it fits. This is a simple, comfortable summer top that can be made from a t-shirt or from any fabric you have lying around (but it’s best to use something with a bit of stretch).
DO YOU LOVE THE “AW MUFFIN” T-SHIRT? You can get your own from my pals over at LoadingReadyRun. And since they’ve run out of the girl-style shirts, you can then try out one of my t-shirt modification tutorials! Gee, doesn’t that all sound like tons of fun?!


