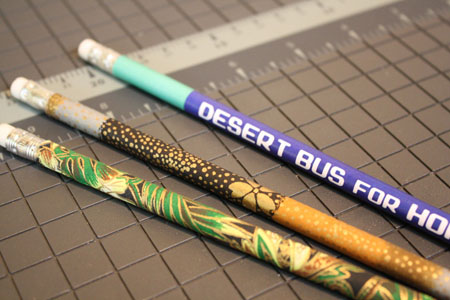
It’s Friday, and we’re all waiting for 6pm PST, when the 4th annual Desert Bus for Hope begins. While you’re waiting, why not think back to a different age, when chunks of graphite embedded in bits of wood were used to note down thoughts, ideas, messages and more. An age when writing devices came in every colour and pattern imaginable, instead of just black or white with an apple on the back.
This blog post explains the very simple process of customizing pencils. You could give them as a nostalgic Christmas present, use them to jot down ideas for challenges during this year’s Desert Bus or perhaps write a letter of love and adoration to Rosco P. Jangles IV, Desert Bus mascot and the most awesome duck in the universe.
And if you’re not planning to tune in to Desert Bus, or don’t know about it yet, let me quickly fix that. Starting tomorrow, sketch comedy group LoadingReadyRun and friends will do an online video game marathon to raise money for the Seattle based charity Child’s Play, which donates toys and games to children’s hospitals worldwide. Basically, we’ll sit in front of a camera 24/7 and play a mind-numbingly dull video game while singing, dancing and generally embarrassing ourselves for your amusement and the benefit of sick children. And the more money you donate, the longer we have to keep doing it. There will also be items up for auction (both live and silent), many of which are amazing handcrafted items from artists and crafters around the world. It’s like our own special Etsy. Plus we have tons of cool prizes to give away. So tune in at www.desertbus.org to share in the madness.
In the meantime: pencils.
What you’ll need:
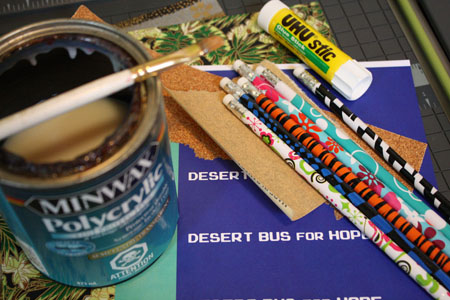
- pencils (They can have writing or colours or whatever on them. Don’t waste time trying to find totally blank ones – it’s nearly impossible.)
- aesthetically pleasing and lightweight paper OR your own designs printed out on normal computer paper
- sandpaper
- a good gluestick
- a paper cutter OR scissors and a ruler
- varnish
- small paintbrush
Putting it all together:
1) First you need to remove the decorative paper already on the pencils. This is easily accomplished with a bit of medium-rough sandpaper.
2) Next cut strips of paper about 1″ to 1 1/2″ wide, and slightly longer than your pencils (standard pencils are about 7″). If you’re designing your own pencil pictures and printing them out, make sure they fit into these dimensions.
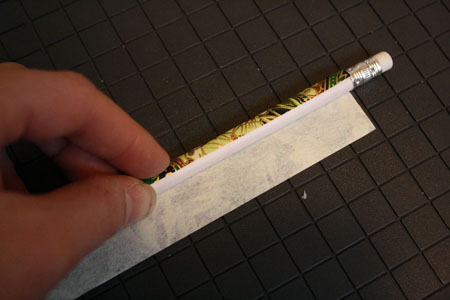
3) Glue the strips of paper to your pencils. Start by gluing down one edge, perfectly straight and with its top edge bumped up against the metal of the pencil’s eraser holder.
Curl the paper smoothly around the whole pencil, then add more glue to the remaining long edge and glue it down, pressing it firmly and completely flat.
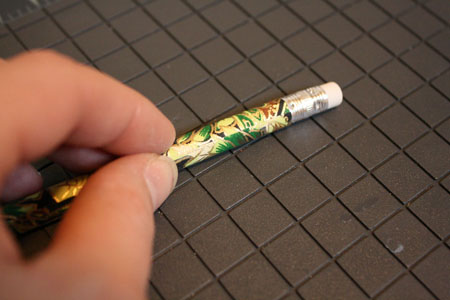
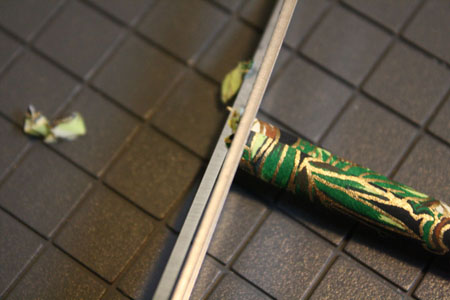
4) Once your pencil is completely papered, use your scissors to trim the paper down to the pencil’s end.
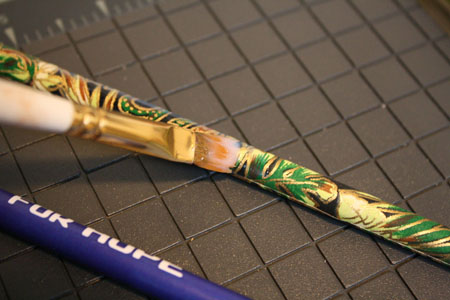
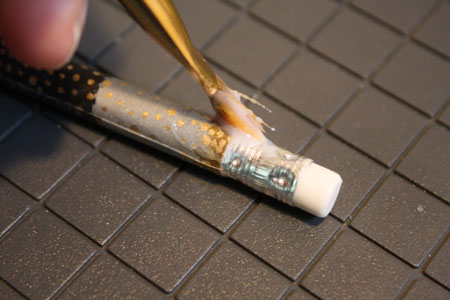
5) Using a small paintbrush, varnish each pencil thoroughly. Make sure to paint up and over the metal edge of the eraser fastener.
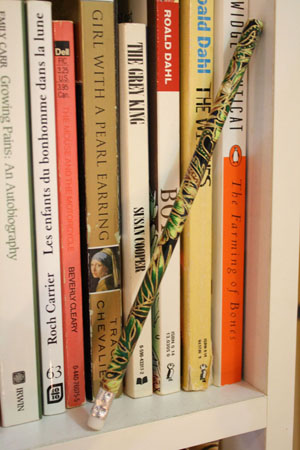
6) Let the pencils dry. The best method I found for this is leaning them at an angle (eraser down) against the wall of a bookshelf.
7) When the varnish is reasonably dry, apply a second coat and let the pencils dry overnight. Do not sharpen them until they’ve dried overnight or longer, or the varnish will still be tacky and will get mucked up.
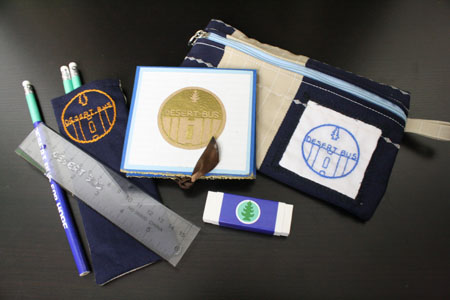
Now watch Desert Bus for a chance to win these very pencils and an entire Desert Bus pencil set, as well as a ton of other awesome stuff. Woot!

