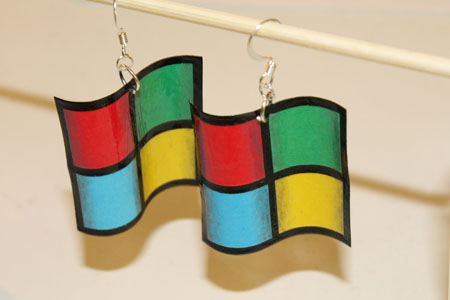
When your boyfriend works as a professional videographer and writer of silly/funny web videos, you sometimes get interesting phone calls. Yesterday’s went something like:
Me: Hello?
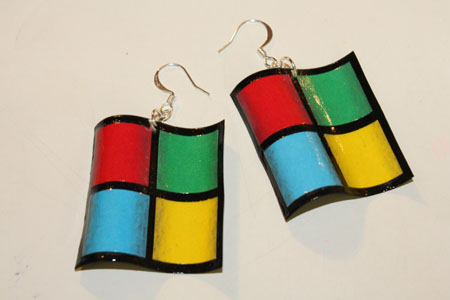
B/f: Hey sweetie, listen, do you think when you get home tonight you could make a pair of earrings that look like the Windows logo? We need them for that video we’re filming tomorrow.
Me: Um. Yes? Maybe? Well I can try. (Thinking: I so do not have time for this, like, at all right now, but I’m completely incapable of saying no to new crafting projects and/or people needing my skills. Damn!)
Actually, the conversation didn’t go much like that at all, but the overall gist was sort of along those lines.
I agreed to the project, and decided to make the earrings out of paper. I was all trying to think of way to make the earrings look 3D, since the Windows logo has that curvy aspect. Then my friend and coworker (and an all-round brilliantly talented & creative sort – go visit her craftsy blog too) Rebekkah had the genius idea of actually making them 3D. Brilliant!
I’ll just note here that I don’t actually like Windows. In fact, I pretty much hate it. But one person’s hated piece of office equipment is another person’s home computer, so what do I know? Being a Mac girl, I spend ludicrous amounts of money on my hardware, so my thought process may be intrinsically flawed to start with – who knows? Also, I will give Windows this: their bright and colourful logo is much more satisfying to do artsy stuff with than, say, the Apple logo, which lacks any colour whatsoever. So there’s that.
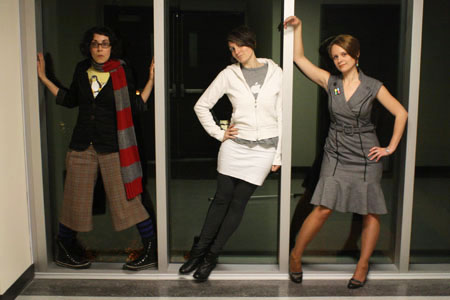
[Edit: It’s several weeks later and the video has now gone up, so here it is, a music video for the song Every OS Sucks, written by Wes Borg of Three Dead Trolls in a Baggie. The video features three operating systems personified by three women.]
Right, this is pretty super easy. Here’s how to make these earrings:
What you’ll need:
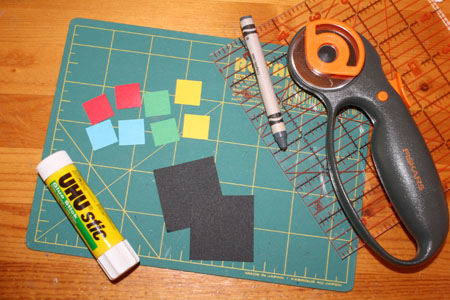
- paper in the following colours: black, blue, green, yellow and red (This should not be cardstock weight, but something lighter. Coloured computer paper is perfect.)
- ruler & scissors OR cutting mat w/ roller cutter & ruler
- round-bodied pencil (none of those octagonal pencils for this)
- glue stick
- gray crayon
- large sewing needle
- jewelry findings (jump rings and earring hooks)
- jewelry or needlenosed pliers
- small paintbrush
- sealant/varnish (As mentioned in previous posts, you can get this stuff in little 1 pint cans at the hardware store. It’s about $6 to $8, will last you ages as long as you don’t need to seal an entire deck and is incredibly useful for a vast variety of projects. Just be sure to buy the water-based stuff, as the oil-based is a bitch to clean out of brushes & anything else.)
Putting it all together:
1) Cut the following:
- 2 squares of black paper, 1 1/2 inches across
- 2 squares of blue paper, 5/8 inch across
- 2 squares of green paper, 5/8 inch across
- 2 squares of red paper, 5/8 inch across
- 2 squares of yellow paper, 5/8 inch across
Obviously you can change the measurements for larger or smaller earrings. These are just the numbers for the size of earrings I made.
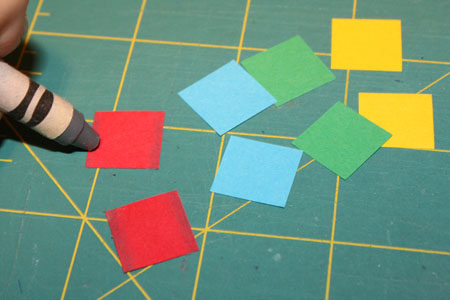
2) Take all your coloured squares and shade 2 opposite sides of each square with your gray crayon. Just a little bit of shading, to give the end product extra depth.
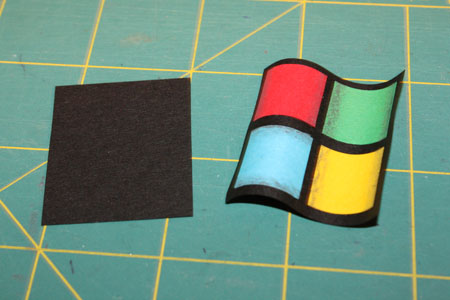
3) Glue 4 coloured squares on each larger black square. Make sure you put each colour in the right place! Top left = red, top right = green, bottom left = blue, bottom right = yellow.
4) Using a needle, poke a hole in the top middle of each earring.
5) Through these holes, attach 1 or 2 jump rings and an earring hook.
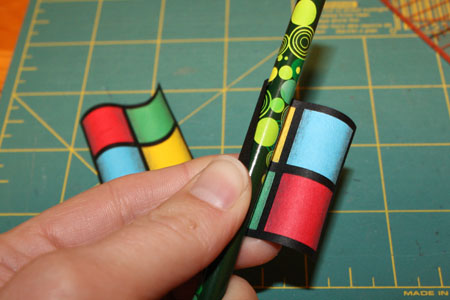
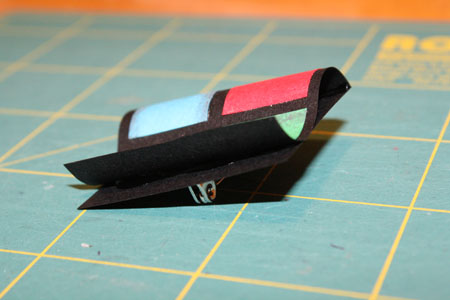
(As you can see from the photos, I did steps 5 and 6 in the opposite order. It doesn’t matter especially, but putting the findings in first keeps the curves of the paper from getting messed up.)
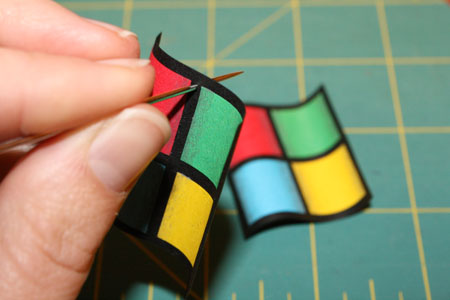
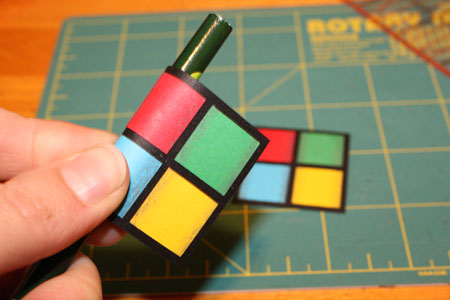
6) Roll each earring around your pencil. The red/blue edge of the earring should curve away from you, the green/yellow side should curl towards you.
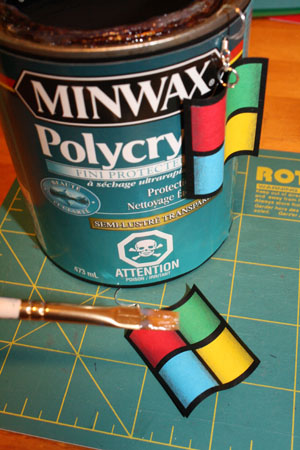
7) Paint the earrings with a light coat of varnish – front and back – and hang them to dry. (I usually hang them from a bamboo skewer balanced on two glasses. You could use a chopstick, a pencil, etc.)
Make sure that you don’t put too thick a single coat of varnish on at any point, or the paper may warp in undesired ways.
8) When the varnish is dry, roll the earrings around your pencil again to reinforce their curves. Then apply a second coat of varnish. You may want to repeat part or all of this step a third time – it’s up to you.
9) When the earrings are dry, wear them! I’ll link to the sure-to-be-awesome video these were made for once it is up online (probably in 2 or 3 weeks).
Note: You can also easily make a brooch instead of earrings. Just cut one of your 2 black squares a little narrower (so it’s actually a rectangle) and follow the steps to make just one earring, but without poking a hole in it. Superglue a pin back to the black rectangle, make the curves on your Windows logo piece, and superglue that to the black rectangle. Apply several coats of varnish to front and back.
————————————————————————————————————————–
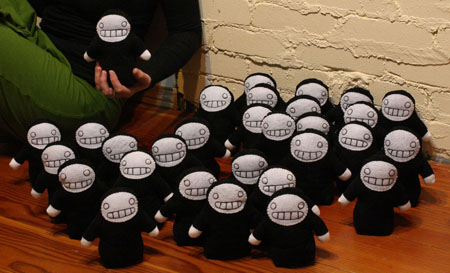
In other news, I’d like to share my pride and relief at having finished all 30 Creepy Dolls I was commissioned to make (see end of linked post). They were a lot of fun, but it sure is not my usual thing to make that many copies of the same exact item. It was probably good for me. I did learn a few things that will appear in future tutorials, and I’ve gotten extremely good at machine sewing very small circles. Must find a way to put this new skill to further use.
I’ll actually miss the dolls a bit; this ever-increasing horde lined our windowsills for several weeks, and now the front windows look bare. Though I’ve also lost the worrying sensation of being watched all the time…

