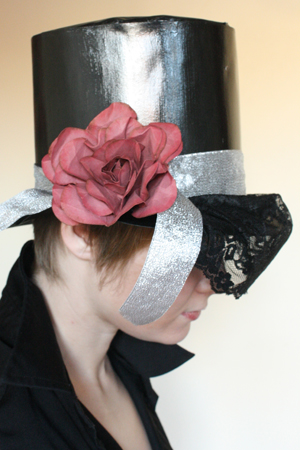
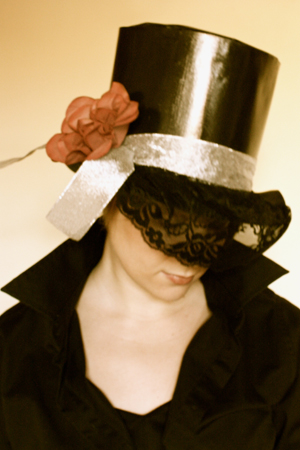
New Year’s Eve is more fun with a little snazz, and most of us have too many fancy dresses that get shown off far too infrequently. But how to distinguish yourself from all the other ladies in red satin or black chiffon? And how to do it for cheap, since the Christmas season is already one of too many bills?
Like the fedora, top hats are just plain sexy, and on pretty much anyone. They’re also bloody expensive, except for the tacky ones in the dollar store that are never quite the right shape. The solution is, of course, to make your own out of a relatively inexpensive material, such as paper. I keep saying that paper is an under-appreciated medium, and here I go saying it again. There’s no reason that a paper hat can’t be a marvelous and perfectly wearable costume piece.
With or without your satin gown or Italian silk suit, a simple paper top hat will be classy, fun and probably unlike what anyone else in the room is wearing. Here’s how you make one.
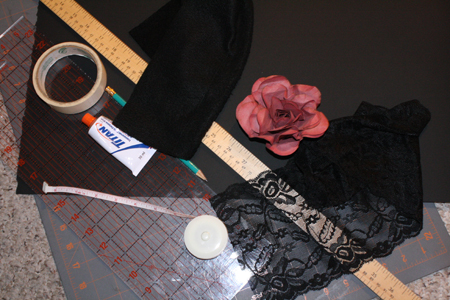
What you’ll need:
- black paper – ideally, you want something slightly less thick than posterboard, and slightly more flexible. Nice black paper from a good art supply store should do it, just make sure to get a big enough (like posterboard-sized) piece, and probably two such pieces. In a pinch, though, posterboard will work.
- yardstick
- measuring tape
- scissors
- pencil
- several large round objects (bowls, plates, box lids… whatever’s around the house and convenient)
- super glue
- duct tape or masking tape or packing tape – the colour doesn’t matter, as it won’t be visible in the end
- [optional] a narrow strip of black fleece (long enough to go around your head once)
- [optional] varnish and a paintbrush
- decorations – ribbon, lace, fabric or paper flowers, sequins, feathers… whatever you want to decorate your hat with
Putting it all together:
1) Use the measuring tape to measure the circumference of your head as exactly as possible. Remember this number or write it down.
2) Measure a rectangle of black paper that is 1 1/4 inches longer than the number you just came up with in step 1. It can be as wide as you wish (the width will be the height of the hat). I made mine about six inches wide. Cut out this rectangle.
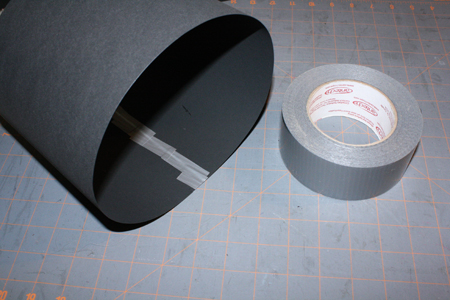
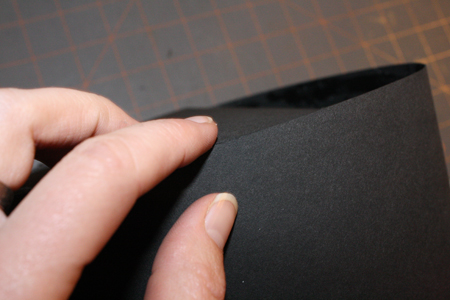
3) glue and tape (on the inside) the two short ends of the rectangle together, so it forms an open-ended tube. Overlap the two ends by about an inch, and make sure that it fits comfortably but not to tightly on your head. This is your hat’s main body, the part that sits over your head.
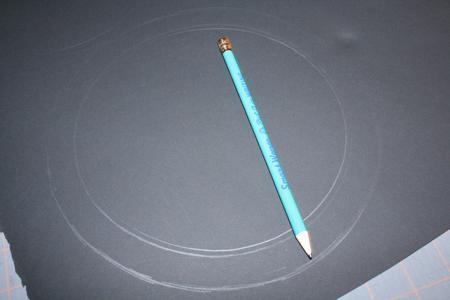
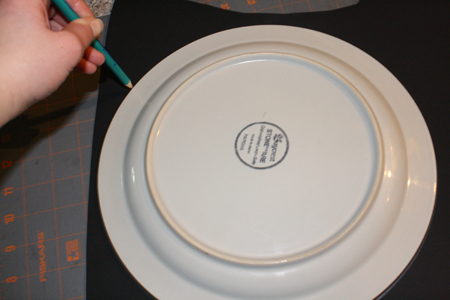
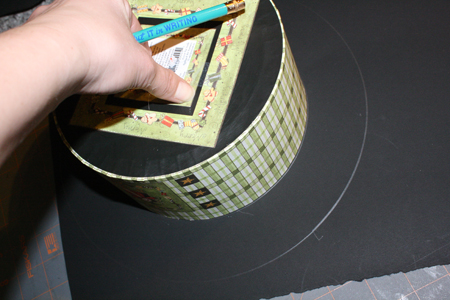
4) You now need to draw a circle on another piece of black paper that has the same circumference as your head. So if your head measurement was 23″ you will need a circle that is 23″ around, and you will need this to be as exact as possible. Use a compass to make a correctly-sized circle, or find and trace a bowl or plate that’s the right size. I happened to have a round box lid with the perfect circumference.
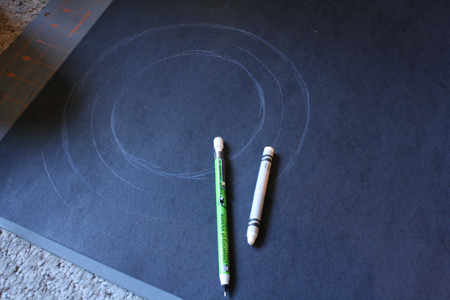
5) Sketch another, larger circle about an inch out from your first circle. This second circle does not have to be perfect, so you can just freehand it.
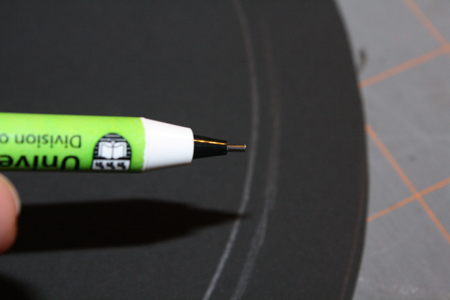
To make things easier in the next step, I suggest scoring the inner circle. Scoring means tracing a line with something sharp that will make an indentation, and make it easier to fold along that line. In order to not score too deeply and tear the paper, I simply trace the line with the end of a mechanical pencil, but with out any lead exposed, so I’m simply tracing the line with a small metal or plastic tip.
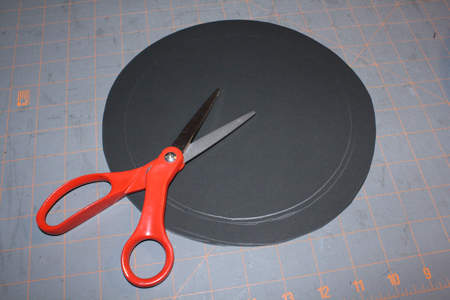
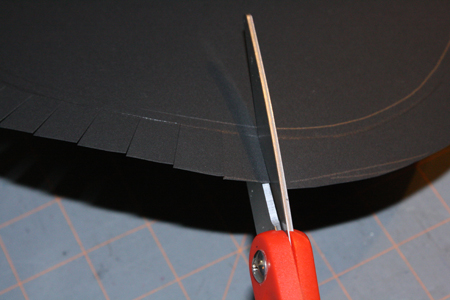
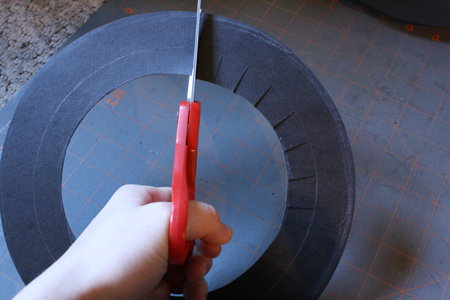
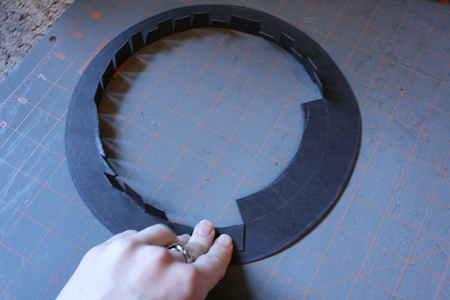
6) Cut out the larger circle. Then, cut little lines going from the outside edge to the line of the smaller circle, making tabs about 3/4″ wide all the way around.
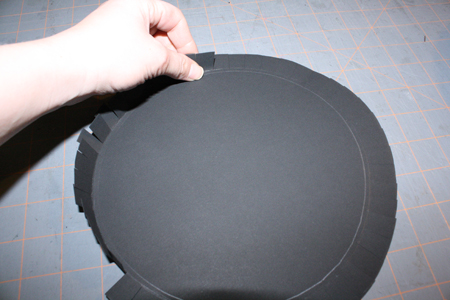
7) Fold these tabs up. This piece will be the top of your hat.
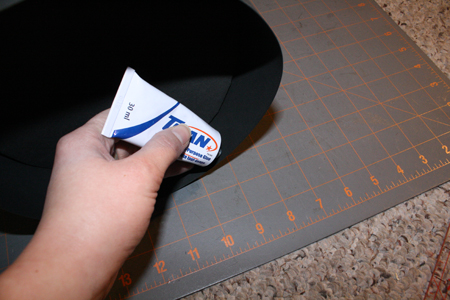
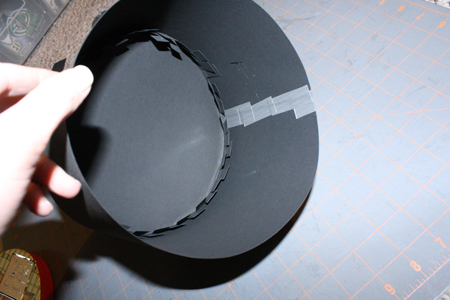
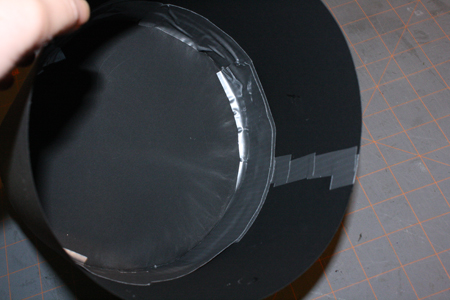
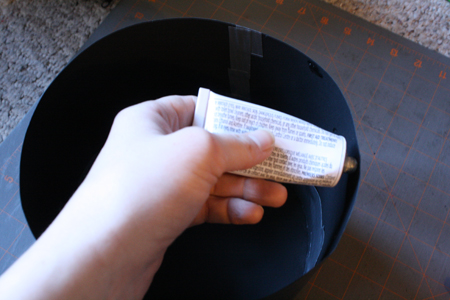
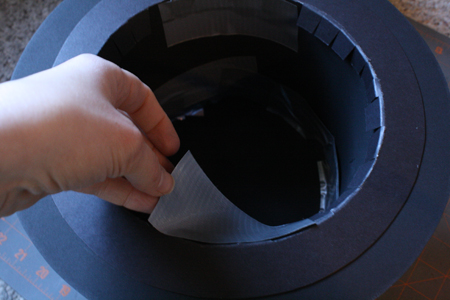
8) Ok, here’s where things get a bit finicky. Place the hat lid inside one end of the paper tube you made in step 3, tabs facing towards you and the edge of the tube. Make sure it fits perfectly, and make adjustments if necessary. Put glue around the inside edge of the other end of the tube. Then carefully push the hat lid to that end of the tube, using one hand on the inside to push up and one hand outside the hat to push down, so that the hat lid sits at the exact edge of the tube. Use tape to further secure the tabs inside the tube.
Set all this aside to dry.
9) Going back to your black paper, find a plate or circular object that’s several inches bigger around than your head measurement, and trace that object onto the paper.
10) In the exact center of this first, large circle, trace another circle the exact size as your head measurement (just like in step 4). I went back to that same round box lid I used in step 4, centering it as exactly as I could in the larger circle.
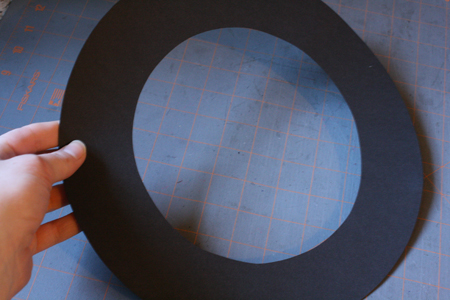
11) Cut out the larger circle, then cut the smaller circle out of its center, so you have a large paper ring. This will be the brim of your hat.
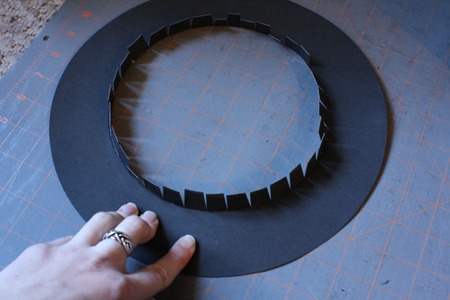
Fit the brim over the body of your hat to be sure that the body fits inside the brim exactly, with no gaps and no wrinkling. Adjust as necessary until it’s a perfect fit, then set the brim and body aside.
12) Trace yet another circle onto your black paper that is, again, the exact same size around as your head measurement (just as in step 4 and 10).
13) Freehand another, larger circle about an inch out from the edge of the first one. It doesn’t have to be perfect. Then freehand a third, smaller circle about an inch in from the edge of the first one. This circle also does not have to be perfect.
You’ll now have three circles, one inside the other. The middle circle is the one that matches your head measurement. Score along the line of that circle.
14) Cut along the edge of the largest, outermost circle. Then cut out the center, following the line of the smallest, innermost circle. Next, like in step 6, cut little lines all around the inside of this paper ring, going to the line of the center circle.
15) Fold these tabs up.
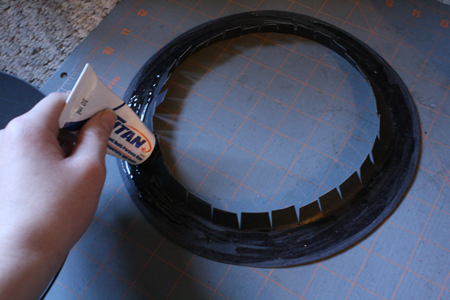
16) Put glue all along the other ring of this circle, up to where the tabs are. Then take the brim you made in step 11 and place it down over this other paper ring, so that the tabs stick up through the center of the brim. Let everything dry.
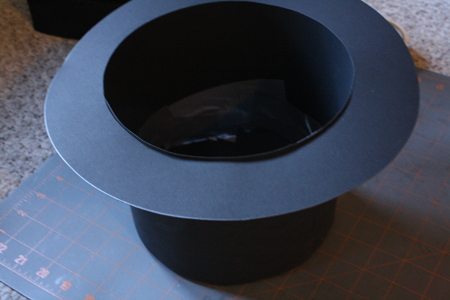
17) Get your hat’s body and put glue along its bottom edge (the end that’s still open) on the inside. Set it on top of the brim so that the tabs sticking up through the brim’s center go into the body of the hat. Press them into the glue, then further secure them with tape. Let it all dry.
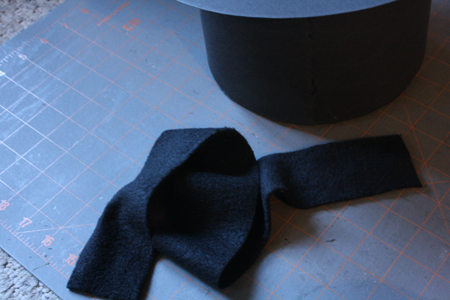
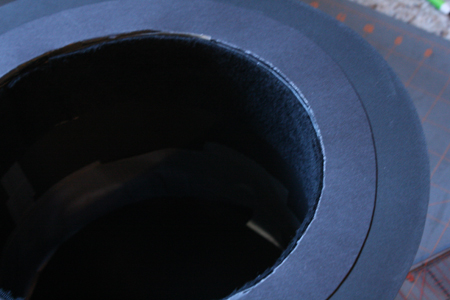
18) [optional] Glue a strip of black fleece along the inside bottom of the hat, where it sits around your head. This can help adjust the fit if the hat is slightly too big at this point, but it will also make the hat slightly softer and more comfortable to wear, and if you sweat it will prevent some of that moisture from soaking into the paper hat and warping or otherwise damaging it.
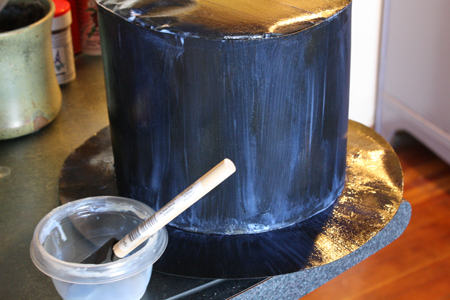
19) At this point, you can lacquer the hat with a coat or two of varnish if you wish. I frankly like the matte look of the unvarnished paper, but varnishing it will help make it sturdier and more durable, and will help cover up any little mistakes or flaws in the paper, or any places where you got overzealous with the glue and it leaked onto the outside of the hat (I totally had this problem in a couple places).
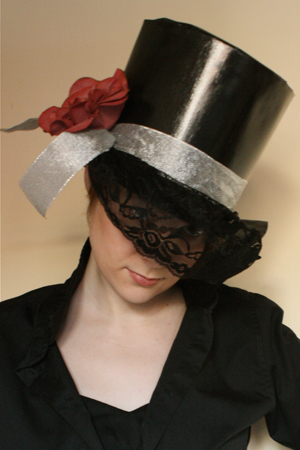
20) Once dry, decorate your hat as you wish. I glued on some silver ribbon and a lace veil, and also attached a paper rose I made some time ago. Feathers might also be fun. For a more manly hat, simply glue some black satin or velvet ribbon around the hat’s base.

