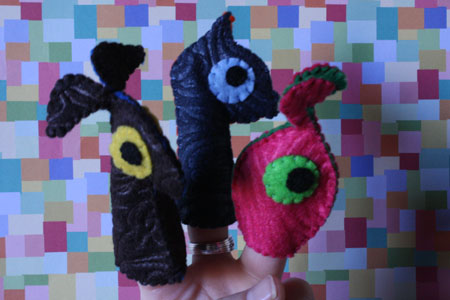
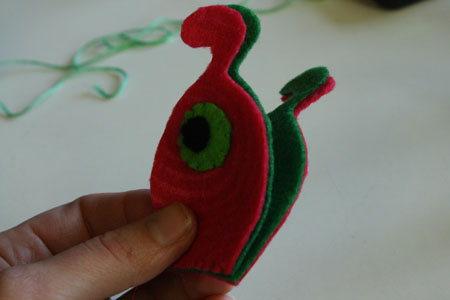
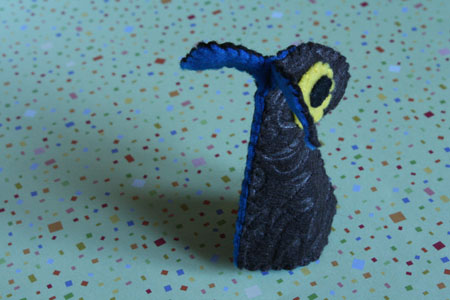
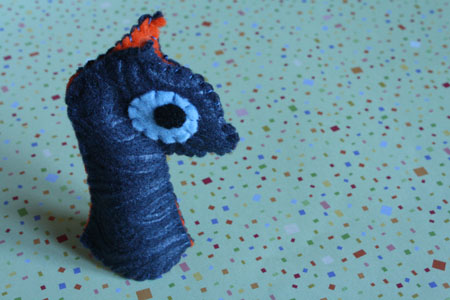
I like critters. Real ones, imaginary ones, critters with one eye and critters with two; all kinds of critters. Over the past few months I’ve acquired all kinds of new skills for making my own critters, and this week I opened up a new Etsy store (Tally’s Bestiary) to house the menagerie I’ve created.
In honor of that store and of all cute critters everywhere, this week’s blog post will teach you how to make some of your own simple but adorable creatures – animal, alien or otherwise. I first saw this idea for colour-layered, 3-dimensionally-eared finger puppets on The Purl Bee blog, a wonderful collection of crafting ideas and tutorials. Being me, I snapped a screen shot, forgot all about it, found the photo later, worked out how to do it and then went hunting for the actual original photo location and tutorial. I’m one of those people who never reads the manual.
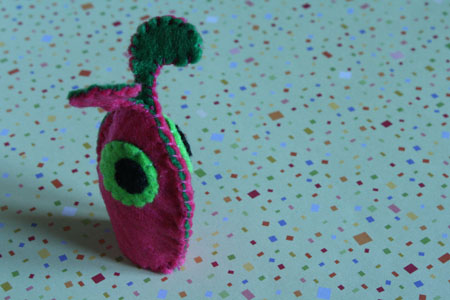
So this is a slightly different take on the Purl Bee’s original bunny rabbit finger puppets, but the principle is all the same. You can use this for any finger puppet critters, real or imaginary, as long as they have two ears or horns or antennae or other protrusions. Or you could try using the technique to give a finger puppet two separate, outspread hands or paws. It’s all up to you.
What You’ll Need:
- felt (I’ve used embossed felt, which adds great texture to the critters) – you’ll need two to three colours for each puppet
- [optional] black felt (for eyes, unless you want to use buttons or beads)
- thread in colours matching your felt
- a needle
- scissors
- paper
- pencil
- [optional] buttons or beads (for eyes, unless you are using felt for this)\
Putting it all together:
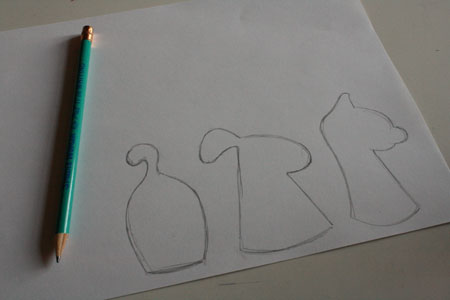
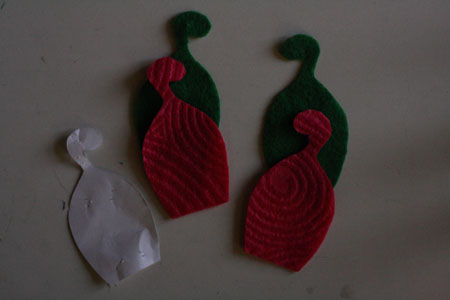
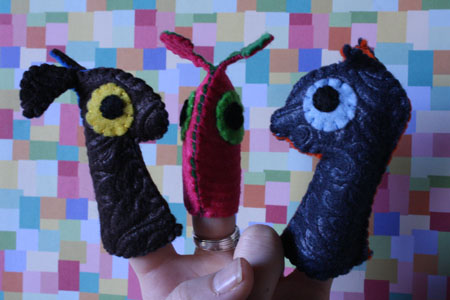
1) Draw your critters. For good, average finger puppet size, make them around 3-4 inches tall and 1-2 inches wide. You’ll be drawing a profile of the puppet, a side view. Make sure there’s an ear or antennae or similar in there where the puppet can split into two and let the inside colour of felt show through. I drew my puppets to look like the 3 imaginary critters on my Tally’s Bestiary Etsy banner. :)
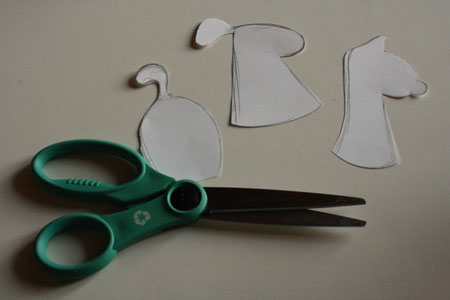
2) Cut out your patterns.
3) Pin the pattern pieces to your felt, and cut 4 of each pattern piece – 2 in one colour and 2 in a different colour.
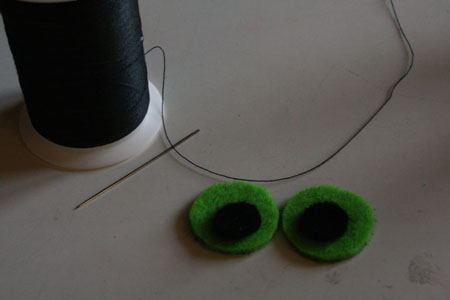
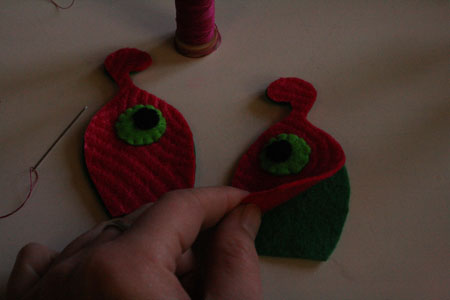
4) Add your eyes. Decide which colour will be the outside of the puppet and sew an eye to each piece of that colour. Button or bead eyes are very simple – just sew them right on. Felt eyes are a good option if the puppets will be used by small children, as they can’t pop off and be swallowed. Just cut a small coloured or white circle and a smaller black circle and sew them both into place, one on top of the other.
For the larger circle for my felt eyes, I just trace the bottom of a one of those tall skinny thread spools (not the one pictured above, though), which is the perfect size for this.
5) Place the two outside pieces of the puppet on top of the two inside pieces. (Remember that each half should face in opposite directions when right-side up.) Thread your needle and knot the thread.
(There, that thread spool, the pink thread at the very top of this photo: that’s the kind I trace for the eyeballs.)
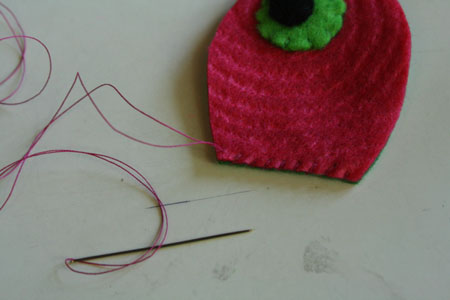
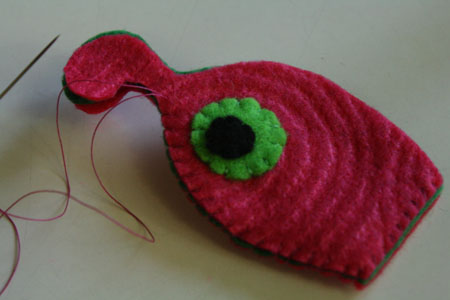
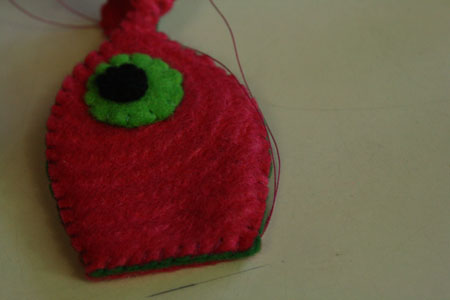
6) Sew along the bottom of one of these halves of the puppet, stitching the two colours of felt together. I used a whip stitch, where you stitch over the edge of the material and back up from the underside, then over the edge again… lather, rinse, repeat. But you could also do a simple running stitch, which means making small stitches all in a line a short ways in from the edge of the fabric. On either side of the fabric, this will look like a dashed line. Do not knot or cut the thread when you get the the edge.
7) Now pin all 4 layers of felt together, and sew up the side of the puppet, stitching through all the layers.
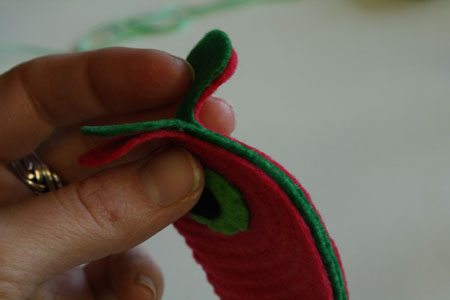
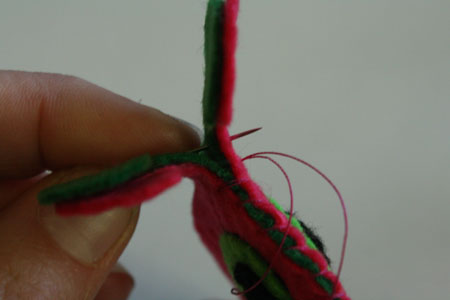
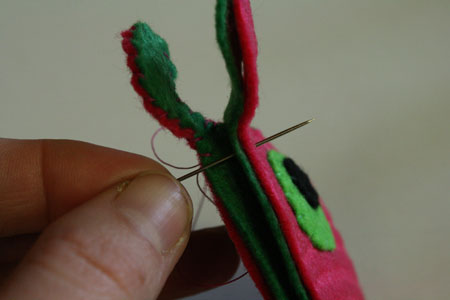
8) When you get to the ears/horns/antennae/arms/paws/other, pull the layers apart so you again have 2 halves, each consisting of 2 different colours of felt. Stitch through only 2 of them, sewing all the way around the ear or whatever-it-may-be. When you finish, stitch up and around the other ear/whatever-it-may-be, sewing those 2 layers together.
9) When each ear/whatever-it-may-be is sewn, continue stitching down the other side of the puppet, once again sewing all 4 layers together. If you run out of thread at any point, just knot and cut it, then continue on with a new length of thread. I often start a new piece thread at the base of the ears, where I can hide the knots fairly easily.
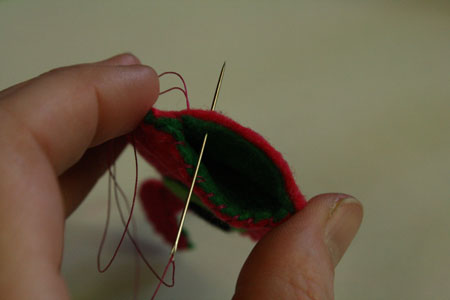
10) When you reach the bottom of the puppet, there will 2 layers of felt already stitched together, and 2 layers that are still separate. Sew the still-separate layers together, then knot the thread and cut it.
11) Put on a puppet show about bug-eyed fuschia alien and his new forest friends.

