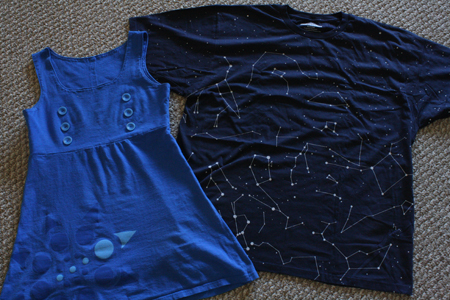
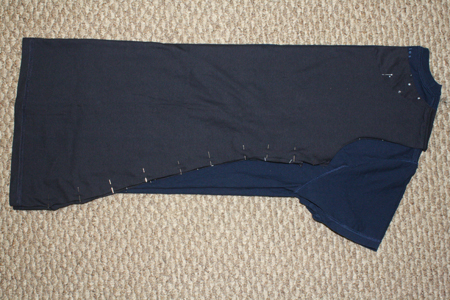
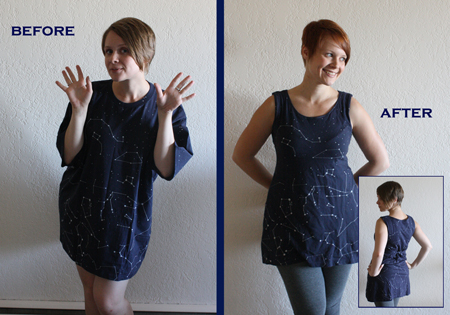
I have a problem with patterns. Clothing patterns specifically. And I blame the people who make said patterns for this. Because when all is said and done and I’m sitting on the floor, hunched over, fingers sore from ripping out thousands of stitches, with a dress that is somehow two sizes too large despite having measured myself, the pattern, and (just for practice) half the household furniture three times, my world is already unraveling, and blaming myself for this entire debacle would simply add to the devastation. So I direct my anger outward at those faceless pattern creators who have crushed my fashionable hopes and dreams.
My mom has told me that clothing patterns nearly always fit at least two sizes to large, but even when I size them down they remain too big. Which is outrageous considering that these are not abstract small, medium, large sizes, they’re sizes that come with specific measurements! Even I could do better at sizing! I, who failed 11th grade math! Honestly, I’m pretty sure a demented iguana could make more sensible patterns.
The other trouble is that I’m often not sure just where things got messed up. Because all the steps are in a strange sewing gobbledygook that I just barely managed to slog through in the first place, I’m often not certain what any particular step was meant to accomplish. On the flip side, when one simply makes it up as one goes, it’s a lot easier to figure out where one went wrong. At least you know what you meant to accomplish by sewing those two pieces together, and if it didn’t work you know you’ll have to take them apart and try something different. I’m okay with blaming myself for failure if I at least feel some semblance of control in the first place.
I could have persevered and learned how to deal with patterns. Instead, I chose to stubbornly go on not understanding them. And guess what I’ve discovered? To make a cute dress, you DO NOT need a pattern. So there! Take that, Butterick and McCall’s and Vogue! All you really need is creativity, a bit of daring and a good looooooong look at some of the clothes in your closet and how they fit together. Plus a general mad scientist stitch-this-bit-to-that-bit-till-it-fits attitude.
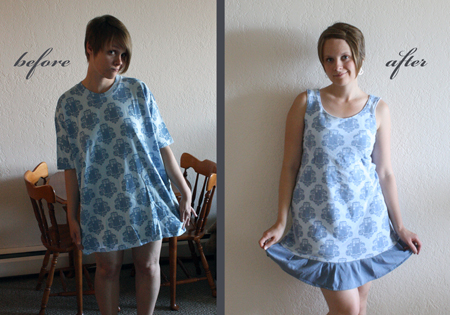
I’ve talked before about t-shirt dresses and modifications, and this week I’m going to give you the most simple possible way to cheat at dressmaking. Start here, then add other details as you go along.
—————————————————–
What you’ll need:
- a dress you already own that fits you well (or a skirt, or a top, depending on what you want to make)
- a large t-shirt or just a big plain piece of fabric – I’d use jersey cotton or something else with stretch, because it will adjust to fit you better with fewer tucks and alterations, and you can often avoid having to put things like zippers or buttons in.
- thread to match the shirt/fabric
- fabric scissors
- straight pins
- sewing machine
- pen or pencil or (especially if your fabric is a dark colour) a white crayon
- seam ripper – really, you should always have this handy for any sewing project. You will almost always need it at some point, even if you’re a fairly accomplished sewer.
—————————————————–
Putting it all together:
1) Select a simple dress or shirt or skirt that fits you well. This will be your only pattern. Ideally, you want something sleeveless. Even if you want sleeves on the dress you’re making, you’ll need to start sleeveless and add sleeves on once the rest of the dress is sewn. For the moment, we’ll be looking at sleeveless dresses. I’ll explain refitting and reattaching sleeves (not actually particularly complicated, I promise) in a future tutorial.
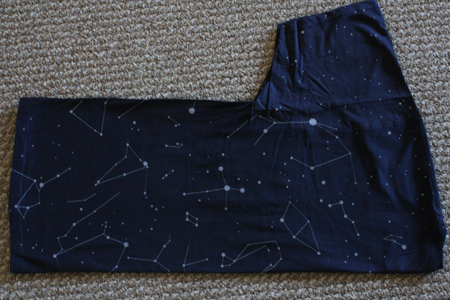
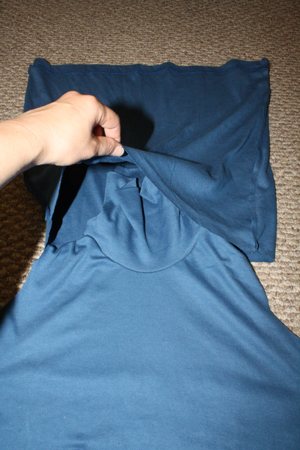
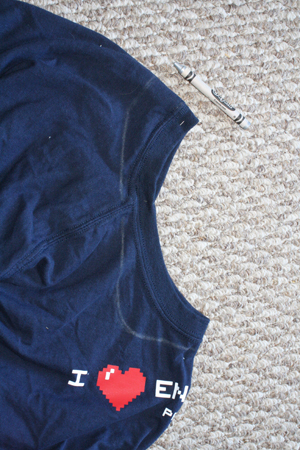
2) Turn the t-shirt you want to make into a dress inside out. Then fold it in half. (Note that I did not turn the shirt in the photo below inside out first. Ignore the picture. Turn the shirt inside out. Sometimes I’m a bad example.)
OR, if you are using unsewn fabric:
Double up the fabric so there are two layers lying flat, one on top of the other, with right sides together. Then fold the double-layered fabric in half.
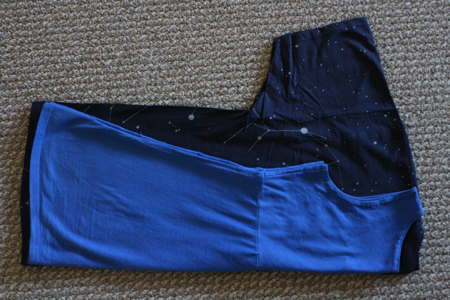
3) Fold the already-made, fits-you-well garment in half, and lay it on top of the folded t-shirt, making sure that they match up along their folded edges. If you are using a t-shirt, not raw fabric, you may also want to make sure the top of the two garments match up at the shoulders.
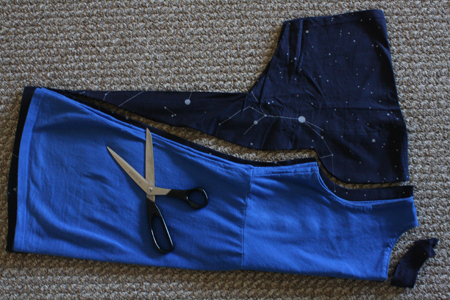
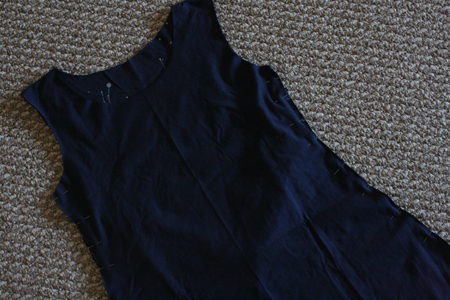
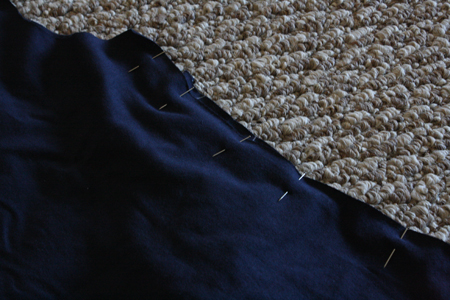
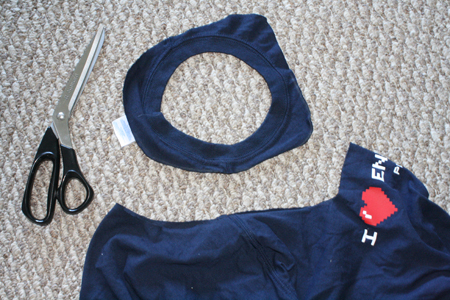
4) Cut around the pre-made garment, leaving about 1/2 an inch of extra fabric around the edges. (for seam allowance). You can cut the neckline out now, or ignore it – we’ll deal with it later. If you cut it out now, you’ll most likely have to come back to it later anyway, since at the moment you’ll only be able to cut around the higher line at the back of the dress.
[Note: If you still want the safety of a pattern (it’s a bit easier to cut the fabric neatly with a pattern pinned right on top of it, you’d get the chance to look at the pattern before cutting up your fabric, to make sure all the pattern lines looked right and even and so on), you can still use this method of tracing an existing garment. Just trace it onto folded-over paper first. Cut that out, and you have a pattern that took you almost no time or thought (and certainly no obnoxious measuring or mathing) to make, and you can use that to construct a new garment.]
If you’re starting with a large t-shirt and making that into a dress, you’ll use its bottom hem as the bottom hem of your dress.
Other things:
- If you want to make a dress with separate bodice and skirt pieces, when you get to the bottom of the bodice on the already-made dress, simply fold that dress down out of the way and cut straight across the fabric beneath. Then unfold the already-made dress again, inch it down a little to give yourself some extra fabric for seam allowance between bodice and skirt, and finish cutting along the dress’ edge to get your skirt piece.
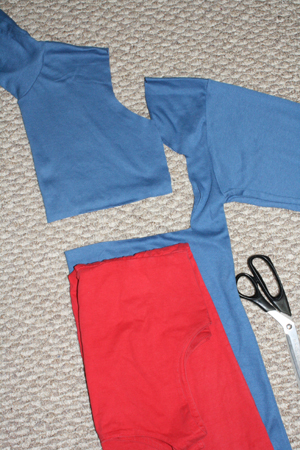
- To make a dress with a waistband, do the same thing as above, then cut yourself a separate strip of fabric for the waistband. You’ll attach the bodice to one edge of the waistband, and the skirt to the other.
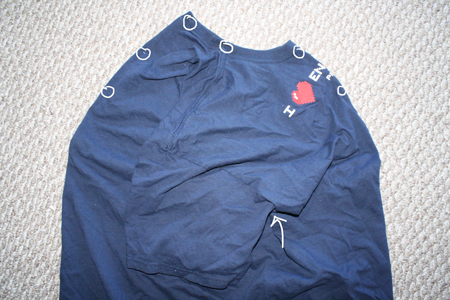
- To make a gathered skirt, do the same as in step 1. above for the bodice. For the skirt, start cutting the top edge of the skirt a ways out from your already-made dress, making that top edge much wider than it needs to be, and the slant from skirt top to skirt bottom much steeper. Then, when you attach the skirt to the bodice, you’ll make some folds when you pin the two pieces together, and sewing over those folds will give your skirt nice little gathers.
—————————————————–
- If you’re using a t-shirt, and you need to shorten it, you’ll simply fold the bottom up and stitch it in place, or you’ll cut a the desired amount of fabric off, then fold the bottom up and stitch it in place to create a new hem.
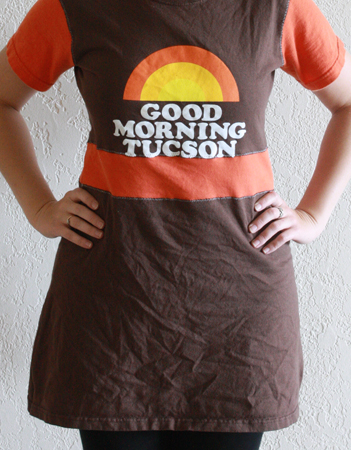
- To lengthen a t-shirt dress, one trick is to cut two long rectangles of fabric that are much wider than the bottom of your dress. Stitch their short ends together. Hem one edge of the resulting piece, and attach the other to the bottom of the dress, making little pleats as you go to make it fit with the width of the dress. That’s how I lengthened the Tardis dress below.
- To make a fully lined dress, you’ll simply need another t-shirt or fabric piece of equal size. Trace the outer dress, cutting an exact copy of it from the second shirt or fabric piece. Then follow steps 7-14 of this tutorial.
—————————————————–


