Well hello everyone, and happy 2013! As you may have noticed, the blog went on a little unplanned hiatus. (Which sounds like the name of an exotic flower, doesn’t it? I think we’ll need to have a post later on about crafting hiatus blossoms.)
Many things happened, from having surprise houseguests to being behind on Christmas crafting to getting engaged, and in the mad rush of it all I sensibly decided to give up on the blogging for a couple of weeks and start fresh in the new year. I’m sure you all were probably very busy wrapping gifts & Pinteresting your hearts out anyway.
Now that the Christmas holiday is over, I (and I imagine many of you) have a lot of thank you cards to write. And while thank you cards do not have to be handmade, I do like creating my own. Especially because I failed utterly to send out Christmas cards this year, so these cards are sort of doing double duty. It’s often a struggle to come up with cards that are cute/pretty/elegant/generally pleasing to the eye and easy to make lots of in a short time. I’ll show you some of the cards I came up with this year that meet (I think) all these requirements, and use up some little scraps of paper from my rarely-decreasing stash.
And that other bit of news that I dropped above? My boyfriend and I got engaged! He proposed just a few days before Christmas (so that we could spend the holidays squeeing and making plans with our families), and now we’re rushing headlong into a June wedding. Which will be fine. That myth that weddings require at least a year of planning? It’s a myth. They require the time you wish them to require, from 3 weeks to 2 years.
Anyway, I’ll be blogging about wedding stuff for sure in the near future. For now, I’ll post some pretty pictures of the ring my fiancé picked out. And by “picked out” I mean “talked to an amazing Etsy artist in Montréal and designed with her help.” It’s a fully functional puzzle ring, handmade by Etsian Nelly Van See, and utterly perfect.
Now to the crafting! For my thank you cards, I pulled out one thing after another trying to come up with cute, easy card-making ideas. I should have taken a picture of the utter (creative and colourful!) disaster my desk became, but I was too busy creating said disaster, of course. And then trying to create in the middle of said disaster.
Paper scraps & ribbon
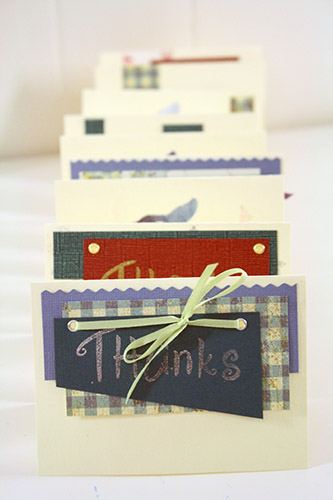
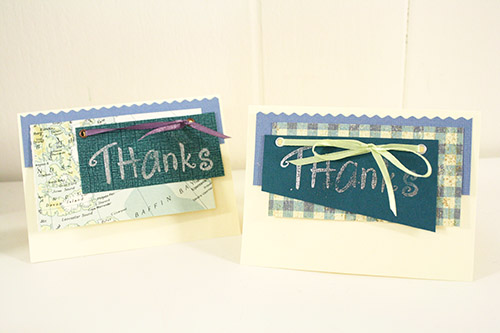
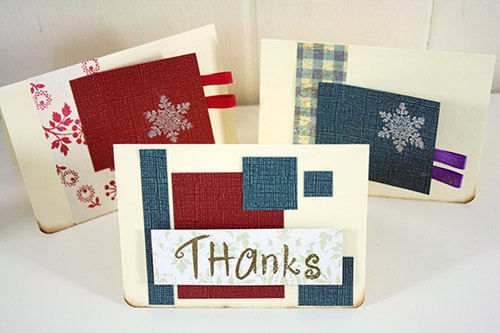
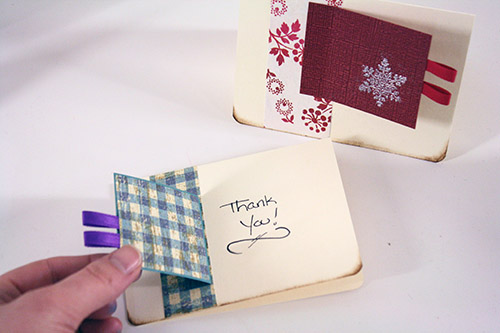
The first thing I came up with was a couple ways to use scraps of paper, both old and new, with some ribbon and eyelets and embossing details.
And these. The second photo below shows how the little flap on those cards folds back to show a Thank You message. Cheesy? A bit, yeah. But pretty and pleasant, simple, quick to do.
Embossing
For Christmas gifts, I’d made some tea towels with reindeer on them, and I still had the reindeer templates. I decided to try some bigger embossing with them.
If you haven’t tried embossing, I highly recommend it. It’s a quick, simple and inexpensive way of adding some super classy-looking detail to cards and other paper goods. Before I tried it, I figured embossing must be tricky and complicated. That was absolute rubbish. It’s dead easy.
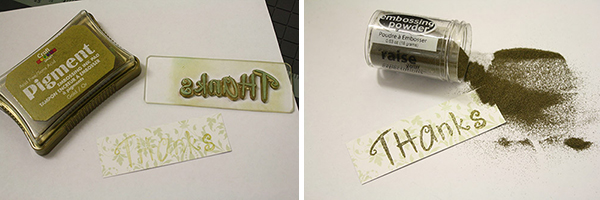
You need an embossing stamp pad (it’s just an stamp pad with ink that’s a bit more sticky than the usual stuff), a jar of embossing powder and a rubber stamp, any rubber stamp. And cards or paper to actually do the embossing on, of course. Stamp pads are about $5 at our local craft store, embossing powder is about $6 a jar (and it will last you through hundreds of cards) and stamps vary in cost. Look for them on sale though. Or try making your own. And tip: you don’t have to have a stamp pad that matches the colour of your embossing powder. So there. The powder is the colour that will show up in the end.
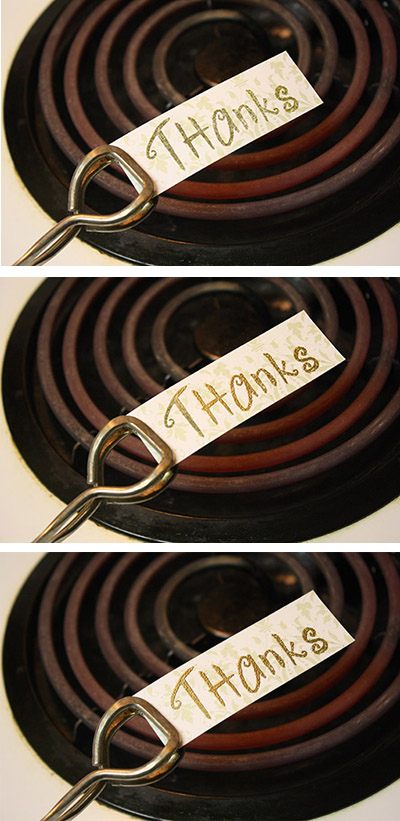
Another hint: You DO NOT need a special embossing heat gun thingy. You can use one, sure, but your stove top and a pair of tongs also work perfectly. I’ve done this over a gas stove and an electric stove – both work.
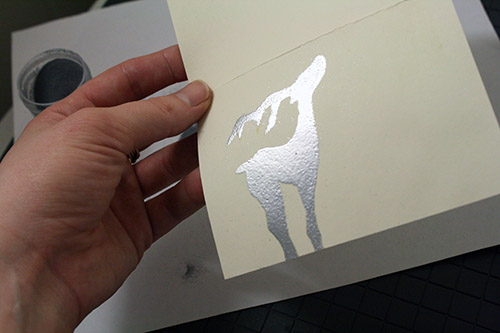
So to emboss something, you stamp an image (whatever your stamp has an image of) onto the paper with the embossing stamp pad ink. Then you dump powder all over it, shake the excess powder off (onto a piece of paper, so you can dump it back in the jar), and you go hold the powdered stamped image over heat (or hold your heat gun over it), until the powder melts and gives you a nice shiny embossed image. Over a stove on high heat this usually only takes 10-20 seconds. Just don’t hold the paper too close to the stovetop. And if the paper curls, stick it under a heavy book for a bit to flatten it back out. Voila. That’s embossing 101. There is no 102 – 101 pretty much covers it all.
So for this embossing, I lay a reindeer cutout down, and stamped ink directly from the ink pad onto the paper. Then dumped embossing powder on it and and heated it up. Shiny reindeer!
Stamping… but not the usual way
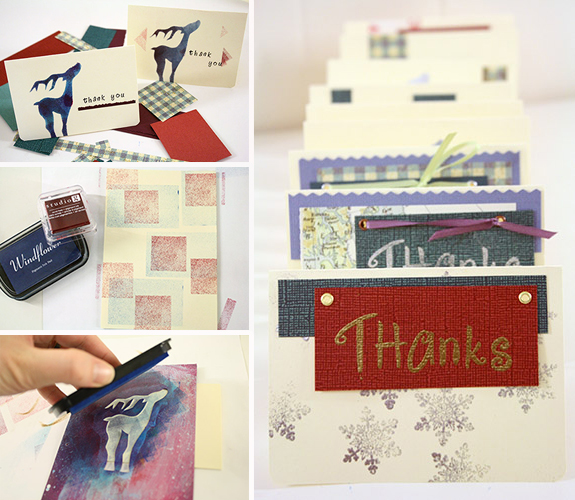
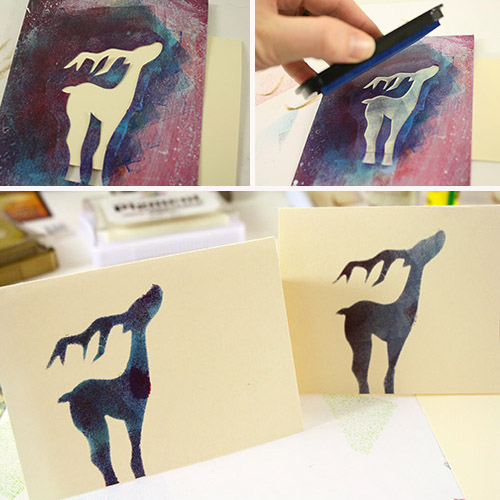
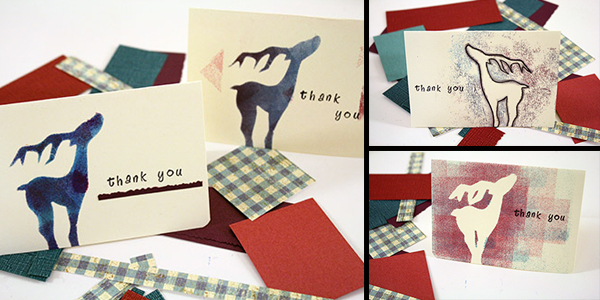
From that, I got an idea to stamp reindeer onto cards using the reindeer template and normal, coloured stamp pads. Like this:
These were some of my favourite results, and I plan to play around with this technique more soon.
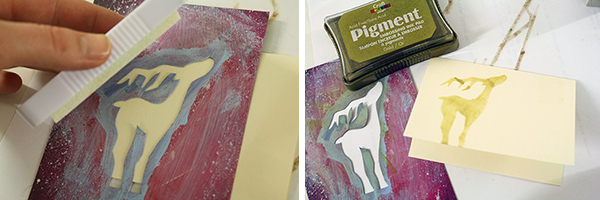
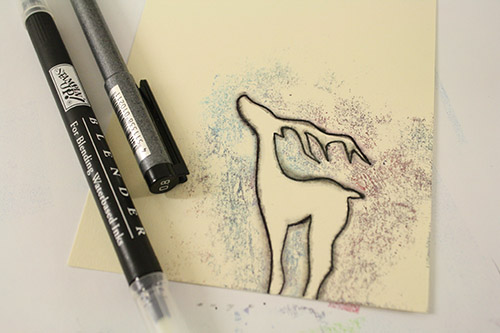
When I’d done a couple of those, I flipped the template (which was of course covered in stamp pad ink) over onto a new card, and stamped a reverse image, where the ink formed an empty outline of a reindeer. I then went around the edges of that reindeer shape with a marker, and then blended the marker line a bit. Just to try something different.
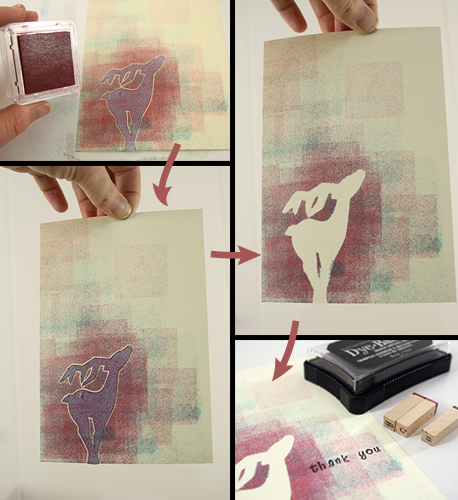
Then I used a cutout of a reindeer to do the stamping thing again, but this time with the ink as the background and the reindeer a blank space in the middle of all that stamped colour. Like so:
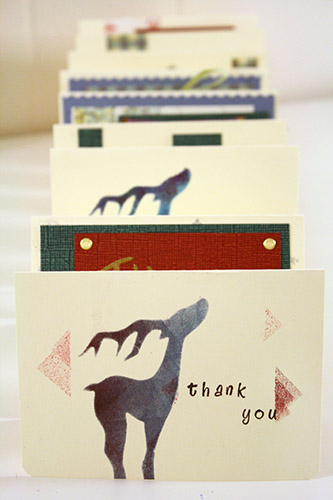
A whole herd of pretty reindeer thank yous!
With all these templates, I sprayed the paper cutouts with a bit of Easy-tack, which is spray-on “re-positionable adhesive.” Meaning it’ll stick the template down and keep it in place, but then you can carefully peel it off. It’s useful stuff.
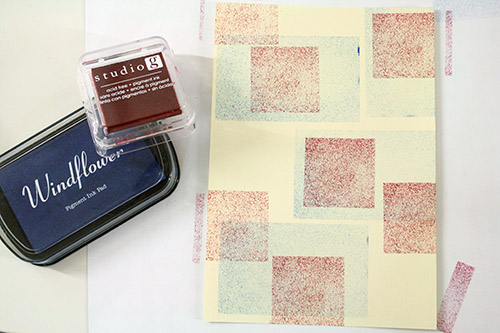
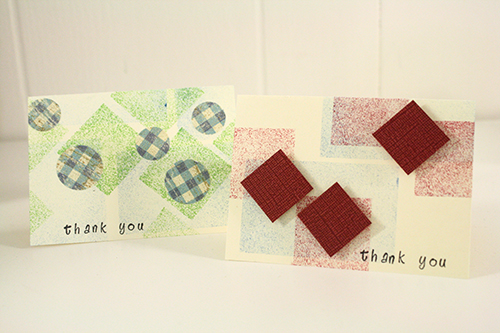
I also had some fun stamping patterns using just the shapes of the stamp pads themselves:
And now all I have to do is actually write the thank yous and mail them. :)
What’s your favourite way to make thank you cards?

